

Page 1
Model HS10
Model HS20
ML - 134374
ML - 134375
ML - 134383
ML - 134384
ML - 134396
ML - 134397
I N S T R U C T I O N
M A N U A L
701 S. RIDGE AVENUE, TROY, OHIO 45374-0001
937-332-3000 WWW.HOBARTCORP.COM
FORM 37207B (Sept. 2008)
Page 2
-2-
Page 3

TABLE OF CONTENTS
GENERAL .................................................................................................4
INSTALLATION .........................................................................................4
Unpacking ...............................................................................................4
Location ..................................................................................................4
Electrical Connections ............................................................................4
OPERATION .............................................................................................5
Controls ..................................................................................................6
Non-Timed Mixing ...................................................................................6
MIXING ......................................................................................................7
Bowl ........................................................................................................7
Agitator ...................................................................................................7
Wire Cage ...............................................................................................8
Remove Wire Cage ................................................................................8
Install Wire Cage ....................................................................................8
CLEANING ................................................................................................8
MIXING BOWL CAPACITY CHART .........................................................9
Agitators and Accessories ....................................................................10
MAINTENANCE ......................................................................................10
Motor .....................................................................................................10
Bowl Lift Slideways ...............................................................................10
SERVICE .................................................................................................11
-3-
Page 4

Installation, Operation, and Care of
10 & 20 Quart MIXER
SAVE THESE INSTRUCTIONS
GENERAL
The 10 quart mixer has a DC electric motor and motor control. A 10 quart bowl, B-Flat beater, dough
hook, and D wire whip are shipped as standard equipment. A 0 - 15 minute timer and plastic foot pads
are standard.
The 20 liter mixer has a DC electric motor and motor control. A 20 liter bowl, B-at beater, dough hook
and D wire whip are shipped as standard equipment. A 0 - 15 minute timer and plastic foot pads are
standard. A #12 attachment hub is optional. A variety of attachments are available. A 10 liter bowl and
its associated accessories are optional.
INSTALLATION
UNPACKING
Immediately after unpacking the mixer, check for possible shipping damage. If the mixer is found to be
damaged, save the packaging material and contact the carrier within 15 days of delivery.
Prior to installation, test the electrical service to assure that it agrees with the specications on the machine data plate.
LOCATION
Remove shipping bolts that attach the four legs to the base-frame of the carton.
Place the mixer on a suitable sturdy level surface. There should be adequate space around the mixer
for the user to operate the controls and install and remove bowls.
ELECTRICAL CONNECTIONS (Cord Connected Mixers)
The electrical cord on this machine is equipped with a three-pronged grounding
plug which must be connected to a properly grounded receptacle. If the receptacle is not the
proper grounding type, contact an electrician. Do not remove the grounding prong from the
plug.
-4-
Page 5

OPERATION
Moving beater in bowl. Keep hands, clothing, and utensils out while in opera-
tion. Do not use without interlocked guard.
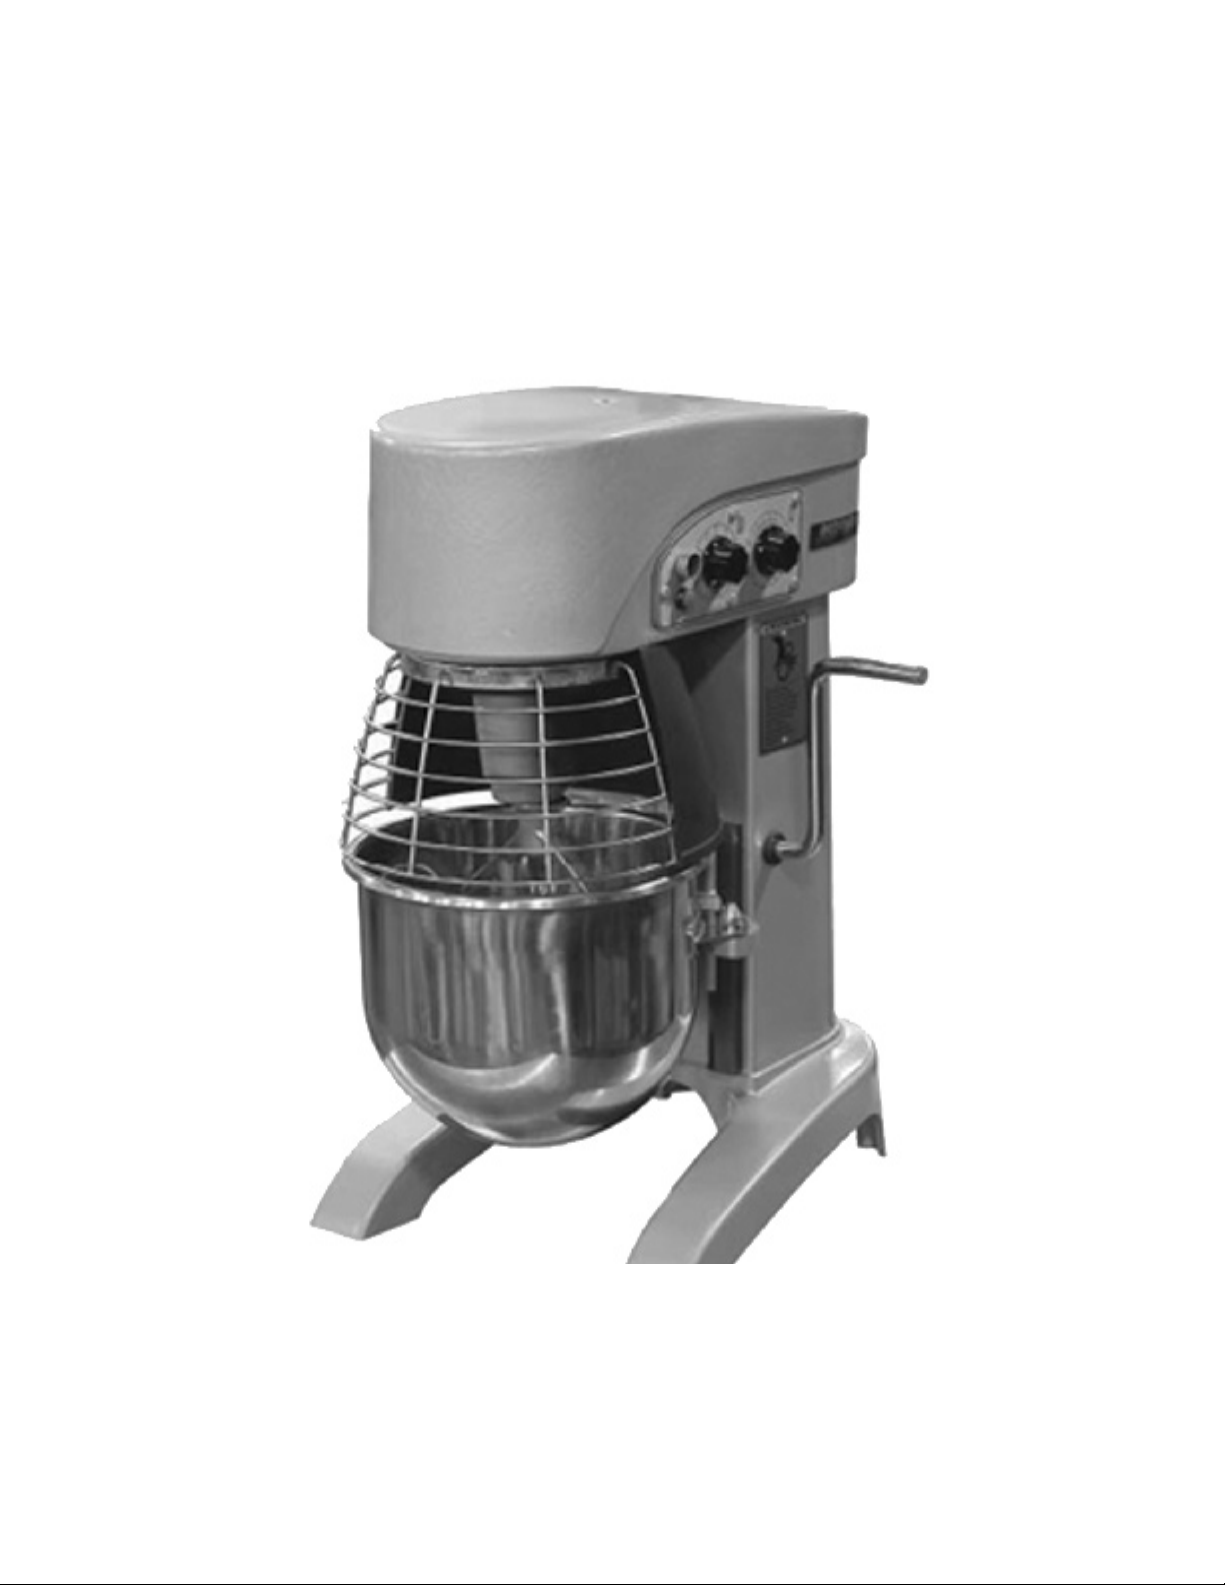
Fig. 1Fig. 1
Fig. 1A (20 Liter Mixer)Fig. 1A (20 Liter Mixer)
-5-
Page 6

CONTROLS (Fig. 2)
Push-button Start and Stop buttons control power to the mixer.
The Bowl Guard must be in place and closed or the mixer will not operate.
If the Bowl Support is not all the way up, the mixer will not operate.
The TIMER is used in conjunction with the Start button for timed mixing operations and will stop the
mixer when the desired time has elapsed.
NON-TIMED MIXING -- Set the timer on Hold and use the Stop button to turn the mixer off.
The Speed Selector (Fig. 2) is used to change speeds. To change speeds, turn the Speed Selector to
the desired speed. Speed can be set when mixer is on or off.
Blend -- The slowest speed to incorporate ingredients.
Speed 1 (Low) -- For light dough, heavy batters, or potatoes.
Speed 2 (Medium) -- For cake batters or some whipping operations.
Speed 3 (Medium-High) -- For light work, such as whipping cream, beating eggs, or mixing thin batters.
Speed 4 (High) -- This speed is for maximum and accelerated air incorporation into light batches.
The Bowl Lift Handle (Fig. 1) is used to raise and lower the bowl. To raise the bowl, rotate the handle
upward; rotating the handle downward lowers the bowl.
-6-
Page 7

MIXING
This section explains operation of the mixer and how to
install bowls and agitators.
BOWL
New mixer bowls and agitators (beaters, whips, dough arms and
splash cover) should be thoroughly washed with hot water and
a mild soap solution, rinsed with either a mild soda or vinegar
solution, and thoroughly rinsed with clear water before being put
into service. This cleaning procedure should also be followed for
bowls and agitators before whipping egg whites or whole eggs.
The bowl must be installed before the agitator. To install the bowl,
fully lower the bowl support (Fig. 3). Position the bowl so two large
holes on bowl tabs are above the bowl pins on the bowl support,
then turn the bowl until the bowl pins stop in two small holes.
10 Liter Mixer - Lower the bowl onto the bowl pins then turn clockwise until stopped in locked position.
20 Liter Mixer - Lower the bowl onto the bowl pins then turn counterwise until stopped in locked position.
AGITATOR
To install an agitator (Fig. 4), the bowl must be installed and fully lowered. Place the agitator in the bowl,
push it up on the agitator shaft, and turn it clockwise to seat the shaft pin in the slot of the agitator shank.
Fig. 4
ATTACHMENTS (Optional feature for 20 liter mixer)
To install an attachment, loosen the thumb screw on the attachment hub (Fig.1A, page 5) and remove
the plug. Insert the attachment into the attachment hub making certain that the square shank of the
attachment is in the square driver of the mixer. Secure the attachment by tightening the thumb screw.
Close wire cage and raise bowl support to mix postion, move the speed select knob to the desired
speed and start the mixer to operate the attachment.
-7-
Page 8

The meat and food chopper attachment should be operated in Speed 1. If material in the cylinder stalls the mixer, stop the
mixer at once. DO NOT attempt to restart the mixer in a lower speed--unplug power cord and then remove the adjusting ring,
knife, plate, and worm and clear the obstruction. THIS ATTACHMENT MUST NOT BE USED TO CHOP BREAD CRUMBS.
NOTE: Attachment hub must not be used while mixing product.
WIRE CAGE
Wire cage must be in position and closed in order to mix. If bowl guard is opened during the mixing, mixer will stop.
REMOVE WIRE CAGE
Lower the bowl support and remove agitator before removing bowl guard. Hold bowl guard with both hands and pull
downward gently to release bowl guard from retainer (Fig. 5).
INSTALL WIRE CAGE
Hold wire cage with both hands and gently push upward until bowl guard is latched on the retainer and can be rotated
freely (Fig. 5).
CLEANING
Unplug machine power cord before beginning any cleaning procedures.
The mixer should be thoroughly cleaned daily.
Bowls and agitators should be removed from the mixer and cleaned in a sink.
DO NOT use a hose to clean the mixer — it should be washed with a clean damp cloth.
Clean the Wire Cage by wiping with a cloth or sponge and warm soapy water.
-8-
Page 9

MIXING BOWL CAPACITY CHART
Capacity of Bowl (Qts. Liquid)
Model HS10 HS20
Motor (HP) 1/2 1/2
Overall Space Required (Bench Space) 13 21/32 X
Agitators
Suitable for
Operation
10-Quart 20-Quart
17 47/64W X
17 9/32 X 25
5/8
23 1/8D X 31
11/32H
Kitchen Materials Capacity Chart (Finished Materials)
Egg Whites (pt.) D 1 pt. 2 pts.
Mashed Potatoes (lbs.) B 8 lbs. 15 lbs.
Mayonnaise (Qts. of Oil) B or D 4 qts. 9 lbs.
Meringue (Qty. of Water) D 3/4 pt. 1 1/2 pts.
Wafe or Hot Cake Batter (qt.) B 4 qts. 8 qts.
Whipped Cream (qt.) D 2 qts. 4 qts.
Bake Shop Materials
Cake, Angel Food (8-10 oz. cake) (lb.) B 7 1/2 lbs. 15 lbs.
Cake, Box or Slab or Layer (lb.) B 10 lbs. 20 lbs.
Cake, Cup (doz.) B 18 lbs. 30 lbs.
Cake, Pound (lb.) B 15 lbs. 21 lbs.
Cake, Sponge (lb.) B 6 lbs. 12 lbs.
Cookies, Sugar (lbs.) B 9 lbs. 15 lbs.
Dough, Bread or Roll (Lt-Med) 60% AR § (lb.) ED 12 lbs. ** 25 lbs. **
Dough, Heavy Bread 55% AR § (lb.) ED 5 lbs. ** 10 lbs. **
Dough, Pie (lb.) B 12 lbs. 18 lbs.
Dough, Thin Pizza 40% AR (max mix time 5 min.) § ED 4 lbs.** 9 lbs. **
Dough, Medium Pizza 50% AR § ED 5 lbs. ** 10 lbs. **
Dough, Thick Pizza 60% AR § ED 8 lbs. ** 20 lbs. **
Dough, Raised Donut 65% AR (lb.) ED 4 1/2 lbs. + 9 lbs. +
Dough, Whole Wheat 70% AR ED 8 lbs. ** 20 lbs. **
Eggs & Sugar for Sponge Cake (lb.) B 4 lbs. 8 lbs.
Icing, Fondant (lb.) B 6 lbs. 12 lbs.
Icing, Marshmallow (lb.) B 1 lb. 2 lbs.
Shortening & Sugar, Creamed (lb.) B 8 lbs. 16 lbs.
Pasta, Basic Egg Noodle (max mix time 5 min.) (lb.) ED 3 lbs. 5 lbs.
** 1st Speed + 2nd Speed § If high gluten our is used, reduce above dough batch size by 10%.
NOTE: % AR (% Absorption Ratio) = Water weight divided by our weight X 100%. Capacity depends
on moisture content of dough. Above capacity based on 12% our moisture and 70oF water tempera-
ture.
ABBREVIATIONS - AGITATORS SUITABLE FOR OPERATION
B - Flat Beater
D - Wire Whip
ED - Dough Arm
-9-
Page 10

AGITATORS AND ACCESSORIES
B FLAT BEATER D WIRE WHIP ED DOUGH ARM INGREDIENT CHUTE
SPLASH COVER
(20 QT. only)
MAINTENANCE
Unplug machine power cord before beginning any maintenance procedure.
MOTOR
The motor has sealed ball bearings which require no lubrication maintenance.
BOWL LIFT SLIDEWAYS
The bowl lift slideways (Fig. 6) should be lubricated once each month. Apply a light coat of a "Food
Grade" grease to both sides of the slideways.
-10-
Page 11

SERVICE
If service is needed on this equipment, contact your local Hobart Service Ofce.
-11-
Page 12

FORM 37207B (Sept. 2008)
-12-
 Loading...