

Hobart HAB300 Installation Manual

N
S
T
R
U
C
T
I
O
N
S
I
MODEL HAB300
AROMATIC
BREAD SLICER
AroMatic
MODEL
HAB300 ML-104844
TM
BREAD SLICERS
701 S. RIDGE AVENUE
TROY, OHIO 45374-0001
FORM 34156 (4-99)
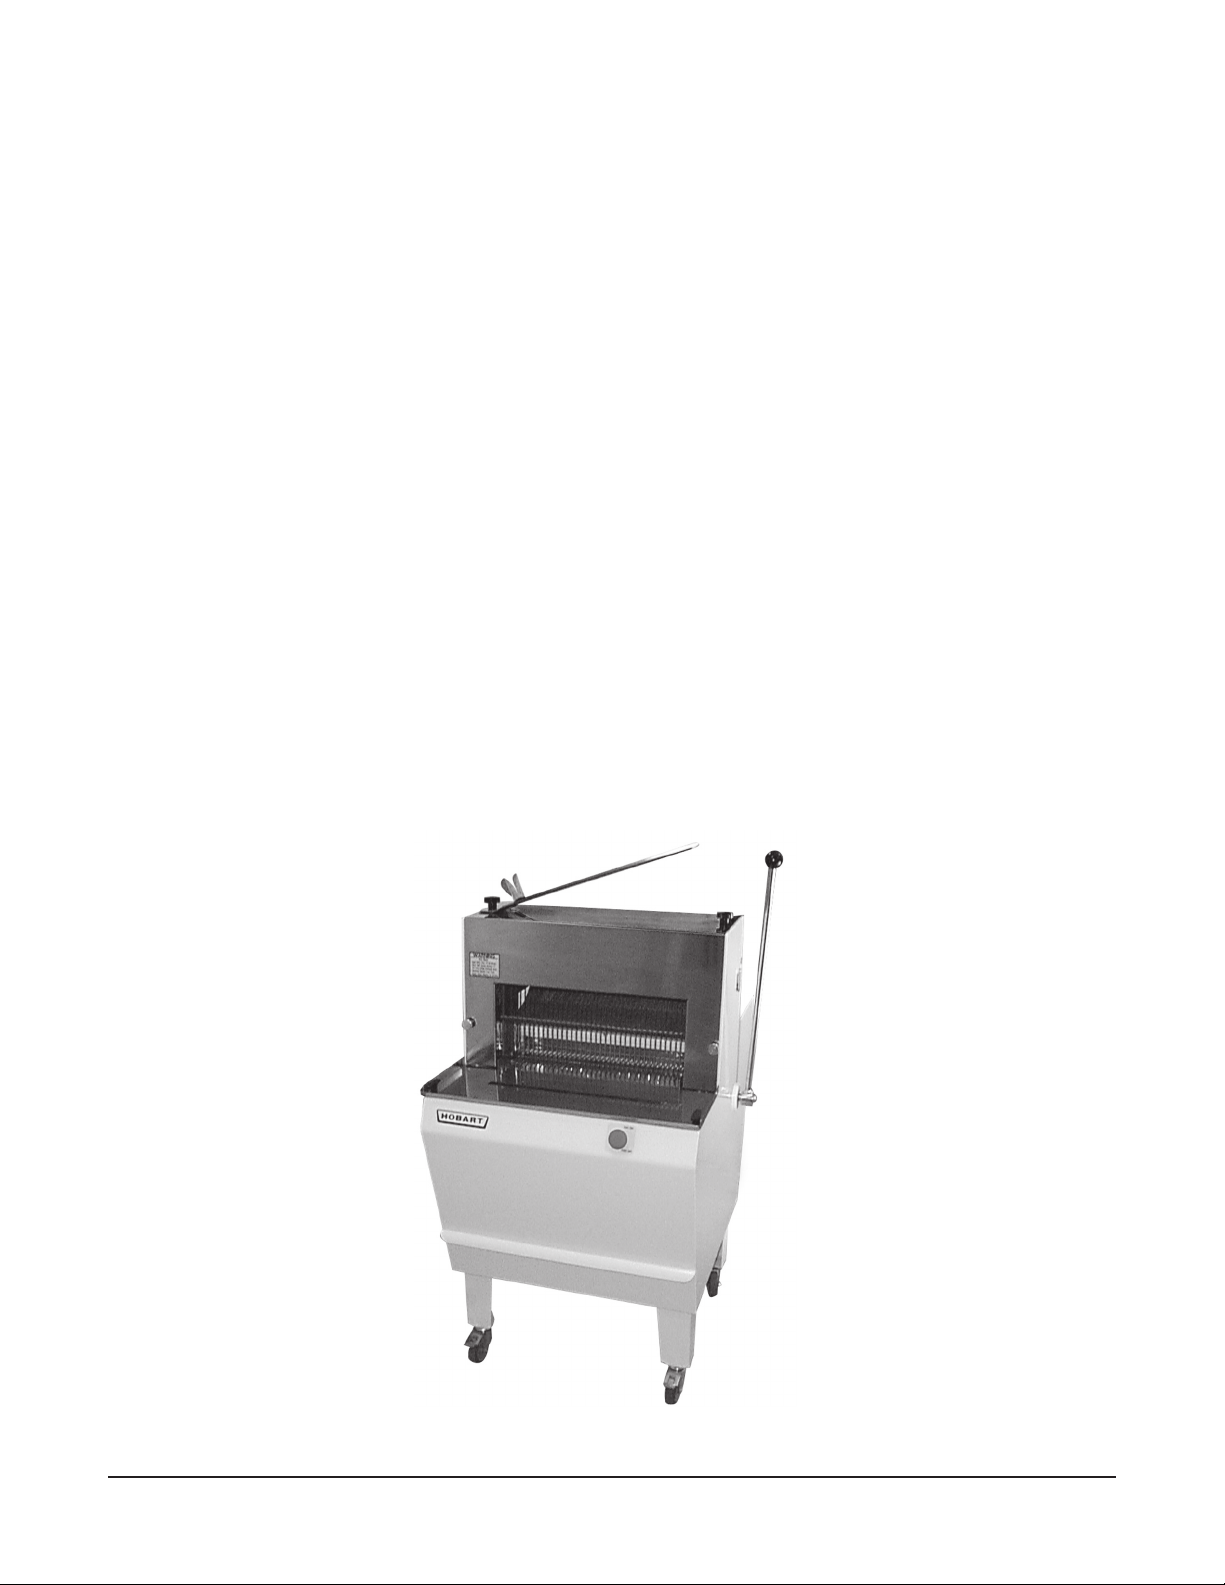
TABLE OF CONTENTS
GENERAL . . . . . . . . . . . . . . . . . . . . . . . . . . . . . . . . . . . . . . . . . . . . . . . . . . . . . . . . . . 3
INSTALLATION . . . . . . . . . . . . . . . . . . . . . . . . . . . . . . . . . . . . . . . . . . . . . . . . . . . . . . 3
UNPACKING . . . . . . . . . . . . . . . . . . . . . . . . . . . . . . . . . . . . . . . . . . . . . . . . . . . . 3
ASSEMBLY . . . . . . . . . . . . . . . . . . . . . . . . . . . . . . . . . . . . . . . . . . . . . . . . . . . . . 3
Bagging Spade . . . . . . . . . . . . . . . . . . . . . . . . . . . . . . . . . . . . . . . . . . . . . 3
Casters. . . . . . . . . . . . . . . . . . . . . . . . . . . . . . . . . . . . . . . . . . . . . . . . . . . . 3
ELECTRICAL CONNECTION . . . . . . . . . . . . . . . . . . . . . . . . . . . . . . . . . . . . . . 3
OPERATION. . . . . . . . . . . . . . . . . . . . . . . . . . . . . . . . . . . . . . . . . . . . . . . . . . . . . . . . . 4
CONTROLS . . . . . . . . . . . . . . . . . . . . . . . . . . . . . . . . . . . . . . . . . . . . . . . . . . . . 4
CLEANING . . . . . . . . . . . . . . . . . . . . . . . . . . . . . . . . . . . . . . . . . . . . . . . . . . . . . 5
Complete Machine Cleaning. . . . . . . . . . . . . . . . . . . . . . . . . . . . . . . . . . . 5
Reassembling the Bread Slicer . . . . . . . . . . . . . . . . . . . . . . . . . . . . . . . . 8
INSTALLING NEW BLADES . . . . . . . . . . . . . . . . . . . . . . . . . . . . . . . . . . . . . . 10
MAINTENANCE . . . . . . . . . . . . . . . . . . . . . . . . . . . . . . . . . . . . . . . . . . . . . . . . . . . . . 12
TROUBLESHOOTING . . . . . . . . . . . . . . . . . . . . . . . . . . . . . . . . . . . . . . . . . . . . . . . . 12
PROBLEM – SUGGESTED CORRECTIVE ACTION. . . . . . . . . . . . . . . . . . . 12
SERVICE. . . . . . . . . . . . . . . . . . . . . . . . . . . . . . . . . . . . . . . . . . . . . . . . . . . . . . 12
© HOBART CORPORATION, 1999
Model HAB300 AroMaticTM Bread Slicer
– 2 –

Installation, Operation, and Care of
TM
MODEL HAB300 AroMatic
SAVE THESE INSTRUCTIONS
GENERAL
Model HAB300 AroMatic™ Bread Slicers will slice a wide variety of breads with a gentle, efficient
slicing action that produces a high quality product for the consumer. The HAB300 is a floor model
equipped with four swiveling casters, the front casters have brakes with locks. The HAB300 Bread
Slicers have a fixed slice thickness set from the factory. A 120 Volt, fractional horsepower single phase
motor is standard.
INSTALLATION
UNPACKING
Immediately after unpacking the bread slicer, check for possible shipping damage. If the bread slicer
is found to be damaged, save the packaging material and contact the carrier within 15 days of delivery.
Prior to installation, test the electrical service to assure that it agrees with the specifications on the
bread slicer data plate.
BREAD SLICERS
Remove the extra blades shipped in the crumb drawer and keep them in a safe place. Find the cleaning
brush shipped in the crumb drawer and keep it in a safe place for use during cleaning. Remove packing
material on the infeed side between the infeed pusher and blades. Remove casters from drawer.
ASSEMBLY
Bagging Spade
The bagging spade is shipped in the crumb drawer; it should be installed on top of the machine on either
the left or right side depending on the operator's preference. To install: Unscrew and remove either
the left or right black knob-headed screw and flat washer. Reinstall the black knob-headed screw and
washer so the bagging spade is secured to the top of the machine (see Fig. 22, page 9). NOTE: The
adjustable stop at the bottom of the bagging spade can be moved up or down to adjust for loaf length
or operator convenience. Grasp the stop with thumb and index finger, squeeze in on both sides at the
top, then slide up or down.
Casters
WARNING: BREAD SLICER MUST BE BLOCKED AND STABLE BEFORE INSTALLING CASTERS.
After removing the shipping bolts from the crate, raise up and block the Bread Slicer a minimum of five
inches from the floor. Install locking casters in front and non-locking casters in back. Install bolt from
underneath through caster, leg plate, flat washer, and secure to locknut above. [Use a
Allen wrench]. Move the Bread Slicer to its operating location and lock the front casters by pushing
down on the locking pedals. To release lock, push back on brake-release tab inside locking pedal.
5
/16" or 8mm hex
ELECTRICAL CONNECTION
WARNING: THIS MACHINE IS PROVIDED WITH A THREE-PRONG GROUNDING TYPE PLUG.
THE OUTLET TO WHICH THIS PLUG IS CONNECTED MUST BE PROPERLY GROUNDED. IF THE
RECEPTACLE IS NOT THE PROPER GROUNDING TYPE, CONTACT AN ELECTRICIAN.
The HAB300 Bread Slicer can be plugged into a standard outlet (120 Volt, 60 Hertz, 1 Phase).
– 3 –
OPERATION
WARNING: SHARP BLADES. KEEP HANDS CLEAR OF ALL MOVING PARTS WITH SPECIAL
ATTENTION TO FOOD CUTTING DISCHARGE AREAS. DISCONNECT MACHINE FROM POWER
SUPPLY BEFORE CLEANING OR SERVICING.
IMPORTANT: Cool loaves to room temperature before slicing.
CONTROLS
STOP Switch (red) — PULL STOP SWITCH OUT to turn power to the machine's control circuit ON.
P
USH STOP SWITCH IN to turn power to the bread slicer OFF.
NOTE: The Bread Slicer remains idle if the Pusher Lever is vertical. When the
Pusher Lever is pulled forward, the machine starts.
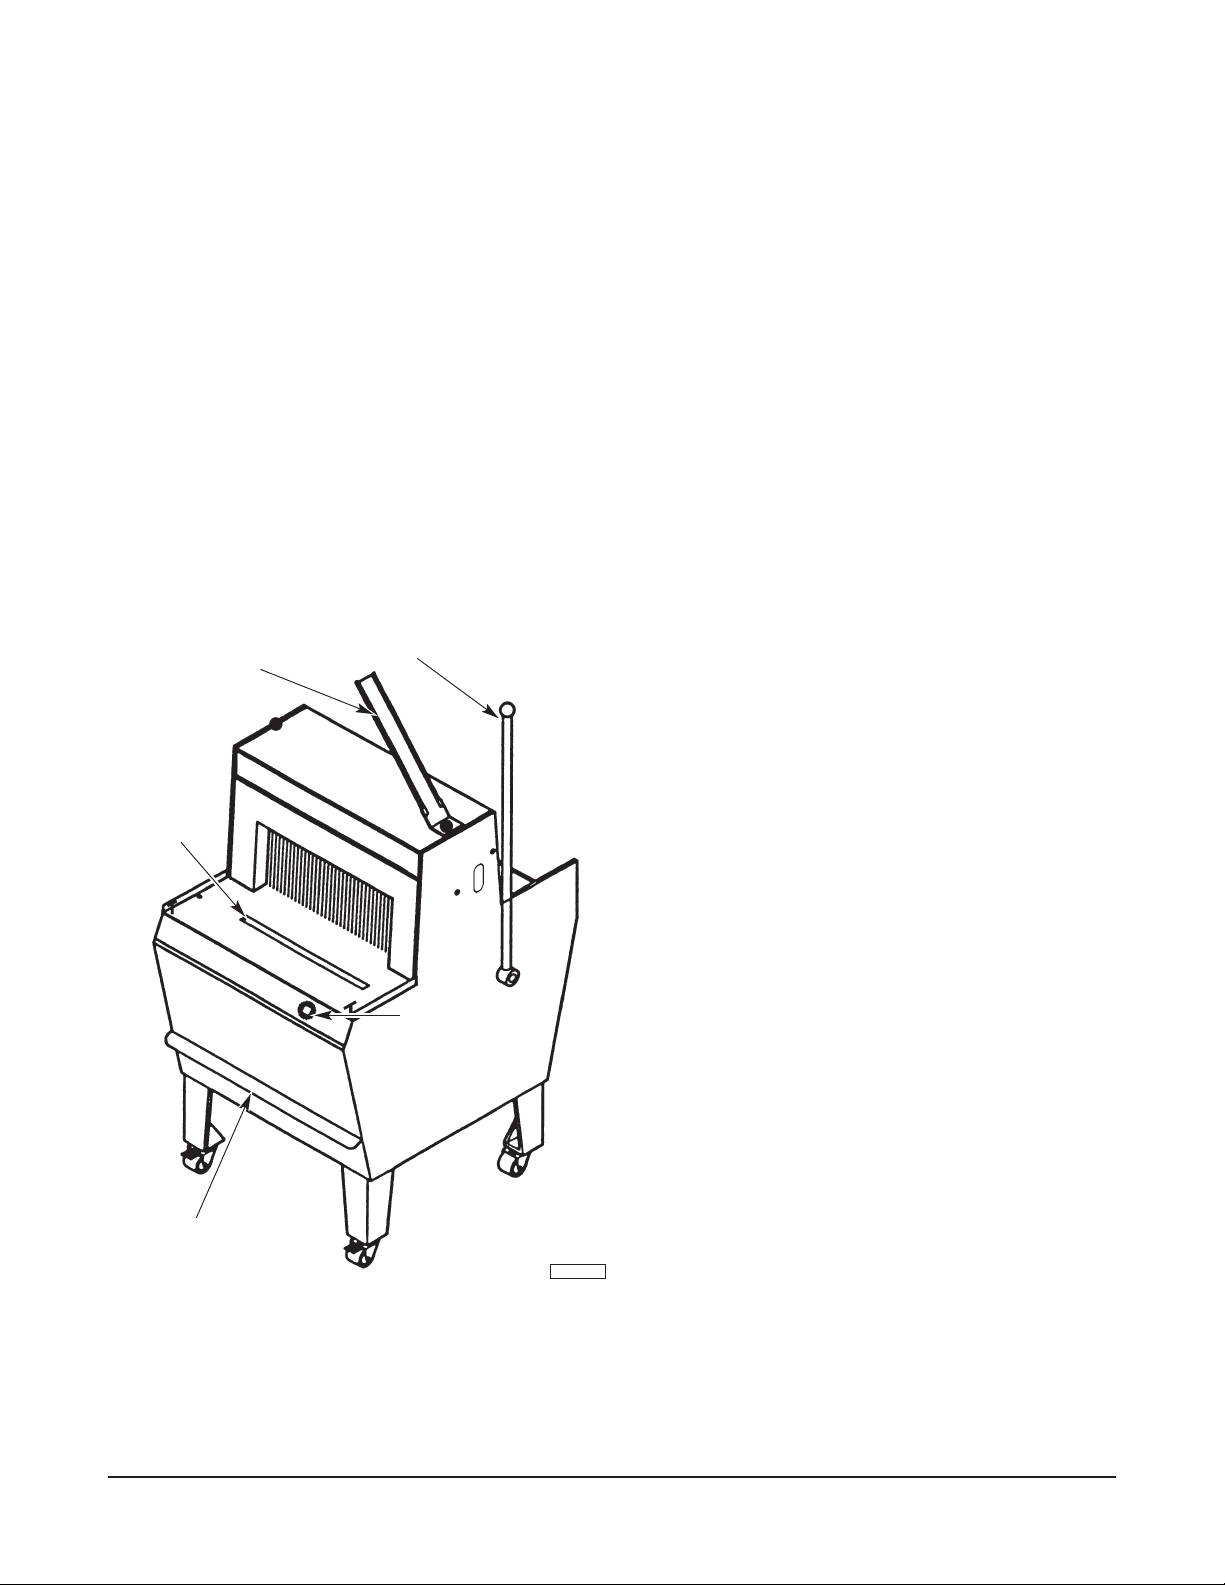
Pusher Lever — Pull the Pusher Lever forward (Fig. 1) to start machine operation (the STOP
Switch is pulled out and the crumb drawer is closed).
Do not release the Pusher Lever if hands or any object other than a loaf of
bread can come in contact with the slicing blades.
BAGGING SPADE
CRUMB SLOT
PUSHER LEVER
MAIN POWER SWITCH
• While the Pusher Lever is all-the-way
forward, place the loaf on the rear table.
The Pusher Lever's spring provides the force to
return the lever to the vertical position, and
pushes the bread through the moving blades:
• Restrain the lever to gently advance soft
bread through the moving blades.
• Release the lever to provide additional push
for firm bread as it moves through the blades.
The operator's hand on the Pusher Lever's return
stroke determines the force applied to the loaf as
it is sliced.
• Take the bread from the front table with both
hands when almost sliced.
• KEEP AWAY FROM MOVING BLADES.
• Place the loaf on the bagging spade to bag
it.
CRUMB DRAWER
PL-41223-1
Fig. 1
When the Pusher Lever returns to the vertical
position, the machine returns to
IDLE
with the
blades stopped.
The machine is ready to slice the next loaf.
NOTE: The Crumb Drawer must be fully closed or the machine will not operate. The slot in the front
table guides the crumbs to the Crumb Drawer. Empty the Crumb Drawer by pulling it out of the front
of the bread slicer.
– 4 –
 Loading...