

Page 1
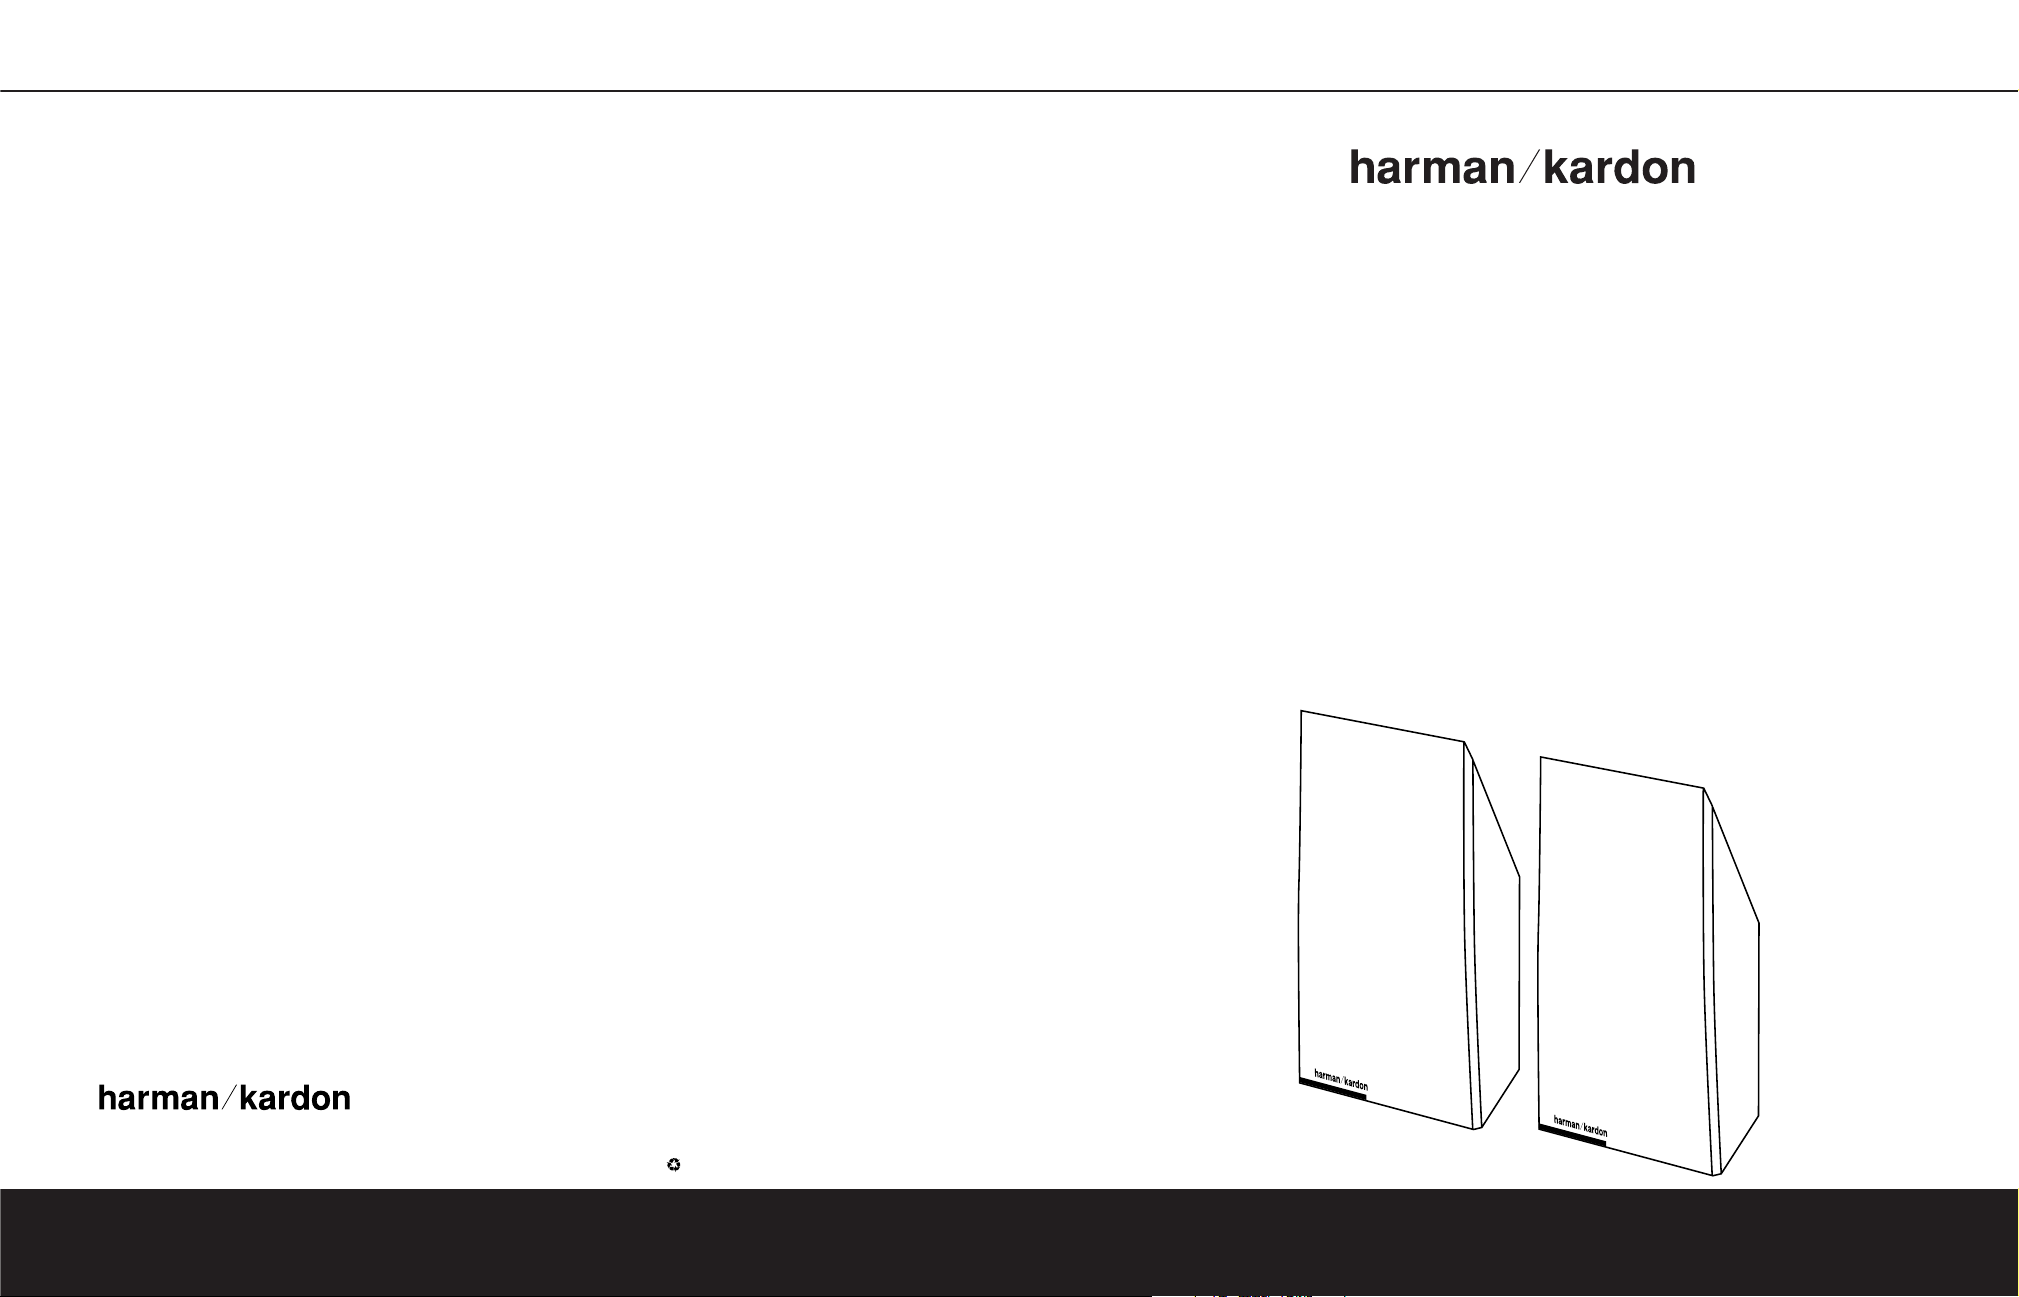
HKS 2 LOUDSPEAKERS
HKS 2
LOUDSPEAKERS
OWNER’S MANUAL
®
250 Crossways Park Drive,Woodbury, New York 11797
1.800.422.8027 (USA only) Fax: 516.682.3523
©2002 Harman Kardon, Incorporated
Part No.wi5176
®
Power for the Digital Revolution.
®
Page 2
SPEAKER PLACEMENT 3
SPEAKER PLACEMENT
2 INTRODUCTION
INTRODUCTION
2 Introduction
3 Speaker Placement
4 Mounting Options
5 Speaker Connections
5 Connection Guide
5 Configuring Your Receiver
or Processor
6 Troubleshooting
7 Specifications
Introduction
Thank you for purchasing the Harman Kardon
HKS 2 loudspeakers,with which you are
about to begin many years of listening enjoyment.The HKS 2 has been custom-designed
to provide high-fidelity audio reproduction of
your favorite music and movie selections.
To obtain maximum enjoyment from your new
speakers,we urge you to take a few minutes
to read through this manual.This will ensure
that connections to your receiver or amplifier
are made properly.In addition, a few minutes
spent understanding the setup options will
enable you to take advantage of all the power
and refinement the HKS 2 is able to deliver.
If you have any questions about this product,
its installation or operation, please contact
your dealer, the best local source of information.
Features
The HKS 2 is a pair of identical, 2-way,
bass-reflex satellite speakers for use in the
left and right front speaker positions in a
two-channel stereo system; or they may
be used in a home theater system as
left/right front, surround, or surround
back channels.
Harman Kardon invented the high-fidelity
receiver almost fifty years ago.The
HKS 2 is a perfect complement to a
Harman Kardon receiver or any home
theater system.
■ Matched Pair of Loudspeakers for
Use in Stereo, Multichannel or
Multiroom Applications
■ Speakers Are Magnetically Shielded
for Flexible Placement Near Video
Monitors
■ Four-Inch Driver in Bass-Reflex
Enclosure Features High-Output
1-Inch-Diameter Voice Coil
■ One-Inch Balanced-Dome Tweeter
■ High-Quality, 5-Way, Binding-Post
Speaker Terminals
■ Removable Cloth Grille
■ Elegant Cabinet Features Built-In,
2-Position Tilt for Aiming Output
Toward Listening Area
■ Includes Wall-Mount Brackets and
Speaker Cables
Included
Two satellites for left/right front, surround,
or surround back channels
Two 40' speaker cables for connection
from receiver or amplifier to speakers
Two wall-mount brackets and eight screws
Surround Speakers
Surround Back Speakers
(7.1-Channel System)
Side Surround Speakers
5
– 6 ft.
Surround Back Speakers
(6.1-Channel System)
(place at least 4 feet apart)
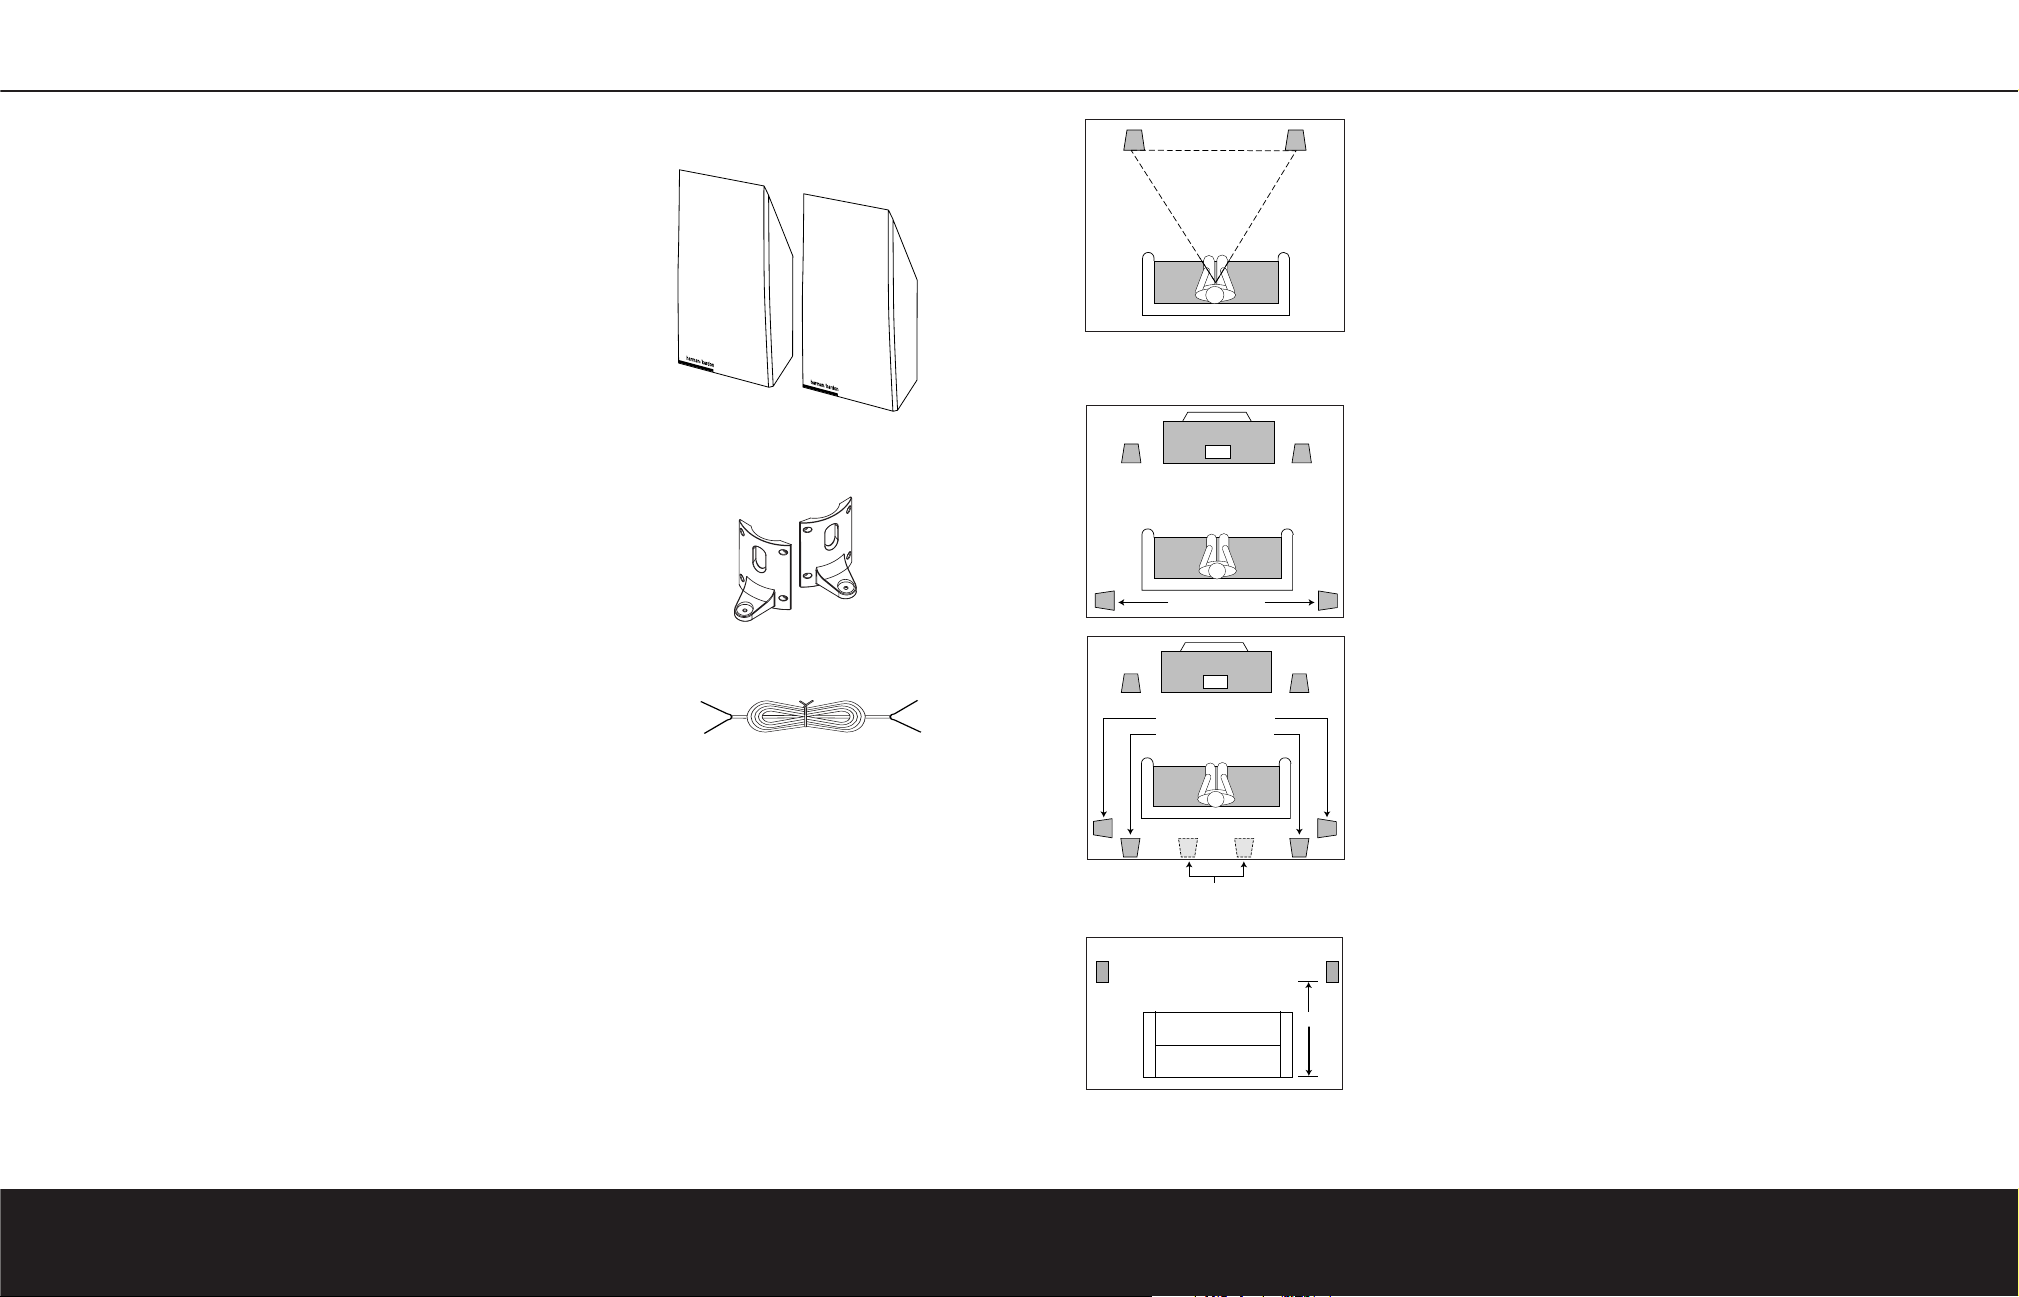
When Used as Front Speakers
Front speakers should be placed the same
distance from each other as they are from
the listening position.They should be placed
at about the same height from the floor as
the listeners’ ears,or they may be angled
toward the listeners.The contoured design of
the HKS 2 speaker enclosure allows the
speaker to be placed on a lower shelf and
tilted upward toward the listener simply by
positioning the speaker back onto its tilted
surface.
When Used as Surround Speakers
For 5.1-channel applications,the two
surround speakers should be placed slightly
behind the listening position and, ideally,
should face each other and be at a level
higher than the listeners’ ears.If that is not
possible,they may be placed on a wall
behind the listening position, facing forward.
In 7.1-channel systems,place the side
surround speakers slightly behind the listening
position, as shown in the diagram to the left.
The surround back speakers should be
placed on the rear wall, facing forward, the
same distance apart as the main front speakers.
In 6.1-channel systems,you may use a pair
of HKS 2 speakers for the surround back
speakers in place of a single rear center
speaker. Using two speakers will provide a
more diffuse surround effect, and will also
increase the total sound output for the
surround back channel without overworking
any individual speaker. Place the two speakers on the rear wall the same distance apart
as each speaker is from the listener, but at
least four feet apart.
The surround back speakers in a 6.1- or
7.1-channel system should be placed at the
same height as the surround speakers,about
5 to 6 feet above the floor.
The surround speakers should not call
attention to themselves.Experiment with their
placement until you hear a diffuse,ambient
sound accompanying the main-program
material heard in the front speakers.
Page 3

SPEAKER CONNECTIONS 5
Connection Guide
IMPORTANT NOTE:
Before making speaker
connections,be certain that your receiver or
audio power amplifier is turned off and,
preferably,unplugged from its AC power
source.
Separate and strip the ends of the speaker
wire as shown. Speakers and electronics
terminals have corresponding (+) and (–)
terminals.Most manufacturers of speakers
and electronics,including Har man Kardon,
use red to denote the (+) terminal and
black for the (–) terminal.
Many newer Harman Kardon receivers conform to the new CEA standard and therefore
use a color other than red for the (+) terminal to indicate some speaker positions: e.g.,
blue for surround left positive (+). However,
the black terminal will always be the negative
(–) connection. Please see the owner’s guide
for your AVR Series receiver for further details.
The (+) lead of the speaker wire is often
noted with a stripe or ridge.It is important to
connect
both speakers identically: (+) on the
speaker
to (+) on the amplifier and (–) on
the speaker to (–) on the amplifier. Wiring
“out of phase” results in thin sound, weak
bass and a poor stereo image.
With the advent of multichannel surround
sound systems,connecting all of the speakers
in your system with the correct polarity
remains equally important in order to preserve
the proper ambience and directionality
of the
program material.
To connect the supplied wires to the speaker
terminals,unscrew the binding-post collar
until the pass-through hole in the center
post is visible under the collar. Insert the
bare end of the wire through this hole; then
screw the collar down until the connection is
tight.The hole in the center of each collar is
intended for use with banana-type connectors.
Configuring Your Receiver or
Processor
Many receivers and processors feature programmable bass-management capability,
which allows the component to output the
lowest frequencies (the bass information)
exclusively to a separate subwoofer speaker,
or to a main speaker that is capable of handling low frequencies,or sometimes to both.
During the setup process you will be asked
to specify whether the speaker for a given
channel is “Large” or “Small.”The terms
“Large” and “Small” do not refer to physical
size,but to the size of the frequency range
the speaker is capable of handling.When
configuring your receiver or processor for
the channels where HKS 2 speakers are
being used, select “Small.”
SPEAKER CONNECTIONS
4 MOUNTING OPTIONS
The speakers may be placed on a shelf. They
may be tilted upwards simply by tilting them
back onto their sculpted surfaces.
They may be wall-mounted using the
supplied brackets.
MOUNTING OPTIONS
Insert the knob supplied in the hardware
packet into the bracket as shown.
Then place the speaker on the bracket
and secure it from below using the
supplied screw.
Wall-Mounting
Attach the bracket to the wall.We strongly
recommend that you position the speakers
so that the mounting screws used connect
directly to a wooden wall stud. If that is not
possible,use optional wall anchors that are
rated to support at least twenty-five pounds,
and install them following the manufacturer’s
instructions carefully.
You are responsible for proper selection and
use of mounting hardware,available through
hardware stores,to properly and safely wallmount the speakers.
Left Speaker Right Speaker
+
–
Front-, Surround- or Surround Back-Channel
Left Right
– + – +
Receiver/Amplifier Output
+
–
Page 4

SPECIFICATIONS 7
Recommended Power
10 – 110 watts
Impedance
8 ohms nominal
Sensitivity
86dB @ 1 watt/1 meter
Frequency Response
80Hz – 20kHz (–6dB)
Tweeter
One 1"dome,video-shielded
Midrange
One 4" driver, video-shielded
Dimensions (H x W x D)
10-1/8" x 5-1/4" x 5-3/8"
257mm x 133mm x 137mm
Weight
6.6 lb/3kg
SPECIFICATIONS
6TROUBLESHOOTING
TROUBLESHOOTING
SYMPTOM SOLUTION
If there is no sound from • Check that receiver/amplifier is on and a source is playing.
any of the speakers: • Check all wires and connections between receiver/amplifier and speakers.Make sure all
wires are connected. Make sure none of the speaker wires are frayed, cut or punctured.
• Review proper operation of your receiver/amplifier.
If there is no sound coming from • Check the “Balance”control on your receiver/amplifier.
one speaker: • Check all wires and connections between receiver/amplifier and speakers.Make sure all wires
are connected. Make sure none of the speaker wires are frayed, cut or punctured,and that
no wires are touching each other.
• In Dolby Digital or DTS mode,make sure that the receiver/processor is configured so that the
speaker in question is enabled.
• In Dolby Digital or DTS mode,check the speaker and channel output levels and adjust if needed.
• Turn off all electronics and switch the speaker in question with one of the other speakers that
is working correctly.Turn ever ything back on, and determine whether the problem is in the
same place: i.e., the speaker that was working previously now has no sound and the speaker
that was not working now sounds fine; or whether it has moved: i.e., the speaker that was
not working still has no sound and the speaker that was working is still fine.If the problem is in
the same place,the source of the problem is most likely with your receiver or amplifier,and you
should consult the owner’s manual
for that product for further information. If the
problem has
followed the speaker, consult your dealer for further assistance or, if that is not possible,
visit our Web site at www.harmankardon.com for further information.
If the system plays at low volumes but • Check all wires and connections between receiver/amplifier and speakers.Make sure all wires
shuts off as volume is increased: are connected. Make sure none of the speaker wires are frayed, cut or punctured.
• If more than one pair of main speakers is being used, check the minimum impedance
requirements of your receiver/amplifier.
If there is low (or no) bass output: • Make sure the polarities (+ and –) of the left and right speaker inputs are connected properly.
• Consider adding a powered subwoofer to your system.
If there is no sound from the • Check all wires and connections between receiver/amplifier and speakers.Make sure all wires
surround speakers: are connected. Make sure none of the speaker wires are frayed, cut or punctured.
• Review proper operation of your receiver/processor and its surround sound features.
• Make sure the movie or TVshow you are watching is recorded in a surround sound mode.
If it is not, check to see whether your receiver/processor has other surround modes you may use.
• In Dolby Digital or DTS mode,make sure your receiver/processor is configured so that the
surround speakers are enabled.
• Review the operation of your DVD player and the jacket of your DVD to make sure that the
DVD features the desired Dolby Digital or DTS mode,and that you have properly selected that
mode using both the DVD player’s menu and the DVD disc’s menu.
All features and specifications are subject to change without notice.
Harman Kardon and Power for the Digital Revolution are registered trademarks of Harman Kardon, Inc.
*Trademarks of Dolby Laboratories.
DTS is a registered trademark of Digital Theater Systems, Inc.
 Loading...