


EQ-3000
Professional equalizer
Professioneller Entzerrer Equalizador profesional Égaliseur professionnel
OPERATIONS MANUAL
BEDIENUNGSHANDBUCH
MANUAL DEL OPERADOR
MANUEL D’INSTRUCTIONS
Multi Language Instructions:
English........................................................................................................ |
Page 3 |
Deutsch....................................................................................................... |
Page 4 |
Español....................................................................................................... |
Page 5 |
Francais..................................................................................................... |
Page 6 |
(1)

1 |
2 |
3 |
7 |
5 |
8 |
7 |
5 |
4 |
6 |
4 |
6 |
(2)
9 |
9 |
12 |
8 |
11 |
10 |
10 |
10 |
COMPONENTS: AND CONTROLS
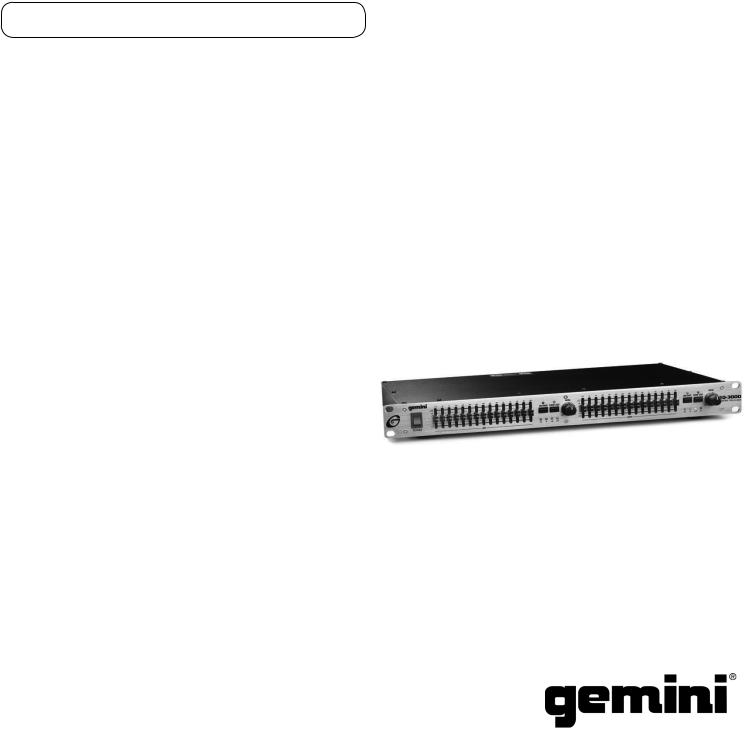
Introduction:
Congratulations on purchasing a Gemini model EQ-3000 equalizer. This state of the art equalizer includes the latest features and is backed by a
One year warranty. Prior to use, we suggest that you carefully read all the instructions.
Features:
•Balanced/Unbalanced Inputs & Outputs
•In/Out Pass Switch
•Low Cut Switch
•Level Display
Cautions:
1.All operating instructions should be read before using this equipment.
2.To reduce the risk of electrical shock, do not open the unit. There are
NO USER REPLACEABLE PARTS INSIDE. Please refer servicing to a qualified service technician.
In the U.S.A., if you have any problems with this unit, call 1 732 738 9003 for customer service. Do not return equipment to your dealer.
3.Do not expose this unit to direct sunlight or to a heat source such as a radiator or stove.
4.This unit should be cleaned only with a damp cloth. Avoid solvents or other cleaning detergents.
5.When moving this equipment, it should be placed in its original carton and packaging. This will reduce the risk of damage during transit.
6.DO NOT EXPOSE THIS UNIT TO RAIN OR MOISTURE.
7.DO NOT USE ANY SPRAY CLEANER OR LUBRICANT ON ANY CONTROLS OR SWITCHES.
Connection:
1.Make sure that the POWER (1) switch is in the off position (the POWER LED will be off). All connections must be made with all equipment OFF.
2.Before plugging in the power cord, make sure the VOLTAGE SELECTOR (8) switch is set to the correct voltage. Plug the unit into a proper power source.
3.Connect the input signal to your EQ-3000 by using either the RCA or
1/4” INPUT JACKS (9).
4.Connect the cables for the output signal of the EQ-3000 to either the
RCA, XLR or 1/4” OUTPUT JACKS (10).
Note: Use the 1/4” or XLR jacks for balanced signals and the RCA jacks for unbalanced signals.
5.If you desire to record your mix, connect the REC OUTPUT (11) jacks to the input of your recorder.
Using the Ground Lift Switch:
Depending on your system configuration, sometimes applying the ground will create a quieter signal path. Sometimes lifting the ground can eliminate ground loops and hum to create a quieter signal path.
1.With the equalizer on, listen to the system in idle mode (no signal present) with the ground applied (the ground lift switch (12) in the left position).
2.Then turn the power off before moving the ground lift switch (12). Lift the ground by moving the ground lift switch to the right, turn the power back on and listen to determine which position will provide a signal free of background noise and hum. Keep the
ground lift switch in the ground position if the noise level remains the same in either position.
CAUTION: Do not terminate the AC ground on the Equalizer in any way. Termination of the AC ground can be hazardous.
Operation:
1.POWER ON: Once you have made all the equipment connections to your equalizer, press the POWER SWITCH (1). The power will turn
on and the POWER LED (2) will glow RED.
2.IN/OUT PASSING SWITCH: When the IN/OUT PASS SWITCH (3) is in the “IN” position, the EQ-3000 will activate. If the switch is in the “OUT” position, the signal will pass through the EQ-3000 without being equalized.
3.GRAPHIC EQUALIZER: The equalizer SLIDE controls (4) are
provided to improve the frequency response of your system and to compensate for room and environmental conditions. There are fifteen bands per channel, each allowing +/- 12 dB adjustments. The bands range from 31.5 Hz to 16 kHz.
4.LEVEL CONTROL: Use the level controls (5) to obtain a proper output signal. Each LEVEL CONTROL (5) has a bank of four LEVEL DISPLAY LEDs (6). These indicate the output level in four steps from -
10 dB to +17 dB. If the +17 dB LED indicator is on, there is too much output power and distortion will result. Lower the LEVEL CONTROL (5) until this LED goes off.
5.LOW CUT SWITCH: The LOW CUT SWITCHES (7) are designed to attenuate the muddy and unwanted low frequency sound created by your source equipment (especially turntable rumble).
Specifications:
Channels........................................................................................ |
2 Channels |
15 Bands/Channel: |
31.5, 40, 63, 100, 160, 250, 400, 500, 630, 800, 1k, |
2k, 4k, 8k, 16 kHz |
|
Input Impedance................................................................................ |
1.2 kOhm |
Output Impedance.............................................................................. |
20 kOhm |
Max Output Level................................................................................. |
11 volts |
Level Control..................................................................................... |
+/- 12 dB |
S/N Ratio................................................................................................. |
90 dB |
Distortion............................................................................................... |
0.03 % |
Power......................................................................................... |
120/230 volts |
Power Consumption.......................................................................... |
15 watts |
Dimensions............................ |
19” W x 1.75” H x 9.75” D (483 x 45 x 248 mm) |
Weight........................................................................................ |
8 lbs. (3.6 kg) |
(3)
 Loading...