

Garmin Apollo SL 70 Operation Manual
®
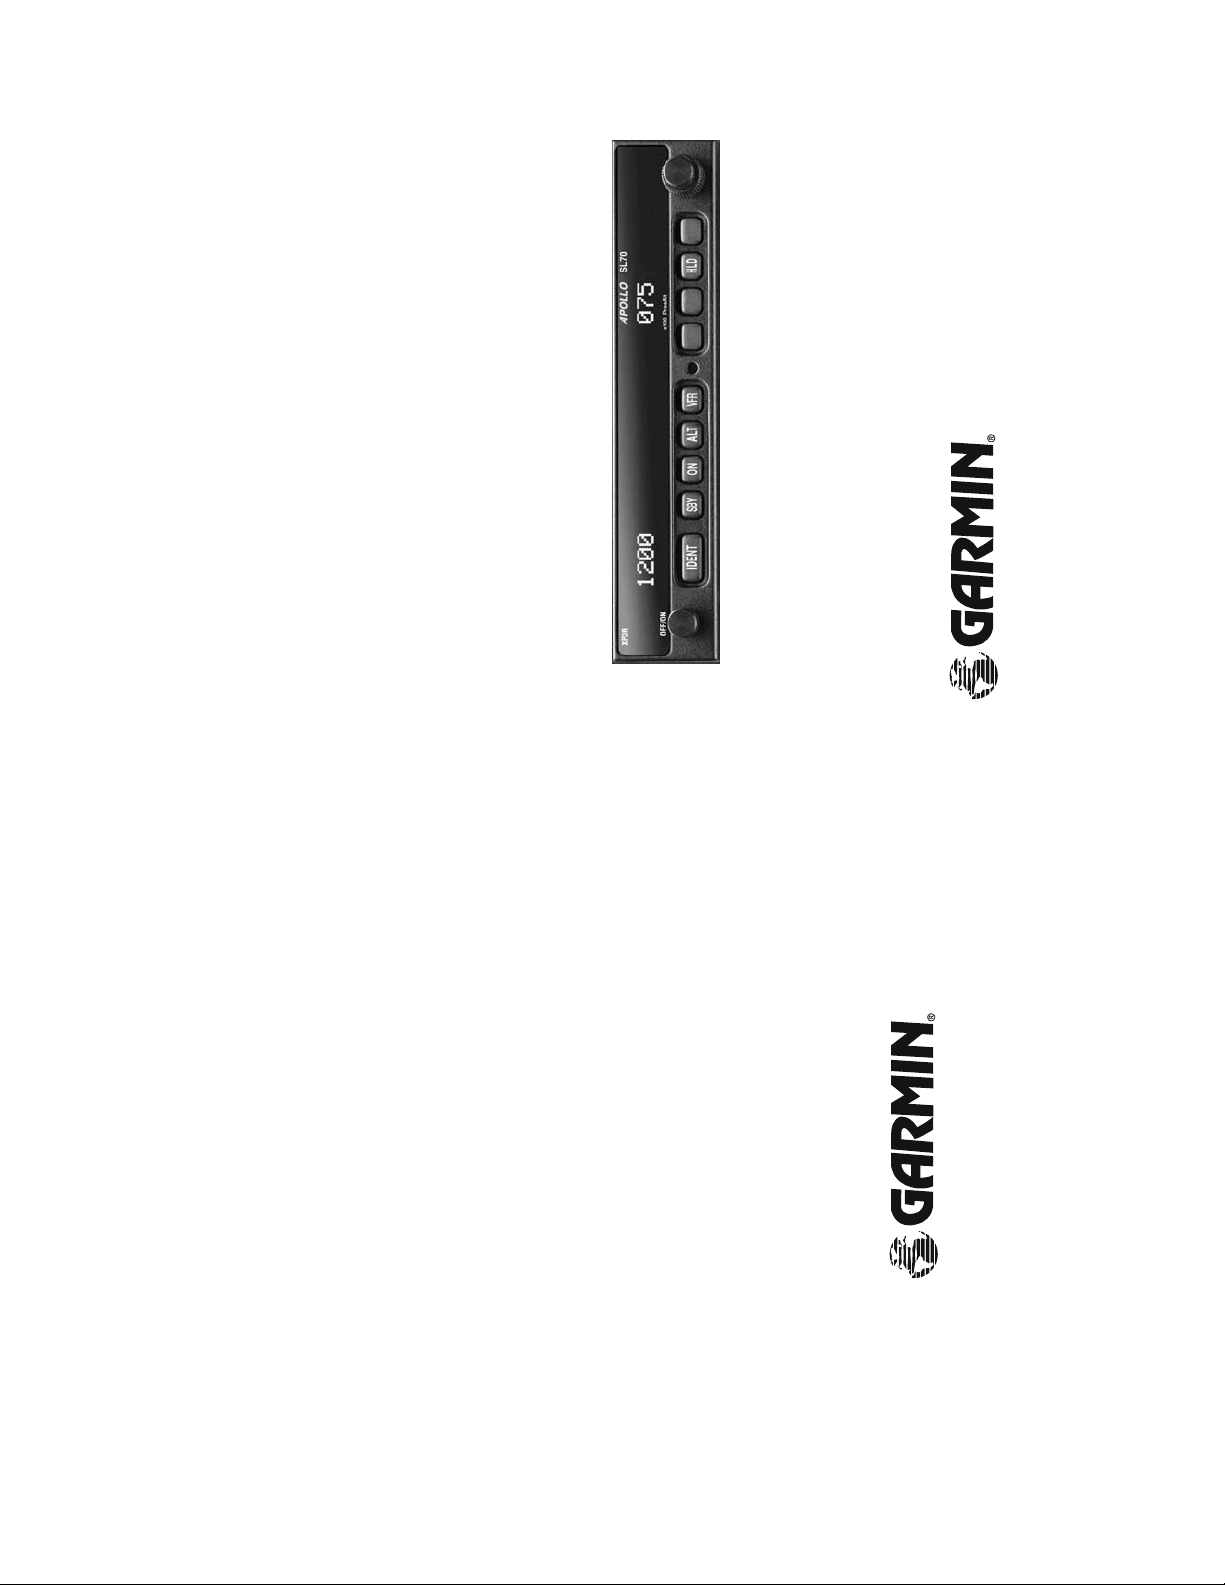
Apollo
Mode C Transponder
Model SL70
Operation Manual
August 2003 560-0401-00a
Using Altitude Hold
Altitude Hold helps you maintain a constant altitude. The current pressure
altitude is stored as a reference and is the displayed value unless Altitude Hold is
activated. The hold altitude is displayed in 100-foot increments. The displayed
altitude is the same as is sent for Mode C interrogation replies. When the HLD
button is pressed, the altitude display will be set to “+000.” The altitude display
values will increase/decrease as the aircraft changes altitude. The altitude display
will flash when the aircraft change in altitude exceeds the selected threshold.
Garmin AT, Inc.
U.S.A. Toll Free 800.525.6726
2345 Turner Road, S.E. Salem, OR 97302
MALL knob to change the buffer value, such as ±02. Press HLD
© 2003 by Garmin AT, Inc. All rights reserved. Printed in the U.S.A.
LED above the HLD button will light to indicate Altitude Hold is active.
100-foot increments. A displayed value of +001 means you are 100 ft above
the hold altitude.
Setting the Hold Altitude
1. Press the HLD button to set the current altitude as the hold altitude. The
2. The Altitude display now shows a value that is relative to the hold altitude in
seconds, or longer. Select a value between 200 and 2500 feet. The factory
Setting the Altitude Hold Buffer
1. Set the Altitude Hold Buffer value by pressing the HLD button for two
again to save the value.
default value is 300 feet. The value is retained when the SL70 is turned off.
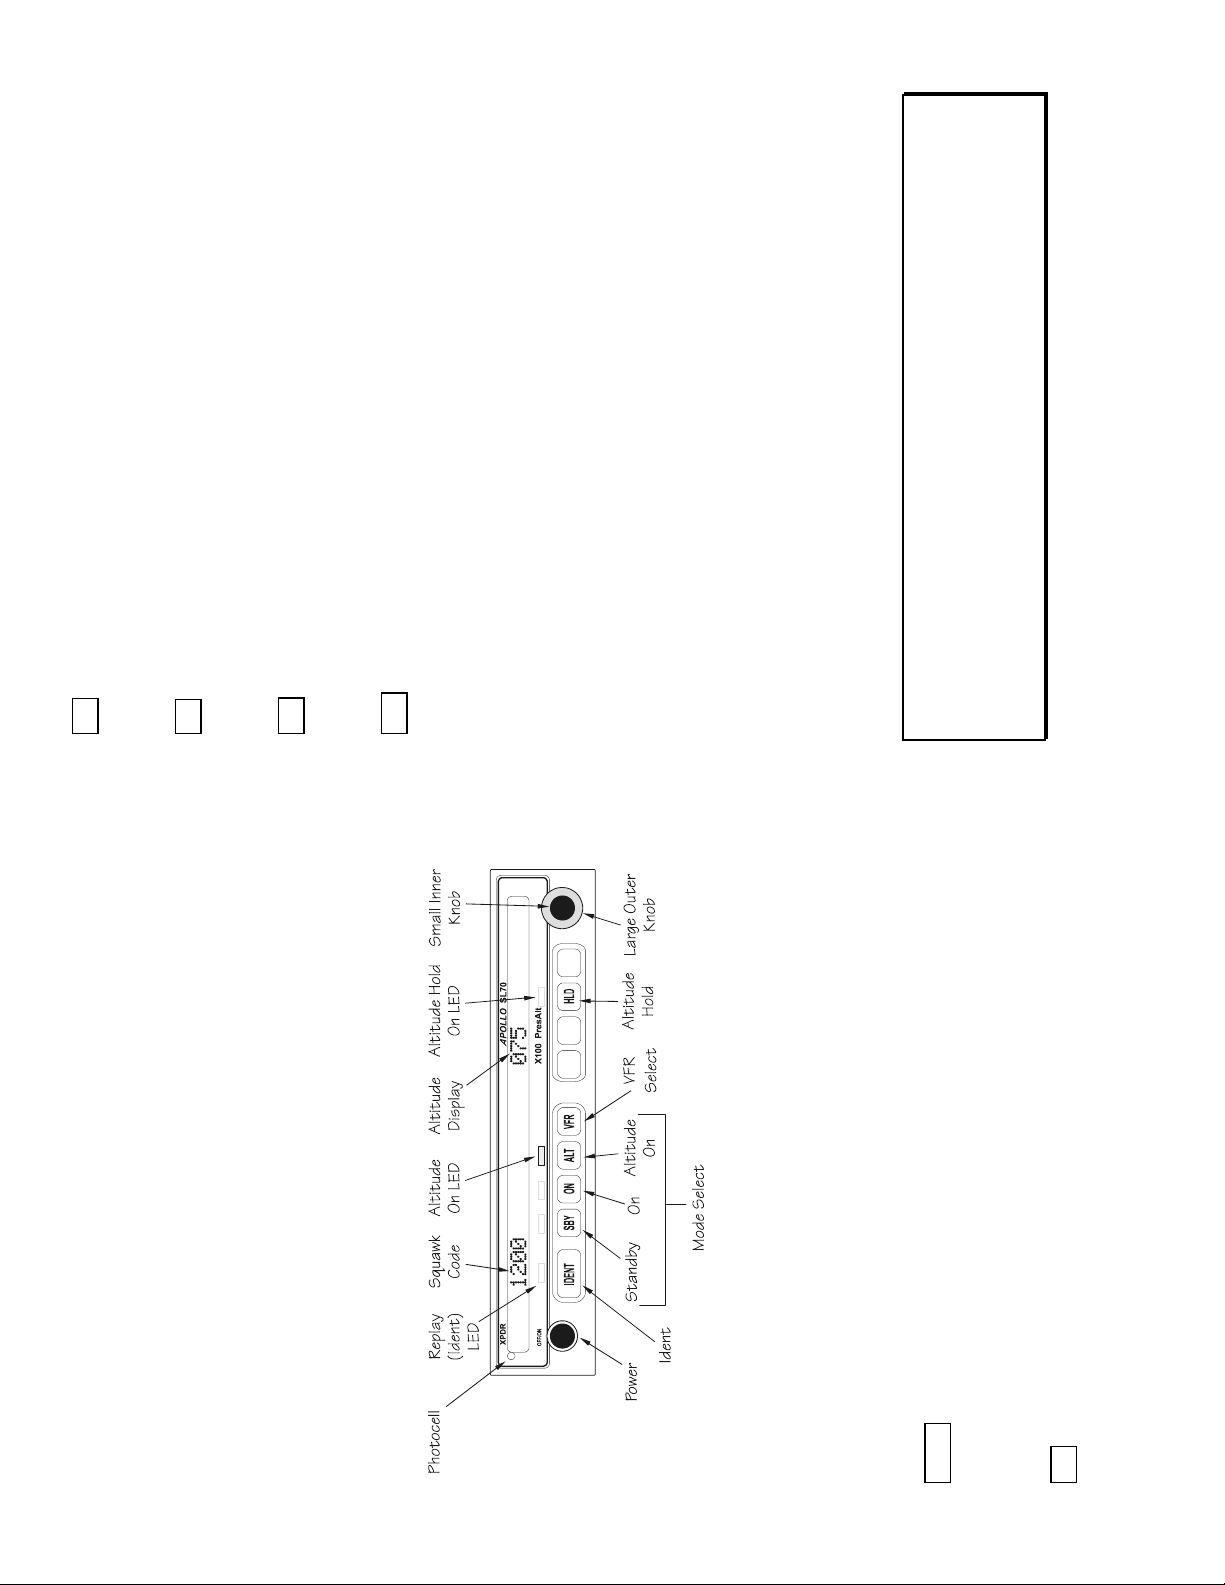
Displays
2. Turn the S
Squawk Codes
The four-digit squawk code is shown on the left side of the display.
Altitude
The Altitude display is used to show the pressure altitude, Hold Altitude, and
Hold Altitude buffer with 100 ft resolution.
International 503.391.3411
FAX 503.364.2138
Canada Toll Free 800.654.3415
Visit our web page at http://www.garminat.com
LARGE knob clockwise one more
7500 - Hijacking
Special Squawk Codes
1200 – Default VFR code in the USA.
7700 – Emergency
7600 – Loss of communications
ON
Press for Mode A operation. The SL70 is “on” and will transmit its squawk code
when interrogated.
LARGE knob clockwise one position. The first character of the
squawk code will flash.
ALT
Press for Mode C operation. The SL70 is “on” and will transmit its squawk code
VFR
and altitude when interrogated.
Press VFR once to set the VFR squawk code. Press VFR a second time to toggle
HLD
between the VFR squawk code and the previously entered code.
Press to enable/disable altitude hold. The LED above the HLD button is lighted
when altitude hold is enabled.
Selecting a Squawk Code
The selected squawk code will always be in use. As you change a squawk code,
the original code will be sent until you are finished selecting the new code. When
changing a code, the display will stop flashing and selection is stopped if the
controls are not used for three seconds or more. Pressing any pushbutton will also
end code selection. The squawk code is automatically reset to the VFR code when
the SL70 is turned back on.
1. Rotate the
LARGE knob to move the cursor to the next desired digit. Turn the
SMALL knob to the desired number for the first digit.
SMALL knob to select the desired number.
3. Rotate the
2. Rotate the
position. The display will stop flashing and the new code will be sent.
4. Repeat step 3 for each of the desired digits.
5. After the last digit is selected, rotate the
See the Airman’s Information Manual for more information about squawk codes.
Apollo SL70
The Apollo SL70 Mode C Transponder complements the Apollo SL series of
slimline avionics. The SL70 provides Mode A/C functionality certified to TSO-
C74c Class 2A meeting VFR and IFR requirements, operates on 10-35 VDC,
includes squawk code display and selection, standby, altitude, and ident
operation. All of these features are contained in the space-saving 1.3”H x 6.25”W
form factor, with bright easy-to-read LED characters, and user-friendly operation.
A photocell on the front of the SL70 adjusts the LED intensity for ambient light
conditions. The SL70 will automatically test its receive function if no
interrogations have been received in the last 30 seconds.
Knobs
A single knob on the left side controls power on/off. Rotate the knob clockwise to
turn transponder power on. Rotate the knob counterclockwise to turn power off.
Dual concentric knobs on the right side are used to select squawk codes and
change altitude values. Turning the large, outer knob moves the cursor to allow
editing of the selected character. Turning the small, inner knob changes values.
Pushbuttons
Press the pushbutton once to activate the selected operation. An LED above each
IDENT
pushbutton will light when that button is pressed.
Press the IDENT button once to reply with an identifying squawk code, Ident
mode. In Ident mode, the Reply LED will be lighted for 20 seconds. The Reply
SBY
(Ident) LED will also flash when the SL70 generates transponder replies.
Press SBY to place the transponder in “Standby” mode. The SL70 is “on,” but no
information will be transmitted.
 Loading...