

Franke FTC622XSAU User Manual
You’re about to begin a very happy and delicious
relationship. Let’s get started.
This is no ordinary rangehood.
Welcome to your new
Franke rangehood
FTC622XSAU - 60CM SLIDE OUT RANGEHOOD

2
AN IMPORTANT NOTE
Please read this document and the safety information carefully before you first use
your rangehood.
SUPPORT
Speak to our customer service representatives.
Australia: 03 9700 9100 | info@prks.com.au
New Zealand: 09 964 0400 | info@prks.co.nz
WARRANTY
Your Franke product is protected by a 2-year warranty. Should you ever need to make a
warranty enquiry, simply contact our service department.
Australia: 03 9700 9100 | service@prks.com.au
New Zealand: 09 964 0400 | service@prks.co.nz
GET SOCIAL
Keep up to date on all things Franke by following us on Facebook and Instagram.
@FrankeAUS
#makeitwonderful
“Let’s let everyone else be ordinary,
while we make it wonderful”

Contents 3
Chapter 1: Ready, set up, go
5 Rangehood functions
6 First time use
6 Warnings and safety
7 Recommendation and suggestions
8 Use
8 Maintenance
9 Characteristics
10 Installation
12 Surrounding area info
12 Intended function
12 Environmental information
12 Disposal
Chapter 2: Life with your Franke Rangehood
14 Operating your rangehood
14 Maintenance information
14 Cooking information
14 Changing the filters
Chapter 3: Last, but not least
16 Warnings, hazards, risks and legal
Looking for something?
17 Glossary
CONTENTS

Chapter 1 Ready, set up, go
4
READY, SET UP, GO
CHAPTER 1
Your Franke rangehood is designed to be set up
quickly and easily - so you can start creating delicious
masterpieces even sooner.
5Chapter 1 Ready, setup, go
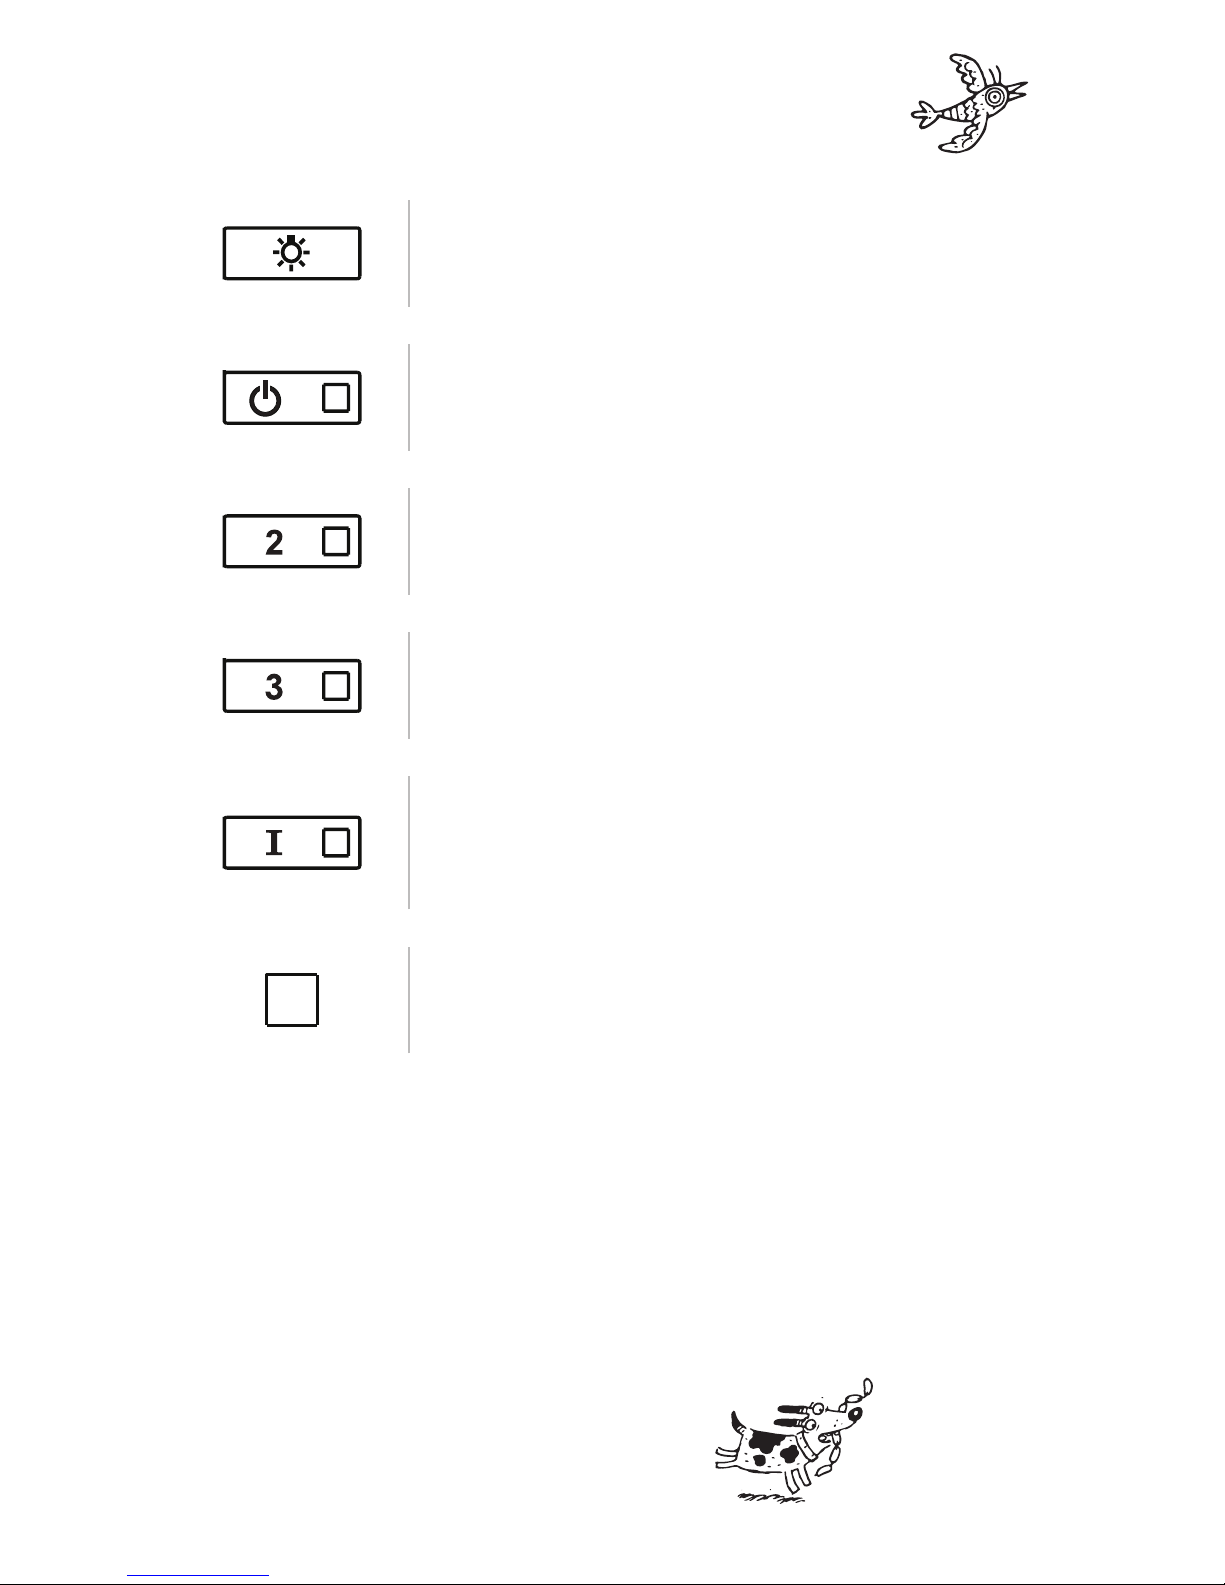
Lamp Toggle On/Off
Used to switch the lights on the rangehood on or off.
Motor On/Off
Used to turn the motor on or off. The default “on” setting is motor
speed 1. Pressing this buttong again will turn the rangehood off.
Motor Speed 2
Used to select motor speed 2. Press and hold for 3 seconds to reset
the charcoal filter change alarm.
Motor Speed 3
Used to select motor speed 3. Press and hold for 3 seconds to reset
the grease filter clean alarm.
Intensive Motor Speed
Used to select the strongest, most intense motor speed for superior
extraction. This speed will only run for 6 minutes, and after 6 minutes it
will return to the last set motor speed. Press and hold for 3 seconds to
enable the remote control. The LED indicator will flash twice to confirm.
LED Indicator
This LED will confirm a selection of the remote, or: if it flashes the
charcoal filter needs replacing, or: if it is on continually, the grease
filter needs cleaning.
RANGEHOOD FUNCTIONS

Chapter 1 Ready, set up, go
6
FIRST TIME USE
When the rangehood is first switched on, it may give off an unpleasant smell. This is due to the
bonding agent used for the insulation panels within the rangehood.
Run the rangehood on the highest setting for 15 minutes before using the rangehood with the
cooktop on.
WARNINGS & SAFETY
• The appliance will become hot during use and directly after use.
• This appliance is not intended for use by persons (including children) with reduced physical,
sensory or mental capabilities, or lack of experience and knowledge, unless they have been given
supervision or instruction concerning use of the appliance by a person responsible for their safety.
• Children should be supervised to ensure that they do not play with the appliance.
• If any parts become damaged, they must be replaced by the manufacturer only, including the
power supply cord.
• Do not use abrasive cleaners or sharp metal scrapers during cleaning.
 Loading...