


AC100

CONTENTS
1 • GETTING STARTED
Introduction to FingerTec® AC100 Fingerprint Rea 4-8
• Complete Package - FingerTec® AC100 Model
• Materials Provided with FingerTec® AC100 Model
• Basic Features of FingerTec® AC100 Model
2 • USING THE FINGERTEC
Using the Fingerprint Rea 9-18
Tips for Best Fingerprint Enrollment
Initial Set Up of the FingerTec® Fingerprint Reader
• Date/Time Adjustment
• Enrollment
• Enrollment of Supervisor/Administrator
• Enrollment of Normal User
• Fingerprint Verification
1 to Many (1:N) Fingerprint Matching
1 to 1 (1:1) Fingerprint Matching
• Password Enrollment
• Password Verification
• Deleting Users
®
FINGERPRINT READER
3 • THE OTHER FUNCTIONS
System Option 19-21
Power Management
Communication Option
Log Option
Auto Test
System Info

4 •ADDITIONAL FUNCTIONS
Advanced Options 22-28
• Two Sensors
• Upd Firmware
• Work Code
• Button Beep
• Adj VOL(%)
Comm Options
• NetMask
Pendrive MNG
• Download Attendance Log
• Download User
• Upload User
5 •INSTALLATION & COMMUNICATIONS
Connections Available 29-34
Startup and Shutdown
Communication Connection
• TCP/IP Connection
• RS232 Connection
• RS485 Single Connection
• RS485 Network Connection
(For FingerTec® AC100 Plus only)
(For FingerTec® Installer)
APPENDIX
TROUBLESHOOTING 35-36

1 • GETTING STARTED
INTRODUCTION TO FINGERTEC
The FingerTec® AC100 models function to record time and attendance of employee. For FingerTec® AC100 models, there are two series available. AC100 is the standard unit and AC100
Plus is the high-end unit with URU 4000 sensor. The difference of the two series of model AC100
are tabled in page 5. FingerTec® AC100 models provide simpler and better solution for time
attendance management.
®
AC100 FINGERPRINT READER
4

Specifications Model
Series AC100 AC100 Plus
Surface finishing ABS
Functions Time Attendance System
FP template capacity 1500 (AC102) , 2800 (AC103) 1500
Transaction log 100000 (AC102),120000 (AC103) 30000
Connections TCP/IP, RS232, RS485 TCP/IP, RS232, RS485,
USB Flash Disk
Subnet mask & Gate way Available
Card reader Not available
Card capacity Not available
Sensor Optical sensor with silicon coating URU 4000B Module with
silicon coating
Work code function Not available Available
Software available TCMS V2
Language available : English, Arabic, Chinese Simplified, Chinese Tradi-
tional, French, German, Indonesian, Malay, Russian, Farsi, Portuguese,
Spanish, Thai and Vietnamese.
5
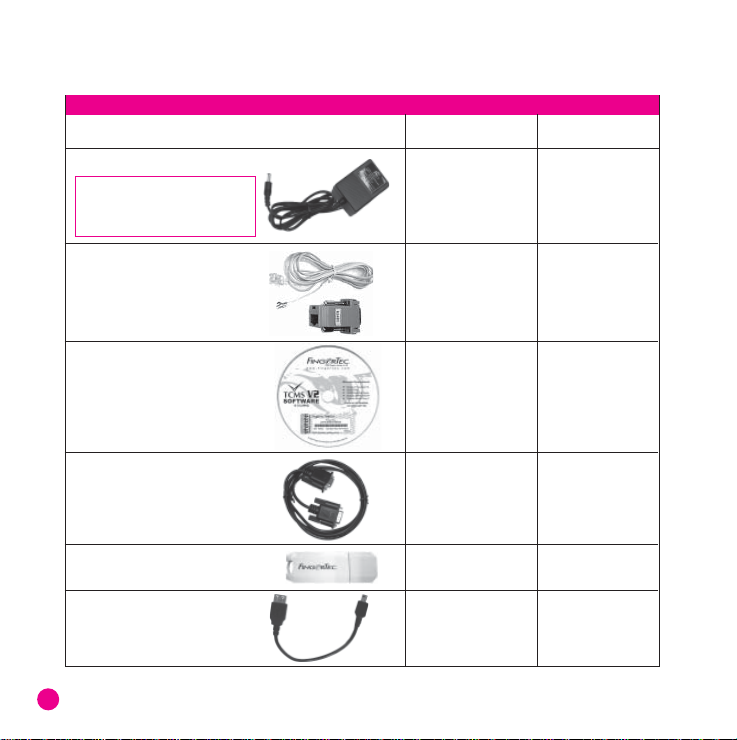
Complete Package - FingerTec
ITEM AC100 AC100 Plus
Fingerprint reader √ √
5V Power Adapter √ √
Note:
Make sure the output is 5V
2A or please use the power
adapter provided.
RS485
Cable Extender √ √
Software CD √ √
RS232 Cable √ √
USB Pen Drive X √
USB Extention X √
®
AC100 Model
6
Materials provided with FingerTec® AC100 Model
AC100 AC100 Plus
Quick Start Guide √ √
Hardware User Manual √ √
Software User Manual √ √
Video Guide for Hardware √ √
Video Guide for TCMS V2 √ √
Sample of enrollment form √ √
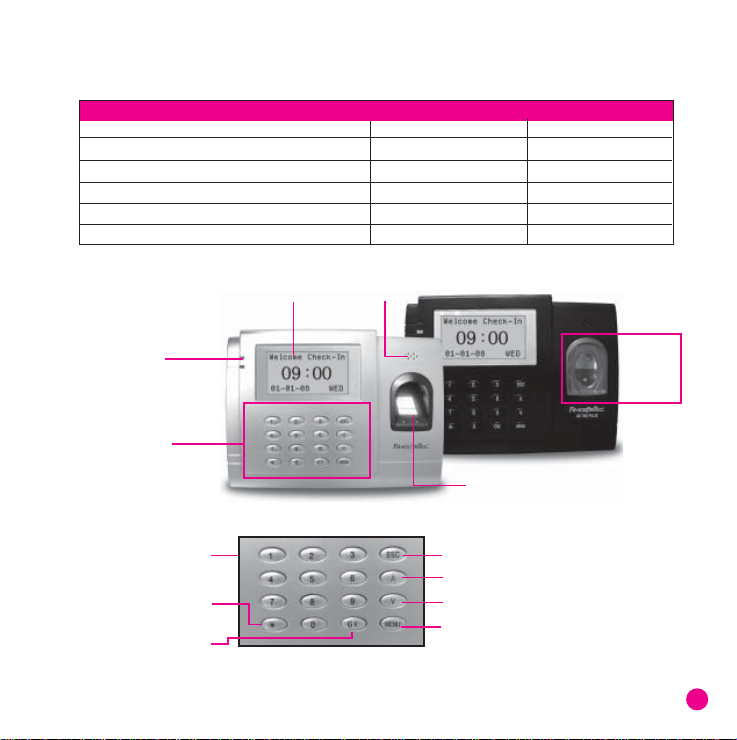
Basic Features of FingerTec® AC100 Model
1 LCD Display • 4 Speaker •
2 L.E.D Display •
3 Keypads •
• 5 Fingerprint Sensor
AC100 AC100 Plus
Number Pad (0-9) • • Escape/Cancel
• Scroll Up/Check-In
Power On/Off • • Scroll Down/Check-Out
• Menu Function
OK •
Fingerprint
URU
4000 B
Sensor
7
1 LCD Screen
Screen that displays instructions and status of the reader.
2 L.E.D Display
The two lights, red or green to indicate success or failure of fingerprint identification/
verification
3 Keypads
Keys from 0-9, a Power on and off button, an OK button, an Escape/Cancel button, a Scroll
up/Check-In button, a Scroll Down/Check-Out button, a doorbell button and a menu button.
4 Speaker
Indicating success or failure of fingerprint identification by voice greetings.
5 Fingerprint Sensor
For user to place fingerprint for identification/verification. AC100 is using optical sensor
and AC100 Plus is using URU 4000 sensor.
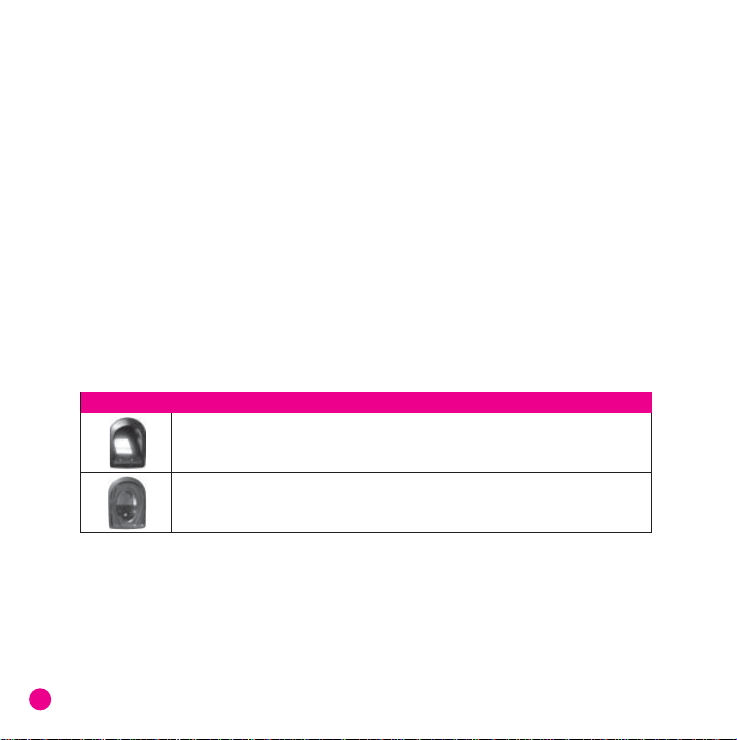
Types of scanner
Optical scanner
Standard scanner to capture fingerprint image
URU 4000 scanner
Enhanced scanner with 512dpi to capture better fingerprint image
8
2 • USING THE FINGERTEC
®
FINGERPRINT READER
FingerTec® fingerprint reader provides 3 types of enrollment method:
• Fingerprint Enrollment
User enrolls his fingerprint template into a reader and the template will be used for future
verifications.
• Password Enrollment
For user who has difficulty to enroll his fingerprint due to poor fingerprint quality, he is recommended to enroll password. Password enrollment is also suitable for visitors and temporary
workers.
• Fingerprint and Password Enrollment
Under this option, a user can enroll both fingerprint and password at the same time. The user
can either use fingerprint or password to report attendance or to gain access.
USING THE FINGERPRINT READER
This chapter will guide on how to use the
FingerTec® fingerprint reader effectively.
To get a good reading every time, a fingerprint enrollment for the first time must be
done properly.
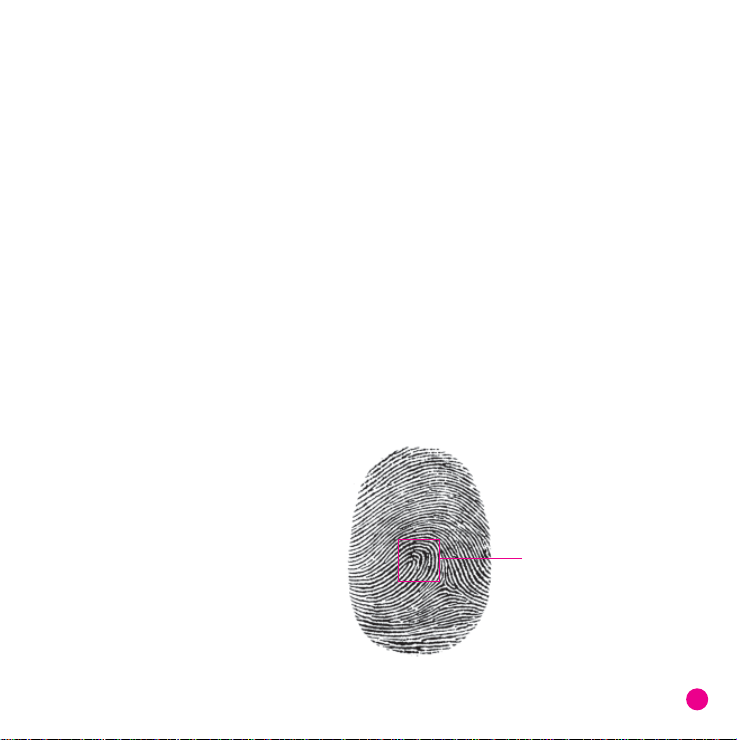
• Center points
9
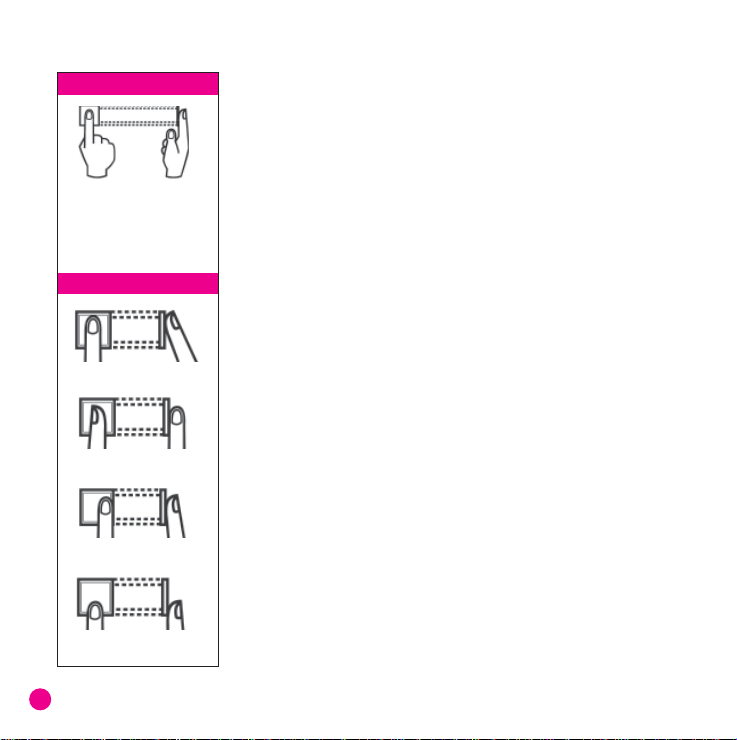
What you should do
Place finger flat on the fingerprint sensor. Make sure the
finger’s midpoint is placed at
the center of the fingerprint
sensor.
What you should NOT do
UPRIGHT
ASKEW
OFF CENTER
PART
TIPS FOR BEST FINGERPRINT ENROLLMENT
There are 5 tips to get good fingerprint enrollment:
• Use INDEX finger
Index finger is smaller than thumb and it can be comfortably
placed on the sensor. The use of thumb is not recommended
because the center points might not be placed properly on the
sensor, hence cannot be read by the sensor due to its larger
size.
• Make sure the finger is not wet, too dry, injured or dirty
The finger needs to be slightly moist to enable the sensor to
read the minutiae points on the fingerprint.
• Place the center points of your finger at the center of the
sensor
The center points of a finger is an area where there is a swirl
and the center points must be properly placed on the sensor
during enrollment.
• Don’t press hard at the sensor, just place your finger on the
sensor
The sensor is reading minutiae points of your finger and placing
a finger properly on the sensor will prompt the sensor to read
those points. Pressing your finger hard on the sensor is not
necessary.
• Don’t do enrollment under bright light or direct sunlight
It is important to note that bright light or sunlight could interfere with the reading of the sensor. Avoid placing the reader
under direct sunlight or bright light to avoid difficulty in enrollment and future verification.
10

INITIAL SET UP OF THE FINGERTEC® FINGERPRINT READER
Date/Time Adjustment
When first installing the FingerTec® fingerprint reader, it is important to set the
correct date and time.
Follow the steps below to access the
Date/Time adjustment menu:
When you see this
Welcome Check-In
08:24
07-01-08 Mon
User Manage
4 Options
Sys Info
4 System Opt
Power Mng
Comm Opt
4 Date Time
Language ENG
Fmt DD-MM-YY
YY-MM-DD 24H
2008-1-17
08:24:25
ESC OK
Do this
|
Press once
MENU
Press once
6
OK
Press once
Press once
OK
Press once
OK
Use the keypad to key in the
year, month and date. Scroll
down more to change the
day, hour, minute and sec-
onds
OK
Press once
11

Enrollment
To assist in fingerprint enrollment, we have designed a form for the administrator to use to keep
track of the enrollment detail or you can design your own form to suit to your company’s requirements.
User Enrollment Template Form for FingerTec® Reader Reader ID:____________________
No. of Fingers Date
No. User ID Employee No. Name Department IC No. Note Signature
Enrolled Registered
Enrollment of Supervisor/Administrator
Once the FingerTec® fingerprint reader is switched on, a display on the screen will appear. First,
to enroll a supervisor or an administrator, who is the in-charge person to administer the fingerprint templates and the transaction data in the FingerTec® reader. Choose trustworthy people
for this particular role.
12
 Loading...