

Dymo LabelManager®, Wireless PnP User Manual
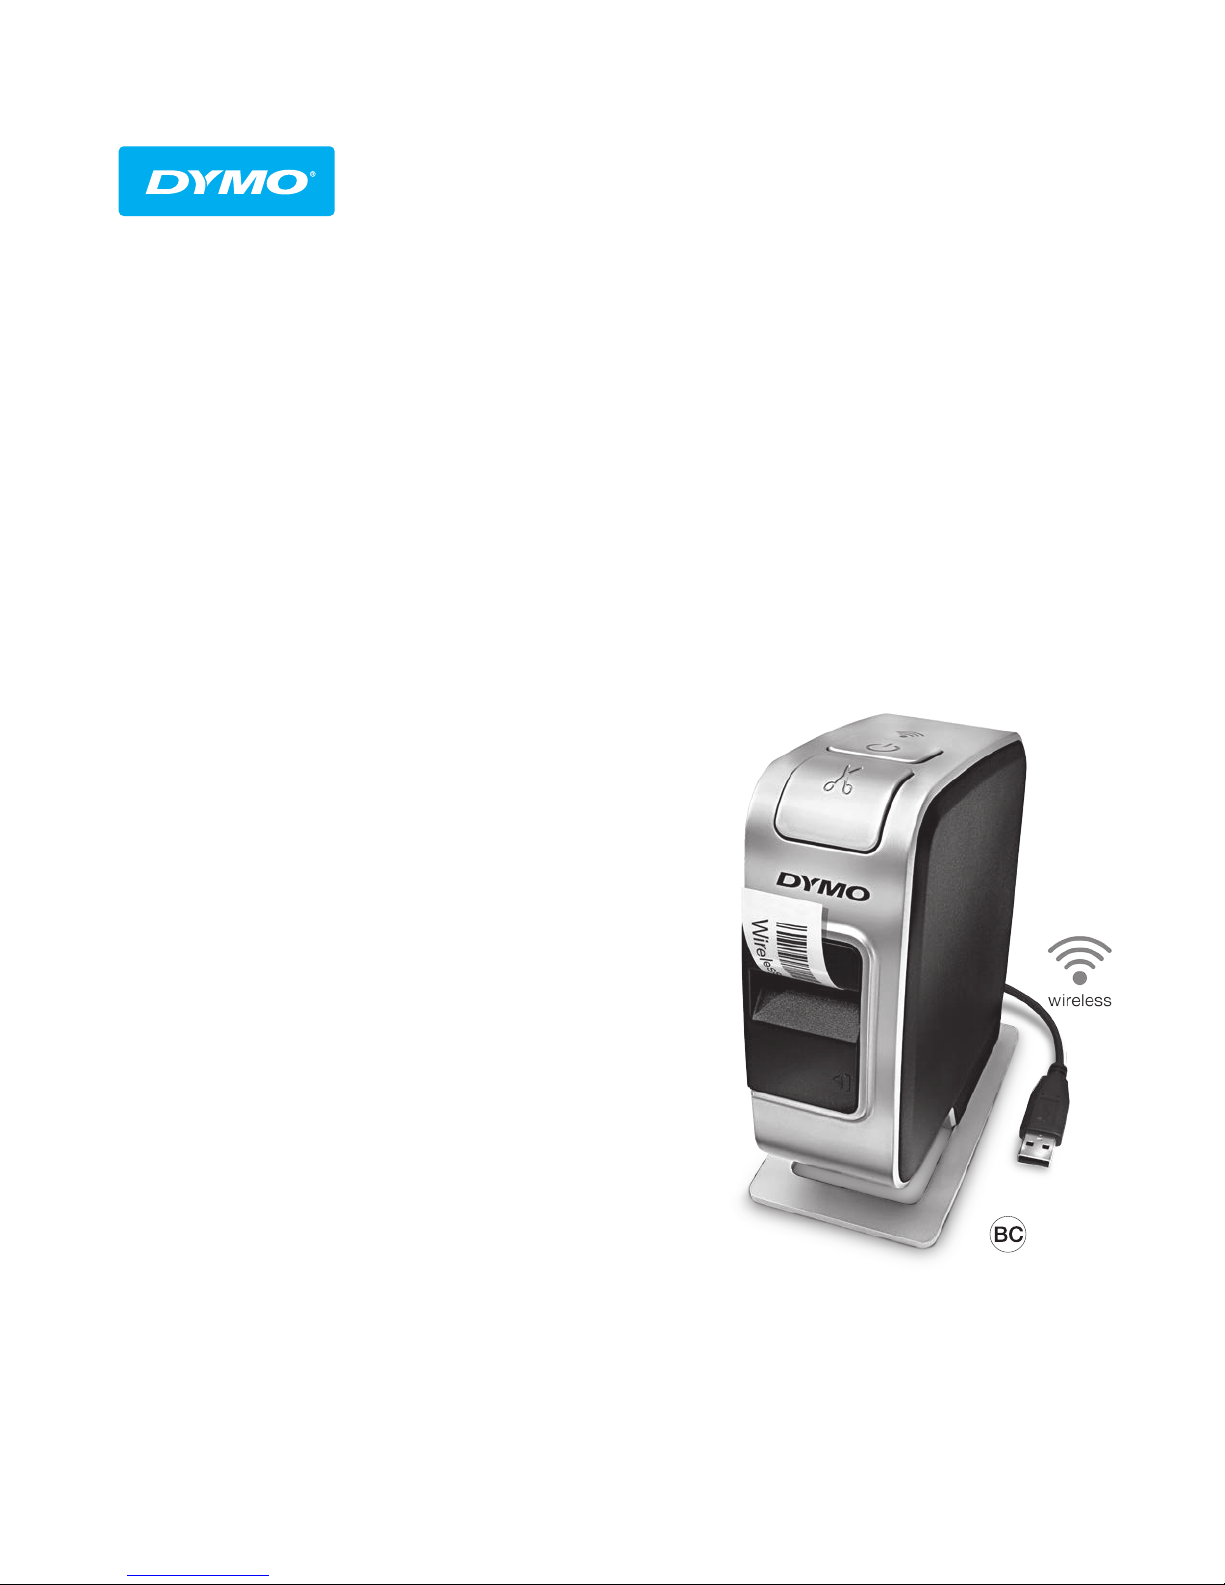
LabelManager® Wireless PnP
USER GUIDE
dymo.com

Copyright
© 2013 Sanford, L.P. All rights reserved.
No part of this document or the software may be reproduced or transmitted in
any form or by any means or translated into another language without the prior
written consent of Sanford, L.P.
Trademarks
DYMO, DYMO Label, and LabelManager are registered marks in the US and other
countries. All other trademarks are the property of their respective holders.

Contents
4 About Your New Label Maker
4 Registering Your Label Maker
5 Getting to Know the Label Maker
6Power
6 Power Status Light
6 Wireless Status Light
6 Reset
7Getting Started
7 Connecting the Power
7 Inserting the Battery Pack
7 R emoving the Battery Pack
8 Charging the Battery Pack
9 I nserting the Label Cassette
10 Using Your Label Maker as a Local Printer
10 Connecting the Label Maker to Your Computer
10 Starting the Built-In Software
10 Disconnecting the Label Maker from Your Computer
11 Printing Labels with the Built-In Software
11 Capturing and Inserting an Image
11 Using the Auto-Cut Feature
12 Using Your Label Maker as a Network Printer
12 Configuring Your Label Maker on Your Wireless Network
14 Configuring Your Label Maker Using Standard
14 Configuring Your Label Maker Using Advanced
15 Viewing Wireless Settings
16 Downloading and Installing DYMO Label Software
17 Adding the Label Maker as a Wireless Printer
18 About DYMO Label Software
18 Label Maker Status
19 Caring for the Label Maker
20 Troubleshooting
20 General
21 Wireless
23 Documentation Feedback
23 Environmental Information
24 Safety Precautions for Lithium-Polymer Rechargeable Battery Pack

About Your New Label Maker
With the DYMO® LabelManager Wireless PnP electronic label maker, you can
create a wide variety of high-quality, self-adhesive labels. You can choose to print
your labels in many different fonts, font sizes, and styles. The label maker uses
DYMO D1 label cassettes in widths of 1/4” (6 mm), 3/8” (9 mm), 1/2” (12 mm),
3/4” (19 mm), or 1” (24 mm). Labels are available in a wide range of colors.
Visit www.dymo.com for information on obtaining labels and accessories for your
label maker.
You can use your label maker either as a local printer attached to your computer
with a USB cable or as a network printer on your wireless network. See Using
Your Label Maker as a Local Printer on page 10 and Using Your Label Maker
as a Network Printer on page 12 for more information.
Registering Your Label Maker
Visit www.dymo.com/register to register your label maker online. During the
registration process, you will need the serial number, which is located above the
label cassette inside the label maker. See Figure 1 on page 5.
Register your label maker to receive these benefits:
Email notification of free software upgrades
Special offers and new product announcements
LabelManager® Wireless PnP
4
User Guide
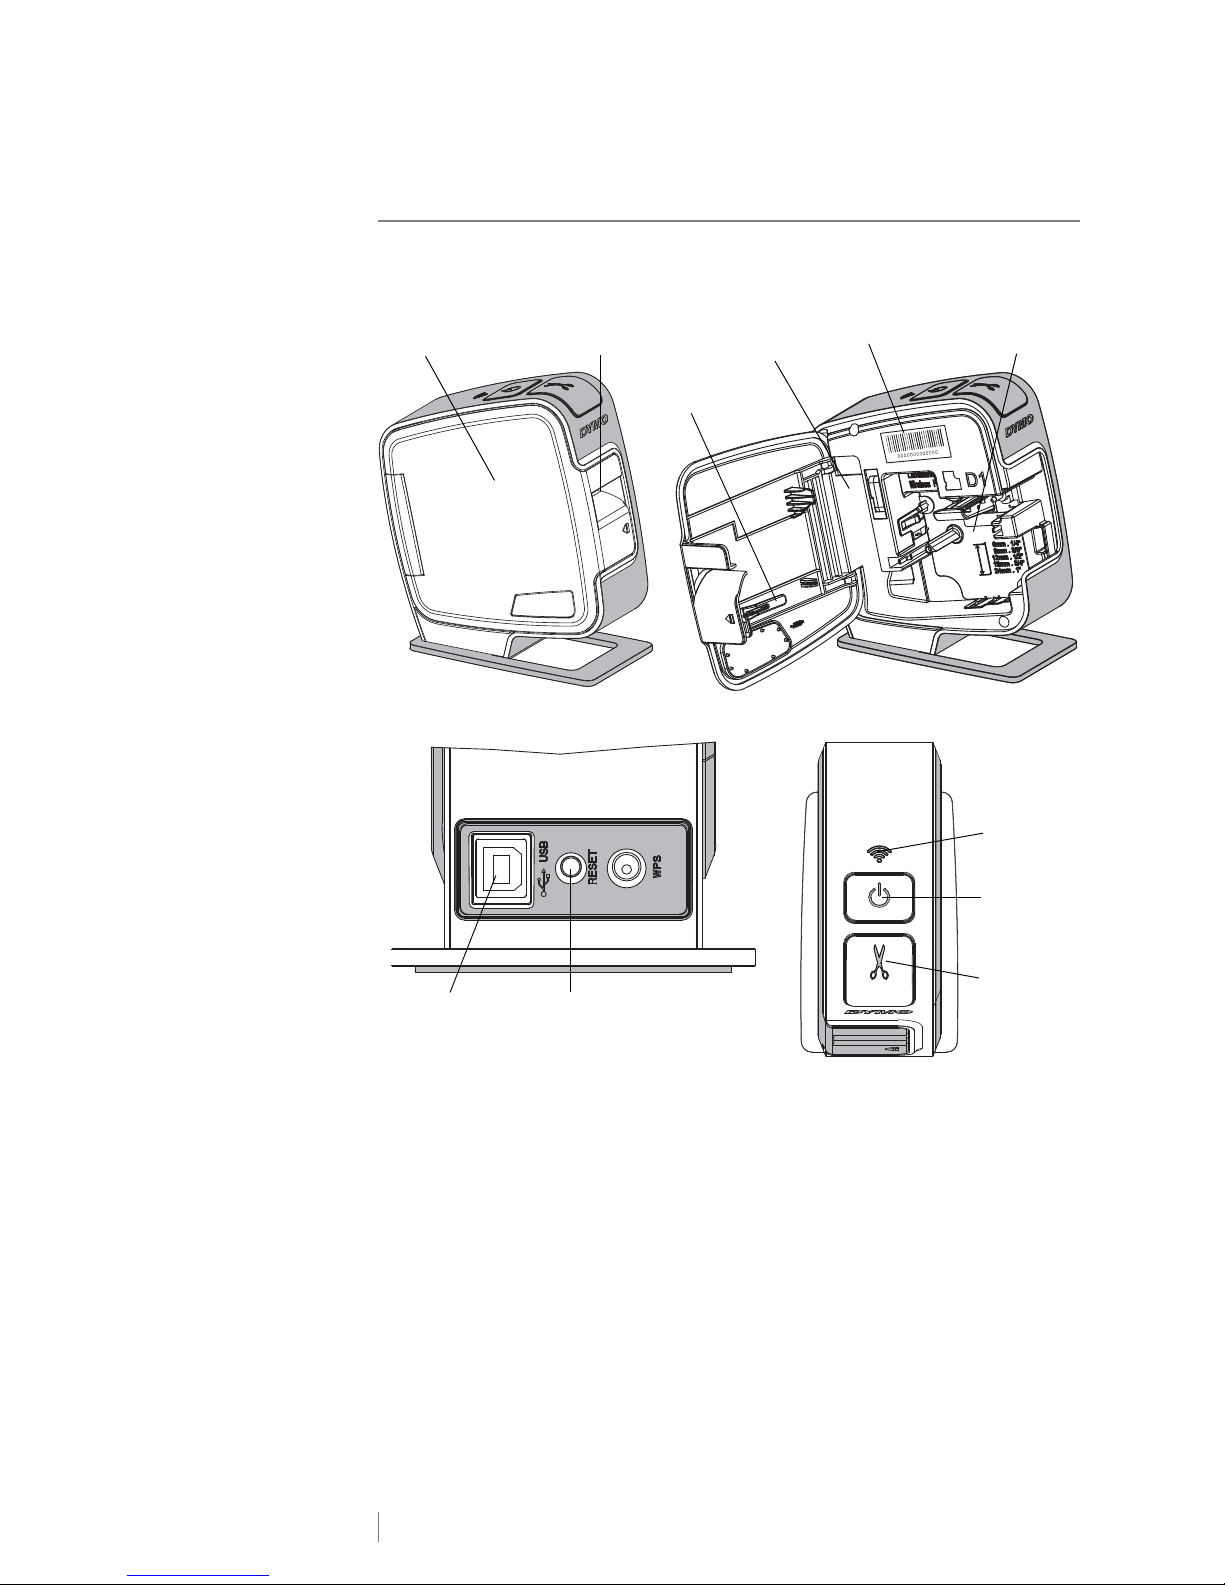
Getting to Know the Label Maker
Battery
compartment
Label exit
slot
Cleaning
tool
Side
cover
Serial
Number label
Cutter
Wireless
status light
Power button/
status light
USB port Reset button
Label
compartment
Figure 1
Back View
Top View
Become familiar with the features shown in the following figure.
LabelManager® Wireless PnP
5
User Guide

Power
The button turns the label maker power on and off.
Power Status Light
The power LED visually shows the power status of the label maker.
Status Light Power Status
Off The label maker is off; the battery pack may still be charging
if plugged into a wall outlet
Slow Blinking The label maker is on and the battery pack is charging
Fast Blinking The label maker is on and there is an error
Solid The label maker is on and the battery pack is not charging
When the label maker is turned on but not connected to a power source, the
status light remains on but is dimmed.
Wireless Status Light
The wireless LED visually shows the network status of the label maker.
Status Light Label Maker Status
Off The label maker is not connected to a wireless network
Slow Blinking The label maker is connecting to a wireless network
Fast Blinking The label maker is registering with a wireless network
Solid The label maker is connected to a wireless network
Reset
The Reset button resets the printer to the factory default settings. Resetting the
printer results in the loss of all current settings, including wireless settings. Press
this button only if you want to erase all current information on the label maker. To
press the Reset button, use a thin object such as the tip of a pen or pencil.
LabelManager® Wireless PnP
6
User Guide
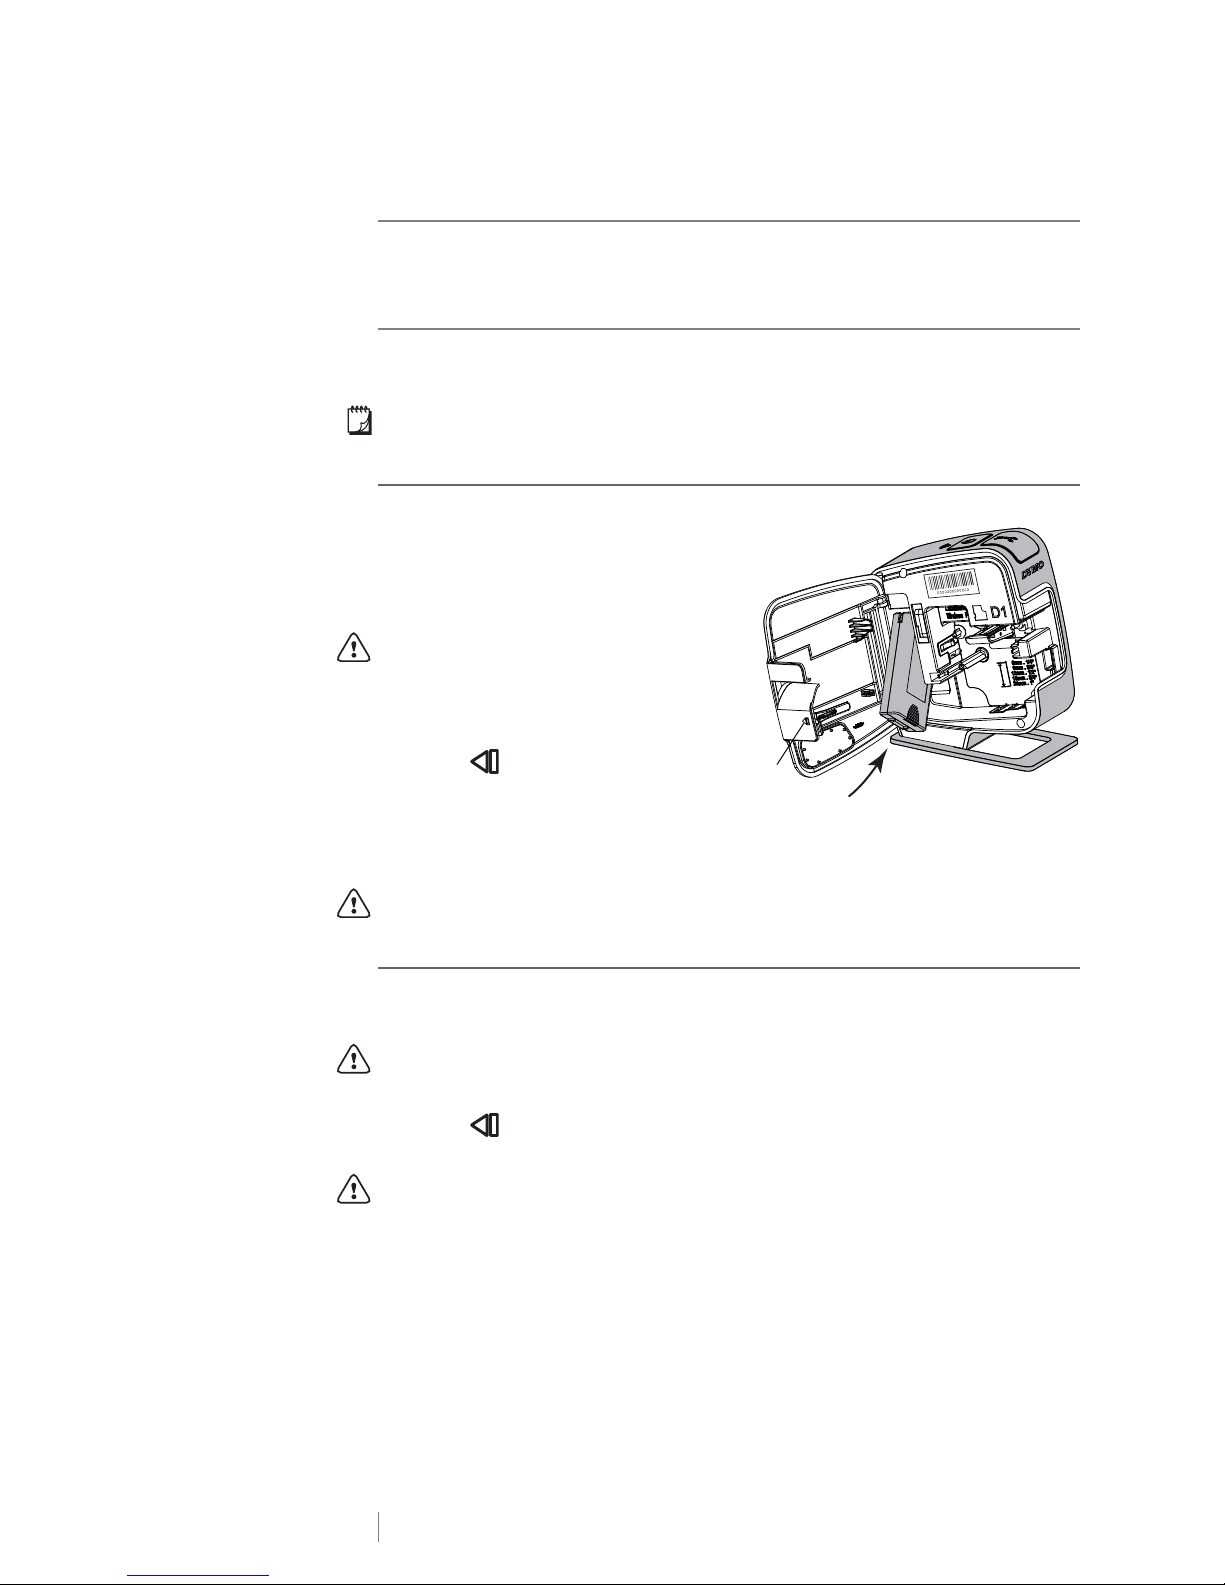
Getting Started
Figure 2
Press
and pull
Follow the instructions in this section to set up your label maker.
Connecting the Power
The label maker is powered by a rechargeable, lithium-polymer (LiPo) battery
pack.
For best performance, fully charge the battery pack before using your label maker.
Inserting the Battery Pack
The battery pack included with your
label maker comes partially charged.
For best results, fully charge the
battery pack before using the label
maker for the first time.
Make sure the USB cable is
disconnected before handling the
LiPo battery pack.
To insert the battery pack
1 Press and then pull outward
to open the side cover of the label
maker.
2 Insert the battery pack into the battery compart me nt as sho wn in Figure 2.
3 Close the side cover of the label maker.
Make sure to read the LiPo Safety Precau tions found on page 24.
Removing the Battery Pack
Remove the battery pack when the label maker will not be used for more than
seven days.
Make sure the USB cable is disconnected before handling the LiPo battery pack.
To remove the battery pack
1 Press and then pull outward to open the side cover of the label maker.
2 Remove the battery pack from the battery compartment.
Make sure to read the LiPo Safety Precau tions found on page 24.
LabelManager® Wireless PnP
7
User Guide
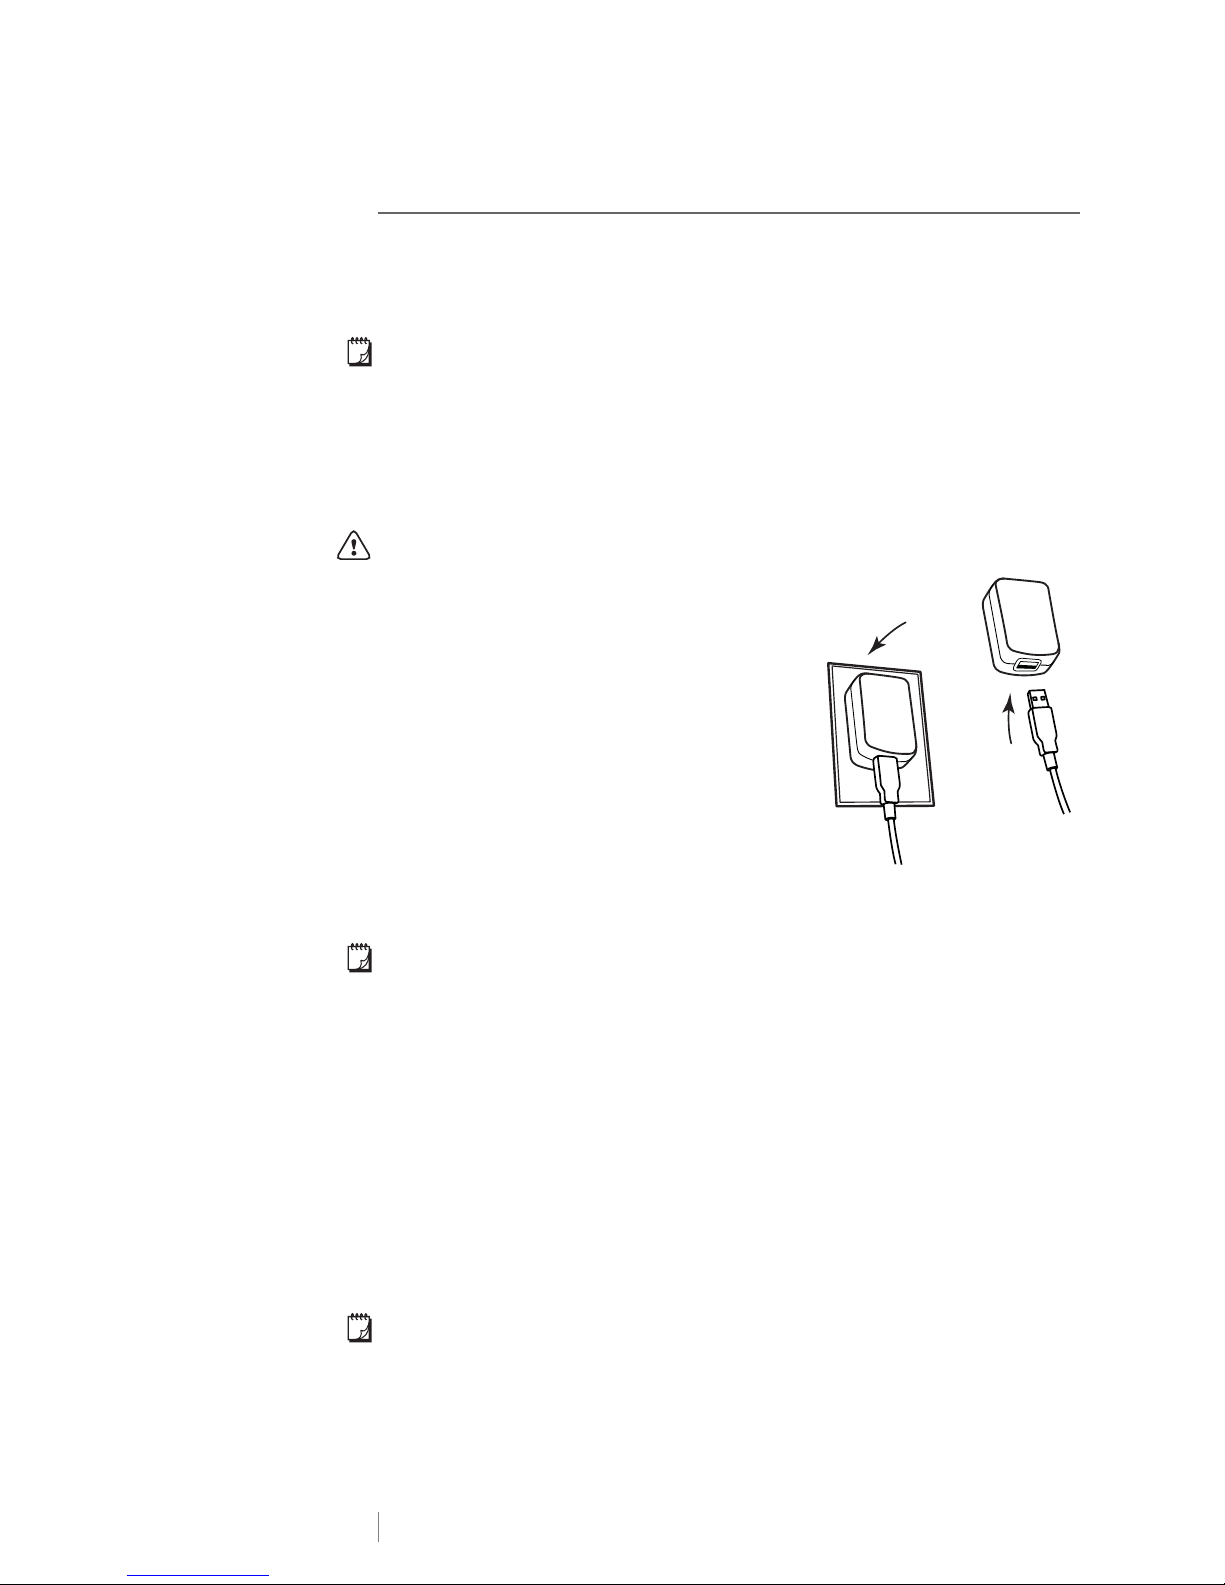
Charging the Battery Pack
Figure 3
1
2
Use the USB cable included with your label maker to recharge the battery pack.
The battery pack is charged by USB through the includ ed wa ll adapte r or th roug h
a powered USB port on your computer. Use only the included USB cable and wall
adapter with your label maker.
The label maker may not charge or function properly when connected to a nonpowered USB port, such as those on some Mac keyboards, or a non-powered
USB hub.
Fully charging the battery pack will take approximately two and a half hours using
the wall adapter and approximately eight hours when connected to a powered
USB port on your computer.
For best performance, fully charge the battery pack before using your label maker.
Make sure to read the LiPo Safety Precautions found on page 24.
To charge the battery pack using the wall
adapter
1 Plug the USB cable into the USB port on the
back of the label maker.
2 Plug the other end of the USB cable into the
wall adapter.
3 Plug the wall adapter into a power outlet.
4 If the label maker is turned off, press the
power button to turn the label maker on and
start charging the battery pack.
The power status light blinks slowly, indicating
that the battery pack is charging. The battery
pack continues to charge even if you turn the
label maker off.
The wall adapter is only used for recharging the battery pack; the wall adapter
cannot be used to power the label maker when the battery pack is not inserted.
To charge the battery pack using your computer
1 Plug the USB cable into the USB port on the back of the label maker.
2 Plug the other end of the USB cable into a powered USB port on your
computer.
3 If necessary, turn on the computer.
The battery pack will not charge if the computer is turned off or in sleep mode.
4 If the label maker is turned off, press the power button to turn the label maker
on and start charging the battery pack.
The power status light blinks slowly, indicating that the batte ry pack is
charging. The battery pack continues to charge even if you turn the label
maker off.
You cannot use the label maker as a w ireless n etwork p rinter wh ile the la bel mak er
is connected to a USB port on your computer. For information about setting up
your label maker as a wireless printer, see
Your Wireless Network
on page 12.
Configuring Your Label Maker on
LabelManager® Wireless PnP
8
User Guide
 Loading...