

Page 1

KRONOS
ISDN Telephone
User guide
Page 2

DORO AB
Page 3

1
DORO KRONOS LIST OF CONTENTS
DORO Kronos
LIST OF CONTENTS
Installation ................... 2 Caller identity .............. 24
Vad är ISDN? .............. 2 Explanation .............. 24
Unpacking ................ 3 New number ............. 24
Connecting ................ 3 Read the CID ............ 24
Set day and time ............ 4 Erase number ............ 25
Set prefix ................. 4 Transfer number to the phone-
Outlook .................. 6 book ................... 25
The buttons unctions ......... 7 Dial up-function .......... 26
Full memory ............. 26
The phone ................... 8 Duplicate function ......... 26
The display ................ 8
Calleridentity .............. 8 Setting .................... 27
MSN-number .............. 8 Explanation .............. 27
To answer ................ 8 MSN-number ............ 28
To call ................... 9 Call wait ................ 28
Timer .................... 10 Room monitor ............ 29
Redial .................... 10 Language ............... 29
Mute ..................... 11 Date and time ............ 30
Volume control ............. 11 Charge display ........... 30
Dial with direct memory ...... 11 Call block ............... 31
Dial with the phone book ..... 12 Ring signal .............. 33
Call functions .............. 12 Prefix .................. 33
Change PIN-code ........ 34
Functions .................... 15
Menu system .............. 15 Other ..................... 35
Functions button ............ 16 Erase ................... 35
Open the menu system ....... 16 Emergency mode .......... 35
Search in the phone book ..... 17 Trouble guide ............ 36
Phone book ............... 18 Warentee ................ 37
Call counter ............... 20
Setting ................... 20
Resume a call .............. 21
Transfer .................. 21
Show own number .......... 23
Page 4

2
INSTALLATION DORO KRONOS
WHAT IS ISDN?
Page 5

3
DORO KRONOS INSTALLATION
UNPACKING
In the box you should fin following items:
P Telephone P Handset cord
P Handset P User guide
P Line cord
Please contact your retailer, if an item is missing or damaged.
CONNECTING
P Connect the handset cord to the telephone and the handset.
P Connect the line cord to the telephone and to the ISDN wall socket. The ISDN wall
socket could be a PBX, NT, router or something alike.
P Lift the handset and check the tone.
P Set the day, time and prefix, see next page.
Beyond this installing there is several more to facilitate the phone call .
Page 6
4
INSTALLATION DORO KRONOS
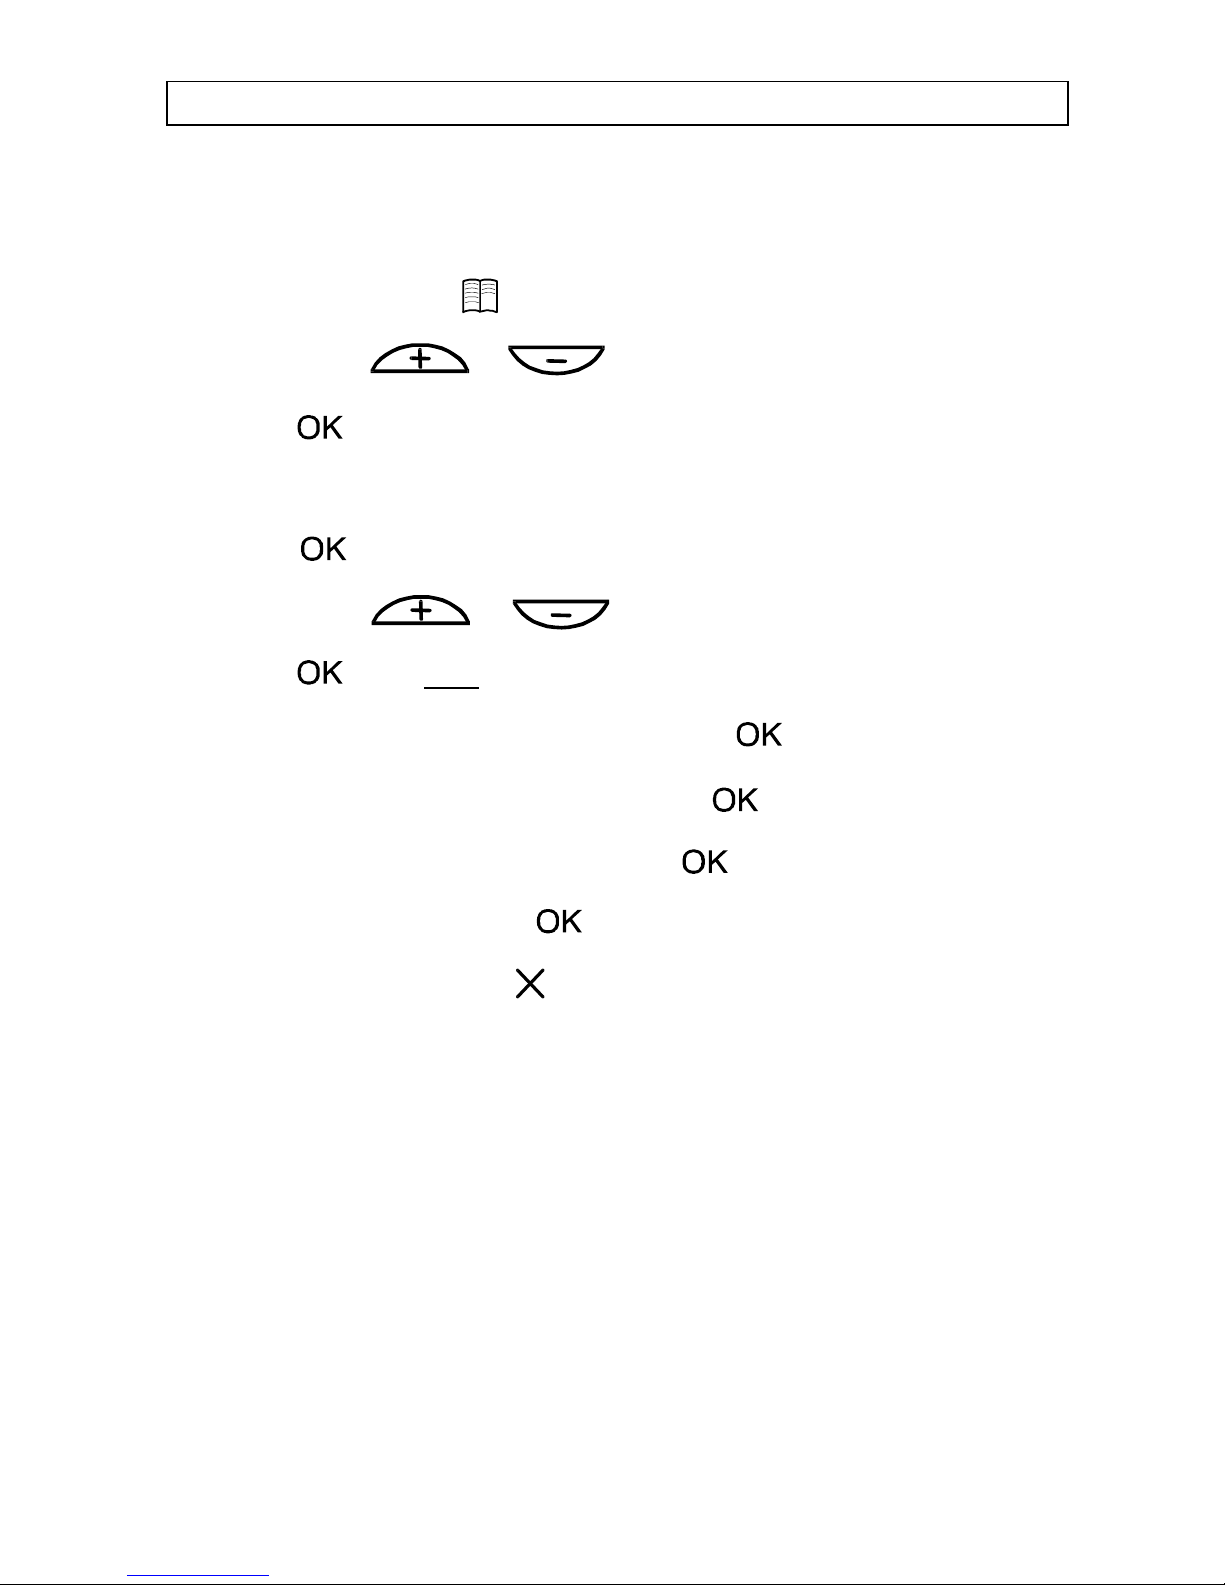
SET DAY AND TIME
P Press the function button .
P Press the button or until the display show "Service ?".
P Press the button. The display show "PIN-code >>".
P Press 0 0 0 0 0 (five zero).
P Press the button.
P Press the button or until the display show "Date/Clock ?".
P Press the button twice.
P Enter the topically year (four digits), then press the button.
P Enter the topically month (01-12), then press the button.
P Enter the topically day (01-31), then press the button.
P Confirm the setting by press the button.
P Finish the setting by press the button three times.
SET PREFIX
The prefix told for the telephone which digit/digits the abroad calls and national calls
(area code) begins on. This is important for the telephone should show correct phone
number in the caller identity and make calls.
The reason that you must give a prefix is that the PTT will not send out this information.
If your DORO Kronos is connected under a PABX, you maybe not need to give a prefix.
Page 7
5
DORO KRONOS INSTALLATION
The national prefix is "0" (zero).
The abroad prefix is depending on which PTT you use. Telia, you enter "009" as a prefix,
for Tele2 you enter "007" etc. Take contact with your PTT if you are unsure on the prefix.
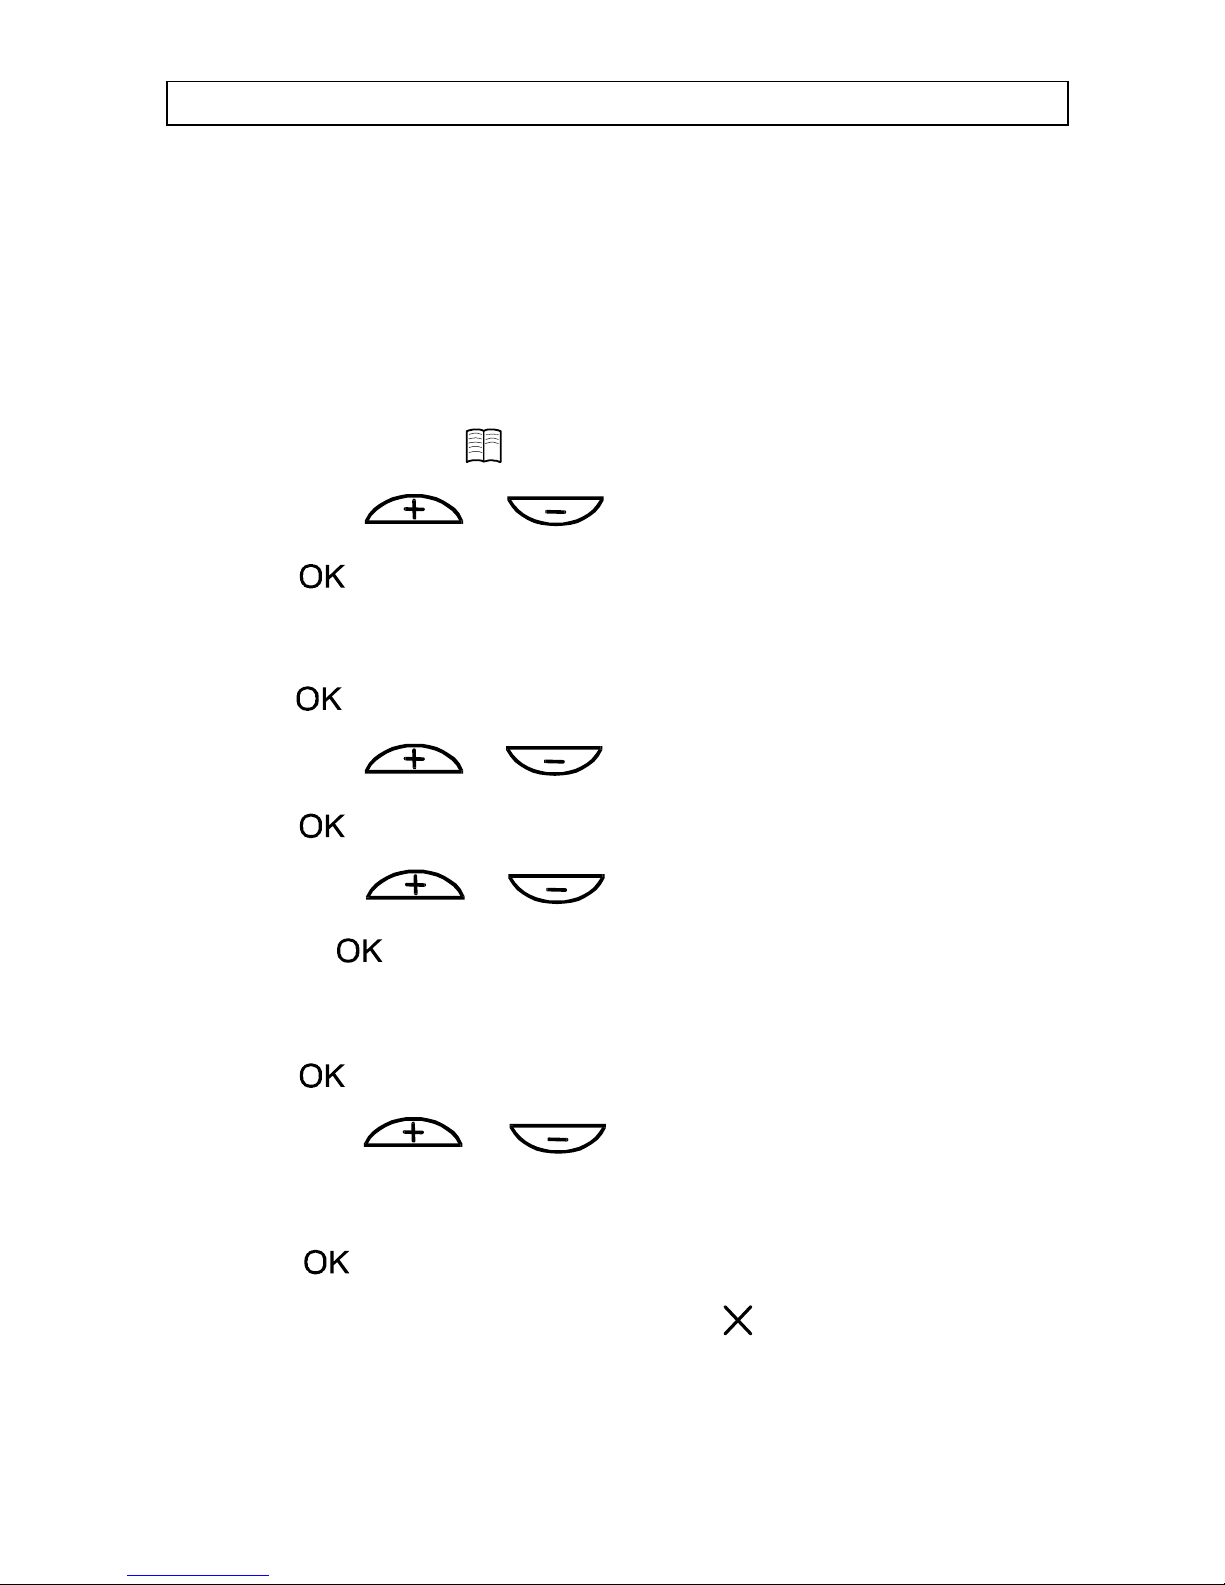
P Press the function button .
P Press on button or until the display show "Service ?".
P Press the button. The display show "PIN-code >>".
P Press 0 0 0 0 0 (five zero).
P press the button.
P Press on button or until the display show "INT./NAT. Prefix ?".
P Press the button.
P Press on button or until the display show "INT. Prefix ?".
P Press on the button. The display show "Prefix Number >>".
P Enter the abroad prefix with the digit button.
P Press the button.
P Press on button or until the display show "NAT. Prefix ?".
P Enter the national prefix with the digit button.
P Press the button.
P Finish the setting by pressing several times on the button.
Page 8
6
INSTALLATION DORO KRONOS
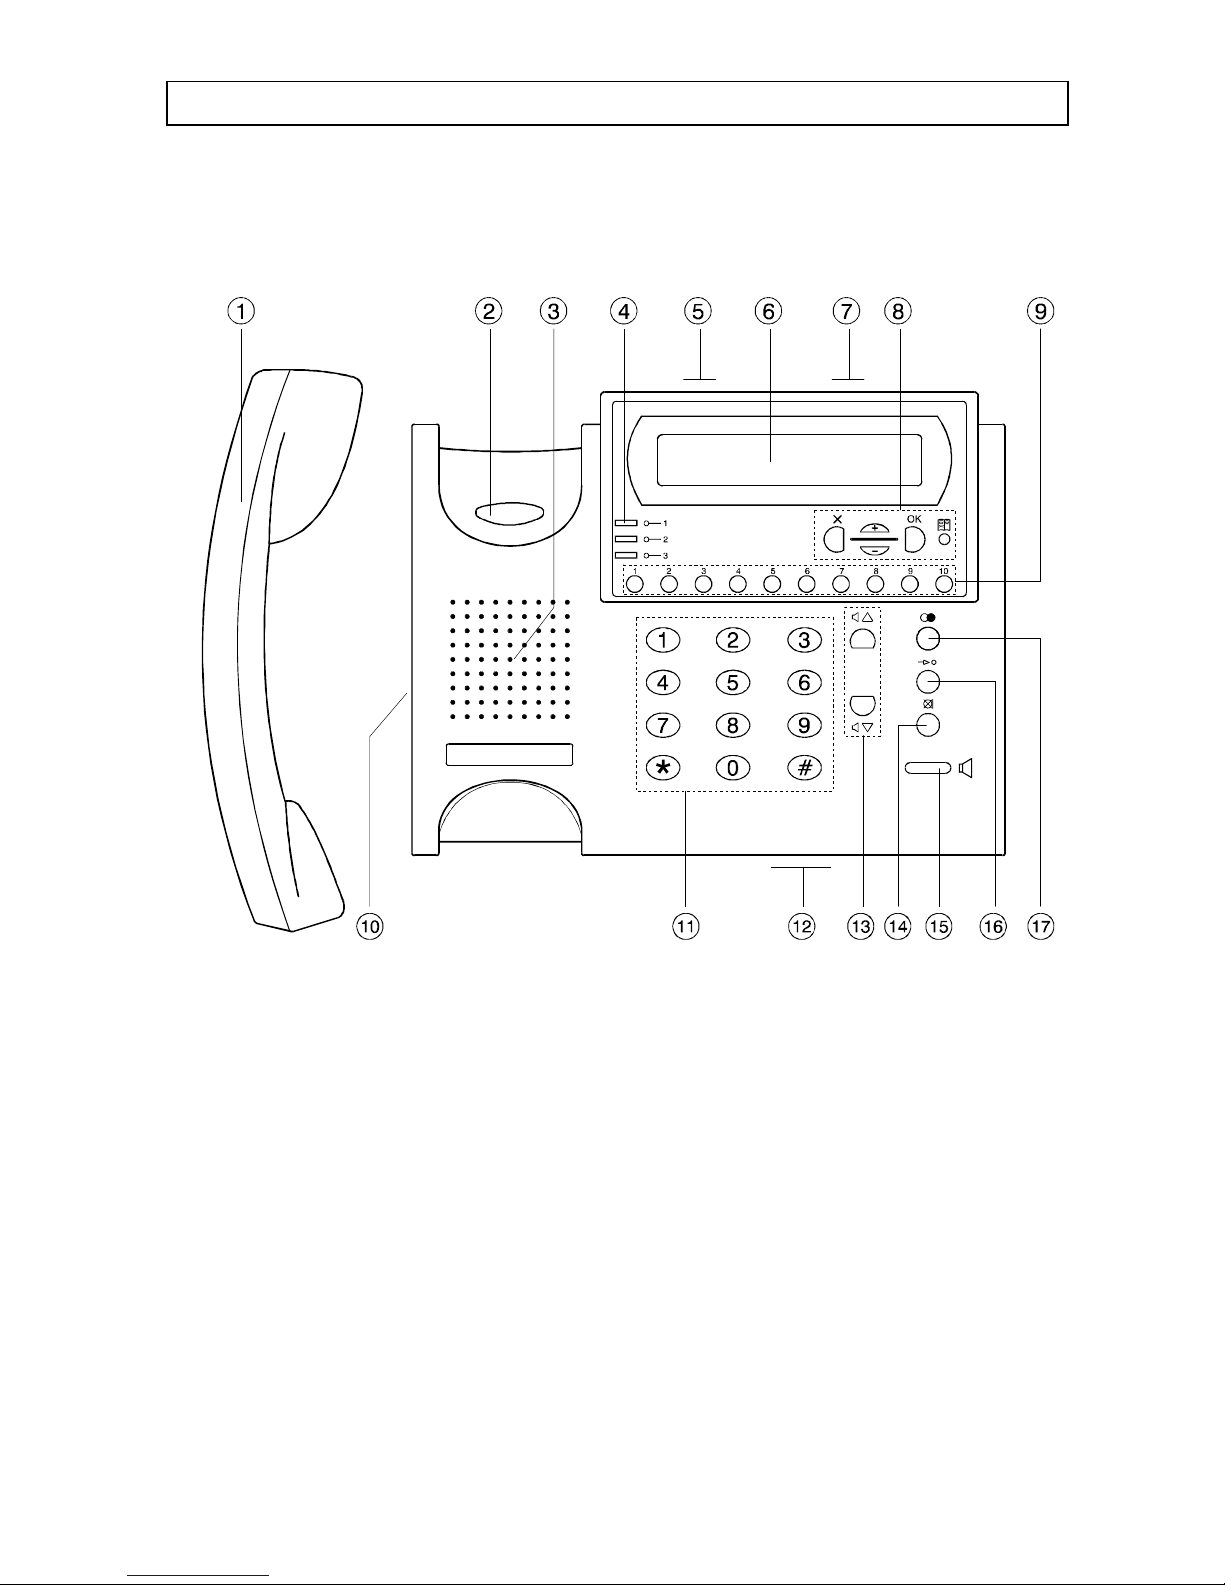
OUTLOOK
1 Handset 10 Outlet for handset cord (on the side)
2 Hook 11 Digits 0-9, *, #
3 Loudspeaker 12 Phone number list
4 MSN-indicator 13 Volume control
5 Outlet for ISDN line (backside) 14 Mute button and indicator
6 Display 15 Loudspeaker button and indicator
7 Switch for emergency mode 16 Indirect memory button
8 Functions button 17 Redial button
9 Direct memory button
Page 9

7
DORO KRONOS INSTALLATION
THE KEYPAD FUNCTIONS
Below gives a explanation over the buttons functions. More information can you find
under respective chapter in this user guide.
The digits in parenthesis is refers to the picture on page 6.
DIGITS BUTTON (11)
Use to give digits and letters.
FUNCTIONS BUTTON (8)
Används för att styra telefonens menysystem. Tangenterna används för att gå in i
menysystemet, ändra, bläddra and avsluta en meny.
SPEED DIAL BUTTON (9)
10 number can be stored into this speed dial memory.
VOLUME CONTROL (13)
Use for get higher and lower volume in the ear-piece.
LAST NUMBER REDIAL (17)
Dial the last dialled number. There is place for the three last dialled number.
INDIRECT MEMORY BUTTON (16)
Dial a number from the phone book.
MUTE BUTTON (14)
Turns off/on the microphone. The indicator to the right is on then the mute-function is
activated.
LOUDSPEAKER BUTTON (15)
Activate/deactivate the phones loudspeaker function. The indicator on the button is on
then the function is activated.
Page 10

8
THE TELEPHONE DORO KRONOS
THE DISPLAY
The display consist of two lines with 20 character per-line. In standby mode the display
show topic date and time. Then you use the phone the display show the dialled number
and receiver, call timer, caller identity for incoming calls, instruction for programming,
etc.
CALLER IDENTITY
For incoming calls the display will show number or name. For show name, the name must
be stored in the phone book.
The phone number will be stored in the caller identity memory and you can scroll
between them at any time. For more information about the caller identity and how you
read the incoming number, see page 24.
MSN-NUMBER
MSN-number is that number the caller have dialled for to come to you. Because your
ISDN line could have several phone number it could be practical to see which of the
number the caller has dial.
This will shows with the three indicators under the display. Then the phone is ringing, the
indicator for that number will begin to flash. To programme the number the different
indicators should have, see page 28.
Page 11
9
DORO KRONOS THE TELEPHONE
ANSWER A CALL
You answer a call by lift the handset or press on the loudspeaker button.
IGNORE CALL
You can also ignore a call (the phone will stop ring) if you don't want to answer.
P Then it's ring the display will show "Accept ?".
P Press button or .
The display show "Reject ?".
P Press the button to ignore the call.
P The phone stop ringing.
TO MAKE A EXTERNAL CALL
You can make a call in two different way:
TO MAKE A CALL WITH THE HANDSET
P Lift the handset and wait for signal.
P Dial the phone number.
P Finish the call by put back the handset.
If you which, you can change to loudspeaker mode under a call, press the loudspeaker
button and put back the handset. In loudspeaker mode you talk to the other part frow
the microphone in the front.
TO MAKE A CALL WITH THE LOUDSPEAKER MODE
P Press the button. Loudspeaker mode will now be activated and you will hear the
ton. The indicator on the loudspeaker button goes on.
Page 12

10
THE TELEPHONE DORO KRONOS
P Dial the phone number.
P Press the button again to finish the call.
Under the call can you change to the handset anytime, just lift the handset. You finish the
call by put back the handset.
TIMER
A timer up to the right in the display will begin to count then a call is connected. The
timer help you to see how long the call was.
LAST NUMBER REDIAL
With the last number redial function you easally call the three latest dialled number again.
P Press the redial button until you see the number in the display you which to call.
P Press the loudspeaker button, or lift the handset. The phone will now dial the number.
Page 13

11
DORO KRONOS THE TELEPHONE
MUTE
With button could the microphone turns of. Press the button and the microphone
turns off and press again to put it on again. The red indicator is indicate then the
microphone is off.
The display show "Microphone of!" as long the function is activated.
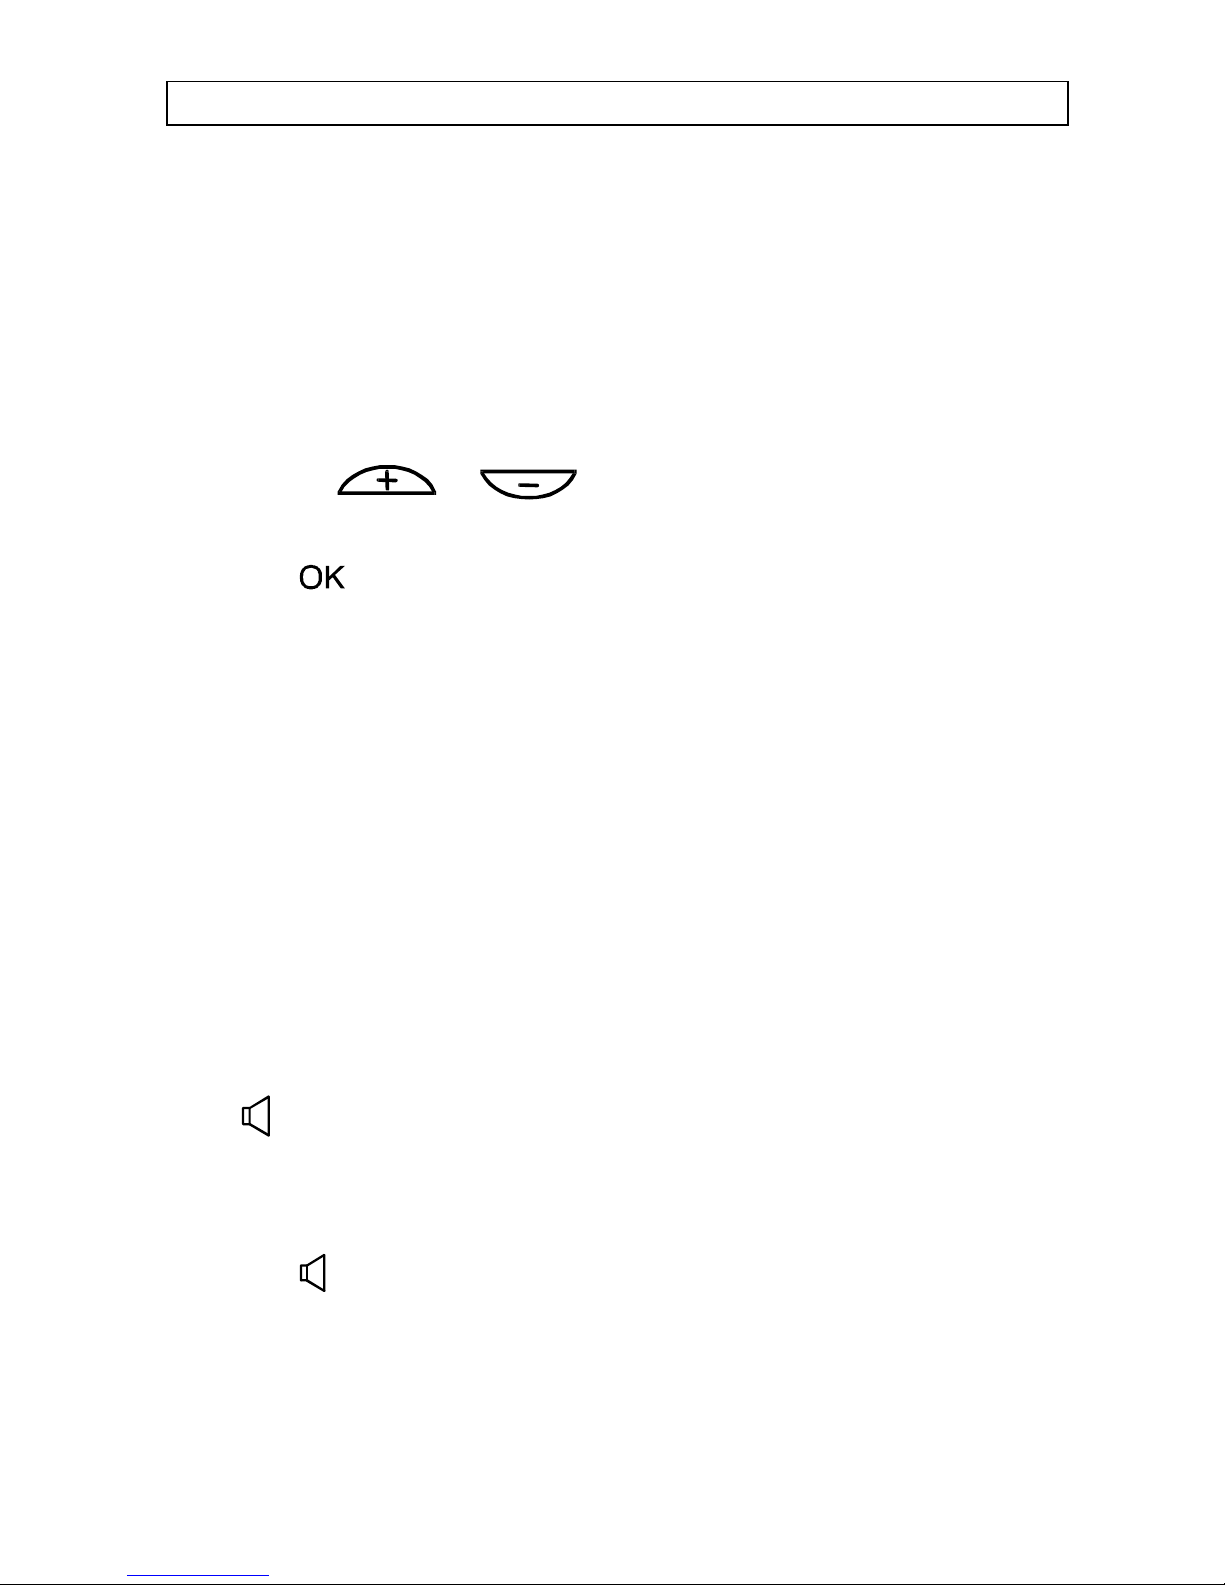
VOLUME CONTROL
The level in handset and the loudspeaker could be changed. You change the level with
button and .
The handset have five step and the loudspeaker have eight step. The level will be the
same until it changes again. If you change the level in handset (loudspeaker) it will also
change it for the loudspeaker (handset).
MAKE A CALL WITH SPEED DIAL
DORO Kronos have ten speed dial memory there you can store phone number (see page
18). Then you make a call you need just to press on one button.
P Press on whiched speed dial button. The name will be displayed.
P After some seconds the call will be connected to the loudspeaker. Lift the handset if
want to use it.
P Put back the handset or press the loudspeaker button to finish the call.
Page 14

12
THE TELEPHONE DORO KRONOS
TO MAKE A CALL WITH THE PHONE BOOK
APART from the 10 speed dial number there is a phone book for 40 number. Then phone
number is stored to the memory, could you dial it with fewer press on the buttons. The
Number is numbered 01-50.
Observation that number 01-10 is the same memory for the speed dial memory.
P Press the speed dial button.
The display show "Location>>(01-50)".
P Enter memory number 01-50. The name will be displayed.
P After some seconds the call will be connected to the loudspeaker. Lift the handset if
want to use it.
P Put back the handset or press the loudspeaker button to finish the call.
CALL FUNCTIONS
Several function could be used mean a call is connected. It will be displayed then a
function could be used. You can often use several function at the same time, and you
scroll between them with the function button and .
Chose the function with the button.
QUERY:
Then you already have a call connected, can you call a 2nd call. The first person can not
hear the new call.
P A call is connected.
P Scroll until the display show "2nd Call ?".
P Press the button. New tone.
P Dial the other phone number.
Page 15

13
DORO KRONOS THE TELEPHONE
COMMUTE:
If you have two calls connected, you can commute between this with a commute
function. You can commute between the two calls as long you want.
P Two calls are connected (one ongoing and one on hold).
P Scroll until the display show "Toggle ?".
P Press the button.
P The other call will be connected.
P To finish the ongoing call, scroll until the display show "Disconnect ?".
P Press the button.
P The ongoing call will go off, the other will be connected.
CONFERENCE:
With the conference function can you connect two calls at the same time.
P Two calls are connected. (one ongoing and one for hold).
P Scroll until the display show "3-Party ?".
P Press the button.
P Both call is now connected.
P To finish, scroll until the display show "Quit Held ?".
P Press the button.
P The latest connected call will go off and the other will stay connected.
Page 16

14
THE TELEPHONE DORO KRONOS
PARK A CALL :
If you have more then one ISDN phone, could you park a call and pick it up on the other
phone. The call can only be on hold for 3 minutes and then it will go off automatically.
P A call is connected.
P Scroll until the display show "Suspend ?".
P Press the button .
P Display show " Suspend Digit >>".
P Enter a digit between 0 and 9.
P The call will now be Parked.
The park number use as a identification, and must be entered then you are going to take
the call.
RESUME A PARKED CALL:
How you resume a parked call on is different on different ISDN phones. Down it show
you haw you do on a DORO Kronos.
P Press on the Menu button .
P Scroll until the display show "Resume ?".
P Press the button.
P The display show now "Resume digit >>".
P Enter the parking number.
P Lift handset. The call is now resume återupptas.
Page 17

15
DORO KRONOS FUNCTIONS
MENU SYSTEM
DORO Kronos have except the usually telephone functions also several other functions.
you can go to this by the phones menu system.
Below shows a schematic over the menu system and a short explanation for every
function:
Search for a receiver in the phone book.
Put in, change or erase a receiver in the phone book.
Controls how many incoming, outgoing there is don on
each MSN-number.
Menu with the phone setting for ex. call barrier,
date/time etc.
Resume a parked call.
Set transfer of phone number.
With this function you chose if the phone should show
your phone number on the receivers caller identity.
If there is stored number in the caller identity memory,
could this function activates.
Page 18

16
FUNCTIONS DORO KRONOS
THE FUNCTIONS BUTTON
You use the function button to activate and scroll between the different functions. The
function button have always same function.
Scroll up
Cancel Open the menu
system
Scroll down Choose a menu or confirm a setting
OPEN THE MENU SYSTEM
P Use the menu button to open the menu system.
P Scroll between the menu with the functions button or until
the display show the whiched menu.
P Choose the menu by press the button.
P Finish and go back to standby by pressing the button twice.
Page 19

17
DORO KRONOS FUNCTIONS
SEARCH IN THE PHONE BOOK
With this function you can search after a receiver in the phone book. You can search on
name or scroll manual between the stored receiver. Then you have find a receiver you
which to call, could you do this easally.
SEARCH BY NAME:
P Open and choose "Search Phone Book ?" in the menu system.
P The display ask you to input the receivers name.
P Press on the button that is correspond to that letter the name begin on. Every digit
correspond several letters and signs. Press on ore several times to select the right
letter.On page 19 there is a list over all letter and signs.
You can continue to give several letter in the name. Press on the if you
want to erase a letter.
P Press the function button to start the search.
P If there is a receiver that fit to the letters, it will know be displayed.If there is no
receiver the display will show "No Matched Record !" and go back to "Input
Name / Quit".
SCROLL:
P Open and choose "Search Phone Book ?" in the menu system.
P Scroll with the function button or .
The receiver will be displayed in alphabetical order.
DIAL A RECEIVER:
Lift the handset or press the loudspeaker button then the receiver is displayed. The phone
will now automatically dial the choosed number.
Page 20

18
FUNCTIONS DORO KRONOS
PHONE BOOK
DORO Kronos have a phone book with place for 50 receiver. The receiver will be stored
in the phone book with name and phone number. Every receiver gets a indirect memory
number between 01 - 50. See page 12 to use the indirect memory. The memory number
01 - 10 are corresponded to the speed dial button on the phone.
STORE A NEW RECEIVER:
P Open and choose "Phone Book ?" in the menu system.
P Choose "Program Phone Book ?".
P The display show the first empty location. Press the function button to choose
this location.
You can store the receiver to a optional location, just press the function button to
erase the number that is displayed and enter the new location. Then press the
button to select the number. If there already are a receiver in that location, the display
will ask you "Overwrite". Press the button to confirm.
P The display show "Input name / Quit". Input the receivers name with the digits, max
20 signs. Press on the digit that correspond to the first letter in the name. Every digit
correspond to several different letters and sign. Press several times to get the letter or
sign you want on the corresponding digit.
The list on next page show a summary over the letter and sign there is.
The function button uses to erase the nearest sign to the left.
Page 21

19
DORO KRONOS FUNCTIONS
Digit Letter/Sign
1 1 - ? ! , . : " ( )
2 A B C å ä à Ä ç Ç 2
3 D E F é ê ë è É 3
4 G H I ï î 4
5 J K L 5
6 M N O ô ö ò ó 6
7 P Q R S ß 7
8 T U V Ü ù ú 8
9 W X Y Z 9
0 0 + & @ / $ % £
* * Š å æ Å Æ
# # < >
P Press the function button to store the name.
P The display show "Phone nr >>". Enter the phone number, max 20 digits.
P Press the functions button to save the receiver.
P Continue with the programming or finish.
CHANGE RECEIVER:
P Open and choose "Phone Book ?" in the menu system.
P Choose "Edit Phone Book ?".
P The display show "Input name". Enter the receivers name or scroll manual.
P Press the function button . Now can you change the receivers name.
P Press the function button again. Now can you change the receivers phone
number.
P Press the function button to save the setting.
Page 22

20
FUNCTIONS DORO KRONOS
ERASE A RECEIVER:
P Open and choose "Phone Book ?" in the menu system.
P Choose "Delate Phone Book ?".
P The display show "Input name / Quit". Enter the receivers name or scroll manual.
P Press the function button to erase the receiver.
P Confirm the erase by press the again.
CALL COUNTER
This function count all outgoing and incoming calls. Every MSN-number have a own
counter, and you can erase it any time you want.
P Open and choose "Call counter ?" in the menu system.
P The display show ex."MSN1-08 (I) -14 (O)". This means that MSN-number 1, eight
incoming calls and 15 outgoing calls.
The display change automatically to next MSN number after a few seconds.
P Press the function button to erase the topically counter for that MSN-number
the display show.
SETTING
This menu remains of several under menu which include detailed setting for the phone.
This are ex. MSN-number, call barrier, date/time, etc. The setting is described on page
27.
Page 23

21
DORO KRONOS FUNCTIONS
RESUME A CALL
This function uses to resume a parked call. You must park a call with another ISDN
equipment. See page 14 how you park a call. Observation that you must resume the call
in 3 minutes, otherwise the call will be interrupt.
P Open and choose "Resume ?" in the menu system.
P The display show "Resume Digit >>". Here are going to enter the parking number,
a digit between 0-9. The parking number must be the same digit you press on.
P Lift the handset, the call will be connected.
P If you enter wrong parking number or that the person in the other end have put on the
phone, a message will be displayed.
FORWARDING
With this function can you set one or several forwarding on your ISDN line. Every
incoming MSN number can have a own forwarding. You can chose between three
different type of forwarding: Direct, no answer or busy.
Every MSN-number can have a own forwarding.
Forwarding "Direct" forward all incoming call to that number you have store.
Forwarding "No answer" forwar d all incoming call that not have been answered within
5 signals.
Forwarding "Busy" forward all incoming calls if the phone is busy.
On next page can you see how you activate/deactivate forwarding
Page 24

22
FUNCTIONS DORO KRONOS
ACTIVATE FORWARDING:
P Open and choose "Forwarding ?" in the menu system.
P The display show "MSN 1 ?" and the phone number for MSN 1.
P Choose which of your MSN-number you want to forward (MSN 1-3) or choose
"Other No. ?" if the number you which to forward don't is one of the three stored
MSN number.
P Choose function"CF Activate ?".
P The display show "Forward to >>". Enter the number you which to forward to.
P Choose forward type: "Activate CFU ?", "Activate CFNR ?" or "Activate CFB?".
P The display will confirm the setting.
DEACTIVATE FORWARDING:
P Open and choose "Forwarding ?" in the menu system.
P The display show "MSN 1 ?" and the phone number for MSN 1.
P Choose which of your MSN-number you want to forward (MSN 1-3) or choose
"Other No. ?" if the number you which to forward don't is one of then three
stored MSN number.
P Choose function"CF Activate ?".
P The display show "Forward to >>". Enter the number you which to forward
to.
P Choose forward type: "Activate CFU ?", "Activate CFNR ?" or "Activate
CFB?".
P The display will confirm the setting.
Page 25

23
DORO KRONOS FUNCTIONS
CONTROL FORWARDING STATUS:
P Open and choose "Forwarding ?" in the menu system.
P The display show"MSN 1 ?" and the phone number for MSN 1.
P Choose which of the MSN-number you which to control (MSN 1-3) or choose
"Other No. ?" if the number you which to control don't is stored to one of the three
MSN-number.
P Choose the function "Check CF Status ?".
P Choos e which forwarding type you want to control:"Check CFU ?", "Check
CFNR ?" or "Check CFB ?".
P The display show topically status.
SHOW OWN NUMBER
With this function caould you choose if your phone number should be displayed on the
receivers caller identity then you make a outgoing call. You can also choose to show any
of the stored MSN number.
P Open and choose "CID Send/Not Send ?" in the menu system.
P Choose whiched function: "CID Send ?", or "CID Not Send ?".
If you choose to not send, the programming will return to head menu.
P Choose which of your MSN number you want to be displayed (MSN 1-3).
Page 26

24
CALLER IDENTITY DORO KRONOS
EXPLANATION
With the phones caller identity can you see how is calling you before you answer. Then
it's ringing the display will show from which number the call is from. If the number is
stored to the phone book, the name will be displayed instead of the number. Incoming
number will be stored in a memory together with date and time. The memory have place
for 50 phone number.
INDICATION OF NEW NUMBER:
Then the phone has received a new incoming call, the number will be stored in the
memory. To indicate that there is new number in the memory, the display show how
many number there is and how many new number (not reading) there is..
As long there is number that not has been reading in the memory, the indicator will be
displayed.
READ THE CALLER IDENTITY
P The display indicate that there is new number to read.
If there not are any new number can you scroll to the caller identity menu system (
see page 15).
P Press the button.
P The display show information about the newest phone number in the memory, ex:
above example have Johan Ek called clock 20:04 the 15 of June 1999. The call is
number 3 in the caller identity memory. The Letter "N" indicate that the number has
not been reading, it's a new number.
Page 27

25
DORO KRONOS CALLER IDENTITY
P Scroll between the number with the function button or .
P If you scroll to the top or the end of the list, the display will show "End of CID List
!".
ERASE NUMBER:
P Scroll to whiched phone number/name.
P Choose the whiched number by pressing on button.
P Press on button or until the display will show "CID Delete ?".
P Confirm the delate by pressing the button twice.
TRANSFER NUMBER TO THE PHONE BOOK
The phone number that are stored in the CIDs memory can easally be transferred and
stored to the phone book.
P Scroll to whiched number/name in the CIDs memory.
P Choose the whiched number by pressing on the button.
P Press on button or until the display show "CID Store ?".
P Press the button.
P Now the phone book will open and ask you to input the receivers name.
P Press the button.
P Choose position for the new receiver.
Page 28

26
CALLER IDENTITY DORO KRONOS
DIAL UP FUNCTION
You can easally dial a number there is in the CIDs memory.
P Scroll to whiched phone number/name in the caller identity memory.
P Lift the handset or press on the loudspeaker button. The phone number will now
automatically dials.
IF THE MEMORY BECOME FULL
The caller identity memory fit 50 phone number. If the memory become full, will the
oldest number be replaced of the new.
DUPLICERINGSFUNKTION
If one number make more then one call without reading the memory, the number will just
be stored in one position.
A indication puts in to told you how many times the number has called. The display show
date and time from the first time the number was calling.
The digit "3" in the example above means that Anna Björk have called three times, and
the first time was clock 22:44 the 18 of maars 1999.
Page 29

27
DORO KRONOS SETTING
EXPLANATION
This chapter explains the phones setting and how this could be changed. We recommend
that you first get to know with the phone and the usually functions before you change any
setting.
PIN CODE:
All setting is protected with a PIN-code. The code remain of five digits and in delivery
it's set to "0 0 0 0 0". If you forgot the PIN-code, can you erase the phone, see page 35.
SETTING MENU:
At thi s time you should now very well how the phones menu system work. The
explanation about the phones setting is just a schematic picture and a explanation over
what the setting is for.
P Open and choose "Service ?" in the menu system.
P The display show "Pin-code >>".
P Enter your five digits PIN-code.
P Press the button. If the code was wrong the display will show "Incorrect PIN!",
try again.
P You can scroll now between the different setting with button and
P Press on button to choose the setting the display show.
P Follow the schematic picture that is shown for every setting.
Page 30

28
SETTING DORO KRONOS
MSN-NUMBER
You can have several different number and this number is named MSN-Number (Multi
Subscriber Number). Depending on which type of ISDN connection or subscription you
have can you have different amount of MSN-numbers
Then someone is calling to you, the phone will indicate which number the caller have
dialled. This will indicate with one of the three indicators on the phone (see page 6) will
start to flash. Every indicator reprecente a MSN-number.
CALL WAITING
Then this function is activated could you answer a new incoming call means you are
talking to somebody else. You will hear two short tons and the display show "Accept?"
then the new call is calling. Answer the call by press on the button. You can now
switch between the two calls or connect them to a conference call.
Page 31

29
DORO KRONOS SETTING
ROOM MONITOR
Room monitor let you monitor all sound i that room the DORO Kronos is standing in.
Then you call your DORO Kronos it will answer automatically and activate the
microphone. All sound in the room will now be send to the phone you make the call from.
To make the room monitor work, you must first activate the function and then make a call
to your MSN-3 number (the number which is stored to MSN-number 3). The phone will
answer automatically and it turns off then you finish the call. Observation! Means the
room monitor is activated it will go on then somebody make a call to MSN-number 3.
LANGUAGE
This function set the language in the display. Choose between Swedish, Norwegian or
English. Observation that all the text from the PTT will show in English.
Page 32

30
SETTING DORO KRONOS
DATE AND TIME
The date and time will automatically be adjusted then you make a external call. You can
also adjust this manual.
CHARGE DISPLAY
This function is not in use in Sweden.
Page 33

31
DORO KRONOS SETTING
CALL BLOCKING
This function barrier different type of outgoing calls. This function is great if the phone
uses of several persons and you want to be shore that no expensive calls makes..
There is following barrier:
"Global Block":
This function block all outgoing calls. As soon you try to make a call will the display
show "Call Global Blocked ! ". You can make exception to five phone number t here you
can make calls.
Page 34

32
SETTING DORO KRONOS
"Partial Block"
With this function could you block five phone numbers. You can make calls to all other
numbers. All phone number that begins on that digits you have blocked will not be called.
That means that you need just to enter ex "071" and all phone number that begins on
"071" will be blocked.
"Phone Silent"
This function turns only off the ring signal. You can still answer incoming calls and make
outgoing calls.
Page 35

33
DORO KRONOS SETTING
RING SIGNALS
The phones ring signal could be adjust to several different kinds, both in level and tone.
The ring signal could be different on every MSN number.
Every ring signal could be adjust in eight different tones (01-08) and nine different level
(00-08) there "00" is off.
PREFIX
The prefix told the phone which the digit for abroad and national calls begin on. This is
important so the caller identity will show correct phone numbers. This kind of information
will not be send from your PTT.
In "NAT. Prefix ?" enter you digit "0".
In "INT. Prefix ?" depends on which PTT you use.
Page 36

34
SETTING DORO KRONOS
CHANGE PIN-CODE
You can change the PIN-code at any time you want. You must erase the phone if you
forgot the PIN-code (see page 35).
You can enter any five digits code you want.
Page 37

35
DORO KRONOS OTHER
ERASE
You can erase the phone if you got problem with the phone, or you have forgot the PINcode. There are two different erase. One erase all functions to factory setting and the
other erase just the PIN-code to 00000.
TOTAL ERASE (ALL SETTING):
P Press the functions button .
P Press or until the display show "Service ?".
P Press the button. The display show "PIN-code >>".
P Enter: * 9 9 9 9
P Press the button.
ERASE PIN-CODE:
P Press the functions button .
P Press or until the display show "Service ?".
P Press the button. The display show "PIN-code >>".
P Enter: * 9 9 9 6
P Press the button.
EMERGENCY MODE
On the back side of the phone there is a switch that you use if there is any power cut. If
there is a power cut put the switch to the "emergency mode". Now can you dial with the
phone. Put back the switch then the power comes back. Then there is a power cut the
phones function will be limit.
Page 38

36
OTHER DORO KRONOS
TROUBLE GUIDE
If the phone doesn't work, please read this manual first.
THE PHONE DOESN'T WORK
P Control all cables..
P Connect a another ISDN-phone, that you know work. If this work there is problem
with your DORO Kronos.
P Try the phone on a another ISDN-line. If the phone work, the problem is in your
ISDN-line.
NO RING SIGNAL
P Control that the ring signal not is turned off. Observation that every MSN-number
have a own ring signal.
FORWARDING DOESN'T WORK
P This could depend on that your ISDN-line could not handle this function. (Function
Protocol). Take contact with your PTT.
THE CALLER IDENTITY GIVES WRONG NUMBER
P Control that the prefix function is correct.
Page 39

37
DORO KRONOS OTHER
Page 40

 Loading...