

Page 1
miniBar
compressor
RHC 460
RHC 860AC
MBC 600A
Type HC20/60
822 6100-35
ENGLISH
INSTRUCTIONS for USE
INSTALLATION INSTRUCTIONS
T.D. 03/2003
SERVICE OFFICE
The Dometic Corp.
509 So. Poplar St.
La Grange, IN 46761
Phone: 219 463 4858
Sales Office
Intercon Marketing
1540 Northgate Blvd.
Sarasotu, Fl 34234
Phone: 941-355-4488
FOR SERVICE CENTER
ASSISTANCE
CALL: 800 544 4881
WARNING
Improper installation, adjustment, alteration, service or maintenance can cause injury or property damage. Refer to this manual.
For assistance or additional information consult a qualified
installer or service agency .
IMPORTANT INSTRUCTIONS
READ CAREFULLY
RECORD THIS INFORMATION FOR FUTURE REFERENCE
BEFORE INSTALLING THE UNIT:
Model No. Serial No.
Product No.
Date Purchased Place of Purchase
9801370
Page 2

2
1.0 INTRODUCTION 3
2.0 FOR YOUR SAFETY 3
2.1 Warnings and Safety Advice 3
2.2 Coolant 3
3.0 WARRANTY AND 3
CUSTOMER SERVICE
4.0 INSTALLATION 4
4.1 The Purpose of this Manual 4
4.2 Tools/Materials Required 4
4.3 Unpacking 4
4.4 Cleaning 4
4.5 Technical Data 5
4.6 Connecting the Device to the 7
Electricity Supply
4.7 Securing 5
4.8 Installation 6
4.9 Changing the Sliding Hinge 7
4.10 Changing the Doorhang 8
5.0 INSTRUCTION for USE 9
5.1 Initial Operation 9
5.2 Temperature Control 9
5.3 Interior Light 9
5.4 Check List 10
5.5 Environmental Advice 11
5.6 Disposal 11
5.7 Energy Saving Tips 11
5.8 Declaration of Conformity 11
TABLE of CONTENTS
These operating instructions should be kept in a safe place.
If this device is passed on, please include these operating
instructions with it.
Page 3
3
INTRODUCTION
You have made an excellent choice by choosing the Dometic miniBar.
We are convinced that you will be satisfied with your new appliance in every way.
This compressor miniBar fulfils high quality standards and guarantees an efficient use
of resources and energy during its entire working life, i.e. during manufacturing, use
and disposal.
Please study the installation and operating instructions carefully before
attempting to operate the miniBar.
FOR YOUR SAFETY
Warnings and Safety Advice
In the interests of children's safety:
When disposing of the refrigerator, remove all doors and leave the
shelves inside. This prevents children from being accidentally trapped or
suffocated in the refrigerator.
Never open the cooling unit - it is under high pressure.
Never store explosive substances, such as lighter fuel, petrol, ether or
similar products in the miniBar.
The minibar is not suitable for the proper storage of medications.
The miniBar must be installed in such a way that accidental contact with
the cooling unit (which heats up when in use) is impossible.
The appliance has to be connected to a properly earthed socket in line
with the relevant valid country regulations.
Servicing must only be carried out by authorised service personnel.
Coolant
R134a is used as a coolant (80g).
WARRANTY AND CUSTOMER SERVICE
Warranty arrangements are in accordance with the normal conditions applicable for
the country concerned.
For warranty or other servicing, please contact our Dometic service department.
Any damage due to improper use is not covered by the warranty. The warranty
does not cover any modifications to the appliance or the use of non-original
Dometic parts; the warranty does not apply if the installation and operating
instructions are not adhered to and no liability shall be entertained. Parts can be
ordered from our Dometic service department.
When contacting customer service, please always state model, product ,
MLC-Code and serial number !
You can find this information on the model label inside the device.
11..00
22..00
2.1
33..00
2.2
e.g.
RHC 460
Page 4
4
INSTALLATION
The Purpose of this Manual
The manual shows you how to:
install the miniBar correctly.
operate the miniBar correctly.
guarantee the miniBar´s correct maintenance and functioning.
deal with faults by yourself.
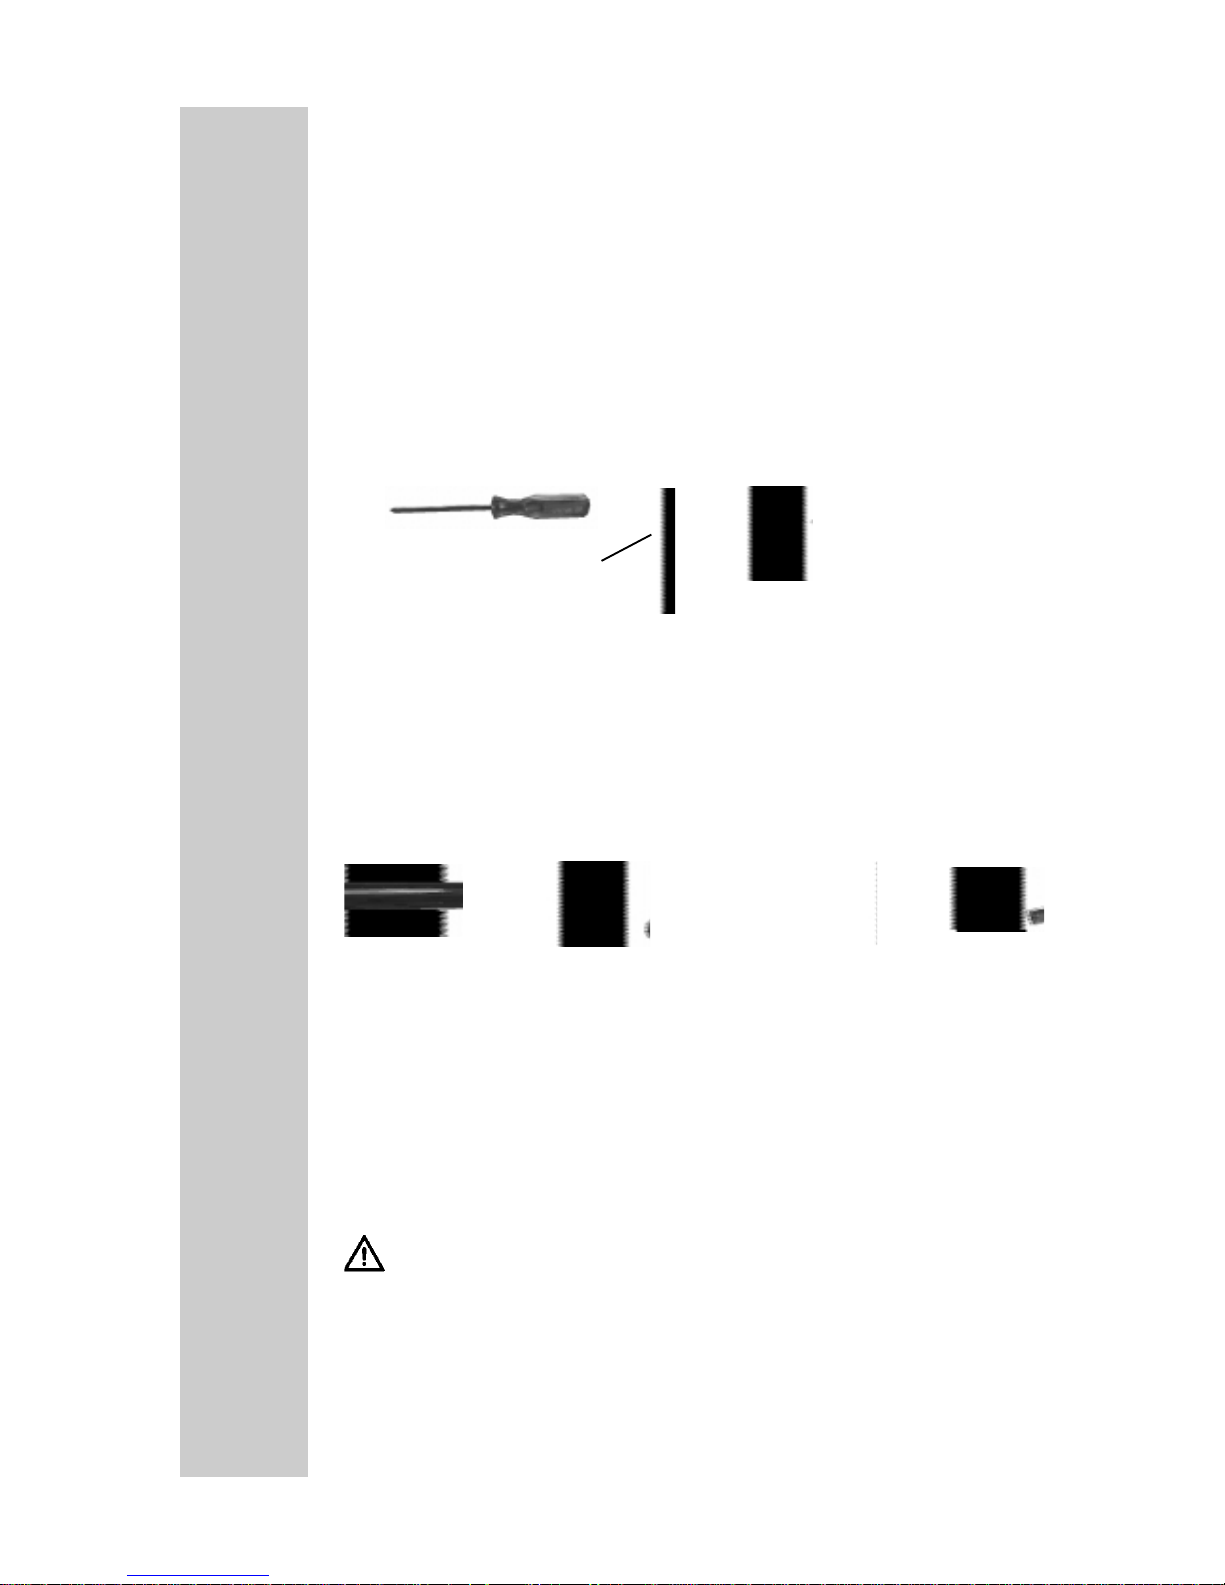
Tools / Materials Required
You will need the following tools for initial operation:
Unpacking
Check during unpacking that the device is defect-free.
Report transport damage to the transport company within 48 hours.
Check that the voltage noted on the model label corresponds to the
mains voltage.
Depending on the model, the following parts can be found in the miniBar :
Cleaning
Before operating the miniBar, we recommend you clean it both inside and
outside.
Use a soft cloth, lukewarm water and a mild detergent.
Following this, wash out the miniBar using clean water and dry thoroughly.
At annual intervals, remove dust from fridge aggregate using a brush or
soft cloth.
WWAARRNNIINNGG::
To prevent material damage:
Do not use soap or detergents which are harsh, coarse or which contain
soda.
Keep the door seal free from oil and grease.
The cylinder locks have been lubricated in the factory to be long-lasting.
4.1
4.2
4.4
44..00
4.3
mild detergent
2x
RHC 460
Page 5

5
Technical Data
Connecting the Device to the Electricity Supply
The device must be connected to a properly
earthed socket in line with the relevant valid
country regulations.
The mains plug must be freely accessible after
installation.
Check prior to initial operation that the voltage
noted on the model label corresponds to the
mains voltage.
If this is not the case, do not connect the
device and contact your dealer!
If the connection cable is damaged it must be replaced by the Customer
Service at Dometic, or by respectively qualified personnel, in order to prevent any hazards.
Securing
4.5
1.Tighten the screws.
2. Afix the cap.
4.6
4.7
The miniBar must be screwed onto the cupboard using
the lower hinges.
We reserve the right to make technical changes and modifications without notice!
Model RHC 460 RHC 860AC / MBC 600A
Casing metal
Gross Contents ( litres) 53
cooled / uncooled 53 / -
Dimensions (mm)
(H x W xD) 563 x 486 x 476
Electrical Rating (W) 50
Power supply 115V-120V / 60Hz
Residual current 9.5 A max
Power Consumption
kWh / 24h 1,2
Net Weight (kg) 20
built-in x
freestanding x
metal
53
53 / -
612 x 486 x 476
50
115V-120V / 60Hz
9.5 A max
1,2
23
x
x
Page 6

6
Installation4.8
1. The miniBar must be level both directions.
2. There should be 20mm clearance to the wall.
3. Ventilation must be provided as shown in
alternatives A, B, C or D.
4. The ventilation duct must at least measure
105mm x the wid
th of the refrigerator.
5. Only the entire cooling unit must project into
the duct as shown.
6 Air p
assing through the duct must not be
preheated by any source of heat.
7. Ventilation grills, if used, must have openings
of at least 200cm² each.
Please follow the installation details below
carefully. Guarantee is valid for products
installed as described only.
IMPORTANT:
min. 20mm
min. 200cm²
min. 200cm²
Page 7

Changing the Sliding Hinge4.9
1.
2.
3.
4.
Distance to cupboard door (A)
A
1. When closed, the cupboard door (A) must not lie against the rest of the
surrounding cupboard area (distance 1-2mm).
1.
2.
1.
2.
7
mm
mm
2. There must be a distance of 6-8mm between the cupboard door and the
miniBar.
Page 8

8
Changing the Doorhang
1.
2.
3.
4.
5. 6.
7.
8. 9.
10.
11.
R
12.
13.
R
L
L
4.10
1.
2.
1.
2.
Page 9

9
5.1
5.3
55..00
5.2
The device must be plugged into a properly
earthed socket.
The miniBar achieves its operating
temperature after approx. one hour.
INSTRUCTION for USE
Temperature Control
Interior Light (when fitted)
When the door is opened, the LED-lighting in the cooling shelf is switched
on via a sensor.
LIGHTING TO BE EXCHANGED BY SERVICE PERSONNEL ONLY.
Initial Operation
To obtain spare bulbs, please contact your Dometic Service Centre.
1. Pull out the
mains plug
2. Remove the reflector
disk.
3. Remove defective
LED-board.
4. Insert new LED-board
5. Clip reflector disk
back in
Changing the printed board with LEDs:
RHC 860AC:
Please refer to the installation advices of the AMS system manual!
The temperature in the cooling
compartment can be regulated
with a thermostat.
The thermostat control button is
situated in the compartment’s rear
area.
Page 10

Check List
10
5.4
Failure : No cooling (the aggregate at the back of the device is cold).
Possible Cause Self Help Authorised Service
a.) The thermostat is set to “0”.
b.) The device plug is not
plugged in.
c.) No voltage in socket.
a.) Set temperature control to
middle position.
b.) Plug in device plug.
c.) Check building fuse..
Failure : No cooling (the aggregate is warm).
Possible Cause Self Help Authorised Service
a.) The device was only
switched on a short while ago.
b.) Defective cooling aggregate.
a.) Switch on the device and
let it run for 1 hour.
b.) Exchange fridge
Failure : Poor Cooling Performance.
Possible Cause Self Help Authorised Service
a.) The cooling aggregate is not
sufficiently ventilated.
b.) The fridge door does not
close tightly.
c.) Light permanently on when
door closed.
d.) The fridge was stocked a
short while ago.
a.) Check that the ventilation
grilles are not covered. Check
that device has been installed
properly (installation instruction
4.5)
b.) Check installation in line
4.5.
d.) Check fridge after 1 hour
for proper cooling.
b.) Is door magnet
there? Install new door,
if required.
c.) Replace lighting
sensor. Install new door,
if required.
Failure : Frost formation in fridge.
Possible Cause Self Help Authorised Service
a.) The fridge door does not
close tightly.
a)Check installation in line 4.5.
a.) Is door magnet
there? Install new door,
if required.
Page 11

11
Environmental Advice
miniBars manufactured by Dometic GmbH are free from CFCs / HCFCs
and fluorinated hydrocarbons.
The cooling unit uses R134a as the coolant
Cyclopentane, which does not damage the ozone layer, is used as
propellant for the insulation made from PU-foam.
Disposal
In order to ensure the re-use of recyclable packaging materials, these must
be disposed of using local collection systems. The device itself must be
handed over to a disposal company or local council which will guarantee
the correct use of recyclable materials and the proper disposal of the rest.
Energy Saving Tips
If possible, always store pre-cooled goods.
Do not place the miniBar close to a source of heat.
An unobstructed air circulation in the fridge aggregate must be
ensured.
When removing goods, only open the miniBar briefly.
Switch on the miniBar approx. 1 hour prior to stocking.
Declaration of Conformity
5.5
5.6
5.8
5.7
Page 12

Dometic GmbH
In der Steinwiese 16
D-57074 Siegen
GERMANY
Tel.: +49-(0) 271 / 692 0
Fax: +49-(0) 271 / 692 300
www.dometic.de/minibar
www.dometic.com
© Dometic GmbH - 2003 - Subject to change without notice -
 Loading...