

Page 1

DCS-960L
HD Ultra-Wide View Wi-Fi Camera
Quick Install Guide
Page 2
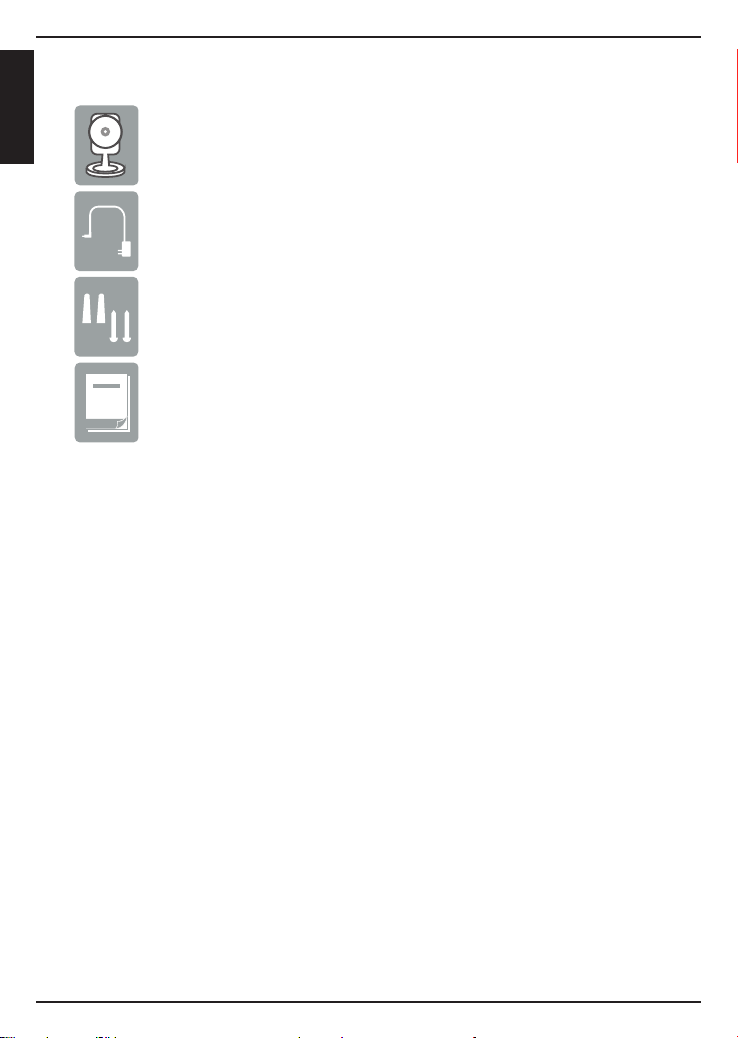
Package Contents
ENGLISH
DCS-960L HD Ultra-Wide View Wi-Fi Camera
Power Adapter
Mounting Hardware
Quick Install Guide
If any of the above items are missing, please contact your reseller.
Minimum Requirements
Mobile Device (to use mydlink Lite app)
• iPhone, iPad, Android smartphone or tablet, or Windows Phone 8/8.1
(Refer to the mobile app’s store page to see if your device is compatible)
Network Device and Service
• A wireless router (802.11ac/n/g/a) with Internet service
• An e-mail account (required to create a mydlink® account)
* If you use a mobile device with the mydlink Lite app, a PC is not required for
setup. Refer to Setting up Your Camera on page 4.
For warranty and regulatory information, please visit:
http://support.dlink.com/download.ashx?type=w&le=DCS-960L
2
Page 3
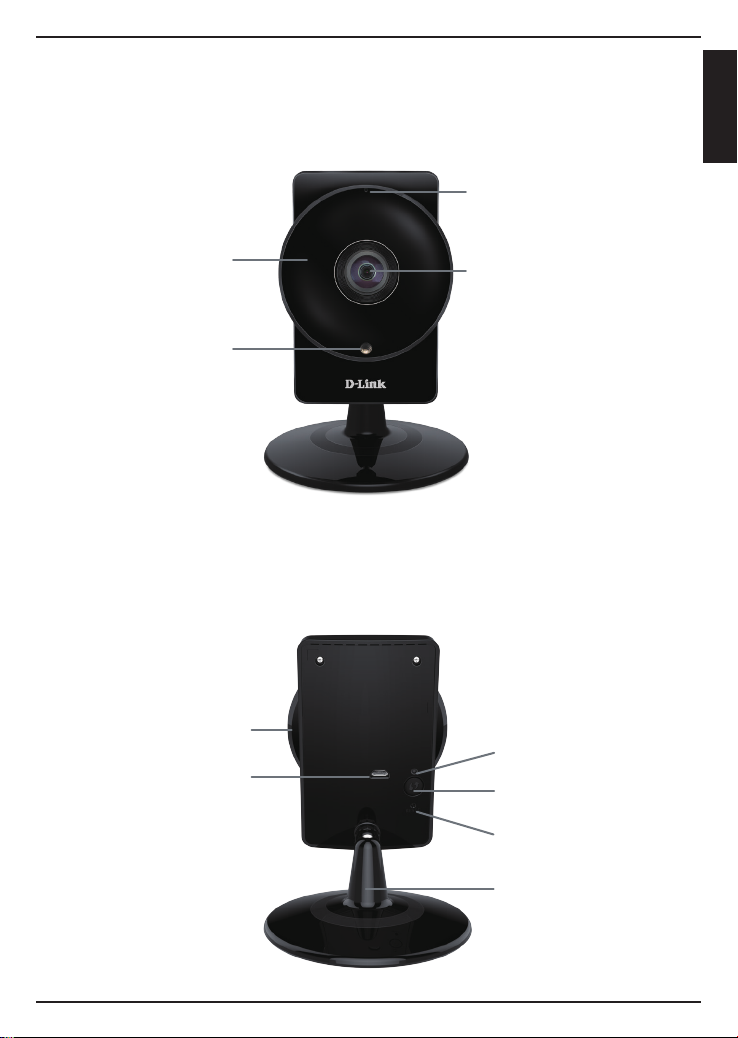
Product Overview
Front
Microphone
ENGLISH
IR LEDs (inside)
Light Sensor
microSD Slot
(on side)
MicroUSB Port
(for power)
Camera Lens
Back
WPS/Status LED
WPS Button
Reset Button
Camera Stand
3
Page 4

ENGLISH
Setting Up Your Camera
Download the free mydlink Lite app on your smartphone or tablet by
1
scanning the QR code below, or by searching for mydlink Lite in the app
store for your device.
System Requirements: Refer to the mydlink Lite app page on the Apple App Store, Google Play, or Windows Phone Store.
Launch the mydlink Lite app, then create a new account or log in to your
2
existing account.
The app will guide you through the rest of the conguration process.
3
4
Page 5

Mount the Camera
Please refer to the steps below to assist you with mounting the camera.
We suggest that you congure the camera before mounting.
ENGLISH
1. Turn the base plate on the bottom of the camera
counterclockwise with a coin to remove it.
2. Place the base plate where you want to position the
camera and use a pencil to mark the holes. Make sure the
holes are lined up horizontally.
3. Depending on the material of the wall or ceiling, use proper
tools to drill two holes 25mm deep with a 6mm drill bit
where you marked. If the wall is made out of concrete, drill
the holes first, then insert the plastic anchors to support
the screws.
4. Place the base plate over the holes that are in the wall.
Make sure to align the base plate holes with the holes in
the wall. Use the supplied screws to attach the base plate
to the surface of the wall. Do not overtighten screwheads
as this may crack the mount.
5. Place the camera over the base plate and turn the camera
clockwise to lock it in place.
1
2
3
4
5
6. Adjust the angle of the camera as desired.
6
5
Page 6

FAQs
1. What is a mydlink No.? What is it used for?
Each camera has a unique eight-digit mydlink No. which will be shown on
ENGLISH
the label on the back of your camera. This eight-digit number identies
your device, and is required to add your device to your mydlink account.
2. What can I do if my DCS-960L is not working correctly?
• Reset the camera (see next step) and run the setup steps starting
on page 4 again.
• To make sure your hardware is installed correctly, make sure that:
- the WPS/Status LED is green
- your Internet connection is working
- your router’s LAN & WAN connections are working
- your router supports UPnP
- your camera is on the same network as your mobile device
- both your mobile device and camera have a working Internet connection
• If your camera is still not working, check your router and make sure it
has the latest rmware.
3. What can I do if I forget my password?
If you forget your password, you must reset the
camera. Unfortunately, this process will change
your settings back to factory default. To reset the
camera, locate the reset button on the back of
the camera. With the camera powered on, use an
unfolded paper clip to hold the button down for
10 seconds. Run the setup procedure located on
page 4 once the camera restarts.
®
Reset
Button
4. Why is there a white haze when viewing in night vision mode?
When viewing in night vision mode, the IR lights on the camera may be
reecting o a nearby surface. Try repositioning the camera in order to
avoid glare from IR LEDs.
6
Page 7

Notes
ENGLISH
7
Page 8

Technical Support
This guide is only for initial conguration. Please refer to the user
manual to learn more or visit http://www.mydlink.com for more
information. Also feel free to contact us. U.S. and Canadian customers
can contact D-Link Technical Support through our website.
USA
http://support.dlink.com
Canada
http://support.dlink.ca
Version 1.00(US)_90x130
August 15, 2015
29072600960LA11
Copyright ©2015 All rights reserved. D-Link and the D-Link logo are registered trademarks of D-Link
Corporation or its subsidiaries. Other trademarks are the property of their respective owners. Maximum
wireless signal rate derived from IEEE Standard 802.11ac and 802.11n specications. Actual data
throughput will vary. Network conditions and environmental factors, including volume of network
trac, building materials and construction, and network overhead, lower actual data throughput rate.
Environmental factors will adversely aect wireless signal range. Product specications, size and shape are
subject to change without notice, and actual product appearance may dier from that depicted on the
packaging. Visit dlink.com (US) or dlink.ca (Canada) for more details.
 Loading...