

Dell Wyse 3000 Installation And Setup Manual

Dell Wyse 3000 Edge MicroServer Installation and
Setup Guide
July 2015

Table of Contents
1.
Introduction .......................................................................................... 1-1
About the Dell WYSE 3000............................................................................................... 1-1
2.
Installation and Setup .......................................................................... 2-1
Login to the Dell Wyse 3000 device ................................................................................ 2-1
Set Up a Websocket Connection ..................................................................................... 2-2
3.
Establishing and Testing a Connection ............................................. 3-8
Connect to the Dell WYSE 3000 via Serial Port .............................................................. 3-8
Connect the Dell WYSE 3000 to the ThingWorx Platform .............................................. 3-9
4.
Troubleshooting .....................................................................4-15

ThingWorx EMS Setup Guide
for the Dell WYSE 3000
Page 1-1
1.
Introduction
The Edge MicroServer is a powerful component of the ThingWorx architecture. The Edge
MicroServer allows for the rapid deployment of connections between the ThingWorx platform and
an associated data reporting device, with minimal design requirements on the part of the user.
The Edge MicroServer provides an “always-on” connection to the platform, and it opens a local web
server that interacts with the REST API available on the platform.
This document provides installation and usage instructions for setting up the Edge MicroServer
with the Dell WYSE 3000.
About the Dell WYSE 3000
The Dell WYSE 3000 is a multi-port x86 Intel-based thin client device, running Windows Embedded
Standard 7. It is manufactured by Dell Inc., and is intended for use as a rapid-connecting specialized
and limited-role device.
Specifications of the device as tested for this guide include an Intel® Celeron® CPU N2807
@1.57Ghz, 4.00GB of RAM, and 16GB of flash memory.
The Edge MicroServer Win32 distribution may be installed on the Dell WYSE 3000, and this guide
will follow the procedure for doing so. This guide will also follow the features involved with
simulating a connection and pushing and pulling data from the Dell WYSE 3000 to the ThingWorx
as a remote thing.

ThingWorx EMS Setup Guide
for the Dell WYSE 3000
Page 2-1
2.
1. Connect a monitor, mouse, and keyboard
to the device, and power it on.
2.
After the device automatically logs in,
hold down the “shift” key and click Start
> Log off. Continue holding the shift key
until the system asks you to choose an
account to login to.
3. Choose “Adminstrator”, and log in. The
default password is “DellCCCvdi”.
4. On the Windows Embedded 7 Desktop,
open the “Networking and Sharing
Center”, and then go to Windows
Firewall.
Disable all Firewalls.
Installation and Setup
Setup of the Dell WYSE 3000 with an EMS will first require connecting to the Dell Wyse 3000 from a
computer via Ethernet cable and a local DHCP Server. Please note that this guide was written
for a computer running Microsoft Windows.
Refer to the Troubleshooting section of this guide for help with frequently asked questions.
Login to the Dell Wyse 3000 device
ThingWorx EMS Setup Guide
for the Dell WYSE 3000
Page 2-2
Set Up a Websocket Connection
1. This section begins by setting up Windows
DHCP server on the ThingWorx host
computer. If you already have this client
set up on your host computer, then skip
ahead to opening up a websocket
connection.
Begin by downloading the DHCP server
installer for Windows from:
http://www.dhcpserver.de/cms/
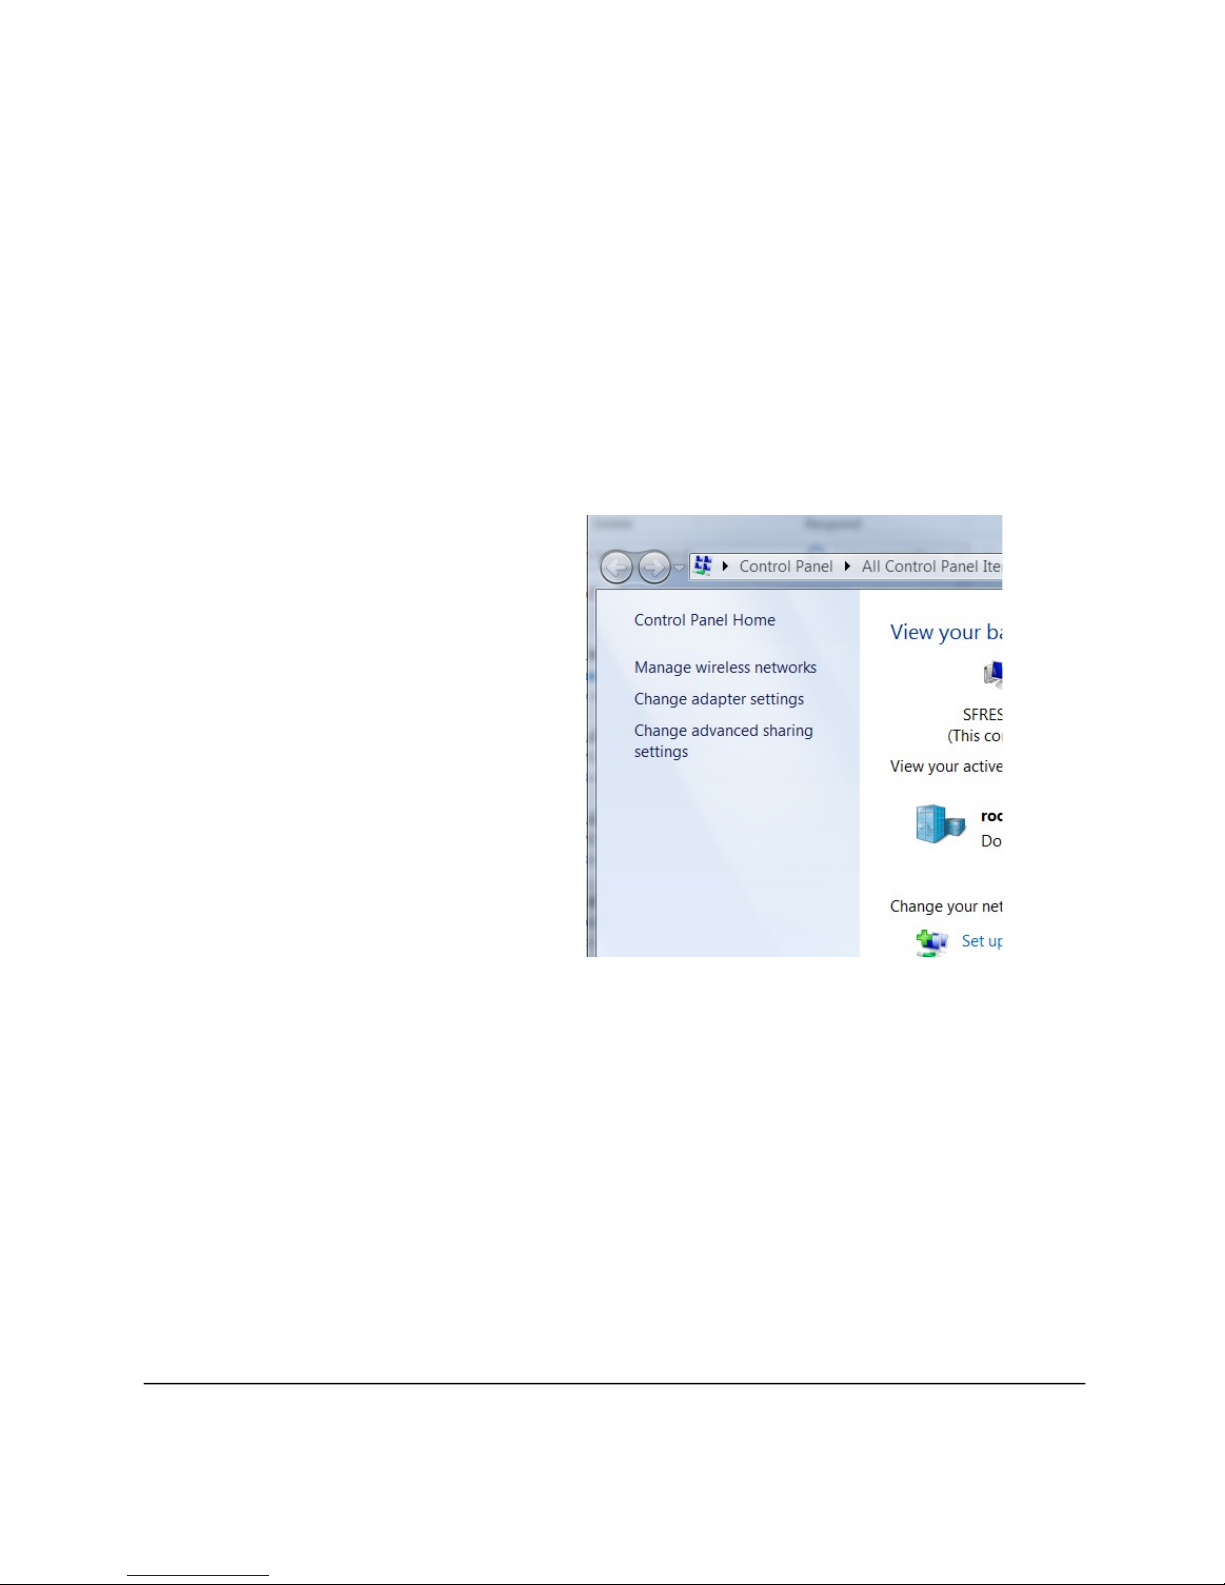
2. In Windows, before installing the DHCP
server, open “Network and Sharing
Center”, and then click the link on the left
for “Change Adapter Settings”
ThingWorx EMS Setup Guide
for the Dell WYSE 3000
Page 2-3
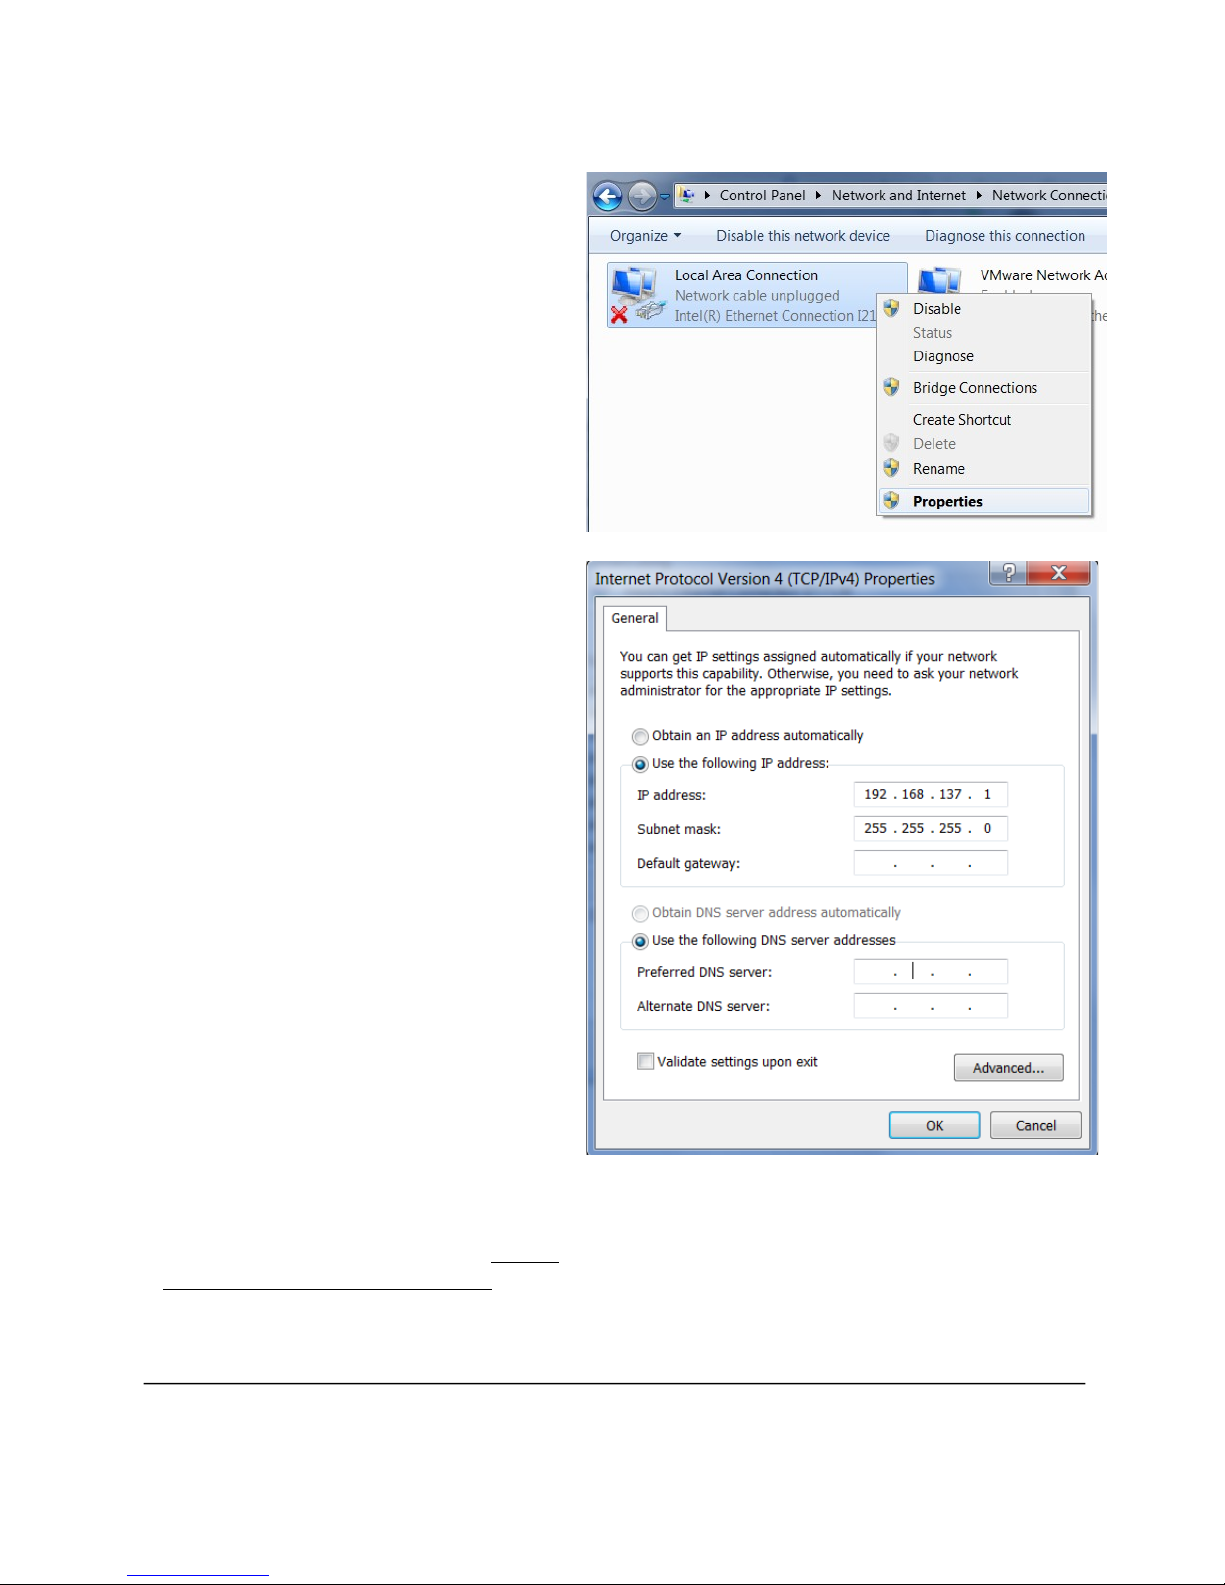
3. Right-Click on “Local Area Connection”,
and choose “Properties”.
4. Select “Internet Protocol Version 4”, and
then click “Properties”. Click the button
for “Use the following IP address”, and set
a private IP address that starts with
“192.168…”. Subnet Mask may be left as
255.255.255.0
5.
Connect the Dell Wyse 3000 device to your
computer with an Ethernet cable. Note:
From here on out, you may wish to disable
any connection to another network to
 Loading...