

Clockaudio ARM 102-C MK2, ARM 100-C MK2 Instructions Manual
1
Clockaudio
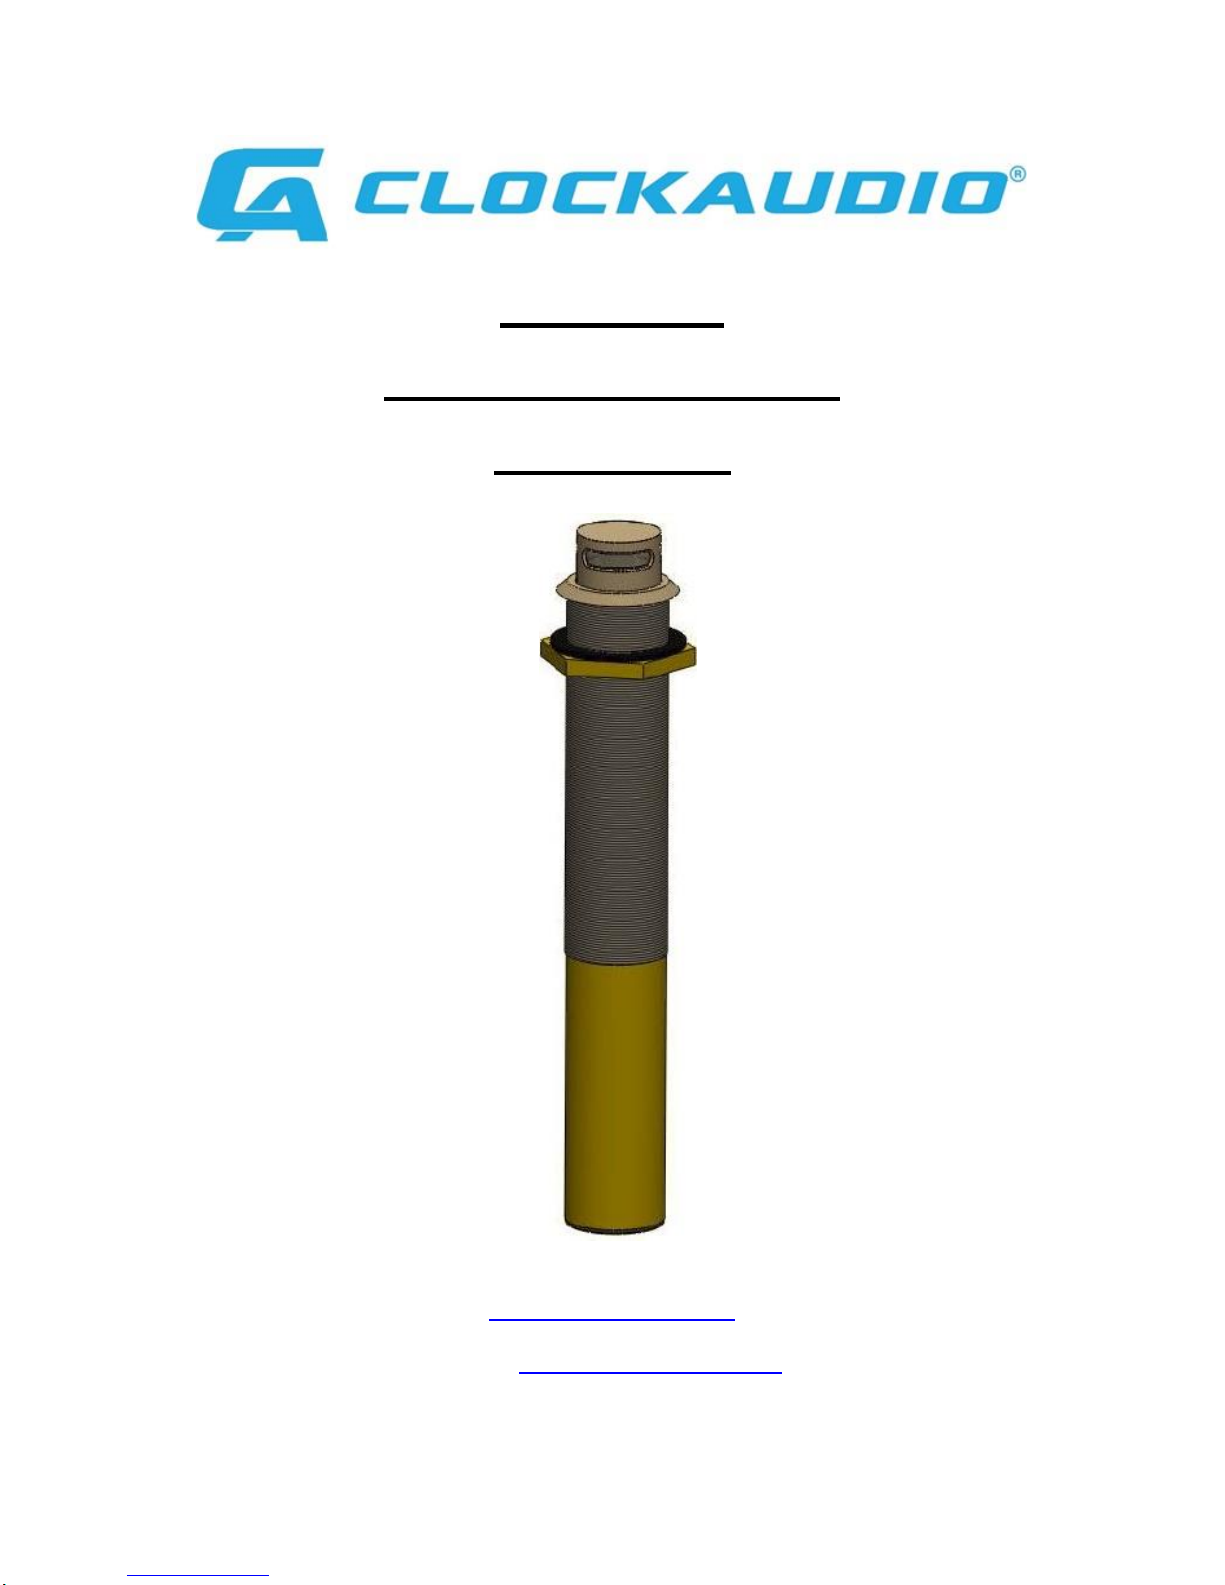
ARM 100 / 102 / -C MK2
Instructions
www.clockaudio.com
email: info@clockaudio.co.uk
Clockaudio Ltd, Wellington Gate, Silverthorne Way,
Waterlooville, Hampshire, PO7 7XY, England

2
Thank you for purchasing a Clockaudio product. We are confident that this product
will give you many years of trouble free operation.
As part of Clockaudio’s continual ongoing programme of product development,
improvements to the existing ARM microphone range including the ARM-C controller
have been made to further increase the already excellent reliability.
CONTENTS
1. ARM-C Control Unit Overview ........................................................................................ 3
2. Installation ...................................................................................................................... 4
3. Connecting Multiple ARM-C Controllers ................................................................ ......... 5
4. Rear Panel ..................................................................................................................... 6
5. Pinouts for RJ12 DSP/Cable .......................................................................................... 6
6. Troubleshooting Guide ................................................................................................... 7
7. Specifications ................................................................................................................. 8
7.1. ARM 100 and ARM 102N ........................................................................................ 8
7.2. ARM-C Controller.................................................................................................... 8
8. Product Warranty ........................................................................................................... 9
9. Disposal of Unit ............................................................................................................ 10
IMPORTANT INFORMATION
It is important not to connect the ARM V2 microphone to an existing ARM-C controller or an
existing ARM microphone to an ARM-C MK2 controller. It will not work.
The ARM V2 microphones can only be connected with ARM-C MK2 controllers.
3
1. ARM-C Control Unit Overview
The ARM-C controller allows a DSP to instruct up to 4 ARM microphones to be
raised or lowered. Up to four units can be daisy chained (using the Link to DSP input
connection). Thus allowing a DSP using a single control line to raise/lower up to 16
ARM microphones.
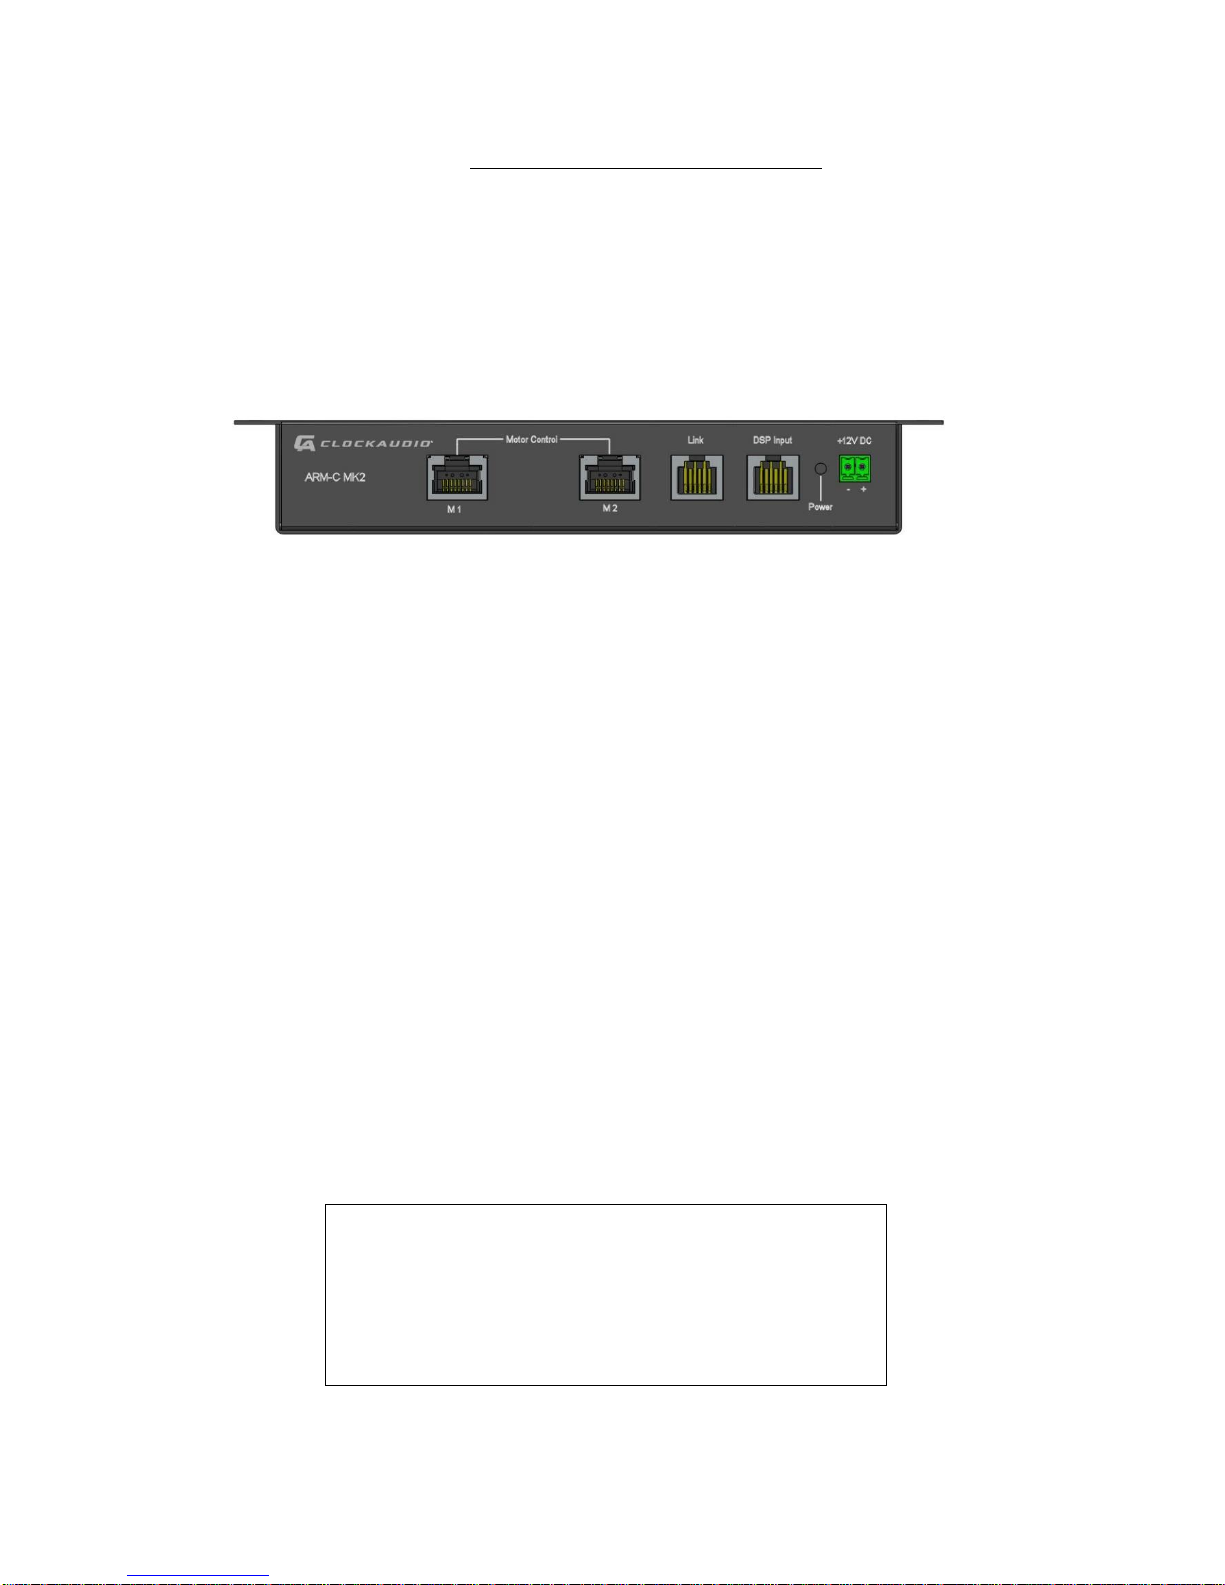
Supports 2 x RJ12 ports; one for DSP Input and one for Link which can be
used to connect to another ARM-C’s DSP Input. A single command from a
DSP will simultaneously activate all connected ARM motorised microphones.
Supports 4 x RJ45 ports (M1 – M4) that allow for fast and easy connection of
4 x ARM motorized microphones. M1 and M2 on the front of the unit while M3
and M4 are on the rear of the unit.
A positive (+2.5V to +12V) signal applied at the DSP Input port will
simultaneously activate all ARM motorised microphones connected to the
control unit’s M1 – M4 motor outlet ports.
Logic input to the DSP Input port shall be on pin 2 (Live); pin 1 is Gnd.
Removable Phoenix connector provides connection to an external 12V DC 2A
supply (ARM-PSU 1).
LED power indicator.
Flanges on the unit provide a simple screw fixing of ARM-C controller.
Warning: Under no circumstances must any equipment
other than ARM V2 microphones be connected
to any of the M1 – M4 sockets of the ARM-C
MK2 controller unit. Serious damage will occur
to equipment and/or controller unit which is not
covered under warranty.
 Loading...