

Page 1
Festoon String
Instructions
rated and comes with a cap meant to terminate the end of the Festoon string. ALWAYS terminate the open end of your string
Instrucciones
erpendicu la r, en un
Instructions
de manière répétée jusqu'à ce que
est conforme à la norme IP43 et est livrée avec un capuchon prévu pour fermer l'extrémité de la guirlande Festoon.
poules
Menu
Enter
Up
Down
1 Festoon String
20 Sockets Total
2 Festoon Strings
40 Sockets Total
3 Festoon Strings
60 Sockets Total
Remember!
Menú
Enter
Arriba
Abajo
1 tira Festoon
20 enchufes en total
2 tiras Festoon
40 enchufes en total
3 tiras Festoon
60 enchufes en total
¡Recuerde!
Menu
Entré
Haut
Bas
1 guirlande Festoon
total de 20 prises
2 guirlandes Festoon
total de 40 prises
3 guirlandes Festoon
total de 60 prises
Rappel !
1. Connect your new Festoon String to the end of your existing Festoon set-up.
2. Insert and secure the 20 Festoon bulbs in to the 20 sockets. (Festoon Bulbs are
sold separately)
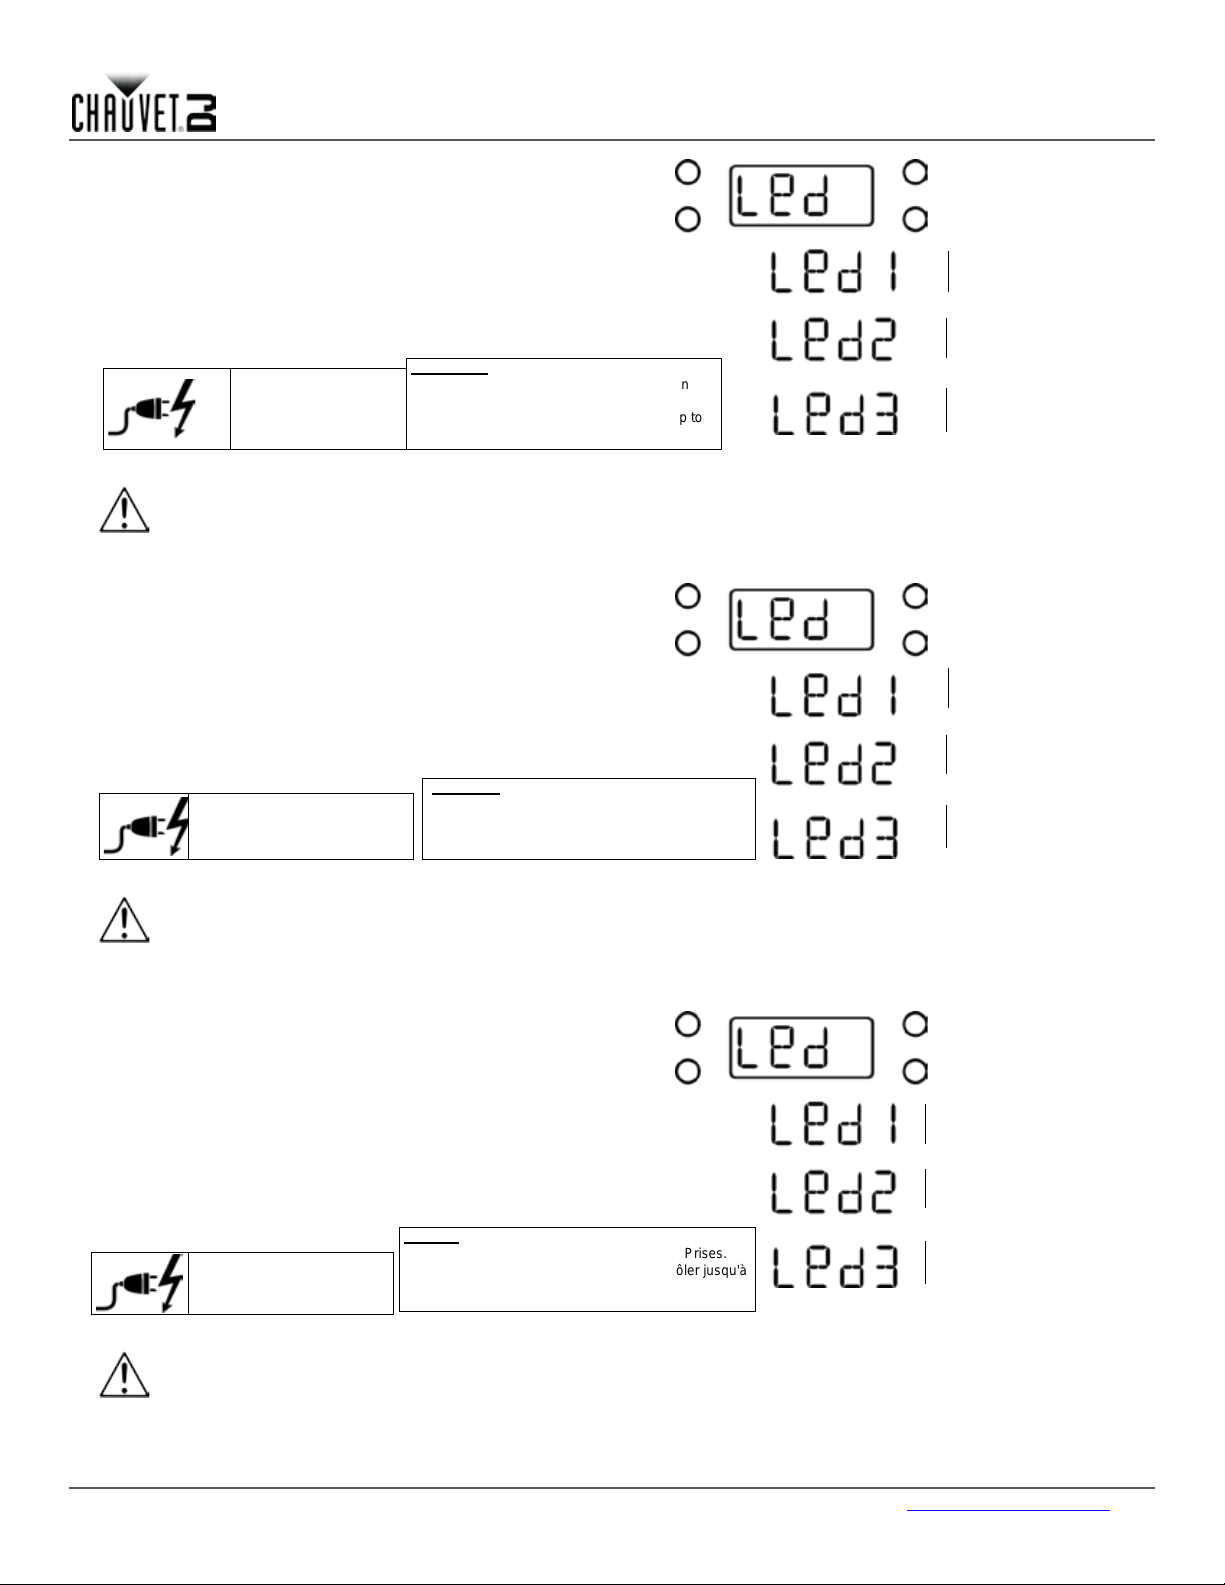
3. Change the Led# setting in the menu of the Fes toon controller.
1. Press <MENU> repeatedly until Led shows on the display.
2. Press <ENTER>.
3. Use <UP> or <DOWN> to select Led1–Led3.
4. Press <ENTER>.
DO NOT connect or
disconnect strings while
product is powere d on.
• Your Festoon String is designed to be used with the Festoon Controller by Chauvet DJ.
• Your Festoon String is IP43
when being used outdoors or near moisture. ALWAYS ensure the bulbs hang at a 90° perpendicular angle to the ground.
• DO NOT USE if the string/s are damaged in any way.
1. Conecte su nuevo F estoon tira al final de su instalación Festoon ac tual.
2. Inserte y fije las 20 bombillas del Festoon en los 20 casquillo s del Festoon
String (las bombillas del Festoon se venden por separado) .
3. Cambie la configuración de Led# en el menú del controlador Festoon.
1. Pulse <MENU> repetidamente hasta que aparezca Led en la pantalla.
2. Pulse <ENTER>.
3. Utilice <UP> o <DOWN> para seleccionar Led1Led3.
4. Pulse <ENTER>
NO conecte o desconecte cuerdas
mientras que el producto está
• Su tira Festoon String está diseñada para usarse con el Festoon Controller de Chauvet DJ.
• Su tira Festoon String viene tiene protección IP43 y viene con una tapa que sirve para terminar el extremo de la tira del festón. Termine SIEMPRE el
extremo ab ie rt o d e su t ira cua nd o l a u se en ex t eri or es o ce rc a de la h umedad. As e gúre s e SI EM PR E de qu e l as b om bi ll as cue l gan en p
ángulo de 90° respecto al suelo.
• NO LO UTILICE si el cable de alimentación, tira/s tienen cualquier tipo de daño.
encendido.
• Each string has 20 sockets for Festoon
bulbs.
• Each Festoon controller can control up to
60 bulbs (3 strings)
• Cada tira tiene 20 enchufes.
• Cada controlador Festoon puede controlar
hasta 60 bombillas (3 tiras)
1. Connectez votre no uvelle ex tension Fe stoon guirlande à l'extrémité de votre
installation Festoon en place.
2. Insérez et serrez le s 20 ampo ules Fes toon dans les 20 connecteurs sur l a g uirlande
Festoon. (les ampoules Fes toon so nt vendue s séparé ment).
3. Changez le paramètre Led# dans le menu du contrôleur Fes toon.
1. Appuyez sur la touche <MENU>
l'affichage indique Led.
2. Appuyez sur la touche <ENTER>.
3. Utilisez les boutons <UP> ou <DOWN> pour sélectionner Led1Led3.
4. Appuyez sur la touche <ENTER>.
NE PAS connecter ou
5200 N.W. 108th Ave., Sunrise, FL 33351 U.S.A. (800) 762-1084 – (954) 577-4455 FAX (954) 929-5560 www.chauvetlighting.com
déconnecter les chaînes tandis
que le produit est sous tension.
• Votre guirlande Festoon String a été conçue pour être utilisée avec le contrôleur Festoon de Chauvet DJ.
• Votre g uirla nde Fes toon String
Prenez soin de TOUJOURS protéger l'extrémité ouverte de votre guirlande lors de l'utilisation en extérieure ou en présence d'humidité. Les am
doivent TOUJOURS être positionnées à un angle de 90° perpendiculaire au sol.
• NE PAS UTILISER si les guirlande/s sont endommagées de quelque manière que ce soit.
• Chaque guirlande est composée de 20 Prises.
• Chaque contrôleur Festoon peut contrôler jusqu'à
60 ampoules trois guirlandes).
Page 2
Festoon String
Anweisungen
auf der Anzeige angezeigt
geliefert. Das offene Ende der
Glühbirnen mü ssen I MMER
Istruzioni
, classificata I P43, viene fornita comple ta di cappellotto di termina zione da inserire all'estremit à della striscia Festoo n.
urarsi SEMPRE che le
Instructies
op het beeldscherm wordt
snoer. Sluit het open einde van
ek van 90° loodrecht op de
Menü
Enter
Nach oben
Nach unten
1 Festoon-Lichterkette
20 Steckdosen.
2 Festoon-Lichterketten
40 Steckdosen
3 Festoon-Lichterketten
60 Steckdosen
Achtung!
Menu
Enter
Up
Down
1 striscia Festoon
20 presa in totale
2 strisce Festoon
40 presa in totale
3 strisce Festoon
60 presa in totale
Tenere presente!
Menu
Enter
Previous
Next
1 Festoon String
20 contactdoos
2 Festoon Strings
40 contactdoos
3 Festoon Strings
60 contactdoos
Niet vergeten
1. Schließen Sie Ihre neue Festoon String am E nde I hrer vor handenen F estoonInstallation an.
2. Schrauben Sie die 20 Festoon-Glühlampen fest in die 20 Fassunge n der FestoonLichterkette ein. (Festoon-Glühl ampen s ind se parat er hältlich.)
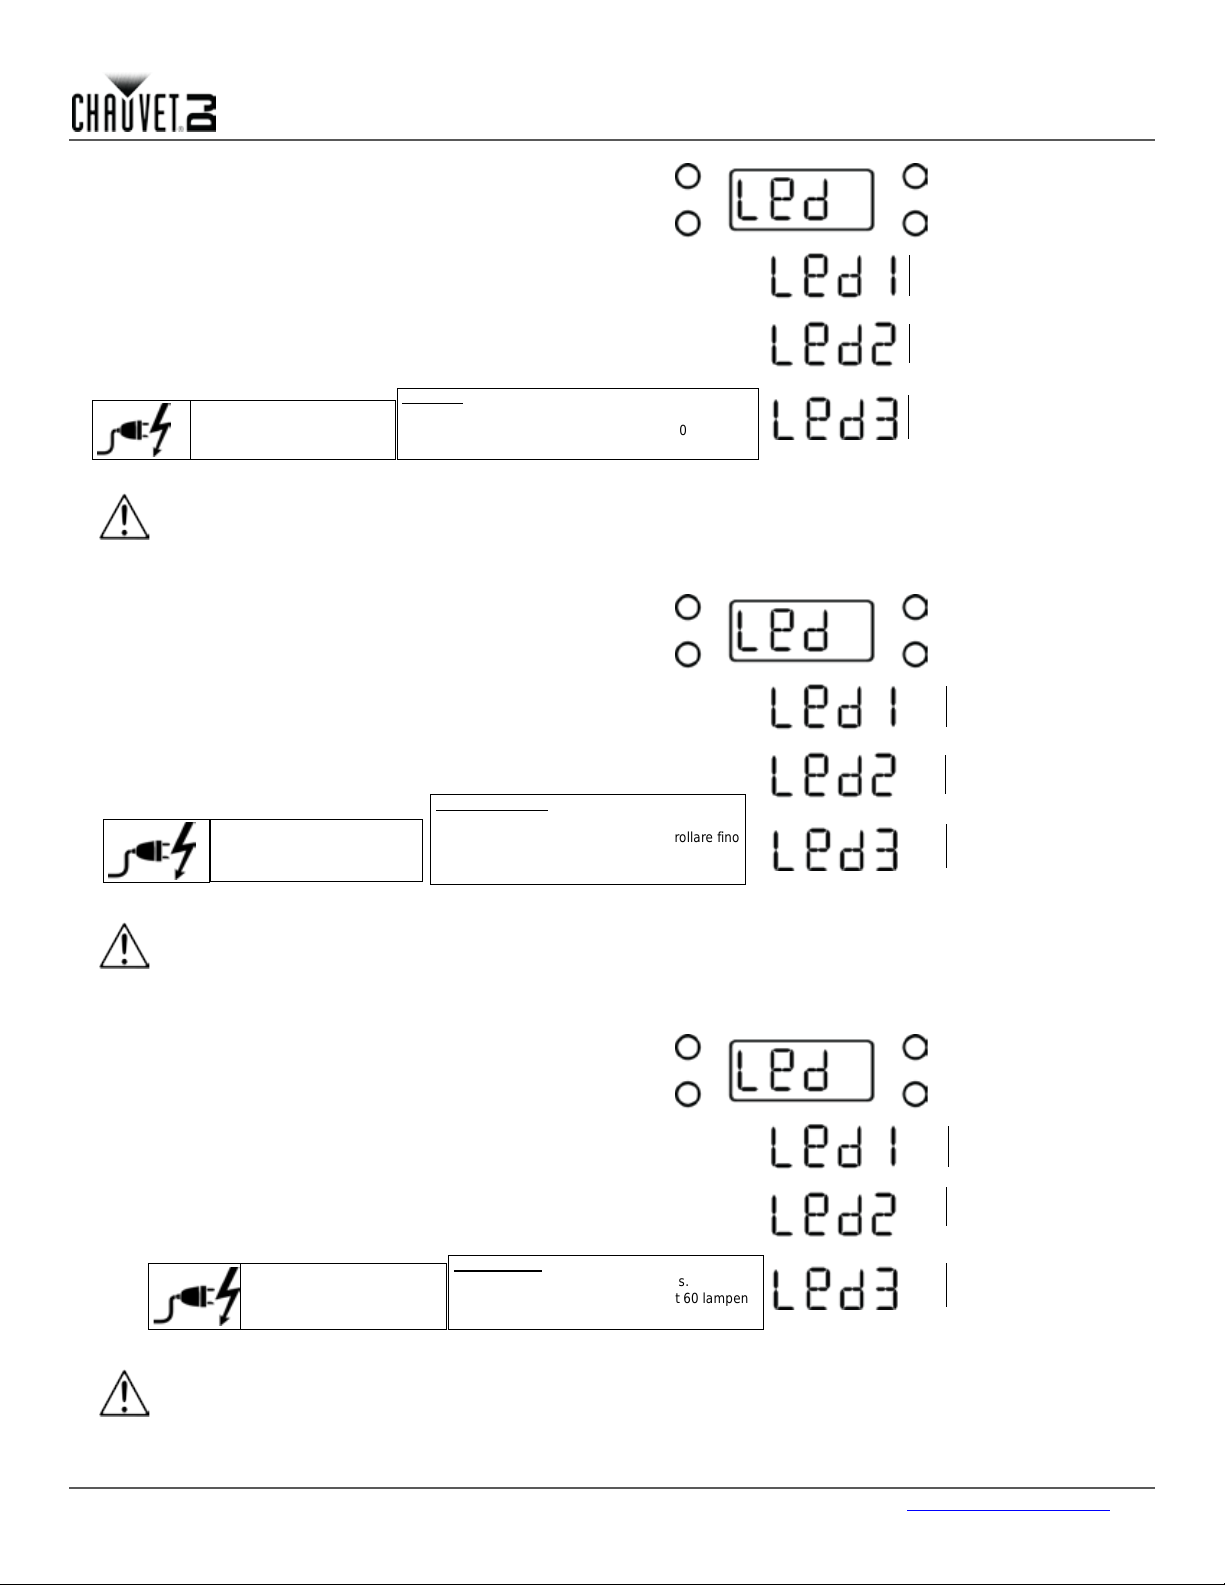
3. Ändern Sie die Einstellung für Led# im Menü des Festoon-Controllers.
1. Betäti gen Sie wi ederholt < MENU>, bis Led
wird.
2. Betätigen Sie <ENTER>.
3. Mit <UP> oder <DOWN> wählen Sie Led1Led3 aus.
4. Betätigen Sie <ENTER>.
Keine Strings verbinden oder
trennen, während Produkt
• Ihre Festoon String- wurde für eine Verwendung mit dem Festoon-Con troller von Chauvet D J entwickelt.
• Ihre Festoon String- ver fügt übe r die Schu tzart I P43 und wir d mit eine r Kappe fü r den Absch luss des En des der Fe stoon -Lichterkette
1. Collegare Festoon String all'estremità dell'installazione Festoon e sistente.
2. Inserire e fissare le 20 lampade Festoon nelle 20 prese della striscia Festoon. (Le
3. Modificare l'impostazione Led# nel menù del controller Festoon.
• NIEMALS VERWENDEN, wenn die Lichterkette in irgendeiner Weise beschädigt sind.
lampade Festoon sono ve ndute separ atamente).
1. Premere ripetutamente <MENU fino a visualizzare sul display Led.
2. Premere <ENTER>.
3. Utilizzare <UP> oppure <DOWN> per selezionare Led1Led3.
4. Premere <ENTER>.
• La striscia Festoon String deve essere utilizzata con il Controller Festoon di Chauvet DJ.
•
• NON UTILIZZARE in caso le strisce presentino danni di qualsiasi genere.
eingeschaltet ist.
Lichterkette muss bei einer Verwendung im Außenbereich oder in der Nähe von Feuchtigkeit IMMER einen Abschluss erhalten. Die
im 90-Grad-Winkel zum Boden aufgehängt werden.
NON collegare o scollegare le
stringhe mentre il prodotto è
La prolunga Festoon String
Utilizzarlo SEMPRE per terminare l'estremità aperta della striscia in caso di impiego in esterni o in prossimità di condensa. Assic
lampade siano perpendicolari al suolo.
acceso.
• Jede Lichterkette hat 20 Steckdosen.
• Jeder Festoon-Controller kann bis zu 60
Glühbirnen (3 Lichterketten) ansteuern
• Ogni striscia ha 20 presa.
• Ogni controller Festoon può controllare fino
a 60 lampade (tre strisce).
1. Sluit uw nieuwe Festoon String aan op het einde van uw bestaande Festoonopstelling.
2. Plaats de 20 Festoo n-lampen in de 20 arm ature n o p het Fe stoo n-snoer.
(Festoon-lampen worden apart verkocht).
3. Wijzig de Led#-instelling in het menu van de Festoon-controller.
1. Druk herhaaldelijk op <MENU> totdat Led
weergegeven.
2. Druk op <ENTER>.
3. Gebruik <UP> of <DOWN> om Led1Led3 te selecteren.
4. Druk op
5200 N.W. 108th Ave., Sunrise, FL 33351 U.S.A. (800) 762-1084 – (954) 577-4455 FAX (954) 929-5560 www.chauvetlighting.com
<ENTER>.
Plaats de 20 Festoon-lampen in
lampen worden apart verk oc ht).
• Uw Festoon String is ontworpen voor gebruik met de Festoon Controller van Chauvet DJ.
• Uw Festoon String gece rti fice erd v olg ens IP 42 e n wo rdt gelev erd m et een d op di e is b edo eld v oor h et e inde v an h et F est oon-
uw snoer ALTIJD af als deze buiten of in de buurt van vocht wordt gebruikt. Zorg er ALTIJD voor dat de lampen in een ho
grond hangen.
• NIET GEBRUIKEN als of de streng op enige wijze zijn beschadigd.
de 20 armaturen op het
Festoon-snoer. (Festoon-
• Elk streng heeft 20 contactdoos.
• Elke Festoon-controller kan tot 60 lampen
aansturen (3 strengen).
 Loading...