

CENTRAL BRASS 0906 Installation Manual
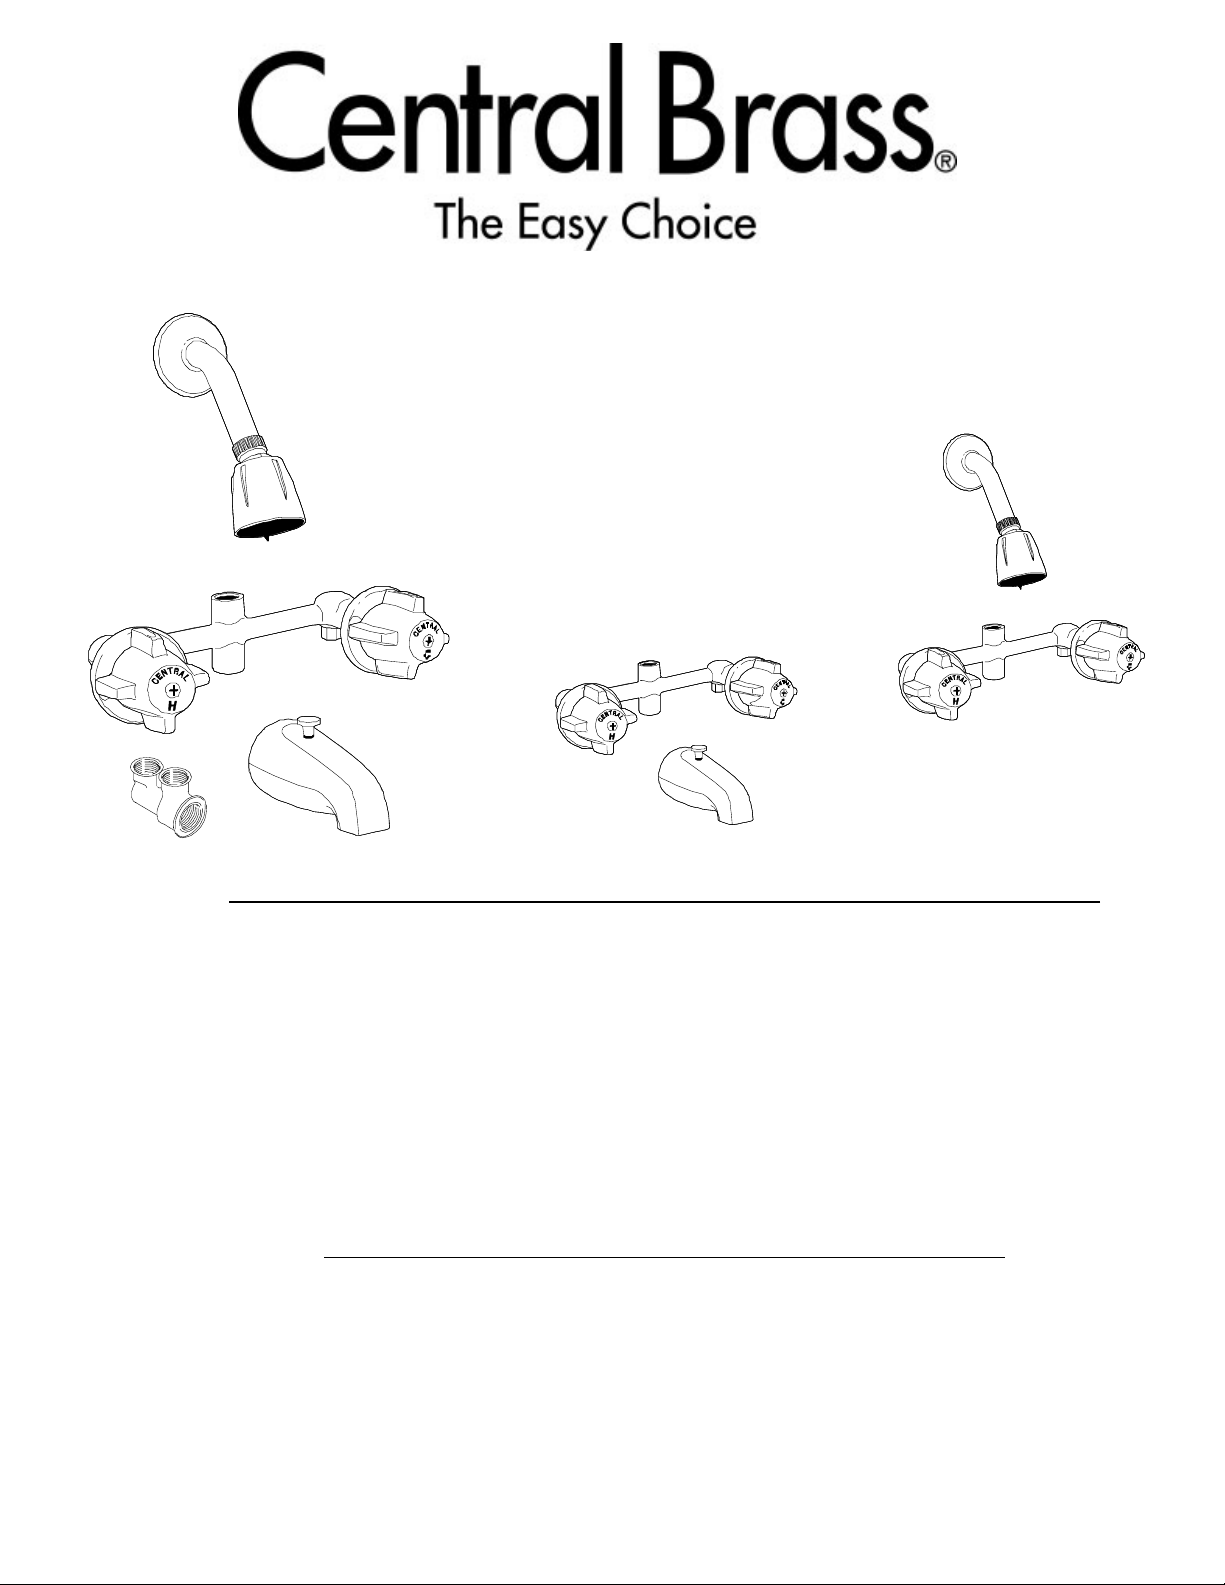
TWO-VALVE
BATH FILLER, SHOWER &
BATH & SHOWER
Cast Brass Body
8" Centers, I.P. Unions, Compression Stems, Replaceable Seats
0905 Series Bath V alve only
0906 Series Bath Filler V alve only with T win Ell & 3/4 IPS Diverter
0907 Series Bath & Shower V alve same as 0906 wIth Shower Head, Arm & Flange
0908 Series Bath Filler Valve with Spout
0926 Series Shower V alve with Shower Head, Arm & Flange
0986 Series Bath Filler V alve with T ransfer Valve & Slip Fit Diverter S pout
0987 Series Bath & Shower V alve same as 0986 with Shower Head, Arm & Flange
0995 Series Bath Filler Valve only with T ransfer V alve
0996 Series Bath Filler V alve with Transfer V alve & 1/2 IPS Diverter S pout
0997 Series Bath & Shower V alve same as 0996 with Shower Head, Arm & Flange
8" Centers, I.P. Unions, Ceramic Stem Assemblies
80908 Series Bath V alve with 1/2 IPS Spout
80926 Series Bath V alve with Shower Head, Arm & Flange
80997 Series Bath V alve with 1/2 IPS Spout, Shower Head, Arm & Flange
CENTRAL BRASS MFG CO
2950 East 55th Street, Cleveland, Ohio 44127
Phone: 216-883-0220 Fax: 216-883-0875 Email: sales @CentralBrass.com
031203 I-0905
www.CentralBrass.com

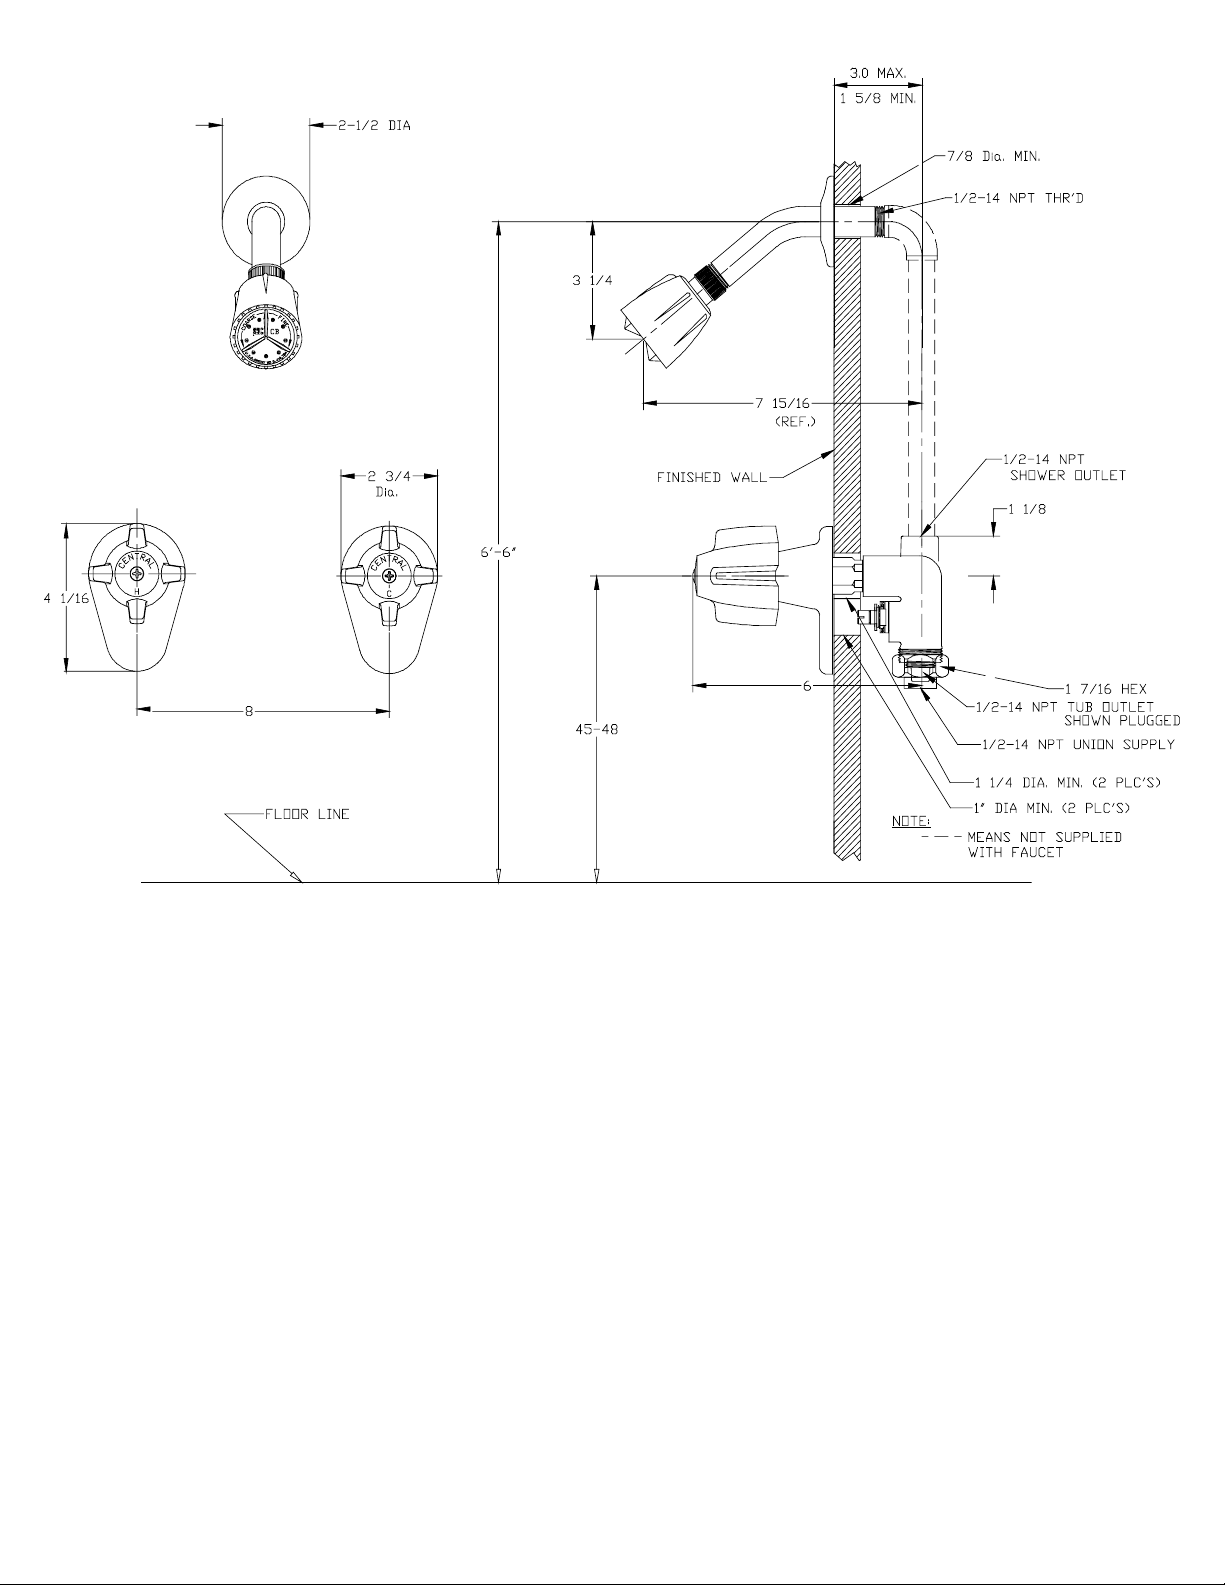
INSTALLATION INSTRUCTIONS
3/4 IPS Diverter Spout
Roughing In Instructions
1. Locate and install valve assembly as shown.
2. Connect hot and cold supply lines.
3. Fabricate and install line for showerhead and spout.
4. Anchor fittings to studs in proper location.
5. T est for operation and leakage before finishing wall.
6. Install protectors on all exposed fittings.
NOTE: Flush waterlines to
remove debris before
installation.
Finishing Instructions
1. Remove fitting protectors.
2. Apply putty as required to prevent water damage to wall.
3. Install finished trim.
4. T est for operation and leakage.
CENTRAL BRASS MFG CO
2950 East 55th Street, Cleveland, Ohio 44127
Phone: 216-883-0220 Fax: 216-883-0875 Email: sales @CentralBrass.com
031203 I-0905
www.CentralBrass.com
INSTALLATION INSTRUCTIONS
for Integral Stops
Roughing In Instructions
1. Locate and install valve assembly as shown.
2. Connect hot and cold supply lines.
3. Fabricate and install line for showerhead and spout.
4. Anchor fittings to studs in proper location.
5. T est for operation and leakage before finishing wall.
6. Install protectors on all exposed fittings.
NOTE: Flush waterlines to
remove debris before
installation.
Finishing Instructions
1. Remove fitting protectors.
2. Apply putty as required to prevent water damage to wall.
3. Install finished trim.
4. T est for operation and leakage.
CENTRAL BRASS MFG CO
2950 East 55th Street, Cleveland, Ohio 44127
Phone: 216-883-0220 Fax: 216-883-0875 Email: sales @CentralBrass.com
031203 I-0905
www.CentralBrass.com
 Loading...