


SKYSCOUT
USER MANUAL

SkyScout Table of Contents
Introduction . . . . . . . . . . . . . . . . . . . . . . . . . . . . . . . . . .pg 2
Parts Identification . . . . . . . . . . . . . . . . . . . . . . . . . . . . .pg 2
Setup . . . . . . . . . . . . . . . . . . . . . . . . . . . . . . . . . . . . . . .pg 3
Menu Navigation . . . . . . . . . . . . . . . . . . . . . . . . . . . . . .pg 3
Navigating the SkyScout . . . . . . . . . . . . . . . . . . . . . . . . .pg 4
Identify Mode . . . . . . . . . . . . . . . . . . . . . . . . . . . . . . . . .pg 4
Locate Mode . . . . . . . . . . . . . . . . . . . . . . . . . . . . . . . . .pg 5
Locating Objects From The SkyScout Database . . . . . . . .pg 6
Playing Audio Narration . . . . . . . . . . . . . . . . . . . . . . . . .pg 6
Exploring Constellations and Asterisms . . . . . . . . . . . . . .pg 7
Field Guide . . . . . . . . . . . . . . . . . . . . . . . . . . . . . . . . . . .pg 7
GPS Mode . . . . . . . . . . . . . . . . . . . . . . . . . . . . . . . . . . .pg 8
a) Viewing GPS Information
Settings Menu . . . . . . . . . . . . . . . . . . . . . . . . . . . . . . . .pg 8-9
a) About menu
b) Enter Time/Location Information Manually
c) Updating Time/Location Information
Help . . . . . . . . . . . . . . . . . . . . . . . . . . . . . . . . . . . . . . . .pg 9
a) Help Button
b) Troubleshooting
Frequently Asked Questions . . . . . . . . . . . . . . . . . . . . . .pg 10
Updating your SkyScout . . . . . . . . . . . . . . . . . . . . . . . . .pg 10-11
a) Installing SkyScout Update Program
SkyScout Specifications . . . . . . . . . . . . . . . . . . . . . . . . . .pg 12
Appendix A - Time Zone Map . . . . . . . . . . . . . . . . . . . . .pg 13
Warranty . . . . . . . . . . . . . . . . . . . . . . . . . . . . . . . . . . . .pg 14
1
Introduction
The SkyScout is a revolutionary handheld device that uses advanced GPS technology with
point-and-click convenience to identify and locate thousands of stars, planets, constellations and more.
Identify
Simply point the SkyScout at nearly any star in the sky and click the "target" button. The SkyScout will
identify and display the object you are looking at.
Locate
To locate a star or planet, select the object's name from the menu and follow the directional arrows
through the viewfinder. SkyScout shows you when you are on target. It's that easy!
Learn
Once you have targeted an object, the real fun begins. The SkyScout includes entertaining and
educational audio and text information, including facts, history and mythology about the most popular
celestial objects in the sky.
A fun learning tool for all ages, the SkyScout Personal Planetarium puts the knowledge of an expert
astronomer in the palm of your hand.
Parts Identification
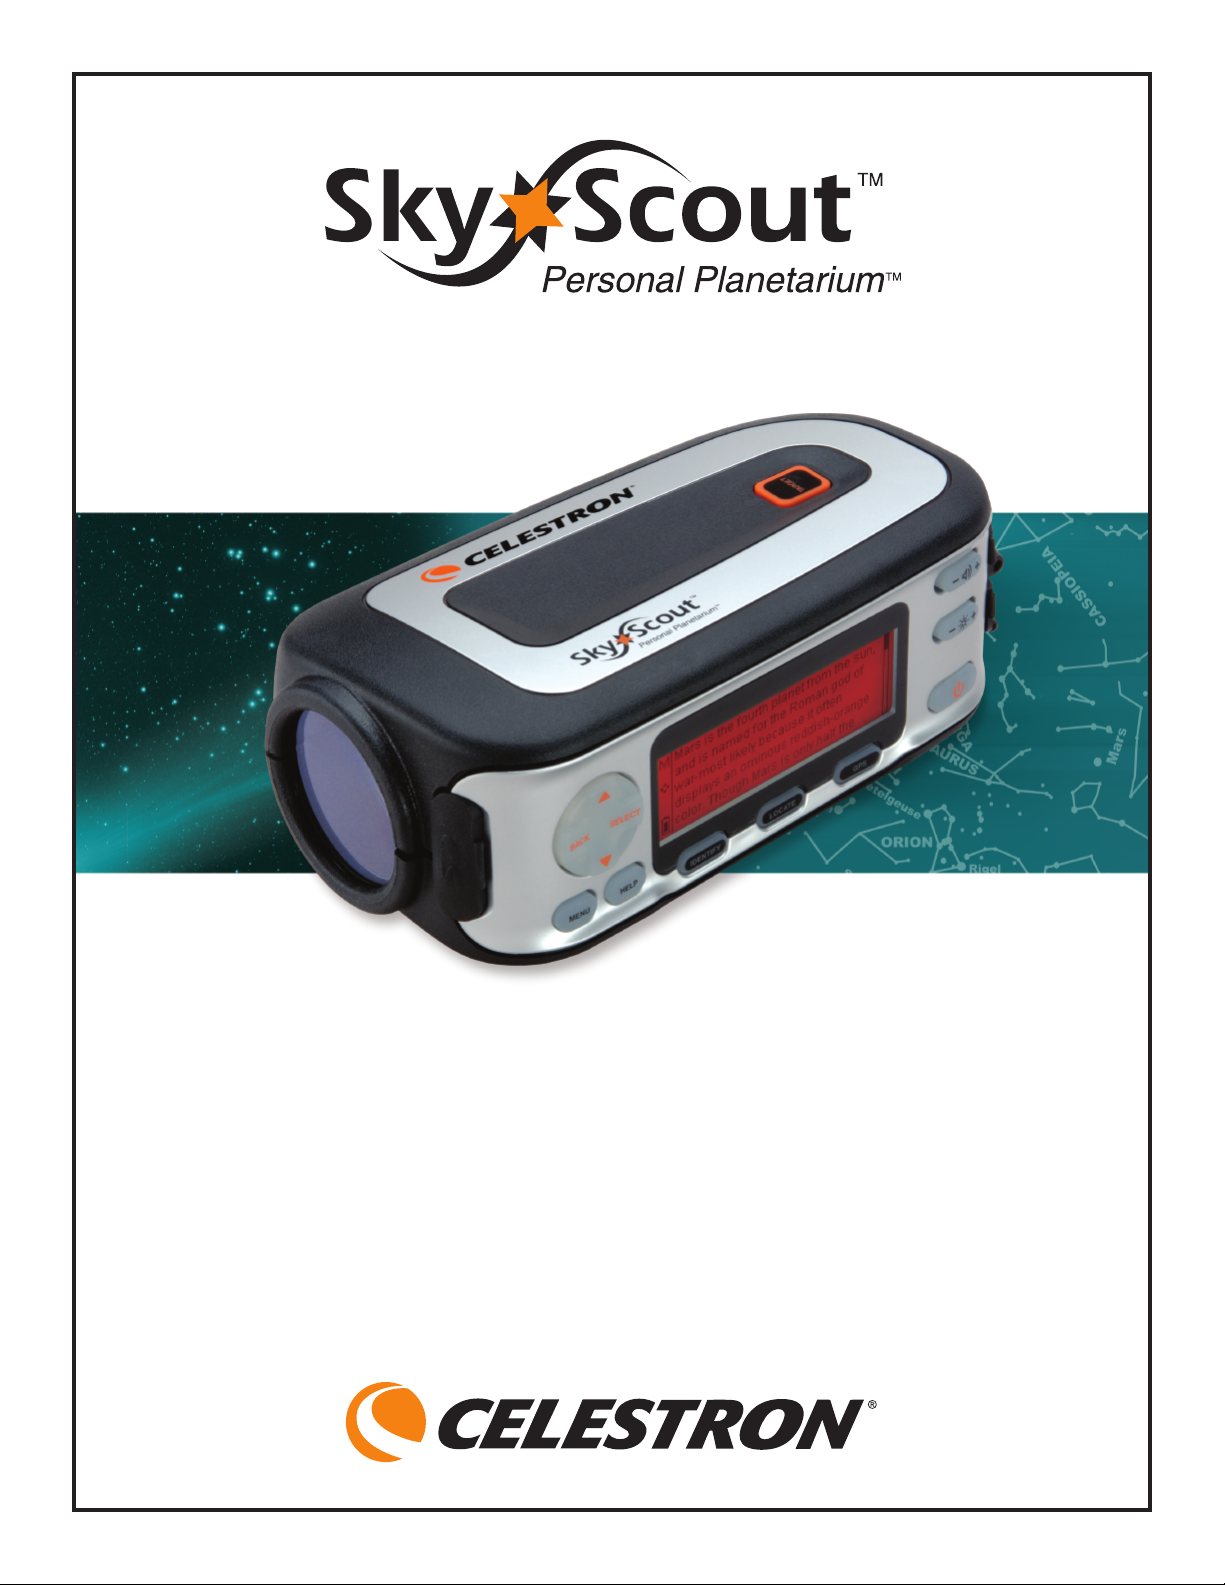
RUGGED DESIGN
Compact (2.5”H x 4”W x 7.4”L),
lightweight (15.2oz.), rubber
armoring and high-impact plastic
body for outdoor use
SKY TOUR/SD CARD SLOT
SkyTour cards provide interactive
guided tours of the night sky
(sold separately)
MENU NAVIGATION PAD
Intuitive menu for easy
on-screen navigation
HELP & MENU BUTTONS
Quickly access various
een menus
on-scr
EASY TO READ DISPLAY
Large display with red
LED-backlit display to
maintain night vision
ONE-TOUCH CONTROLS
Provides quick access to “Identify”,
“Locate” and “GPS” functions
TARGET BUTTON
Identifies the celestial
object you are viewing
ON/OFF BUTTON
Requires 2 AA batteries
(user supplied)
VOLUME & BRIGHTNESS
Easy to adjust controls for audio
volume and display brightness
USB PORT
Download database
updates from your PC
(USB cable included)
VIEWFINDER
with LED
ectional ar
dir
3.5mm HEADPHONE JACK
for audio presentation
(headphones included)
ows
r
Your SkyScout comes with the following:
• SkyScout Personal Planetarium • Padded Case • Earphones
• Wrist Strap • USB Cable • Instructional CD-ROM
• Quick Setup Guide • 2 Battery Sleeves (inside battery compartment)
Never look directly at the sun with the naked eye or through the SkyScout.
Permanent and irreversible eye damage may result.
2
Setup
1. Installing the Batteries
a) Use a flat head tool to loosen the screw on the battery compartment door.
b) Remove the two battery sleeves from inside the compartment.
c) Slide a battery into each of the sleeves and insert into the battery
compartment as shown. Make sure that the sleeves cover the entire
length of the battery.
The battery sleeves are necessary to block out the magnetic field variations that are inherent in all
batteries. These magnetic fields can cause inaccuracies when using the SkyScout.
2. Plug in the stereo jack of the included earphones into the audio output jack on the SkyScout.
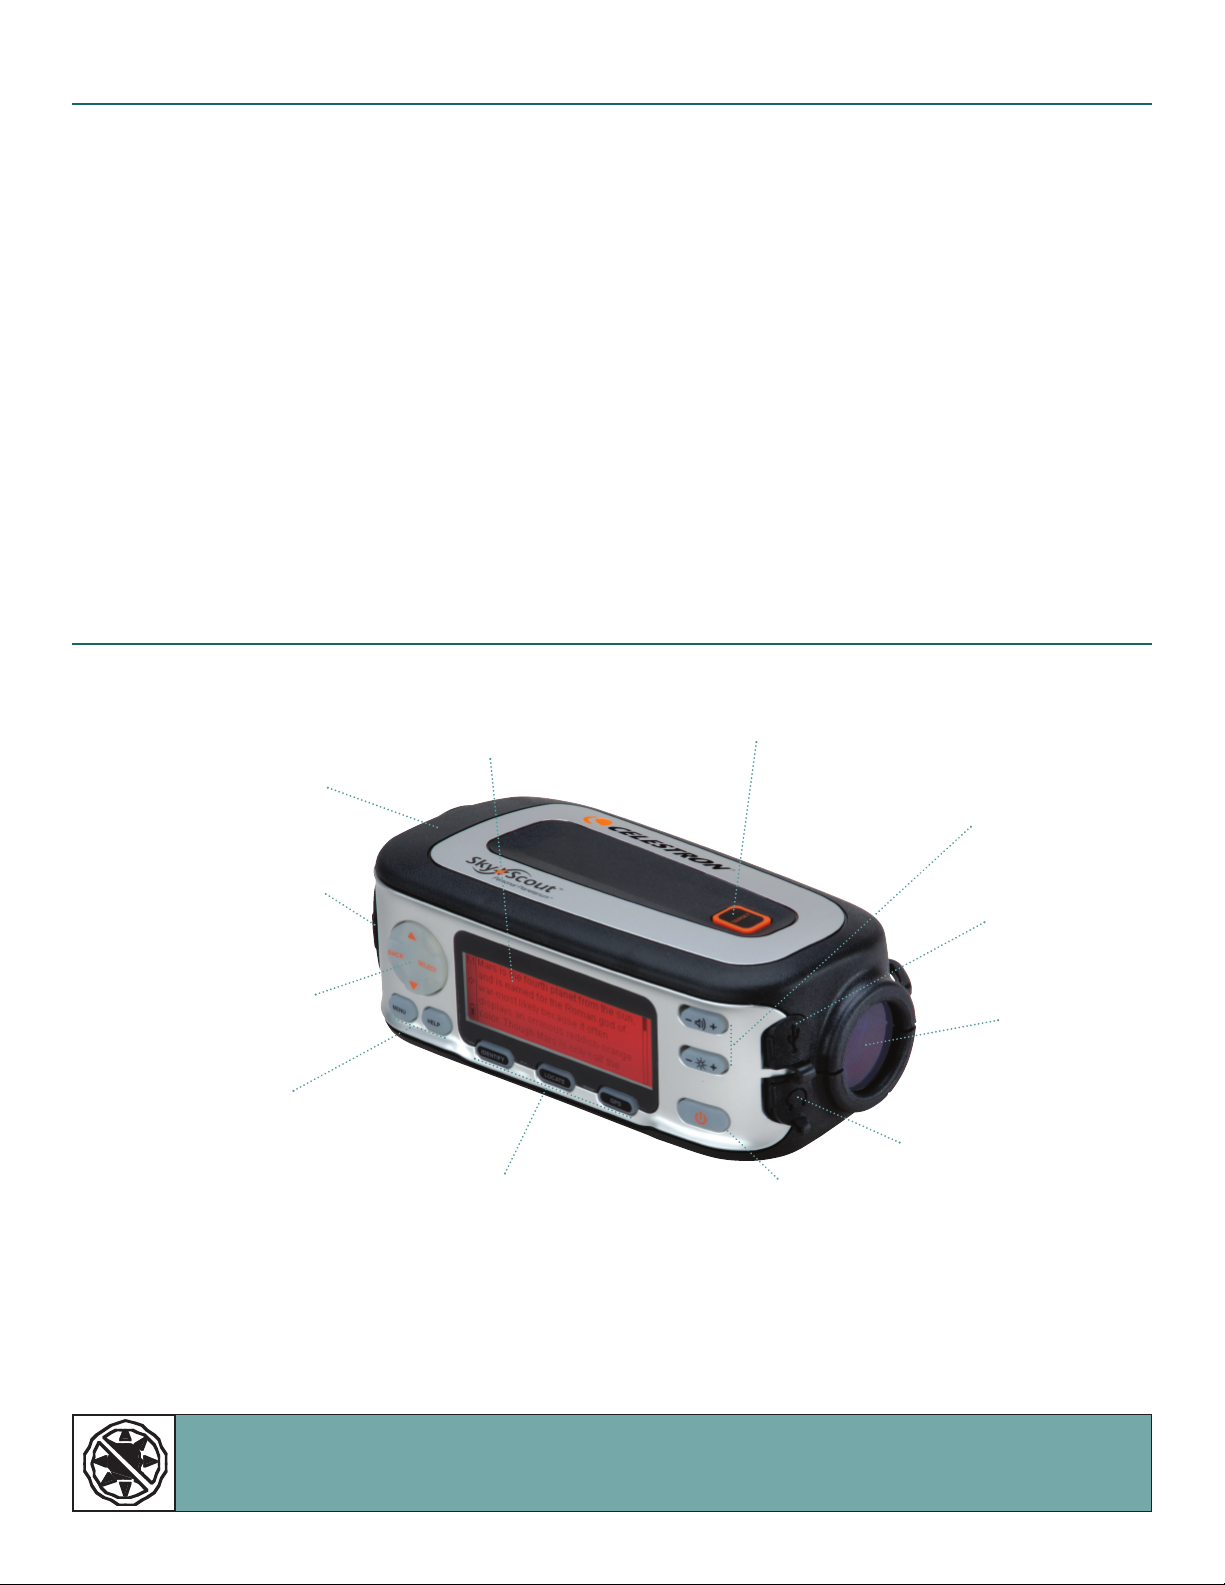
3. Powering up the SkyScout
a) Make sure you are outside with a clear view of the sky. This will allow you to get the
best possible GPS reception. Avoid standing too close to large metal objects, such
as automobiles as this may interfere with SkyScout's sensors.
b) Hold down the
c) When a GPS fix is acquired, SkyScout will display your exact
longitude and latitude, and date. Select Continue to display
the Main Menu.
The SkyScout is now ready to begin identifying and locating objects in the sky.
To power off the SkyScout, press the
To conserve battery life, SkyScout will automatically power off if no button has been pressed for
a period of five minutes
Power Button until the display turns on.
Power button until the display turns off.
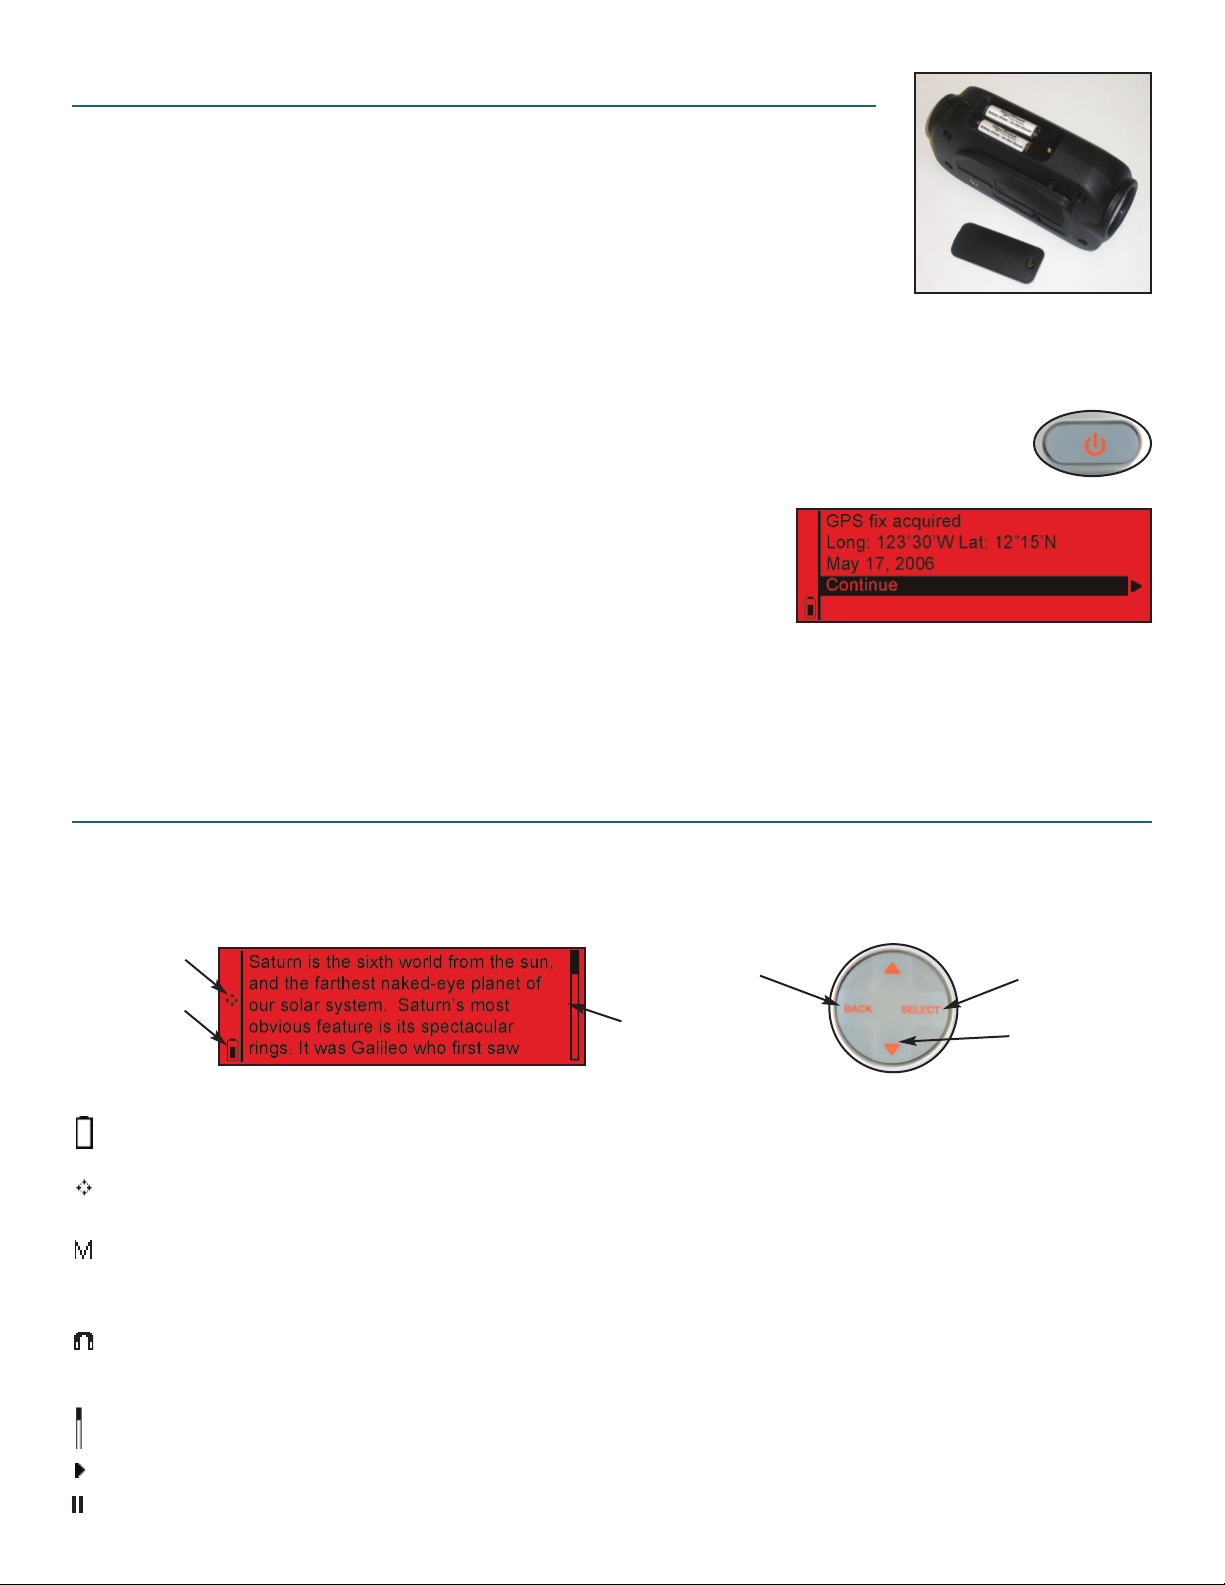
Menu Navigation
In addition to the three quick access menu keys (Identify, Locate and GPS), SkyScout has a Menu
Navigation Pad that allows you to scroll through available menu options, select options or return back
to the previous screen. You can use the Menu Navigation Pad not only to access the same menus as
the quick access keys, but also to explore the other features of the Field Guide and Settings menus.
Locate mode icon
y life icon
Batter
Go back to the
evious menu
pr
Scroll bar slider
On-screen information bars give you useful information about the status of the screen you are viewing.
Battery Life Indicator - Shows the current battery charge. When the indicator is solid black, the batteries
are at maximum strength. When the indicator is clear, the batteries are low and need to be replaced.
Locate Mode Icon - Indicates that SkyScout is in Locate mode and is ready to guide you to the selected
object. When this icon appears you will see a red arrow light up when you look through the viewfinder.
Manual Mode - Indicates that the GPS receiver cannot pick up satellite signals from your present
location and that the time, date and location have been entered manually. If you have entered the
Time/Location information manually, a letter “M” will appear in the upper left corner of the display.
Magnetic Sensor Warning - This icon is displayed whenever a magnetic field is detected that is
different than expected for your current geographic location. This usually results from standing too close
to a large metal object, for example an automobile.
Select highlighted
option or menu
Scroll up and down
ough menu options
thr
Scroll Bar Slider - Visible whenever there is a list of menu options or text that do not fit on a single screen.
Play Audio - Indicates that the Select button can be used to play an audio clip.
Pause Audio - Indicates that the Select button can be used to pause an audio clip.
3
Navigating the SkyScout
SkyScout uses two illuminated targeting rings and a series of eight direction arrows to help
you identify and locate objects. The targeting rings are located on each end of the
viewfinder to assist in alignment with celestial objects.
To use SkyScout, hold it up so that the larger viewfinder window is pointed towards the
sky while you are looking through the smaller viewfinder window. The orange “Target”
button should be on top of the unit. To locate objects, SkyScout will illuminate the
direction arrows inside the viewfinder to guide you to objects in the sky. As you get closer
to the desired object, the arrows will blink rapidly until the object is in the viewfinder.
Once the object is positioned in the viewfinder targeting rings, all the direction arrows
will light up at once.
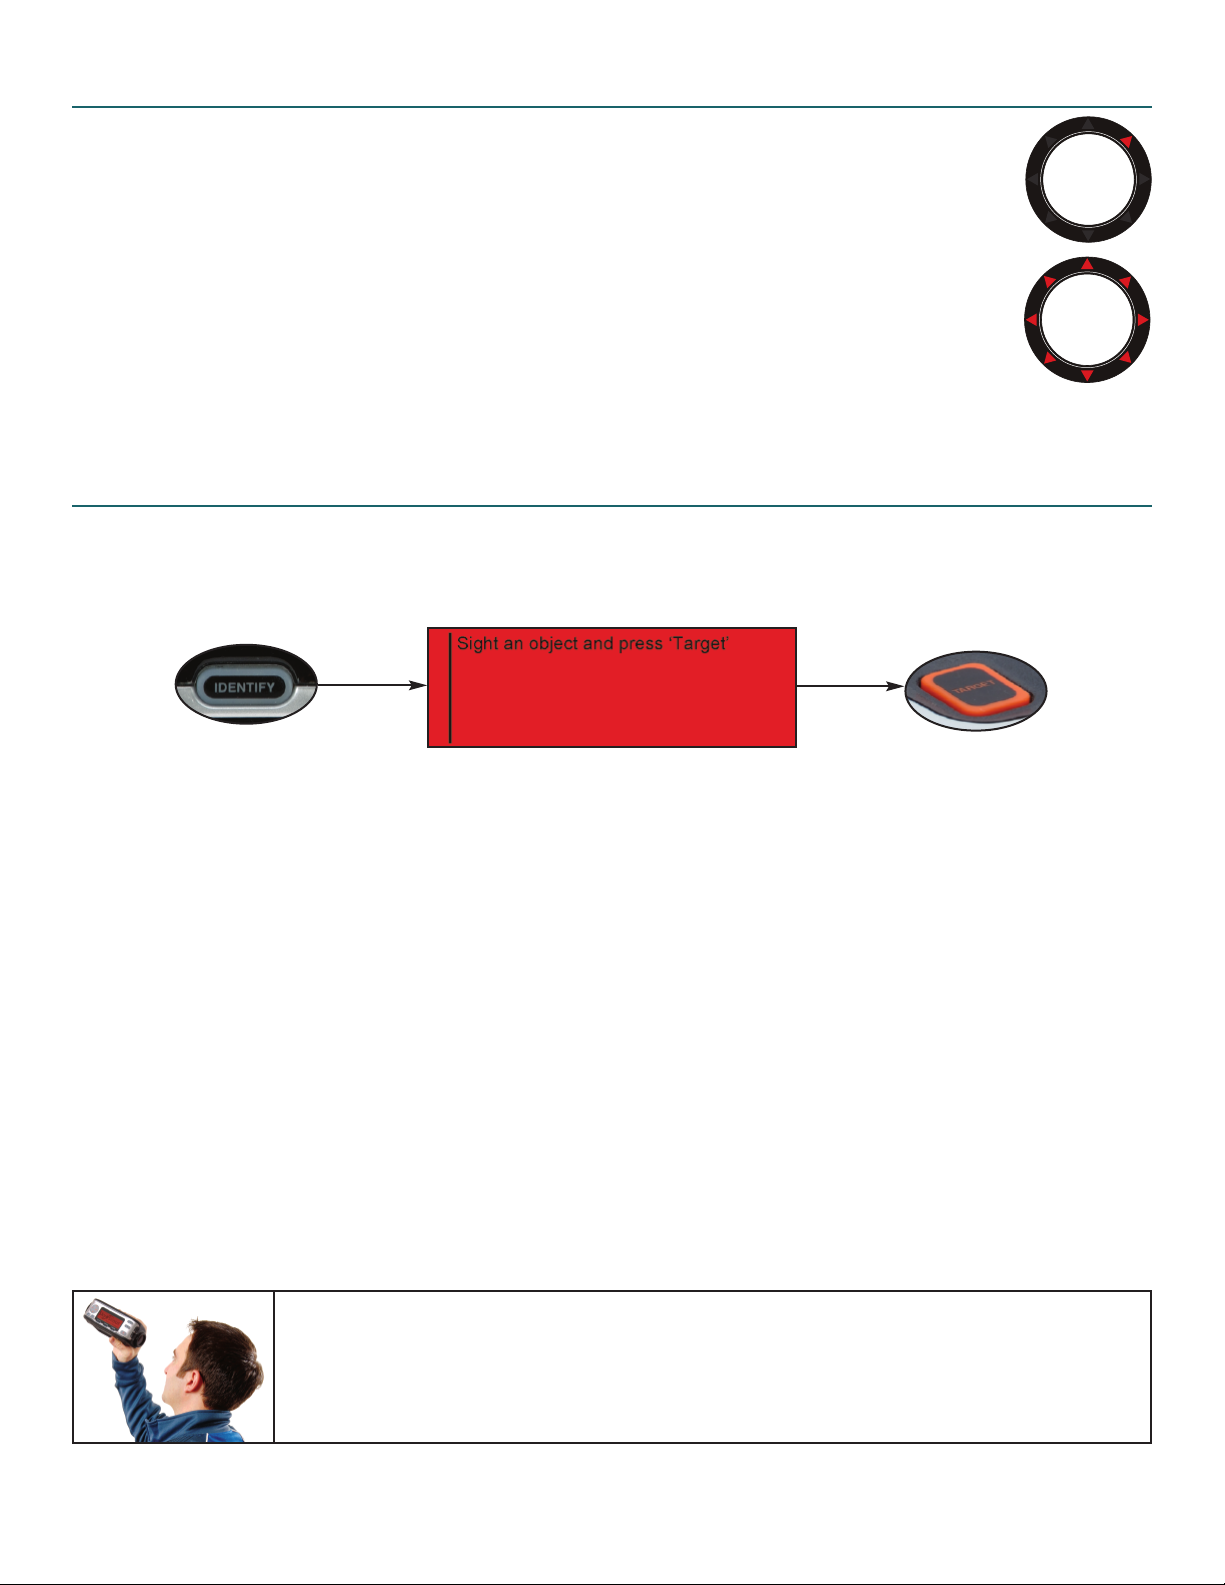
Identify Mode
To Identify Objects In The Sky
1. Press the Identify button on the control panel of SkyScout.
The following message will appear.
2. Hold the SkyScout with the smaller viewfinder window closest to your eye and the larger window
facing out towards the sky.
3. While looking through the viewfinder, aim the SkyScout at the object in the sky you wish to identify.
4. Align the two illuminated targeting rings so that one fits evenly inside the other.
5. Center the desired object inside the illuminated rings and press the Target button on the top of the
SkyScout. When the target button is pressed, all eight of the direction arrows will briefly light up.
6. The screen will then display the name of the object you have targeted. If more than one object is
identified, the SkyScout will display all identified objects in order of their brightness.
7. Use the Menu Navigation Pad to select one of the following possible options for that object:
Audio description - Listen to an audio narration about the displayed object (not available for
all objects).
Text description - Read a text description about the displayed object (not available for all objects).
Scientific data - View scientific data about the displayed object
Observing Tip
Since the SkyScout uses a zero-magnification viewfinder, it is not necessary to hold it close
to your eye in order to see objects in the sky. It is often easiest to find objects if it is held at
a comfor
as well as the surrounding star patterns in the vicinity.
table distance fr
om your eye. This allows you to see both the object in the viewfinder
4
 Loading...