

Back Previous Next
TOP
Advanced Fax
Features
1
Advanced Copy
Features
2
System Monitor
3
Reports and Lists
4
Troubleshooting
5
Appendix
6
ENG
Advanced Guide
Series
Table of Contents
Index
Please read this guide before operating this equipment.
After you finish reading this guide, store it in a safe place
for future reference.
How to Use This Guide
Advanced Fax
Features
1
Advanced Copy
Features
2
System Monitor
3
Reports and Lists
4
Troubleshooting
5
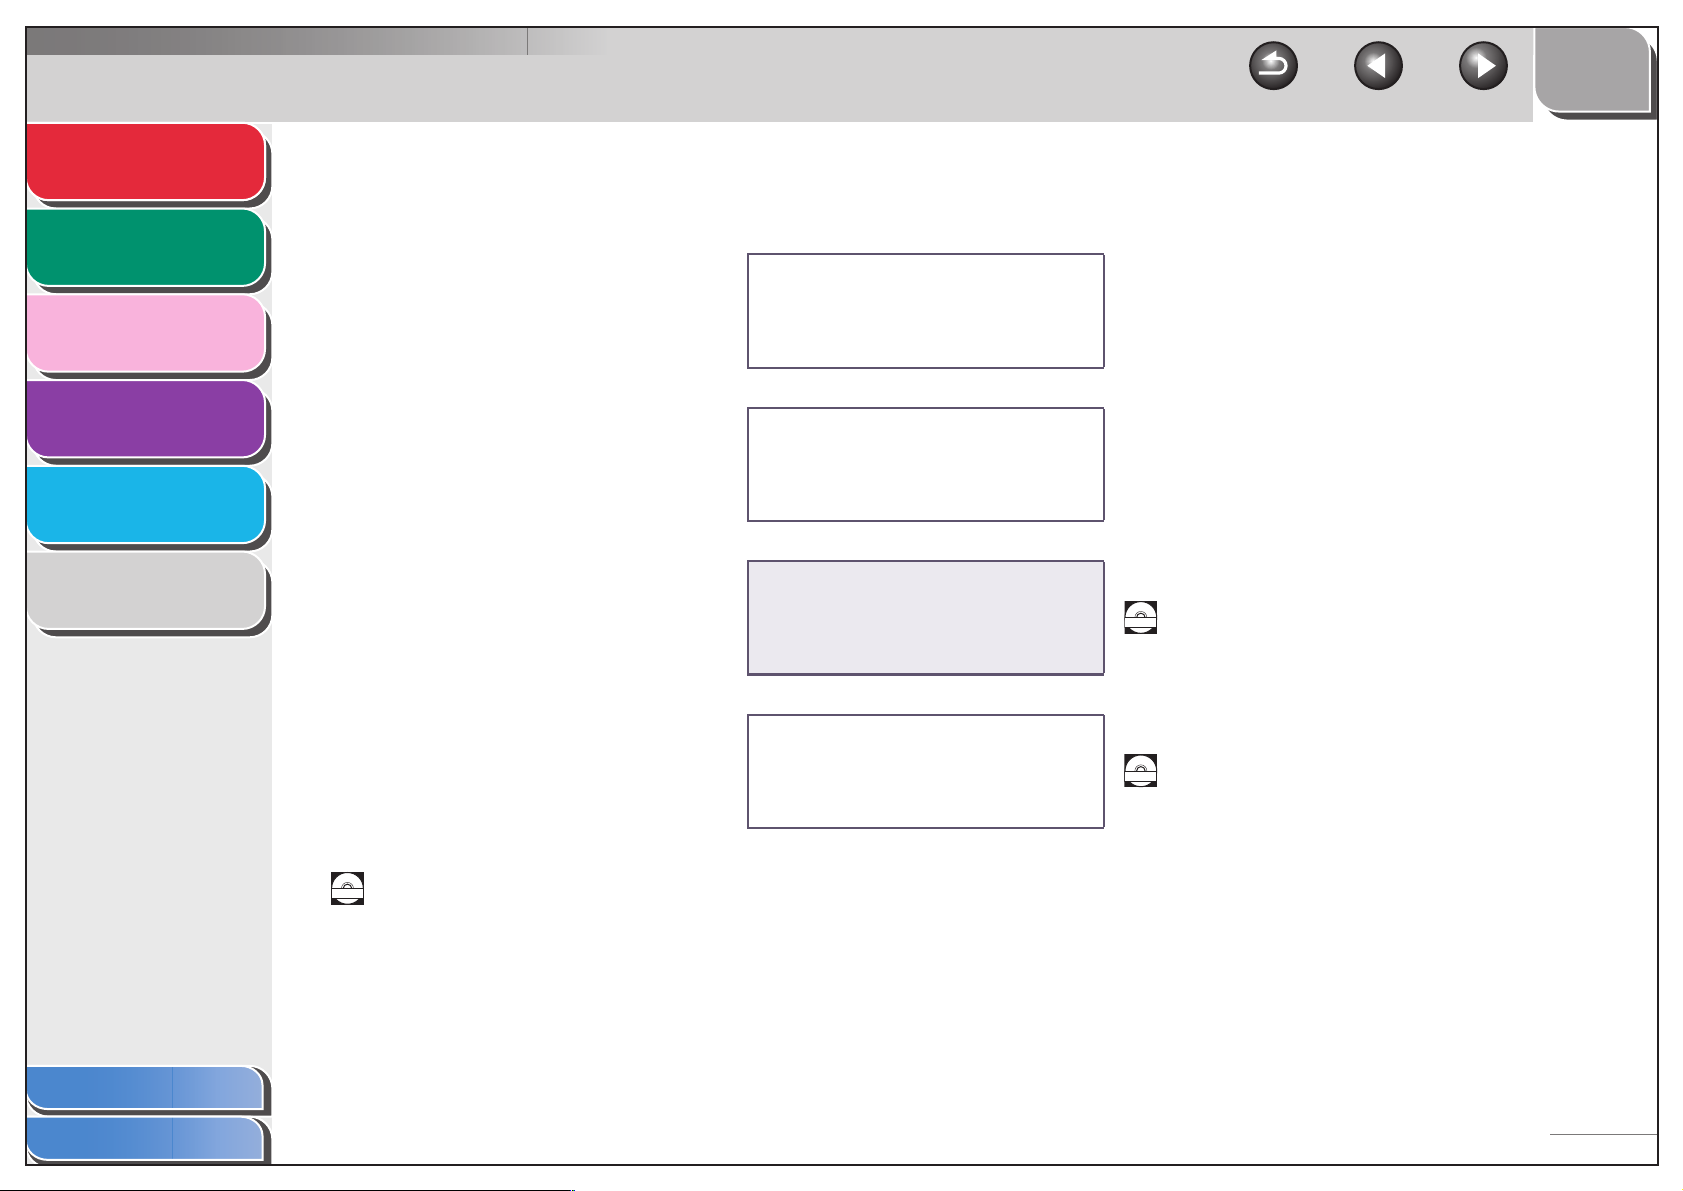
Manuals for the Machine
● Machine Set-Up
● Software Installation
● Basic Features
● Maintenance
● Machine Settings
● Specifications
Starter Guide
Basic Guide
TOP
Back Previous Next
Appendix
Table of Contents
Index
6
● Advanced Features
● System Monitor
● Reports and Lists
● Printing Features
● Scanning Features
● PC Faxing Features
Indicates the manual is supplied in PDF format in the accompanying CD-ROM.
CD-ROM
● To view the manuals in PDF format, Adobe Reader/Acrobat Reader/Acrobat is required. If Adobe
Reader/Acrobat Reader/Acrobat is not installed on your system, please download it from the Adobe
Systems Incorporated website (http://www.adobe.com).
● Considerable effort has been made to make sure that the manuals for the machine are free of
inaccuracies and omissions. However, as we are constantly improving our products if you need an exact
specification, please contact Canon.
● The machine illustration on the cover may differ slightly from your machine.
Advanced Guide
(This Document)
Software Guide
CD-ROM
CD-ROM
i
Advanced Fax
Features
Advanced Copy
Features
System Monitor
1
2
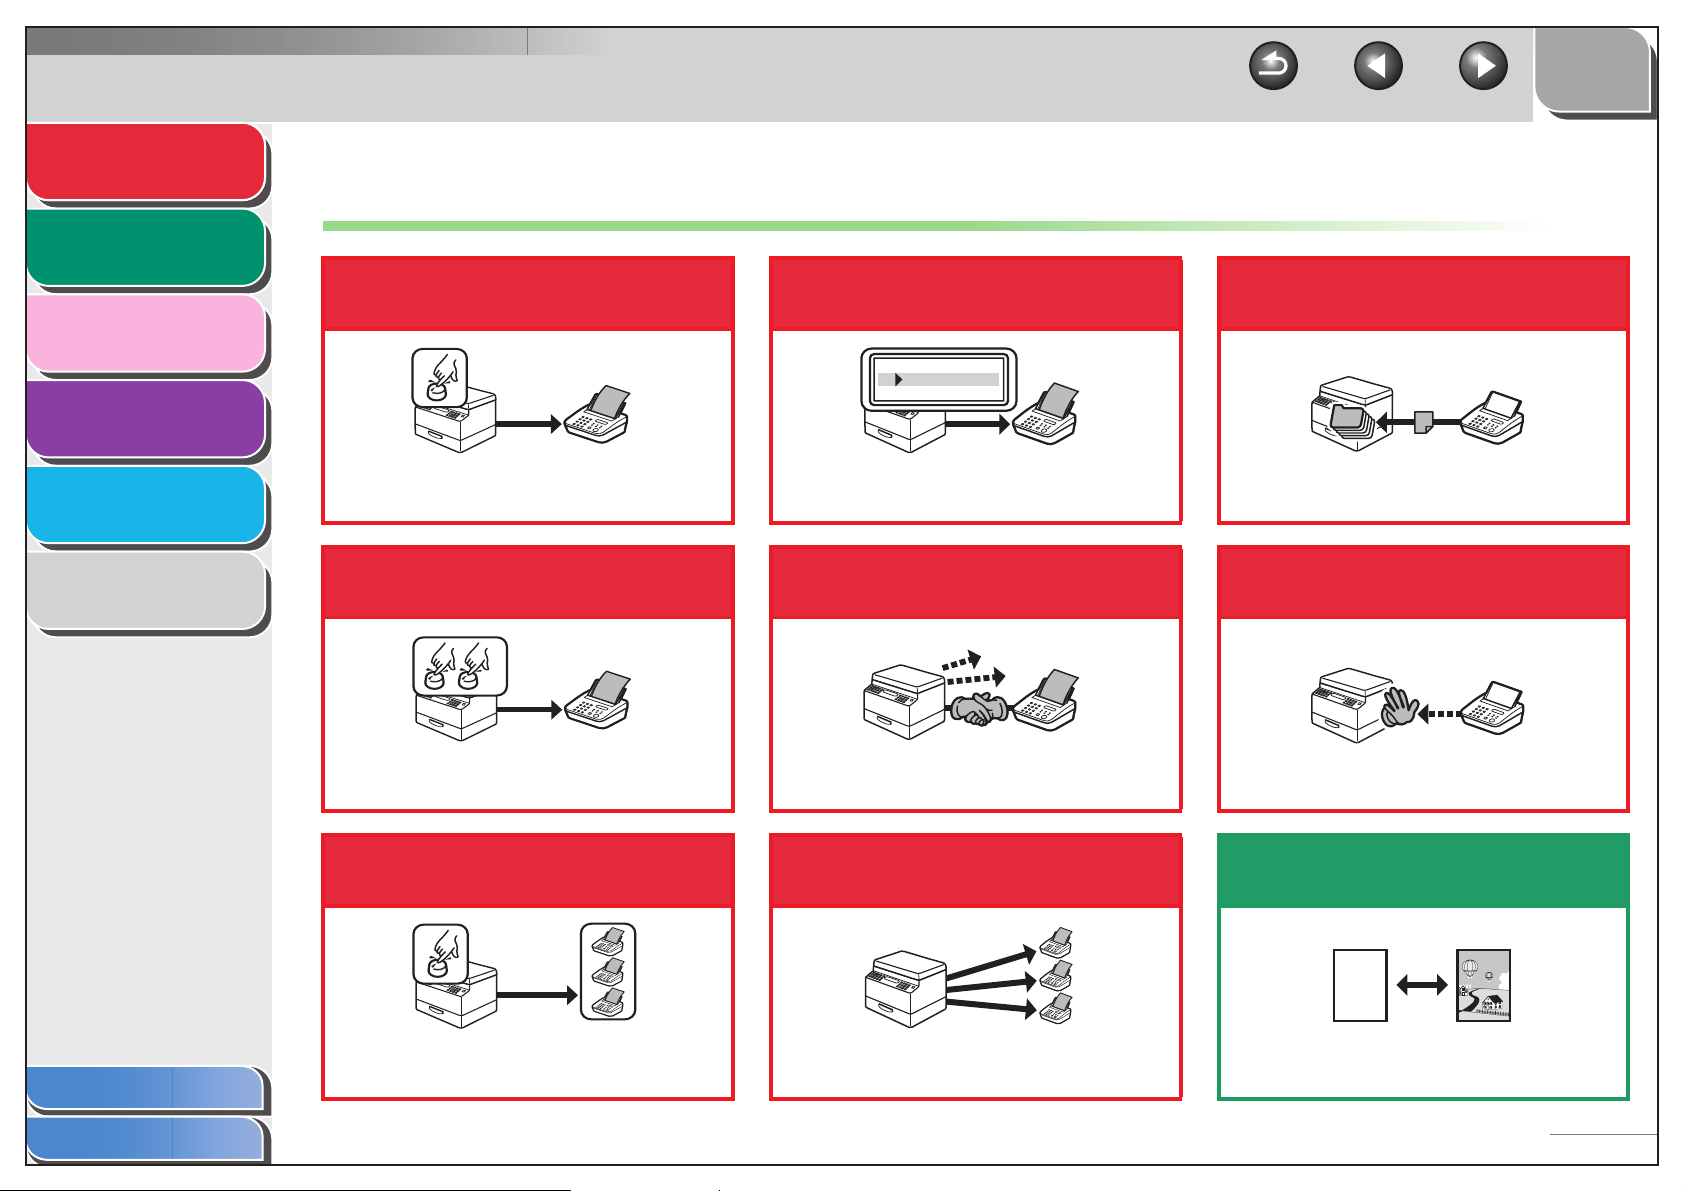
Things You Can Do
Specify a recipient with a
single key
Look up a particular
recipient
TOP
Back Previous Next
Receive faxes in memory
without printing out
3
Reports and Lists
4
Troubleshooting
5
Appendix
6
One-Touch Speed Dialing
→ Basic Guide
Specify a recipient with a
two-digit code
Coded Dialing
→ Basic Guide
Specify multiple recipients
with a single key
AAAAA
BBBBB
CCCCC
Address Book Dialing
→ p. 1-2
Redial when the line is busy
Redialing
→ p. 1-3
Send a fax to multiple
recipients
Memory Reception
→ p. 1-8
Reject faxes without their
numbers
Reception Restriction
→ p. 1-9
Select a scan mode depending on
the type of image
Table of Contents
Index
Group Dialing
→ Basic Guide
Broadcasting
→ p. 1-11
ABC
ABC
ABC
ABC
Image Quality
→ Basic Guide
ii

Advanced Fax
DEF
DEF
DEF
DEF
DEF
DEF
DEF
DEF
Features
1
Advanced Copy
Features
2
System Monitor
3
Reports and Lists
4
Troubleshooting
5
Adjust the density level of
scanned images
Density
→ Basic Guide
Enlarge or reduce copied
images
Copy two documents on one
sheet
ABC
ABC
ABC
ABC
1
2
2 on 1 Combination
→ p. 2 -2
ABC
ABC
ABC
ABC
1
2
Print a document from a PC
TOP
Back Previous Next
Send a fax from a PC
PC Faxing
→ Software Guide
Appendix
Table of Contents
Index
6
A
A
Zoom Ratio
→ Basic Guide
Sort copies by page order
AAAA
AAAA
BBBB
AAAA
BBBB
CCCC
AAAA
BBBB
CCCC
DDDD
1
BBBB
CCCC
DDDD
2
CCCC
DDDD
3
DDDD
4
Collate Copy
→ p. 2-2
AAAA
AAAA
AAAA
AAAA
AAAA
AAAA
AAAA
1
AAAA
AAAA
AAAA
AAAA
AAAA
AAAA
1
AAAA
AAAA
1
AAAA
1
ABC
ABC
ABC
ABC
Printing
→ Software Guide
Specify detailed scanning
options to suit various images
ABC
ABC
ABC
ABC
Scanning
→ Software Guide
iii
Advanced Fax
Features
Advanced Copy
Features
System Monitor
1
2
3
TOP
Back Previous Next
Table of Contents
Manuals for the Machine ................................................................................i
Things You Can Do ....................................................................................... ii
Reports and Lists
4
Troubleshooting
5
Appendix
6
How to Use This Guide............................................................................... viii
Legal Notices................................................................................................ xi
1 Advanced Fax Features................................................................................................. 1-1
Dialing Features ........................................................................................ 1-2
Using Address Book............................................................................ 1-2
Redialing ............................................................................................. 1-3
Switching Temporarily to Tone Dialing................................................ 1-4
Checking Dialing Line ......................................................................... 1-5
Dialing an Overseas Number (With Pauses)....................................... 1-5
Receiving Features.................................................................................... 1-6
Setting Receive Mode ......................................................................... 1-6
Memory Reception .............................................................................. 1-8
Reception Restriction .......................................................................... 1-9
Table of Contents
Index
Remote Reception .............................................................................. 1-9
Printing Received Documents ........................................................... 1-10
iv

Advanced Fax
Features
1
TOP
Back Previous Next
Additional Fax Modes .............................................................................. 1-11
Advanced Copy
Features
2
System Monitor
3
Reports and Lists
4
Troubleshooting
5
Appendix
6
Broadcasting ..................................................................................... 1-11
Canceling Reservation ...................................................................... 1-11
Canceling Fax Jobs ................................................................................. 1-12
2 Advanced Copy Features.............................................................................................. 2-1
Advanced Copy Features .......................................................................... 2-2
Collate Copy........................................................................................ 2-2
2 on 1 Combination ............................................................................. 2-2
Canceling Copy Jobs .......................................................................... 2-3
3 System Monitor .............................................................................................................. 3-1
Checking Job and Machine Status ............................................................ 3-2
Checking Print Status.......................................................................... 3-2
Table of Contents
Index
Checking Print and Scan Counts ........................................................ 3-2
Checking and Deleting Documents Stored in Memory........................ 3-2
Checking and Printing Transmission/Reception Results..................... 3-3
Checking Remaining Memory ............................................................. 3-3
4 Reports and Lists........................................................................................................... 4-1
Summary of Reports and Lists .................................................................. 4-2
v

Advanced Fax
Features
1
TOP
Back Previous Next
Printing Reports Automatically .................................................................. 4-3
Advanced Copy
Features
2
System Monitor
3
Reports and Lists
4
Troubleshooting
5
Appendix
6
TX RESULT REPORT ........................................................................ 4-3
RX RESULT REPORT ........................................................................ 4-4
ACTIVITY REPORT ............................................................................ 4-5
Printing Reports and Lists Manually .......................................................... 4-6
5 Troubleshooting............................................................................................................. 5-1
General Problems...................................................................................... 5-2
Paper Feeding Problems........................................................................... 5-3
Faxing Problems........................................................................................ 5-4
Sending Problems............................................................................... 5-4
Receiving Problems ............................................................................ 5-8
Copying Problems ................................................................................... 5-13
Table of Contents
Index
Printing Problems .................................................................................... 5-14
Telephone Problems ............................................................................... 5-16
Customer Support ................................................................................... 5-17
Customer Support (U.S.A) ................................................................ 5-17
Customer Support (Canada) ............................................................. 5-17
vi

Advanced Fax
Features
1
TOP
Back Previous Next
6 Appendix......................................................................................................................... 6-1
Advanced Copy
Features
2
System Monitor
3
Reports and Lists
4
Troubleshooting
5
Appendix
6
Glossary .................................................................................................... 6-2
Index.......................................................................................................... 6-8
Table of Contents
Index
vii
Advanced Fax
Features
Advanced Copy
Features
System Monitor
1
2
TOP
Back Previous Next
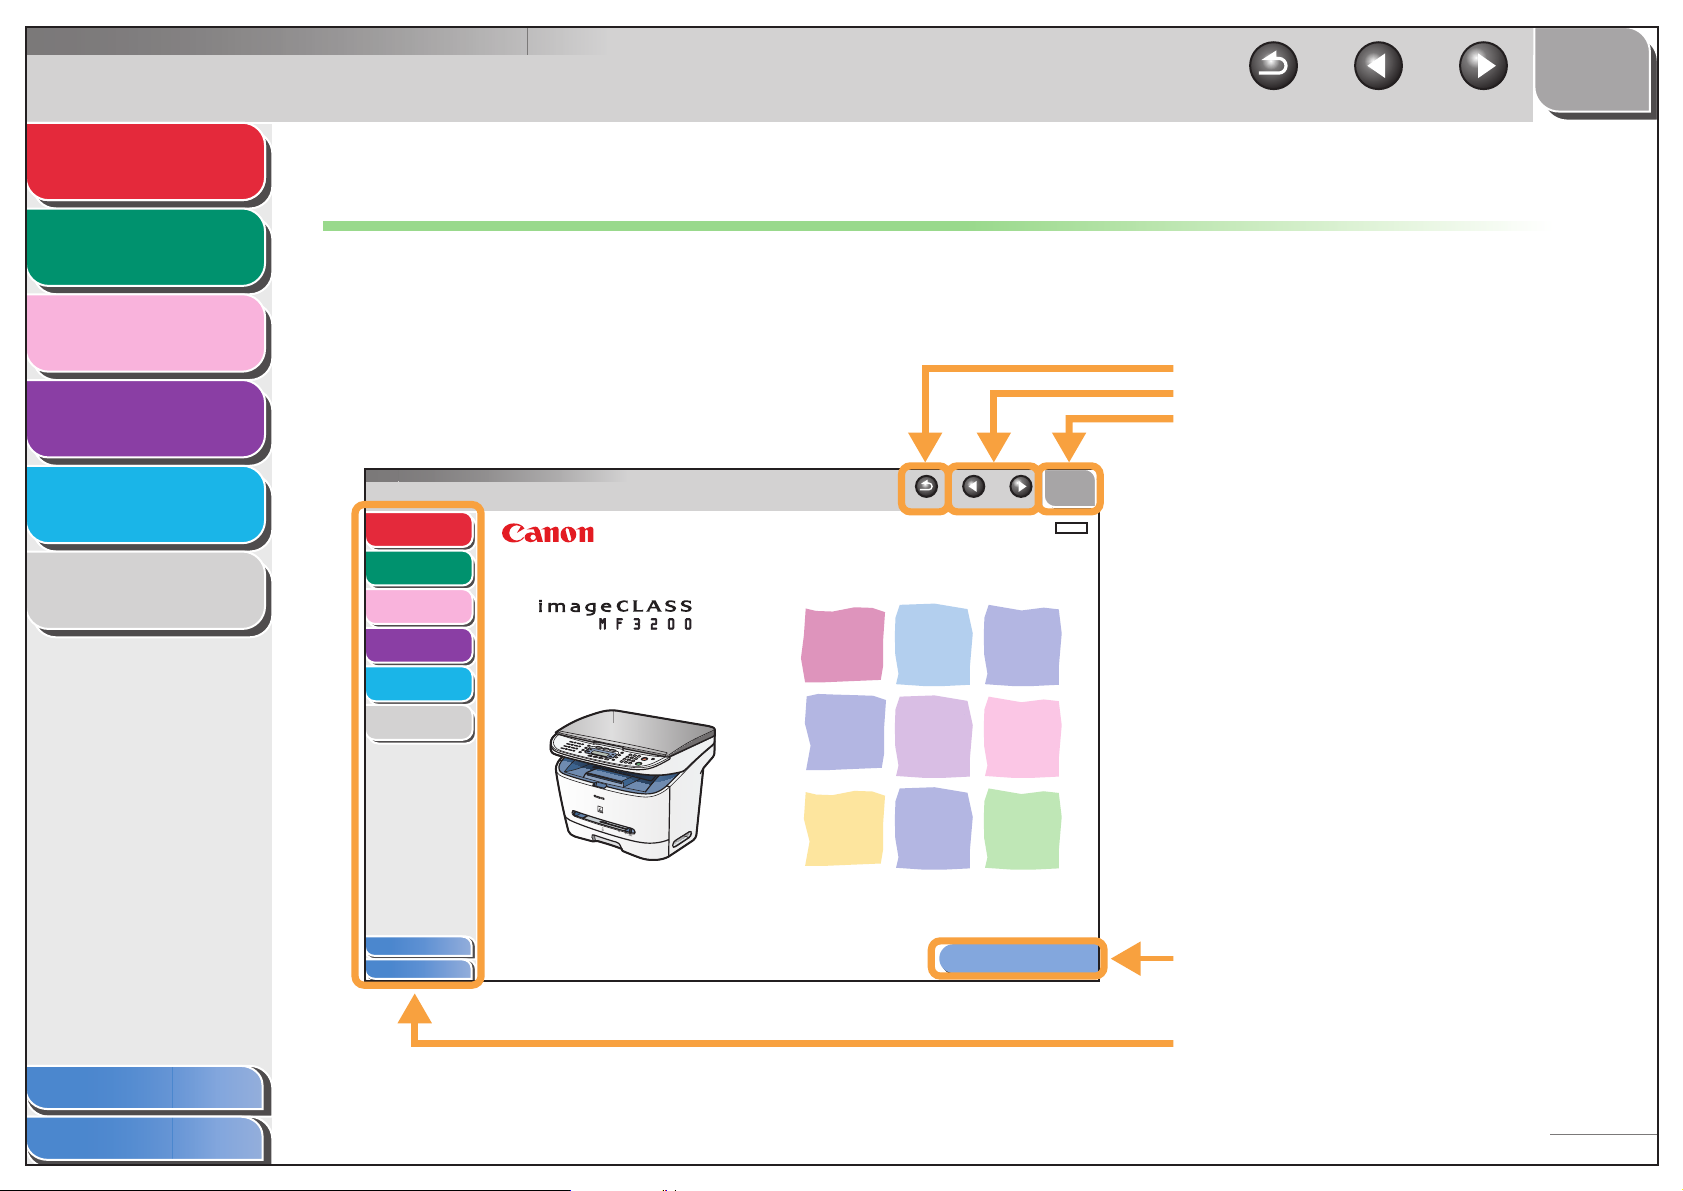
How to Use This Guide
■ Using the Top Page
3
Reports and Lists
4
Troubleshooting
5
Appendix
6
Advanced Fax
Features
Advanced Copy
Features
System Monitor
Reports and Lists
Troubleshooting
Appendix
Table of Contents
Index
1
2
Advanced Guide
3
4
5
6
Please read this guide before operating this equipment.
After you finish reading this guide, store it in a safe place
for future reference.
Series
Back Previous Next
How to Use This Guide
Returns to the last page opened.
Displays the previous or next page.
Returns to the top page.
TOP
ENG
Displays the “How to Use This Guide” page.
Table of Contents
Index
Quick links to the list of things you can do, topics
for each chapter, table of contents, and the index.
viii

Advanced Fax
Features
1
TOP
Back Previous Next
■ Using the Chapter Topic List
Advanced Copy
Features
2
System Monitor
3
Reports and Lists
4
Troubleshooting
5
Appendix
6
Advanced Fax
Features
Advanced Copy
Features
System Monitor
Reports and Lists
Troubleshooting
Appendix
1
1 Advanced Fax Features
2
Dialing Features....................................................................................... 1-2
3
4
5
6
Receiving Features.................................................................................. 1-6
Additional Fax Modes............................................................................ 1-11
Canceling Fax Jobs............................................................................... 1-12
Back Previous Next
TOP
Using Address Book ............................................... 1-2
Redialing................................................................. 1-3
Switching Temporarily to Tone Dialing.................... 1-4
Checking Dialing Line............................................. 1-5
Dialing an Overseas Number (With Pauses).......... 1-5
Setting Receive Mode ............................................ 1-6
Memory Reception ................................................. 1-8
Reception Restriction ............................................. 1-9
Remote Reception.................................................. 1-9
Printing Received Documents .............................. 1-10
Broadcasting......................................................... 1-11
Canceling Reservation ......................................... 1-11
Returns to the last page opened.
Displays the previous or next page.
Returns to the top page.
Table of contents for the chapter.
Table of Contents
Index
Table of Contents
Index
1-1
Quick links to the list of things you can do, topics
for each chapter, table of contents, and the index.
ix
Advanced Fax
Features
Advanced Copy
Features
System Monitor
1
2
3
TOP
Back Previous Next
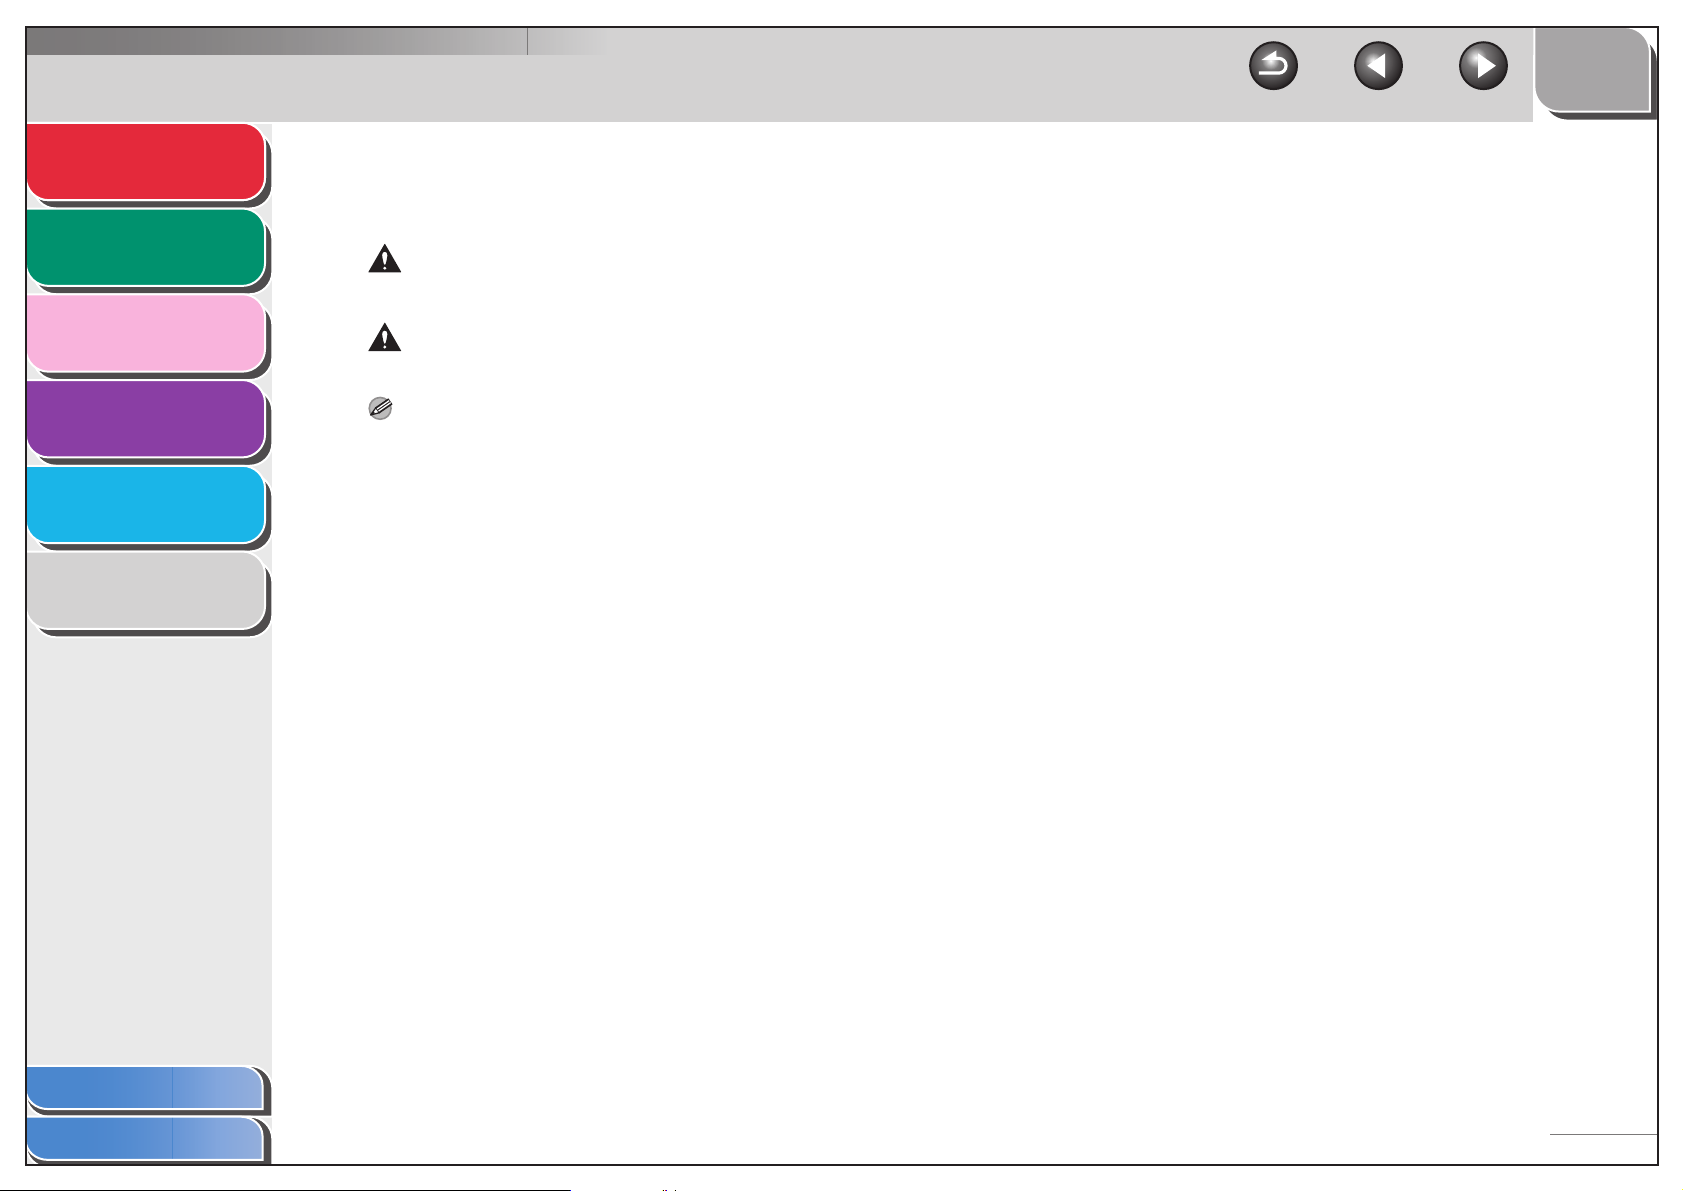
The following symbols are used throughout the manuals for the machine and indicate the warnings, cautions and notes you should
keep in mind when using the machine.
WARNING
Indicates a warning that may lead to death or serious injury if not observed.
CAUTION
Explains how to avoid actions that could injure you or damage your machine.
Reports and Lists
4
Troubleshooting
5
Appendix
6
NOTE
Explains operating restrictions and how to avoid minor difficulties.
In addition, this guide uses distinctive notations to identify keys and information in the LCD:
– The keys you press appear in square brackets: [Stop/Reset].
– Information in the LCD appears in angle brackets: <LOAD PAPER>.
Table of Contents
Index
x

Advanced Fax
Features
Advanced Copy
Features
System Monitor
1
2
TOP
Back Previous Next
Legal Notices
Trademarks
Canon, the Conon logo, and imageCLASS are trademarks of Canon Inc.
All other product and brand names are registered trademarks, trademarks or service marks of their respective owners.
3
Reports and Lists
4
Troubleshooting
5
Appendix
6
Copyright
Copyright © 2006 by Canon Inc. All rights reserved. No part of this publication may be reproduced, transmitted, transcribed, stored in a retrieval
system, or translated into any language or computer language in any form or by any means, electronic, mechanical, magnetic, optical, chemical,
manual, or otherwise, without the prior written permission of Canon Inc.
Disclaimer
The information in this document is subject to change without notice.
CANON INC. MAKES NO WARRANTY OF ANY KIND WITH REGARD TO THIS MATERIAL, EITHER EXPRESS OR IMPLIED, EXCEPT AS
PROVIDED HEREIN, INCLUDING WITHOUT LIMITATION, THEREOF, WARRANTIES AS TO MARKETABILITY, MERCHANTABILITY,
FITNESS FOR A PARTICULAR PURPOSE OF USE OR AGAINST INFRINGEMENT OF ANY PATENT. CANON INC. SHALL NOT BE LIABLE
FOR ANY DIRECT, INCIDENTAL, OR CONSEQUENTIAL DAMAGES OF ANY NATURE, OR LOSSES OR EXPENSES RESULTING FROM
THE USE OF THIS MATERIAL.
Table of Contents
Index
xi

Advanced Fax
Features
Advanced Copy
Features
System Monitor
1
2
TOP
Back Previous Next
1 Advanced Fax Features
Dialing Features....................................................................................... 1-2
3
Reports and Lists
4
Troubleshooting
5
Appendix
6
Using Address Book ............................................... 1-2
Redialing................................................................. 1-3
Switching Temporarily to Tone Dialing.................... 1-4
Checking Dialing Line............................................. 1-5
Dialing an Overseas Number (With Pauses) .......... 1-5
Receiving Features.................................................................................. 1-6
Setting Receive Mode ............................................ 1-6
Memory Reception ................................................. 1-8
Reception Restriction ............................................. 1-9
Remote Reception.................................................. 1-9
Printing Received Documents .............................. 1-10
Additional Fax Modes............................................................................ 1-11
Broadcasting......................................................... 1-11
Table of Contents
Index
Canceling Reservation ......................................... 1-11
Canceling Fax Jobs............................................................................... 1-12
1-1

Advanced Fax
Features
1
Advanced Copy
Features
2
System Monitor
3
Reports and Lists
4
Troubleshooting
5
Appendix
Dialing Features
The machine provides the following dialing features:
address book dialing, redialing, temporary tone dialing,
checking dialing line, and dialing an overseas number.
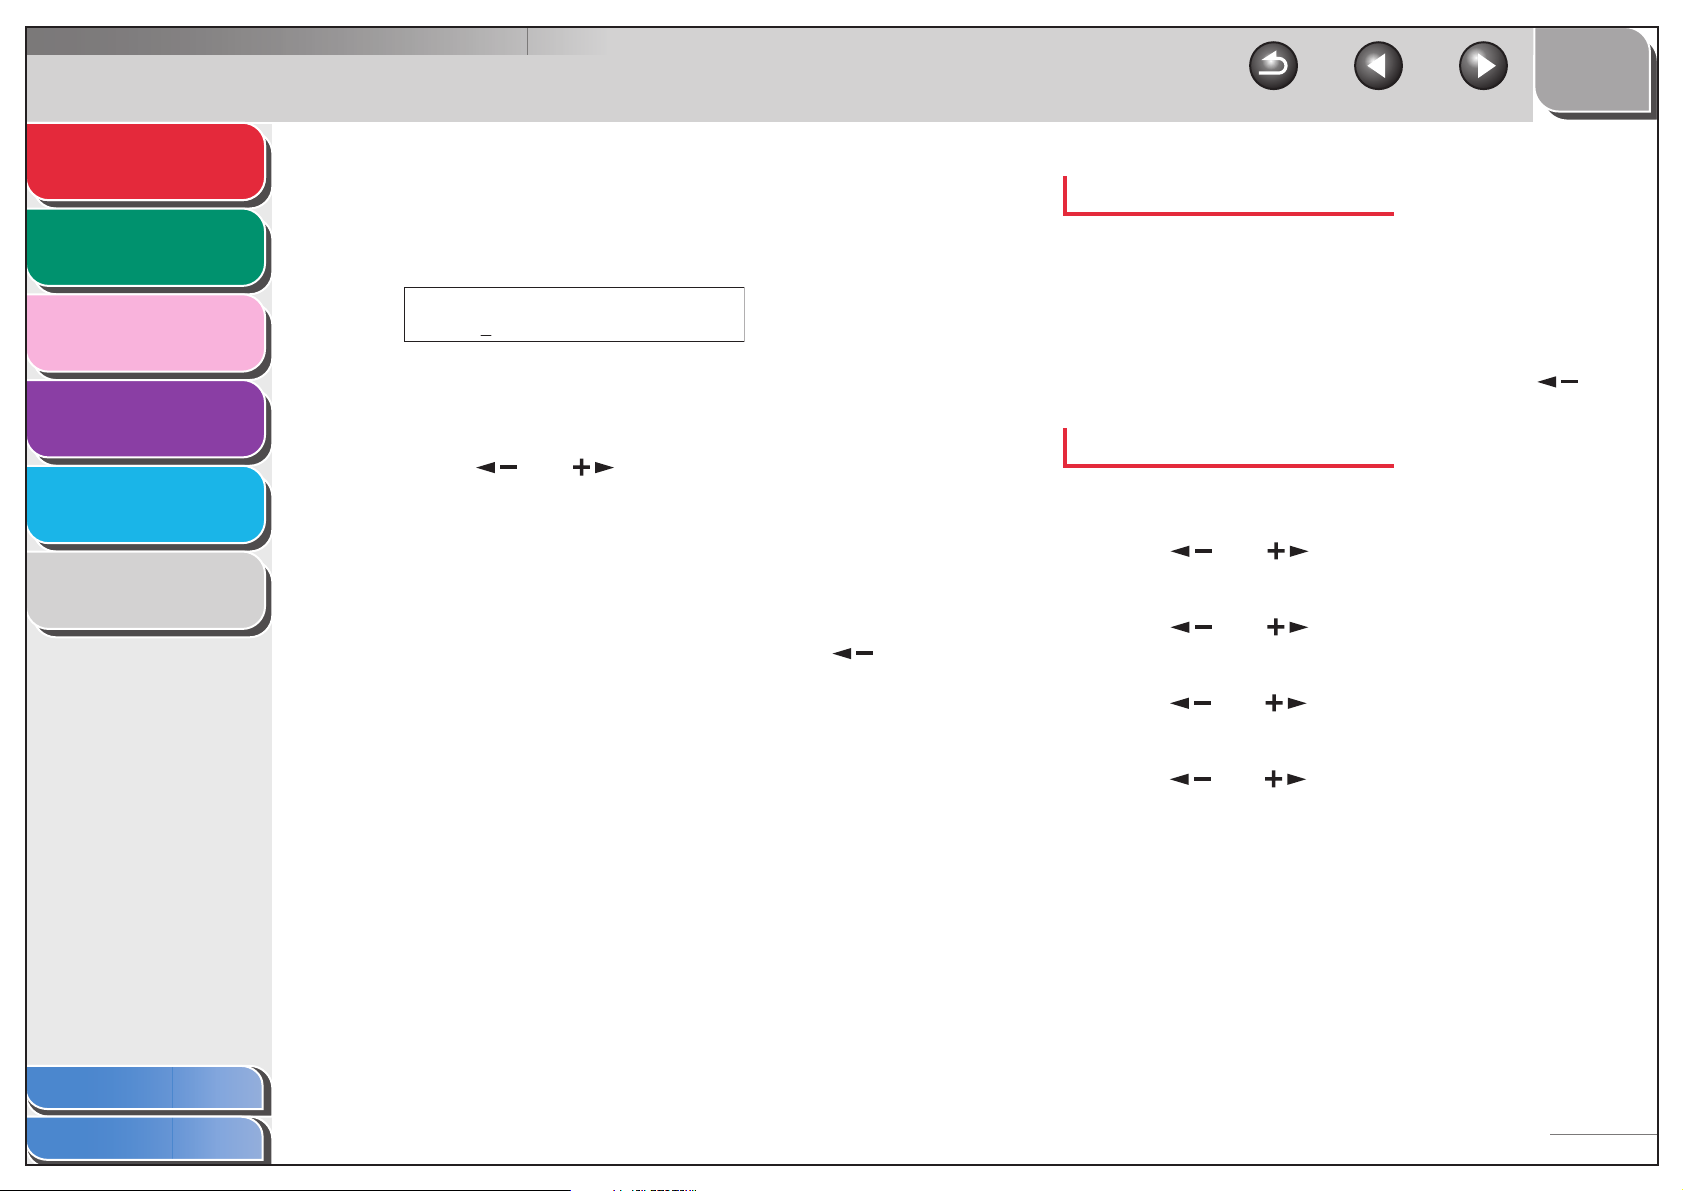
■ Using Address Book
Address book dialing enables you to search for a particular
recipient registered in the machine. This is useful when you
forget which one-touch speed dialing key or coded dialing code
the recipient you want is registered under.
You can either go through all the recipients registered in the
machine (LIST), or look up a particular one by their name
(SEARCH).
TOP
Back Previous Next
4. Use [ ] or [ ] to find the required
recipient.
– The recipients are listed in the order of one-touch speed
dialing keys (01 to 08), and coded dialing codes (00 to 99).
– For a one-touch speed dialing key or coded dialing code with
no recipient name registered, their fax number is displayed.
5. Press [Start] to start scanning a document.
6. Press [OK] to start dialing the displayed
recipient.
To cancel sending the fax, press [Stop/Reset], then [ ].
Table of Contents
Index
6
Listing All Recipients
1. Press [FAX].
2. Press [Address Book].
If no recipient is registered for speed dialing, <NOT
REGISTERED> is displayed.
3. Use [ ] or [ ] to select <LIST>, then
press [OK].
Looking Up a Recipient
1. Press [FAX].
2. Press [Address Book].
If no recipient is registered for speed dialing, <NOT
REGISTERED> is displayed.
3. Use [ ] or [ ] to select <SEARCH>, then
press [OK].
1-2
Advanced Fax
Features
1
Advanced Copy
Features
2
System Monitor
3
Reports and Lists
4
Troubleshooting
5
Appendix
6
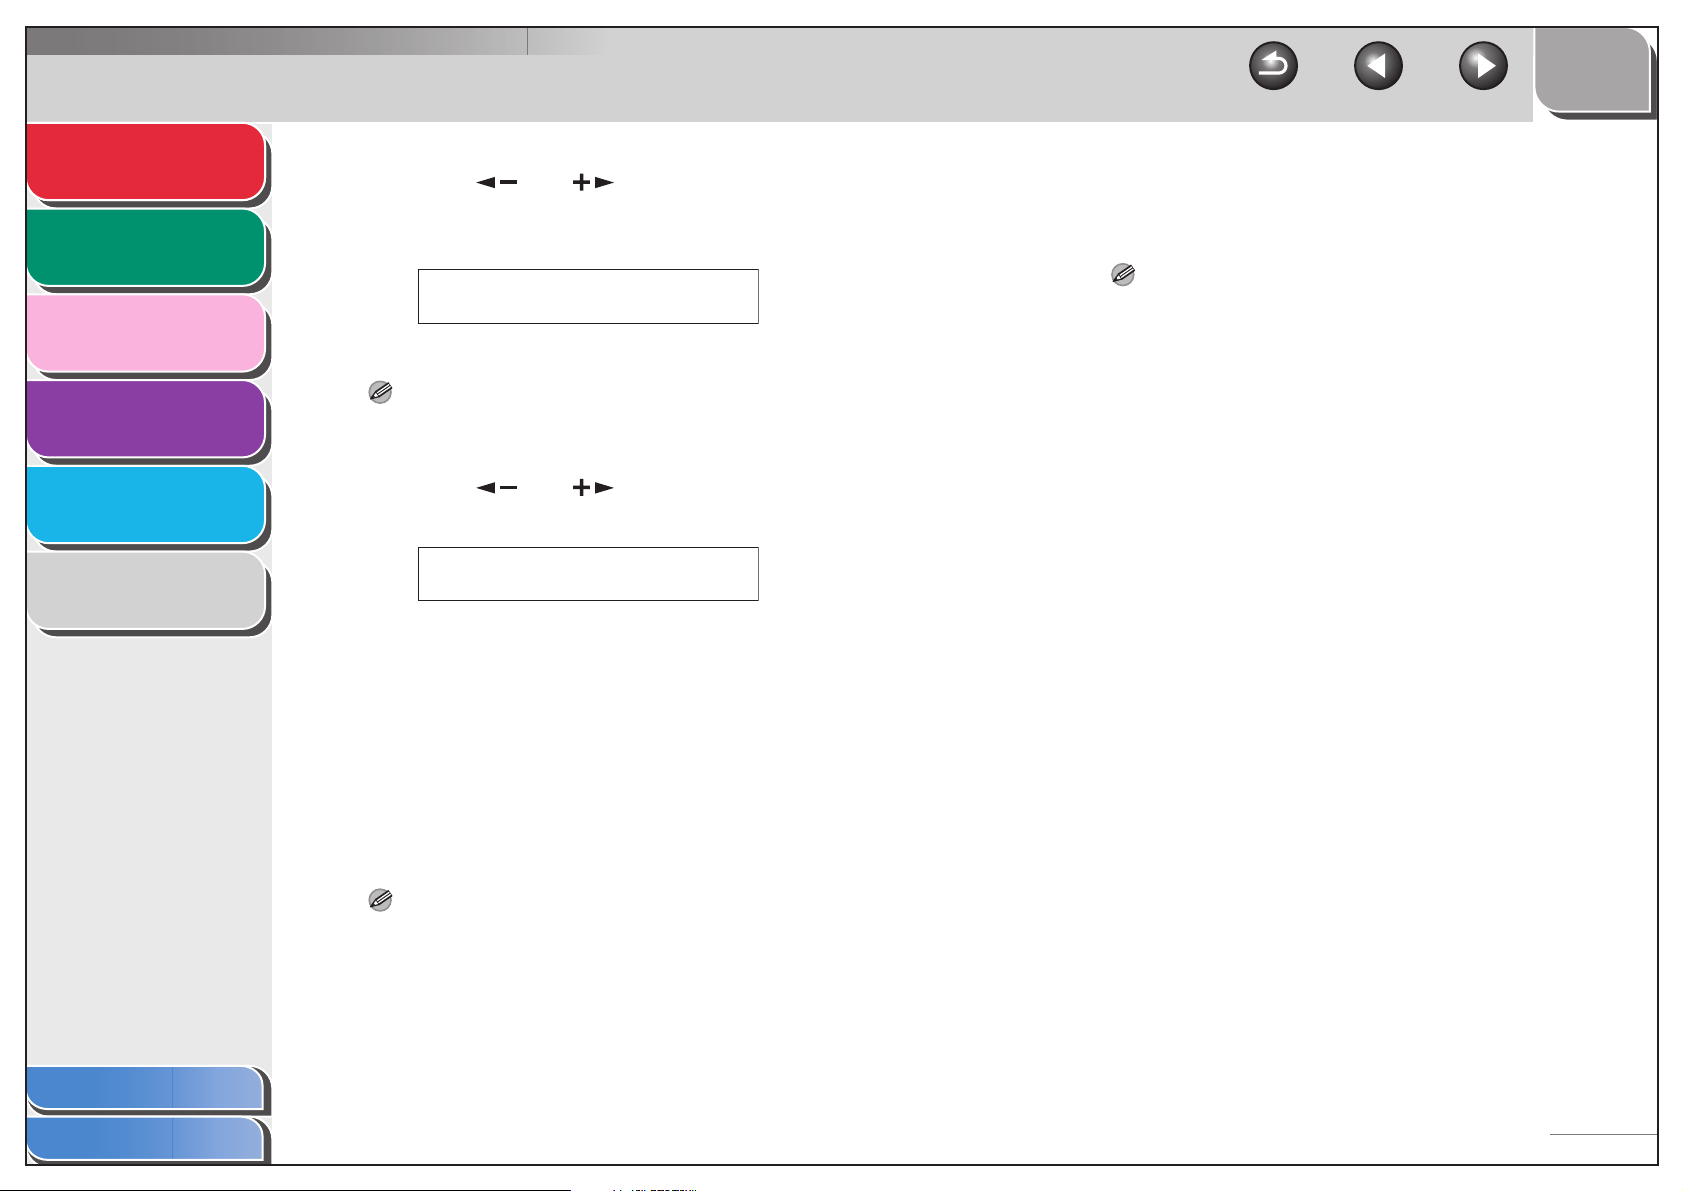
4. Use the numeric keys to enter up to 10 first
characters of the recipient’s name, then
press [OK].
Ex.
SEARCH [A]
CANON
– When the search is completed, the number of recipients that
match the characters you entered is displayed in parentheses.
– Press [Clear] to run a new search.
5. Use [ ] or [ ] to find the required
recipient.
6. Press [Start] to start scanning a document.
7. Press [OK] to start dialing the displayed
recipient.
To cancel sending the fax, press [Stop/Reset], then [ ].
TOP
Back Previous Next
Redialing Manually
1. Press [Redial/Pause].
2. Press [Start] to start scanning a document.
3. Press [OK] to dial the last number you dialed.
To cancel manual redialing, press [Stop/Reset], then [ ].
Redialing Automatically
1. Press [Additional Functions].
2. Use [ ] or [ ] to select <FAX
SETTINGS>, then press [OK].
3. Use [ ] or [ ] to select <TX SETTINGS>,
then press [OK].
Table of Contents
Index
■ Redialing
Redialing can be done manually or automatically. For automatic
redialing, you can set how many times the machine redials and
the time between redials.
4. Use [ ] or [ ] to select <AUTO REDIAL>,
then press [OK].
5. Use [ ] or [ ] to select <ON>, then press
[OK].
1-3
Advanced Fax
Features
1
Advanced Copy
Features
2
System Monitor
3
Reports and Lists
4
Troubleshooting
5
Appendix
6
6. Use [ ] or [ ] to select the number of
redials the machine will make, then press
[OK].
Ex.
REDIAL TIMES
2TIMES
You can also enter values with the numeric keys.
NOTE
Reagrdless of the number you entered, the machine makes only one
redialing attempt if it does not detect a busy signal.
7. Use [ ] or [ ] to select the time (in
minutes) between redials, then press [OK].
Ex.
REDIAL INTERVAL
2MIN.
You can also enter values with the numeric keys.
8. Press [Stop/Reset] to return to standby
mode.
■ Switching Temporarily to Tone Dialing
TOP
Back Previous Next
1. Press [FAX].
2. Press [Hook].
NOTE
Make sure to confirm the dial tone before entering a fax number.
If you enter the number before the dial tone can be heard, the call
may not be connected, or the wrong number may be dialed.
3. Use the numeric keys to dial the required
information service.
4. When the recorded message of the
information service answers, press [Tone] to
switch to tone dialing.
5. Use the numeric keys to enter the numbers
requested by the information service.
6. If you want to receive faxes, press [Start].
7. When finished, press [Hook] to disconnect
the call.
Tone dialing is canceled when you disconnect the call.
Table of Contents
Index
If your machine is set for pulse dialing, use the procedure below
to switch to tone dialing to use information services (e.g., banks,
airline reservations, and hotel reservations).
NOTE
To talk to the other party, you will need to connect a telephone to the
machine.
1-4
Advanced Fax
Features
1
Advanced Copy
Features
2
System Monitor
3
Reports and Lists
4
Troubleshooting
5
Appendix
6
■ Checking Dialing Line
Checking dialing line function enables you to configure the
setting on whether to check for a dial tone.
1. Press [Additional Functions].
2. Use [ ] or [ ] to select <FAX
SETTINGS>, then press [OK].
3. Use [ ] or [ ] to select <TX SETTINGS>,
then press [OK].
4. Use [ ] or [ ] to select <DIALING LINE
CHCK>, then press [OK].
5. Use [ ] or [ ] to select <ON>, then press
[OK].
6. Press [Stop/Reset] to return to standby
mode.
■ Dialing an Overseas Number (With
Pauses)
TOP
Back Previous Next
1. Set a document.
2. Press [FAX].
3. Adjust any necessary settings (fax
resolution, etc.) for your documents.
4. Use the numeric keys to dial the international
access code.
For details on international access codes, contact your local
telephone company.
5. If necessary, press [Redial/Pause] to enter a
2.5-second pause.
Ex.
=123P
– <P> in the fax/telephone number represents 2.5-second
pause.
– For a longer pause, press [Redial/Pause] again.
6. Use the numeric keys to dial the country
code, the area code, and the fax/telephone
number of the recipient.
Table of Contents
Index
When you dial or register an overseas number, you may need to
insert a pause within the number.
7. Press [Start] to start scanning a document.
8. Press [OK] to start dialing.
1-5
Advanced Fax
Features
1
Advanced Copy
Features
2
System Monitor
3
Reports and Lists
4
Troubleshooting
5
Appendix
6
Receiving Features
You can set receive mode that suits your needs. The
machine also provides the following receiving features:
memory reception, reception restriction, and remote
reception.
■ Setting Receive Mode
To determine the right mode for you, see “Set the Machine for
Receiving Faxes,” in the Starter Guide.
1. Press [Additional Functions].
2. Use [ ] or [ ] to select <FAX
SETTINGS>, then press [OK].
3. Use [ ] or [ ] to select <RX SETTINGS>,
then press [OK].
4. Use [ ] or [ ] to select <RX MODE>,
then press [OK].
TOP
Back Previous Next
5. Use [ ] or [ ] to select the desired
receive mode, then press [OK].
<FaxOnly>: Answers all calls as faxes and disconnects voice
calls.
<AnsMode>: Receives faxes automatically and records voice
messages.
<DRPD> (Distinctive Ring Pattern Detection): Distinguishes
between fax and voice calls using distinctive ring patterns. Select
the ring pattern assigned by your telephone company. For
optional settings, see “DRPD: Optional Settings,” on p. 1-8.
<FAX/TEL>: Switches between fax and voice calls automatically.
For optional settings, see “FAX/TEL: Optional Settings,” on p. 1-7.
<MANUAL>: Does not answer any calls. You have to manually
receive faxes.
NOTE
– For <DRPD>, <FAX/TEL>, or <MANUAL> make sure an
external telephone is connected to the machine.
– For <AnsMode>, make sure an answering machine is
connected to the machine.
– For <DRPD>, subscription to a DRPD service is required.
Contact your telephone company for availability.
Table of Contents
Index
6. Press [Stop/Reset] to return to standby
mode.
1-6

Advanced Fax
Features
1
Advanced Copy
Features
2
System Monitor
3
Reports and Lists
4
Troubleshooting
5
Appendix
6
Manual Reception
When you select <MANUAL> in <RX MODE>, follow the
procedure below to receive a fax.
1. When the telephone rings, pick up the
handset of the external telephone.
2. Confirm that the modem’s connecting sound
is heard, then press [Start].
3. Hang up the external telephone.
FAX/TEL: Optional Settings
If required, change the optional settings as follows:
TOP
Back Previous Next
5. Use [ ] or [ ] to select <FAX/TEL>, then
press [OK].
6. Use numeric keys to select the duration (0 to
30 seconds) for the phone to ring, then press
[OK].
7. Use numeric keys to select the duration (10
to 45 seconds) of ringing, then press [OK].
8. Use [] or [] to select the action the
machine will take after the ringing ends, then
press [OK].
<RECEIVE>: Switches to receive mode.
<DISCONNECT>: Disconnects the call.
9. Press [Stop/Reset] to return to standby
mode.
Table of Contents
Index
1. Press [Additional Functions].
2. Use [ ] or [ ] to select <FAX
SETTINGS>, then press [OK].
3. Use [ ] or [ ] to select <RX SETTINGS>,
then press [OK].
4. Use [ ] or [ ] to select <RX MODE>,
then press [OK].
1-7
 Loading...