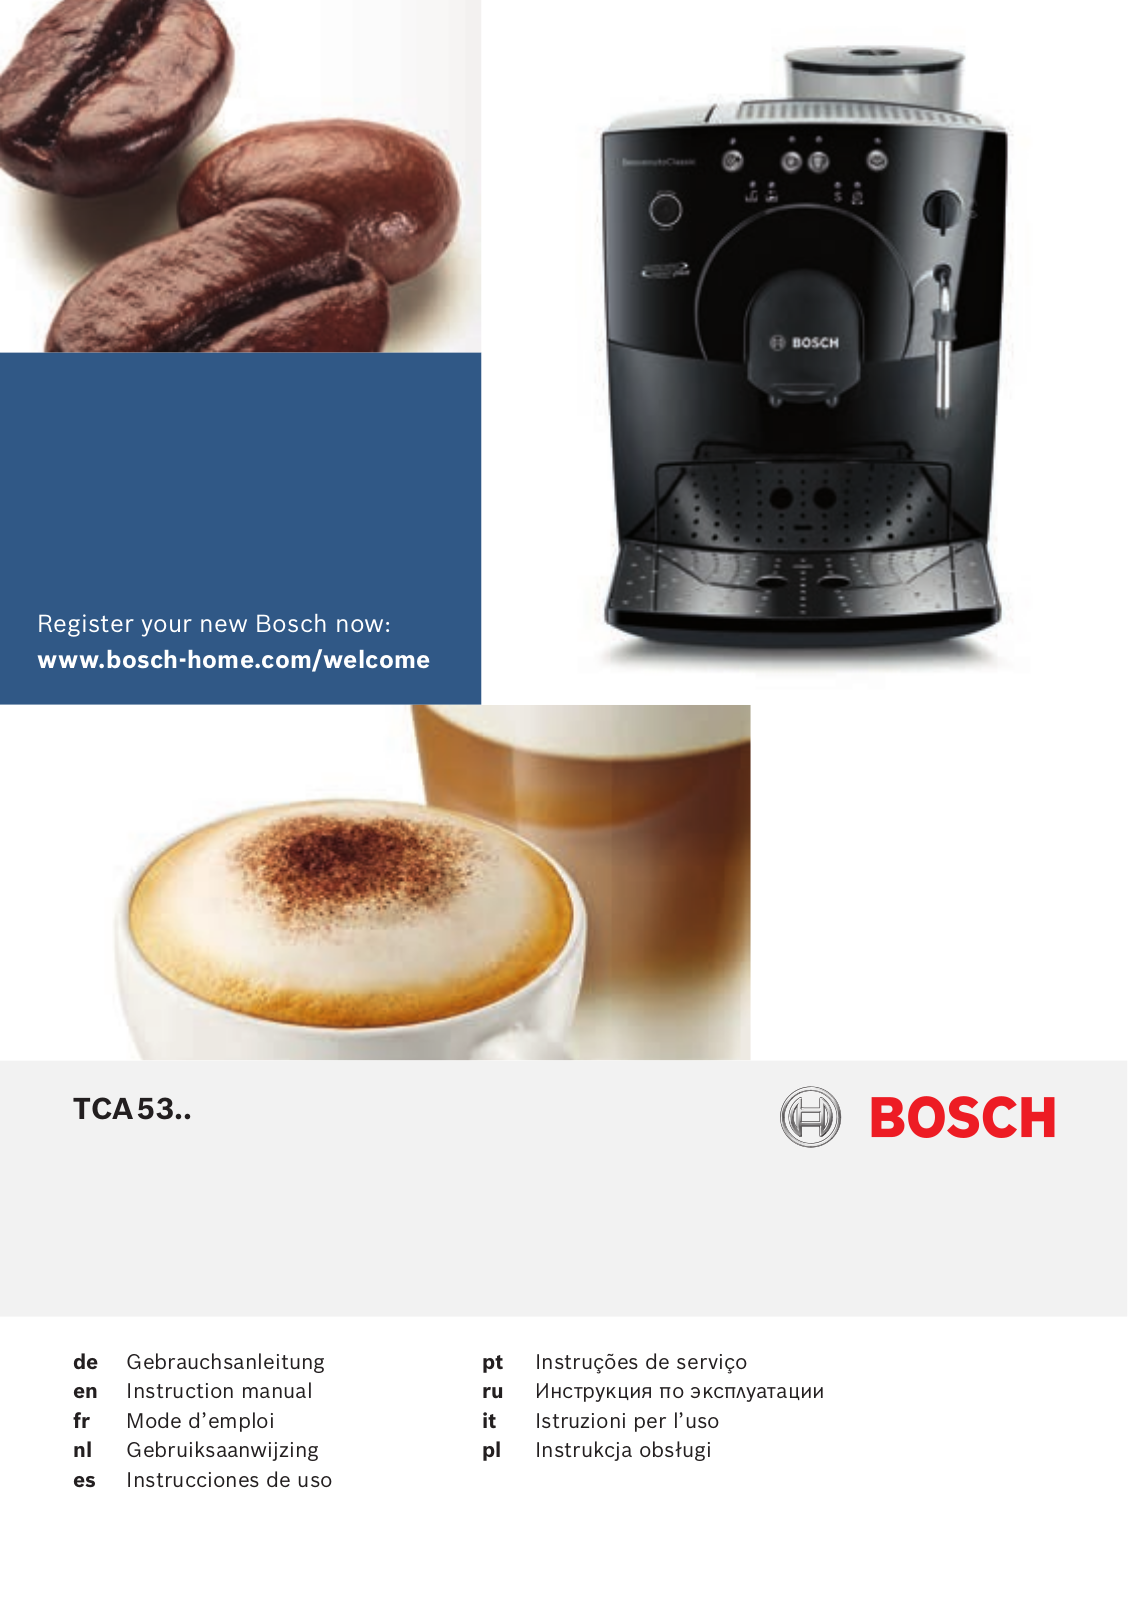
BOSCH TCA 5309 User Manual

Moodpic 1 63,2 x 50,25mm CMYK & GREY

Register your new Bosch now:

www.bosch-home.com/welcome

Moodpic 2 98,6 x 46,7mm CMYK & GREY

TCA 53..

de

Gebrauchsanleitung

pt

Instruções de serviço

en

Instruction manual

ru

Инструкция по эксплуатации

fr

Mode d’emploi

it

Istruzioni per l’uso

nl

Gebruiksaanwijzing

pl

Instrukcja obsługi

es

Instrucciones de uso


de

Deutsch

2


en

English

14


fr

Français

25


nl

Nederlands

37


es

Español

49


pt

Português

62


ru

Pycckий

74


it

Italiano

87


pl

Polski

99


BOSCH TCA 5309 User Manual

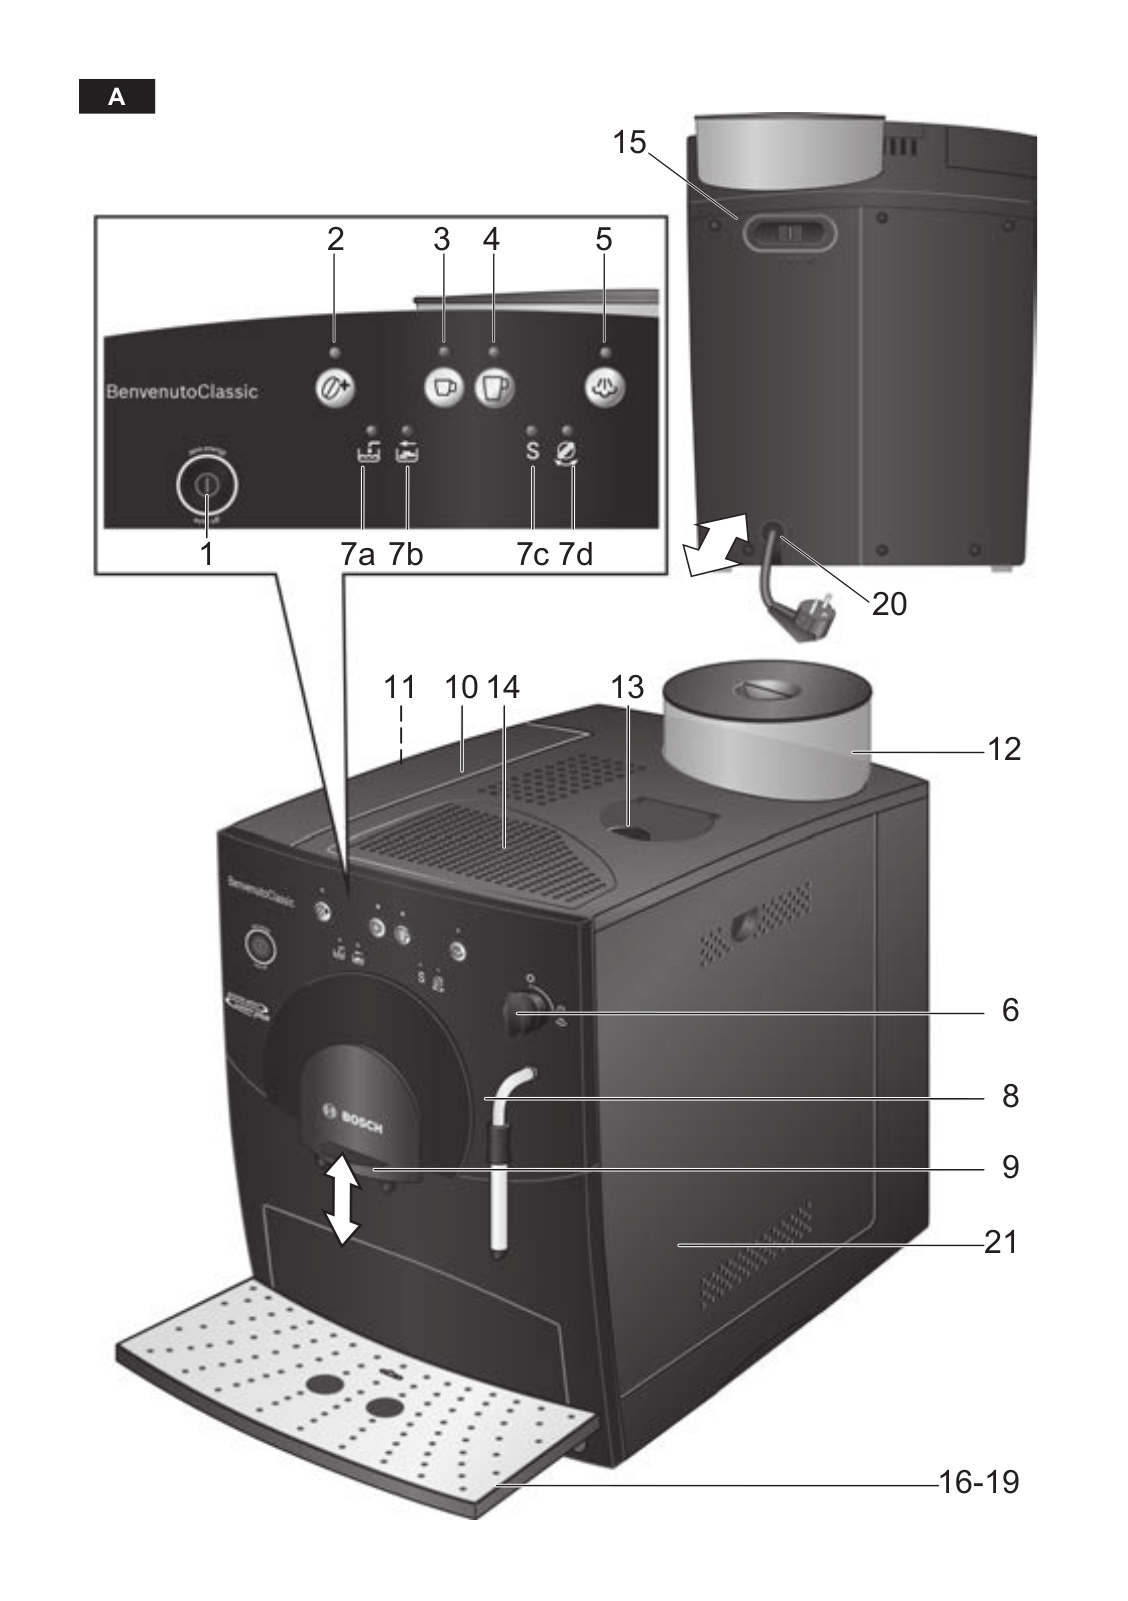
A

15

2

3

4

5

1

7a 7b

7c 7d


20


11

10 14

13

12

6 8

9 21

16-19

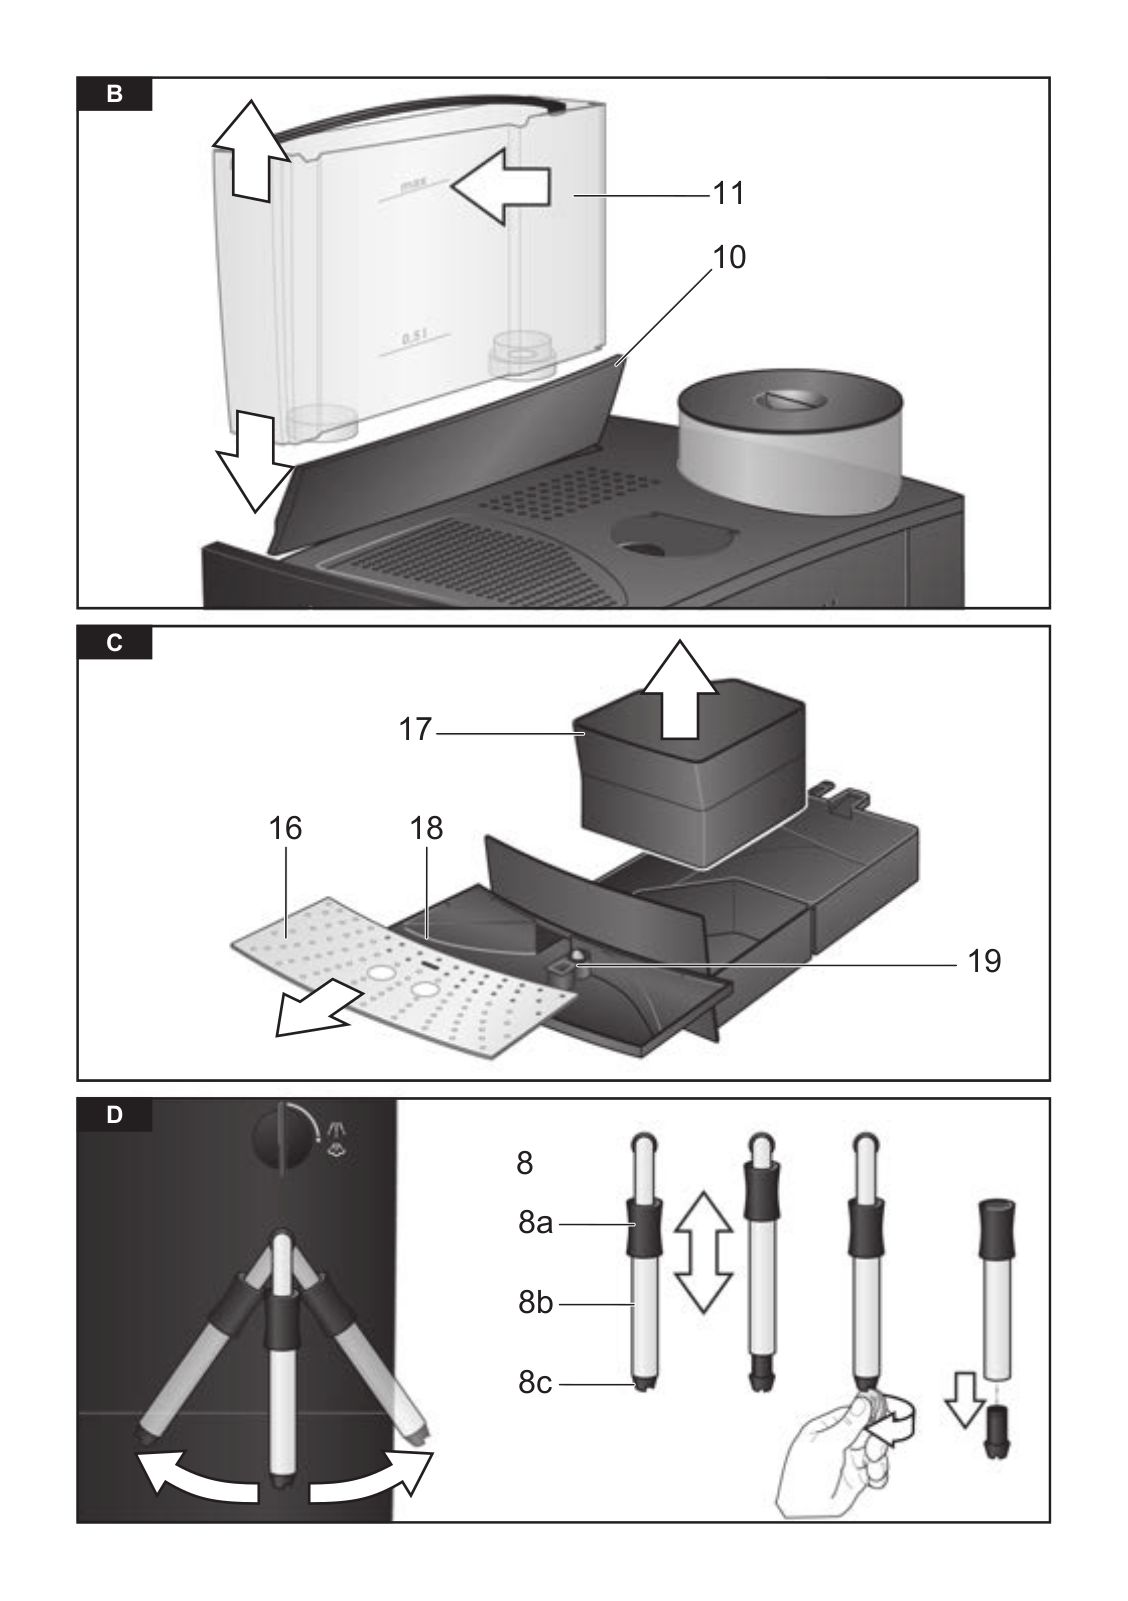
B

C

19

D

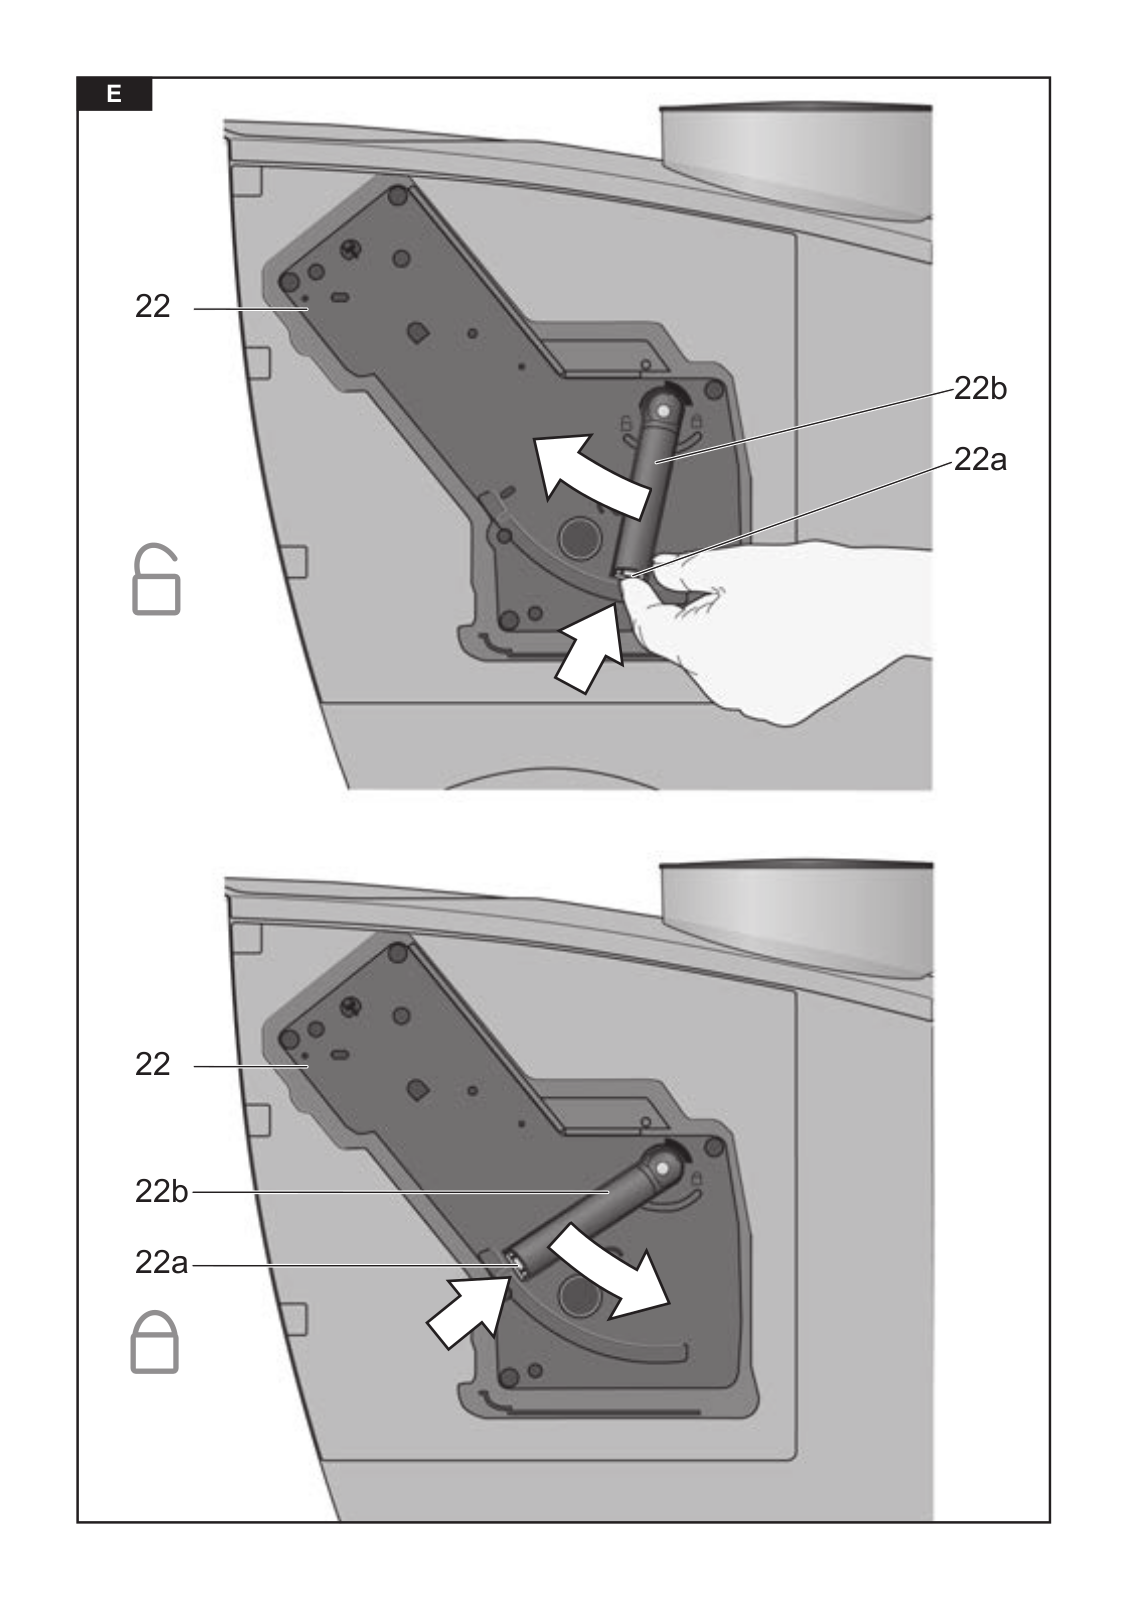
E

de

Sicherheitshinweise

Die Gebrauchsanleitung bitte sorgfältig durchlesen, danach handeln und aufbewahren! Bei Weitergabe des Geräts diese Anleitung beilegen. Dieses Gerät ist für die Verarbeitung haushaltsüblicher Mengen im Haushalt oder in haushaltsähnlichen, nicht-gewerblichen Anwendungen bestimmt. Haushaltsähnliche Anwendungen umfassen z.B. die Verwendung in Mitarbeiterküchen von Läden, Büros, landwirtschaftlichen und anderen gewerblichen Betrieben,

sowie die Nutzung durch Gäste von Pensionen, kleinen Hotels und ähnlichen Wohneinrichtungen.

A Stromschlaggefahr!

Gerät nur gemäß Angaben auf dem Typenschild anschließen und betreiben. Reparaturen am Gerät, wie z. B. eine beschädigte Netzanschlussleitung auswechseln, dürfen nur durch unseren

Kundendienst ausgeführt werden, um Gefährdungen zu vermeiden.

Dieses Gerät kann von Kindern ab 8 Jahren und darüber und von

Personen mit reduzierten physischen, sensorischen oder mentalen Fähigkeiten oder Mangel an Erfahrung und/oder Wissen benutzt werden, wenn sie beaufsichtigt oder bezüglich des sicheren Gebrauchs des Gerätes unterwiesen wurden und die daraus resultierenden Gefahren verstanden haben. Kinder unter 8 Jahren sind vom Gerät und der Anschlussleitung fernzuhalten und dürfen das Gerät nicht bedienen. Kinder dürfen nicht mit dem Gerät spielen. Reinigung und Benutzer-Wartung dürfen nicht durch Kinder vorgenommen werden, es sei denn, sie sind 8 Jahre oder älter und werden beaufsichtigt.

2

de

Gerät oder Netzkabel niemals in Wasser tauchen. Nur benutzen, wenn Zuleitung und Gerät keine Beschädigungen aufweisen. Im Fehlerfall sofort den Netzstecker ziehen oder die Netzspannung ausschalten.

A Erstickungsgefahr!

Kinder nicht mit Verpackungsmaterial spielen lassen.

¡¡Verbrühungsgefahr!

Die Düse für Heißwasser / Dampf wird sehr heiß. Die Düse nur am Kunststoffgriff anfassen und nicht auf Körperteile halten. Die Düse kann bei Bezug von Dampf oder Heißwasser am Anfang spritzen.

¡¡Verletzungsgefahr!

Nicht in das Mahlwerk greifen.

3

de

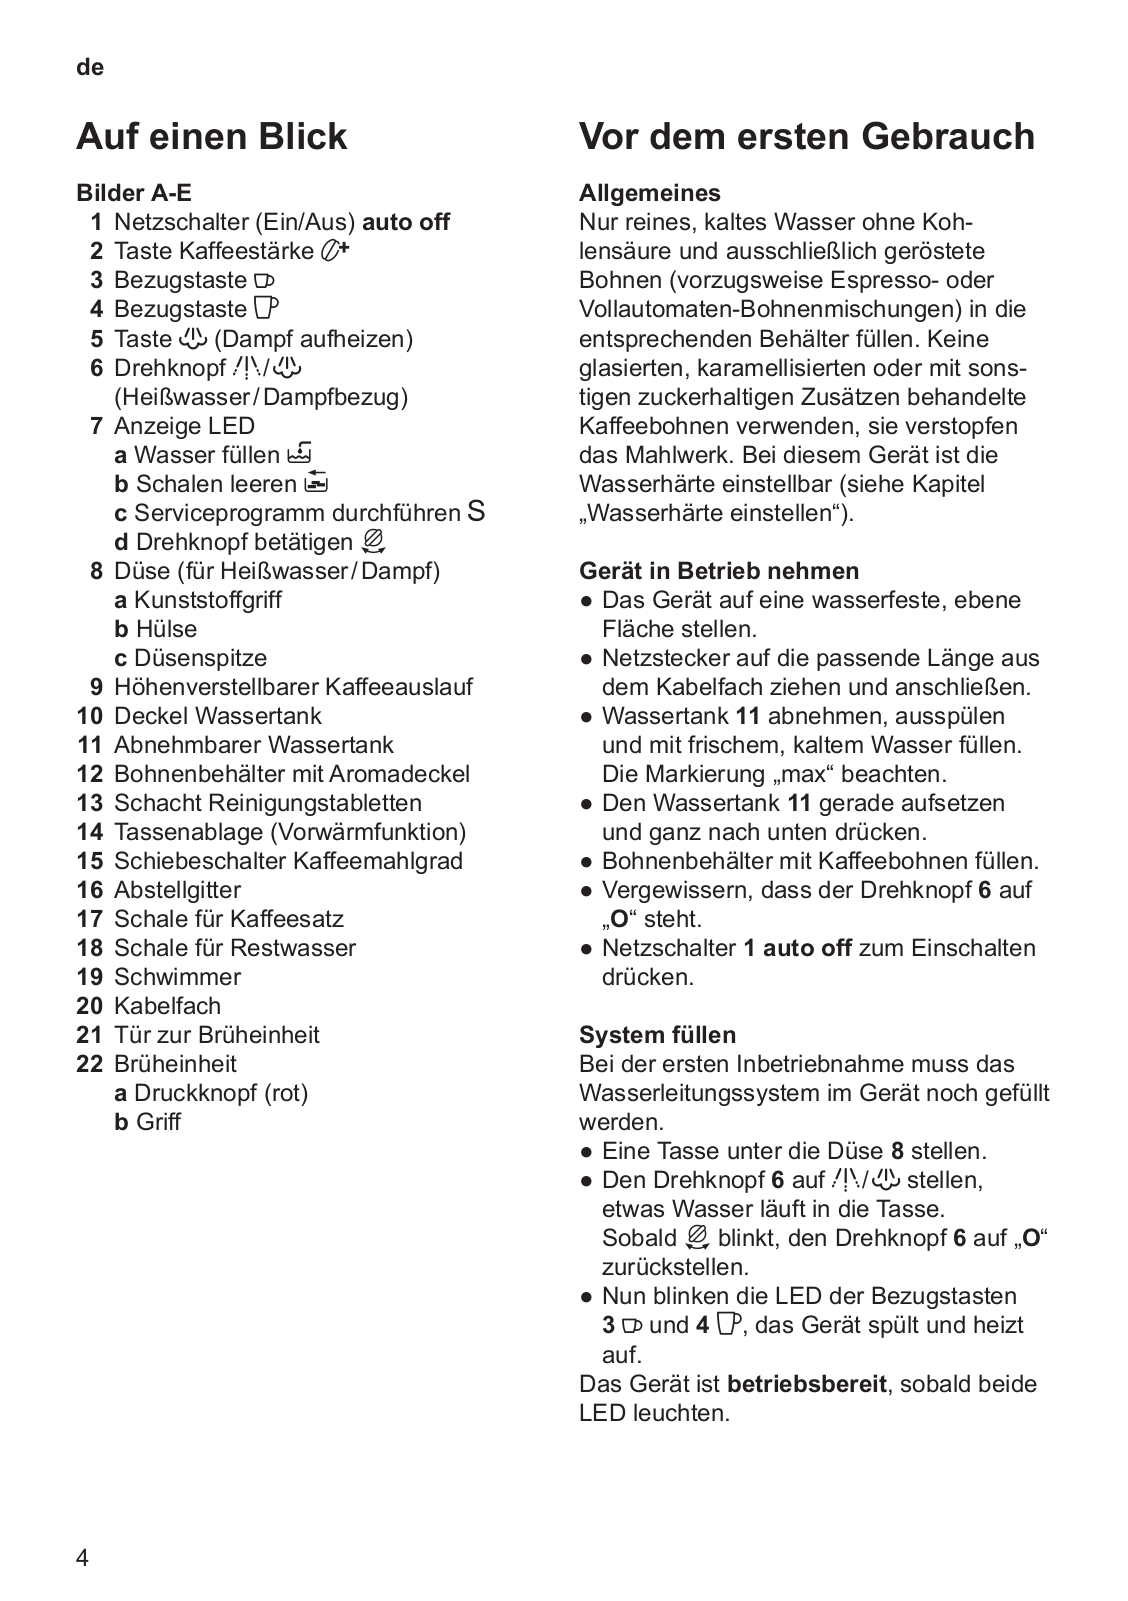
Auf einen Blick

Bilder A-E

1Netzschalter (Ein/Aus) auto off

2Taste Kaffeestärke â

3Bezugstaste E

4Bezugstaste F

5Taste h (Dampf aufheizen)

6Drehknopf g / h (Heißwasser / Dampfbezug)

7Anzeige LED

a Wasser füllen H b Schalen leeren I

c Serviceprogramm durchführen S d Drehknopf betätigen J

8Düse (für Heißwasser / Dampf) a Kunststoffgriff

b Hülse

c Düsenspitze

9Höhenverstellbarer Kaffeeauslauf

10Deckel Wassertank

11Abnehmbarer Wassertank

12Bohnenbehälter mit Aromadeckel

13Schacht Reinigungstabletten

14Tassenablage (Vorwärmfunktion)

15Schiebeschalter Kaffeemahlgrad

16Abstellgitter

17Schale für Kaffeesatz

18Schale für Restwasser

19Schwimmer

20Kabelfach

21Tür zur Brüheinheit

22Brüheinheit

a Druckknopf (rot) b Griff

Vor dem ersten Gebrauch

Allgemeines

Nur reines, kaltes Wasser ohne Kohlensäure und ausschließlich geröstete Bohnen (vorzugsweise Espressooder Vollautomaten-Bohnenmischungen) in die entsprechenden Behälter füllen. Keine glasierten, karamellisierten oder mit sonstigen zucker­haltigen Zusätzen behandelte Kaffeebohnen verwenden, sie verstopfen das Mahlwerk. Bei diesem Gerät ist die Wasserhärte einstellbar (siehe Kapitel „Wasserhärte einstellen“).

Gerät in Betrieb nehmen

●●Das Gerät auf eine wasserfeste, ebene Fläche stellen.

●●Netzstecker auf die passende Länge aus dem Kabelfach ziehen und anschließen.

●●Wassertank 11 abnehmen, ausspülen und mit frischem, kaltem Wasser füllen. Die Markierung „max“ beachten.

●●Den Wassertank 11 gerade aufsetzen und ganz nach unten drücken.

●●Bohnenbehälter mit Kaffeebohnen füllen. ●●Vergewissern, dass der Drehknopf 6 auf

O“ steht.

●●Netzschalter 1 auto off zum Einschalten drücken.

System füllen

Bei der ersten Inbetriebnahme muss das Wasserleitungssystem im Gerät noch gefüllt werden.

●●Eine Tasse unter die Düse 8 stellen. ●●Den Drehknopf 6 auf g / h stellen, etwas Wasser läuft in die Tasse.

Sobald J blinkt, den Drehknopf 6 auf „O“ zurückstellen.

●●Nun blinken die LED der Bezugstasten 3 E und 4 F, das Gerät spült und heizt auf.

Das Gerät ist betriebsbereit, sobald beide LED leuchten.

4

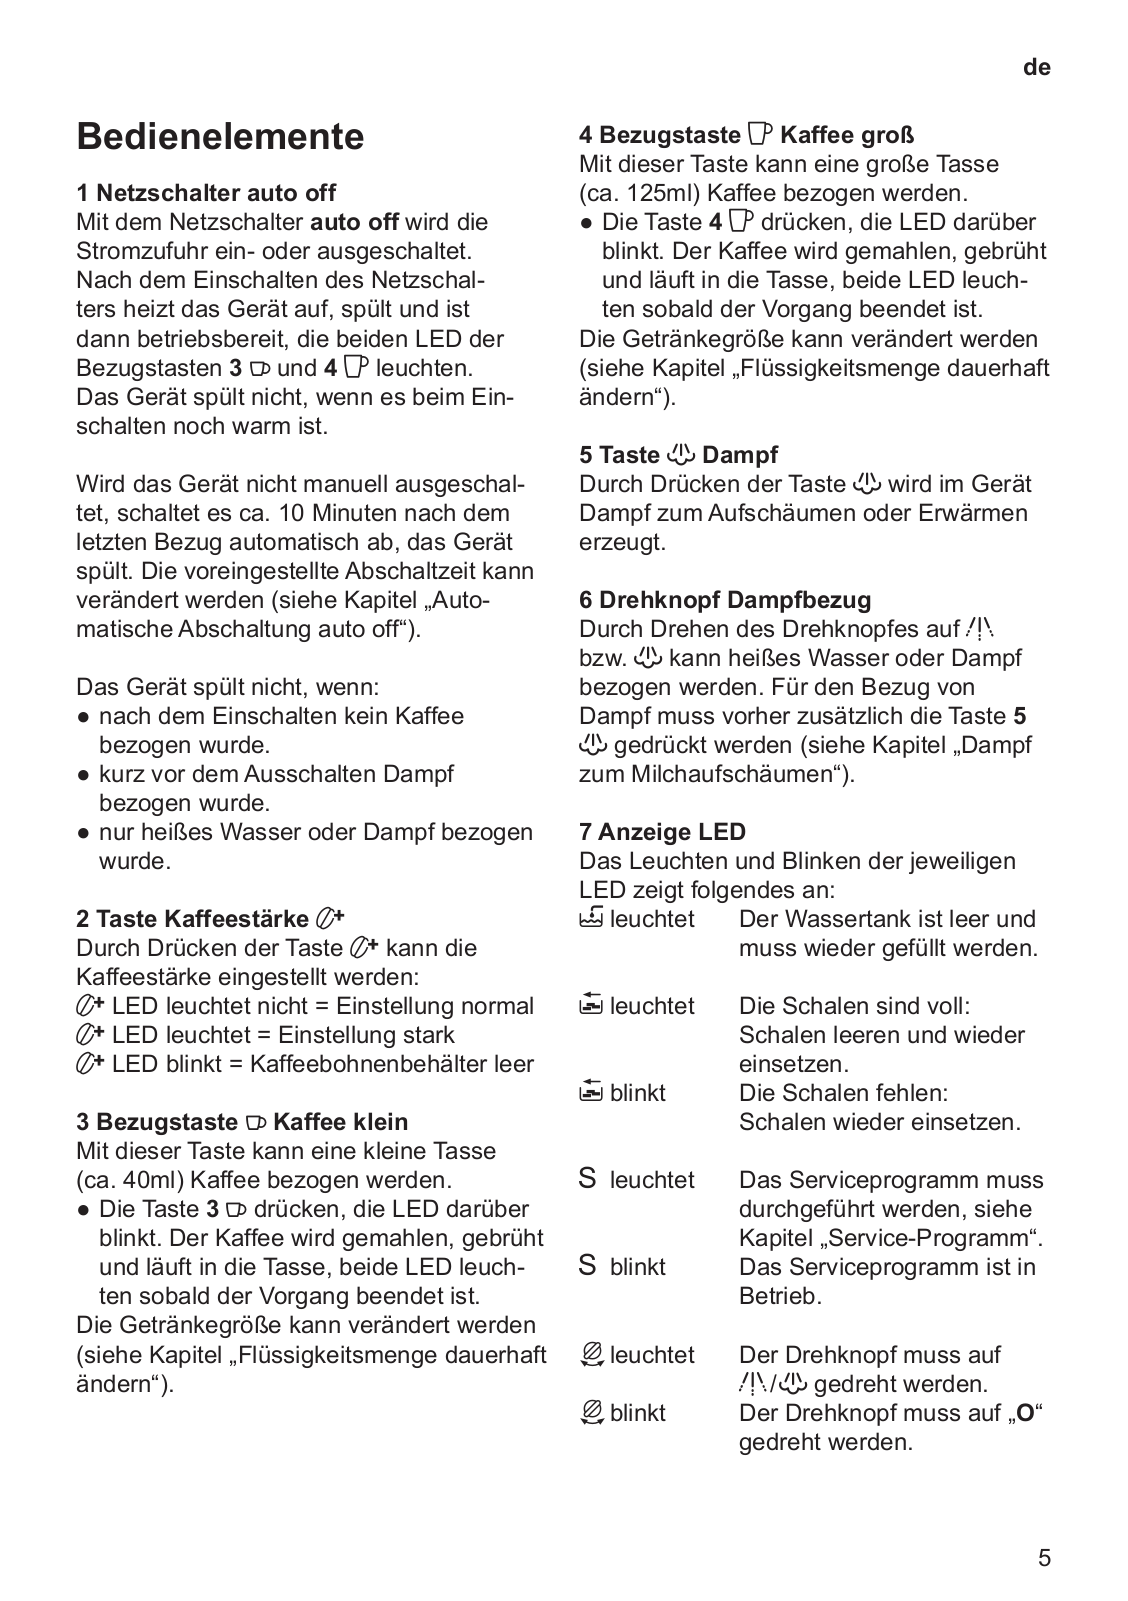
Bedienelemente

1 Netzschalter auto off

Mit dem Netzschalter auto off wird die Stromzufuhr einoder ausgeschaltet. Nach dem Einschalten des Netzschalters heizt das Gerät auf, spült und ist dann betriebsbereit, die beiden LED der Bezugstasten 3 E und 4 F leuchten. Das Gerät spült nicht, wenn es beim Einschalten noch warm ist.

Wird das Gerät nicht manuell ausgeschaltet, schaltet es ca. 10 Minuten nach dem letzten Bezug automatisch ab, das Gerät spült. Die voreingestellte Abschaltzeit kann verändert werden (siehe Kapitel „Auto­ matische Abschaltung auto off“).

Das Gerät spült nicht, wenn: ●●nach dem Einschalten kein Kaffee

bezogen wurde.

●●kurz vor dem Ausschalten Dampf bezogen wurde.

●●nur heißes Wasser oder Dampf bezogen wurde.

2 Taste Kaffeestärke â

Durch Drücken der Taste â kann die Kaffeestärke­ eingestellt werden:

âLED leuchtet nicht = Einstellung normal

âLED leuchtet = Einstellung stark

âLED blinkt = Kaffeebohnenbehälter leer

3 Bezugstaste E Kaffee klein

Mit dieser Taste kann eine kleine Tasse (ca. 40ml) Kaffee bezogen werden.

●●Die Taste 3 E drücken, die LED darüber blinkt. Der Kaffee wird gemahlen, gebrüht und läuft in die Tasse, beide LED leuchten sobald der Vorgang beendet ist.

Die Getränkegröße kann verändert werden (siehe Kapitel „Flüssigkeitsmenge dauerhaft ändern“).

de

4 Bezugstaste F Kaffee groß

Mit dieser Taste kann eine große Tasse (ca. 125ml) Kaffee bezogen werden. ●●Die Taste 4 F drücken, die LED darüber

blinkt. Der Kaffee wird gemahlen, gebrüht und läuft in die Tasse, beide LED leuchten sobald der Vorgang beendet ist.

Die Getränkegröße kann verändert werden (siehe Kapitel „Flüssigkeitsmenge dauerhaft ändern“).

5 Taste h Dampf

Durch Drücken der Taste h wird im Gerät Dampf zum Aufschäumen oder Erwärmen erzeugt.

6 Drehknopf Dampfbezug

Durch Drehen des Drehknopfes auf g bzw. h kann heißes Wasser oder Dampf bezogen werden. Für den Bezug von Dampf muss vorher zusätzlich die Taste 5 h gedrückt werden (siehe Kapitel „Dampf zum Milchaufschäumen“).

7 Anzeige LED

Das Leuchten und Blinken der jeweiligen LED zeigt folgendes an:

H leuchtet Der Wassertank ist leer und muss wieder gefüllt werden.

I leuchtet

Die Schalen sind voll:


Schalen leeren und wieder

I blinkt

einsetzen.

Die Schalen fehlen:


Schalen wieder einsetzen.

S leuchtet

Das Serviceprogramm muss


durchgeführt werden, siehe

S blinkt

Kapitel „Service-Programm“.

Das Serviceprogramm ist in


Betrieb.

Jleuchtet

Der Drehknopf muss auf

Jblinkt

g / h gedreht werden.

Der Drehknopf muss auf „O


gedreht werden.

5

de

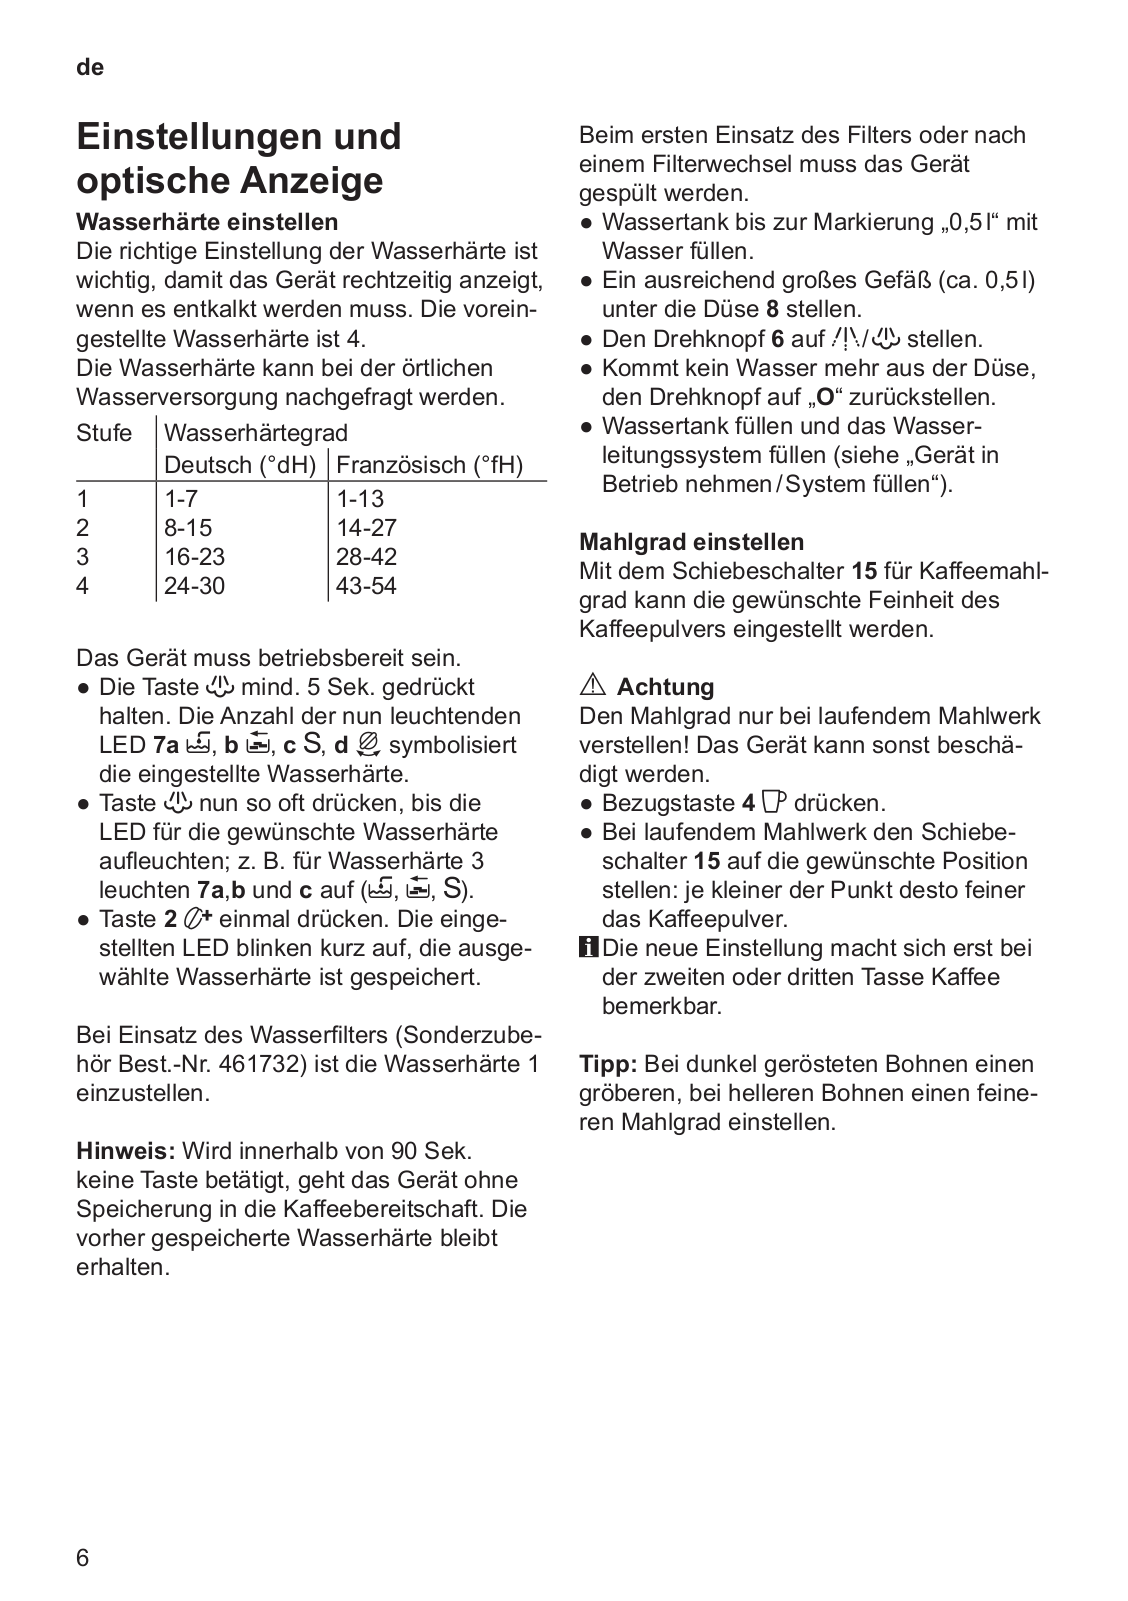
Einstellungen und optische Anzeige

Wasserhärte einstellen

Die richtige Einstellung der Wasserhärte ist wichtig, damit das Gerät rechtzeitig anzeigt, wenn es entkalkt werden muss. Die voreingestellte Wasserhärte ist 4.

Die Wasserhärte kann bei der örtlichen Wasserversorgung nachgefragt werden.

Stufe

Wasserhärtegrad


Deutsch (°dH)

Französisch (°fH)

1

1-7

1-13

2

8-15

14-27

3

16-23

28-42

4

24-30

43-54

Das Gerät muss betriebsbereit sein. ●●Die Taste h mind. 5 Sek. gedrückt

halten. Die Anzahl der nun leuchtenden LED 7a H, b I, c S, d J symbolisiert die eingestellte Wasserhärte.

●●Taste h nun so oft drücken, bis die LED für die gewünschte Wasserhärte­ aufleuchten; z. B. für Wasserhärte 3 leuchten 7a,b und c auf (H, I, S).

●●Taste 2 â einmal drücken. Die eingestellten LED blinken kurz auf, die ausgewählte Wasserhärte ist gespeichert.

Bei Einsatz des Wasserfilters (Sonder­zube­­ hör Best.-Nr. 461732) ist die Wasserhärte 1 einzustellen.

Hinweis: Wird innerhalb von 90 Sek. keine Taste betätigt, geht das Gerät ohne Speicherung in die Kaffeebereitschaft. Die vorher gespeicherte Wasserhärte bleibt erhalten.

Beim ersten Einsatz des Filters oder nach einem Filterwechsel muss das Gerät gespült werden.

●●Wassertank bis zur Markierung „0,5 l“ mit Wasser füllen.

●●Ein ausreichend großes Gefäß (ca. 0,5 l) unter die Düse 8 stellen.

●●Den Drehknopf 6 auf g / h stellen. ●●Kommt kein Wasser mehr aus der Düse,

den Drehknopf auf „O“ zurückstellen. ●●Wassertank füllen und das Wasser­

leitungs­system füllen (siehe „Gerät in Betrieb nehmen / System füllen“).

Mahlgrad einstellen

Mit dem Schiebeschalter 15 für Kaffeemahlgrad kann die gewünschte Feinheit des Kaffeepulvers eingestellt werden.

¡¡Achtung

Den Mahlgrad nur bei laufendem Mahlwerk verstellen! Das Gerät kann sonst beschädigt werden.

●●Bezugstaste 4 F drücken.

●●Bei laufendem Mahlwerk den Schiebe­ schalter 15 auf die gewünschte Position stellen: je kleiner der Punkt desto feiner das Kaffeepulver.

iiDie neue Einstellung macht sich erst bei der zweiten oder dritten Tasse Kaffee bemerkbar.

Tipp: Bei dunkel gerösteten Bohnen einen gröberen, bei helleren Bohnen einen feineren Mahlgrad einstellen.

6

Automatische Abschaltung auto off

Die voreingestellte automatische Abschaltzeit von ca. 10 Minuten kann verändert werden.

●●Dazu die Bezugstaste 3 E und die Taste 5 h gleichzeitig mindestens 5 Sekunden gedrückt halten. Die nun leuchtenden LED 7a, b, c und d (H, I, S, J) symbolisieren die eingestellte Abschaltzeit. Nun kann durch Drücken der Taste 5 h die Auswahl für die Abschaltzeit vorgenommen werden:

LED 7a (H) leuchtet

= aus nach ca. 10 Minuten. LED 7a und 7b (H, I) leuchten = aus nach ca. 30 Minuten.

LED 7a, 7b und 7c (H, I, S) leuchten = aus nach ca. 1 Stunde.

LED 7a, 7b, 7c und 7d (H, I, S, J) leuchten

= aus nach ca. 4 Stunden.

Durch Drücken der Taste 2 â wird die Auswahl gespeichert.

Temperatur einstellen

Dieser Kaffeevollautomat bietet die Möglichkeit, die Kaffeetemperatur zu verändern. ●●Dazu die Bezugstaste 3 E und 4 F

gleichzeitig mindestens 5 Sekunden gedrückt halten. Die nun leuchtenden LED 7a, b und c (H, I, S) symbolisieren die eingestellte Temperatur. Nun kann durch Drücken der Taste 5 h die Tempe- ratur-Auswahl vorgenommen werden: LED 7a (H) leuchtet

= Temperatur niedrig.

LED 7a und 7b (H, I) leuchten = Temperatur mittel.

LED 7a, 7b und 7c (H, I, S) leuchten = Temperatur hoch.

Durch Drücken der Taste 2 â wird die Auswahl gespeichert.

Schwimmer

Der Schwimmer 19 in der Schale 18 zeigt an, wann diese geleert werden muss. ●●Ist der Schwimmer 19 gut sichtbar, die

Schale 18 ausleeren.

de

Zubereitung mit Kaffeebohnen

Dieser Espresso- / Kaffee-Vollautomat mahlt für jeden Brühvorgang frischen Kaffee. Vorzugsweise Espressooder Vollauto­maten­- Bohnenmischungen verwenden. Kühl, luftdicht und verschlossen aufbewahren oder tiefgefrieren. Die Kaffeebohnen­ können auch tiefgefroren gemahlen werden.

Wichtig: Täglich frisches Wasser in den Wassertank füllen. Es muss immer ausreichend Wasser für den Betrieb des Gerätes im Wassertank sein – nicht leergehen lassen.

Tipp: Tasse(n), vor allem kleine, dickwandige Espressotassen auf der Tassenablage 14 vorwärmen oder mit Heißwasser ausspülen.

Das Gerät muss betriebsbereit sein. ●●Vorgewärmte Tasse(n) unter den

Kaffeeauslauf 9 stellen.

●●Je nach gewünschter Flüssigkeitsmenge Bezugstaste 3 E bzw. 4 F drücken. Der Kaffee wird gebrüht und läuft anschließend in die Tasse(n).

●●Der Kaffeeauslauf wird automatisch gestoppt, wenn die eingestellte Menge durchgelaufen ist.

iiDurch erneutes Drücken der Bezugstaste 3 E oder 4 F kann der Brühvorgang vorzeitig beendet werden.

Zusätzliche

Flüssigkeitsmenge

Es besteht die Möglichkeit, die gleiche Kaffeemenge­ erneut zu beziehen. ●●Dazu die Bezugstaste 3 E bzw. 4 F

innerhalb von 3 Sek. nach Brühende noch mal drücken.

Hinweis: Es wird durch das bereits verwendete­ Kaffeemehl gebrüht.

7

de

Flüssigkeitsmenge dauerhaft ändern

Die voreingestellten Mengen für Bezugs­ taste 3 E (ca. 40ml) und für Bezugstaste

4 F (ca. 125 ml) können verändert werden. ●●Bezugstaste 3 E bzw. 4 F solange

gedrückt halten, bis die gewünschte Menge Kaffee durchgelaufen ist (Wahlmöglichkeit ca. 30 - ca. 220 ml).

iiDie Menge kann jederzeit wieder geändert werden. Möchte man wieder die vom Werk aus eingestellte Menge kann ein „Reset“ durchgeführt werden.

Reset: Das Gerät muss betriebsbereit sein. ●●Schalen 17 und 18 herausziehen.

Bezugstasten 3 E und 4 F gleichzeitig mind. 5 Sek. gedrückt halten.

●●Die LED 7a, b, c und d (H, I, S, J) blinken zur Bestätigung kurz auf.

●●Die Schalen 17 und 18 wieder einsetzen. Die werksseitigen Standardeinstellungen sind nun wieder aktiviert.

Heißwasser bereiten

Das Gerät muss betriebsbereit sein. Mit dieser Funktion kann heißes Wasser

zum Beispiel für eine Tasse Tee zubereitet werden.

¡¡Verbrennungsgefahr

Die Düse wird sehr heiß, nur am Kunststoff­ griff anfassen.

●●Passende Tasse unter die Düse 8 stellen. ●●Hülse an Düse 8 ganz nach unten

schieben.

●●Den Drehknopf 6 auf g / h drehen.

¡¡Verbrühungsgefahr

Nach Einstellung auf g / h kann es etwas spritzen. Düse 8 nicht berühren oder auf Personen richten.

●●Den Vorgang durch Zurückdrehen des Drehknopf 6 auf „O“ beenden.

Dampf zum Milchaufschäumen

Das Gerät muss betriebsbereit sein. Erst die Milch aufschäumen und dann Kaffee beziehen oder die Milch separat aufschäumen und auf den Kaffee geben.

¡¡Verbrennungsgefahr

Die Düse wird sehr heiß, nur am Kunststoff­ griff anfassen.

●●Hülse an Düse 8 ganz nach unten schieben.

●●Tasse etwa 1/3 mit Milch füllen. ●●Taste h drücken. Die LED der Taste

beginnt zu blinken.

iiDas Gerät heizt nun ca. 20 Sekunden auf.

●●Düse 8 tief in die Milch eintauchen, den Tassenboden nicht berühren.

●●Sobald die LED J leuchtet, den Drehknopf 6 auf g / h stellen.

¡¡Verbrühungsgefahr

Nach Einstellung auf g / h kann es etwas spritzen. Austretender Dampf ist sehr heiß, er kann Flüssigkeiten zum Spritzen bringen. Düse 8 nicht berühren oder auf Personen richten.

●●Tasse langsam kreisen bis die Milch aufgeschäumt ist.

●●Den Vorgang durch Zurückdrehen des Drehknopf 6 auf „O“ beenden.

iiUm erneut Milch aufzuschäumen, die Taste h drücken und den Vorgang komplett wiederholen.

Hinweis: Die Düse 8 nach dem Abkühlen sofort reinigen. Getrocknete Rückstände sind schwer zu entfernen.

Tipp: Bevorzugt kalte Milch mit einem Fettgehalt­ von 1,5 % verwenden.

8

Dampf zum Getränke Erwärmen

¡¡Verbrennungsgefahr

Die Düse wird sehr heiß, nur am Kunststoff­ griff anfassen.

Das Gerät muss betriebsbereit sein. ●●Hülse an Düse 8 nach oben schieben. ●●Taste h drücken. Die LED der Taste

beginnt zu blinken.

iiDas Gerät heizt nun ca. 20 Sekunden auf.

●●Düse 8 tief in die zu erwärmende Flüssigkeit tauchen.

●●Sobald die LED J leuchtet, den Drehknopf 6 auf g / h stellen.

¡¡Verbrühungsgefahr

Nach Einstellung auf g / h kann es etwas spritzen. Austretender Dampf ist sehr heiß, er kann Flüssigkeiten zum Spritzen bringen. Düse 8 nicht berühren oder auf Personen richten.

●●Den Vorgang durch Zurückdrehen des Drehknopf 6 auf „O“ beenden.

iiUm erneut Dampf zu beziehen, die Taste h drücken und den Vorgang komplett wiederholen.

Hinweis: Die Düse 8 nach dem Abkühlen sofort reinigen. Getrocknete Rückstände sind schwer zu entfernen.

de

Pflege und tägliche

Reinigung

¡¡Stromschlaggefahr!

Vor der Reinigung den Netzstecker ziehen. Das Gerät niemals in Wasser tauchen. Keinen Dampfreiniger benutzen.

●●Das Gehäuse mit einem feuchten Tuch abwischen. Keine scheuernden Reinigungsmittel verwenden.

●●Rückstände von Kalk, Kaffee, Milch und Entkalkungslösung immer sofort entfernen. Unter solchen Rückständen kann sich Korrosion bilden.

●●Neue Schwammputztücher­ können mit Salzen behaftet sein. Salze können Flugrost am Edelstahl verursachen, deshalb vor Benutzung unbedingt gründlich auswaschen.

●●Alle losen Teile ausschließlich mit der Hand spülen.

●●Den Wassertank 11 nur mit Wasser ausspülen.

●●Schale für Kaffeesatz 17 und Restwasser 18 entnehmen, entleeren und reinigen.

●●Innenraum des Gerätes (Aufnahme Schalen) auswischen.

●●Tür zur Brüheinheit 21 öffnen und die Kaffeereste im Innenraum entfernen. Tür wieder schließen.

Hinweis: Wenn das Gerät im kalten Zustand eingeschaltet oder nach Bezug von Kaffee ausgeschaltet wird, spült das Gerät automatisch. Das System reinigt sich somit selbst.

Düse 8 für Heißwasser / Dampf

●●Düse 8 vom Dampfrohr abschrauben. ●●Alle Teile zerlegen (Bild D).

●●Mit Spüllauge und einer weichen Bürste reinigen. Die Düsenspitze 8c vorne mit einer stumpfen Nadel säubern.

●●Alle Teile klar spülen und abtrocknen.

9

de

Brüheinheit reinigen

Die Brüheinheit kann zum Reinigen entnommen­ werden (Bild E).

●●Das Gerät mit dem Netzschalter 1 auto off ausschalten.

●●Tür 21 zur Brüheinheit 22 öffnen.

●●Den roten Knopf 22a gedrückt halten und den Griff 22b nach oben drehen, bis er hörbar einrastet.

●●Die Brüheinheit 22 am Griff vorsichtig herausnehmen und unter fließendem

Wasser ohne Spülmittel reinigen. Nicht in den Geschirrspüler­ geben.

●●Den Geräte-Innenraum aussaugen oder mit einem feuchten Tuch auswischen.

●●Brüheinheit 22 bis zum Anschlag einsetzen.

●●Den roten Knopf 22a gedrückt halten und den Griff 22b bis zum Anschlag nach unten drehen, bis er hörbar einrastet. Die Brüheinheit ist gesichert.

●●Die Tür zur Brüheinheit wieder einsetzen.

Service-Programm: Kombinierter Entkalkungsund Reinigungsprozess

Leuchtet bei eingeschaltetem Gerät die LED S auf, dann soll das Gerät unverzüg­ lich mit dem Service-Programm entkalkt und gereinigt werden. Erfolgt das ServiceProgramm nicht nach Anweisung, kann das Gerät beschädigt werden.

Speziell entwickelte und geeignete Entkalkungsmittel (Best.Nr 310967) und Reinigungstabletten (Best.Nr. 310575) sind über den Kundendienst erhältlich.

¡¡Achtung

Bei jedem Service-Programm Durchlauf Entkalkungsund Reinigungsmittel nach Anleitung benutzen.

Das Service-Programm keinesfalls unterbrechen!

Flüssigkeiten nicht trinken!

Niemals Essig oder Mittel auf Essig­basis verwenden!

Keinesfalls Entkalkungstabletten oder andere Entkalkungsmittel in den Schacht für Reinigungstabletten einfüllen! iiWährend der Dauer des Service­pro­

gramms (ca. 40 Min.) blinkt die LED S.

Wichtig: Ist ein Filter in den Wassertank eingesetzt, diesen unbedingt vor dem Start des Service-Programms entfernen.

Service-Programm starten

Das Gerät muss betriebsbereit sein. ●●Schale 17 und Schale 18 ausleeren und

wieder einsetzen.

●●Die Taste 4 F und Taste 5 h mindestens 5 Sekunden gedrückt halten.

LED S fängt an zu blinken und das Gerät spült 2x durch den Kaffeeauslauf. ●●Schale 17 ausleeren und wieder

einsetzen.

10

Die LED der Taste h und H „Wasser füllen“ leuchten.

●●Eine Reinigungstablette in den Schacht 13 geben.

●●Wassertank mit lauwarmem Wasser füllen, Entkalkungsmittel zugeben und vollständig im Wasser auflösen (gesamte

Flüssigkeitsmenge 0,5 Liter). oder:

Fertige Entkalkungsmischung in den Wassertank füllen (gesamte Flüssigkeits­ menge 0,5 Liter).

●●Taste h drücken, das Gerät beginnt zu entkalken. Dauer ca. 10 Minuten. Die Ent­ kalkungsflüssigkeit läuft in die Schale 18.

Die LED J leuchtet.

●●Ein ausreichend großes und hohes Gefäß (ca. 0,5 Liter) unter die Düse 8 stellen.

●●Den Drehknopf 6 auf g / h drehen, das Gerät setzt den Entkalkungsvorgang­ fort, Dauer ca. 5 Minuten. Die Entkalkungs­ flüssigkeit läuft in das Gefäß.

Die LED I leuchtet.

●●Schale 17 ausleeren und wieder einsetzen.

Die LED der Taste h leuchtet.

●●Den Wassertank 11 ausleeren, reinigen, bis zur Markierung „max“ mit Wasser füllen und wieder einsetzen.

●●Ein ausreichend großes Gefäß (ca. 0,5 Liter) unter die Düse 8 stellen.

●●Taste h drücken, das Gerät beginnt zu spülen, etwas Wasser läuft in das Gefäß.

Die LED J blinkt.

●●Den Drehknopf 6 auf „O“ drehen, das Gerät beginnt nun den Reinigungs­ prozess. Dauer ca. 10 Minuten. Zuerst läuft Flüssigkeit innen im Gerät in die Schale 17 dann aus dem Kaffeeauslauf.

Die LED I leuchtet.

●●Schale 17 und Schale 18 ausleeren, ­reinigen und wieder einsetzen.

de

Das Gerät heizt auf und ist wieder betriebsbereit, wenn die LED der Bezugstasten 3 E und 4 F leuchten.

Wichtig: Wurde das Service-Programm z.B. durch Stromausfall unterbrochen, unbedingt vor erneuter Inbetriebnahme das Gerät spülen.

Das Gerät muss betriebsbereit sein. Die LED â und h blinken.

●●Den Wassertank 11 gut ausspülen und mit frischem Wasser füllen.

●●Taste h drücken, das Gerät spült in die Schale.

Die LED J leuchtet.

●●Eine Tasse unter die Düse 8 halten und den Drehknopf 6 auf g / h drehen. Wasser läuft in die Tasse.

Die LED J blinkt.

●●Den Drehknopf 6 auf „O“ zurückdrehen. Das Gerät spült und ist wieder betriebsbereit.

Frostschutz

Um Schäden durch Frosteinwirkung bei Transport und Lagerung zu vermeiden, muss das Gerät vorher vollständig entleert werden.

Das Gerät muss betriebsbereit sein. ●●Den Wassertank abnehmen, entleeren

und wieder einsetzen.

●●Ein großes, schmales Gefäß unter die Düse 8 stellen.

●●Taste h drücken.

●●Sobald die LED J leuchtet, den Drehknopf 6 auf g / h stellen.

Das Gerät dampft nun einige Zeit ab. ●●Kommt kein Dampf mehr aus der Düse 8,

den Drehknopf auf „O“ zurückstellen. ●●Das Gerät ausschalten.

11

de

Entsorgung

Entsorgen Sie die Verpackung

J umweltgerecht. Dieses Gerät ist entsprechend der europäischen Richtlinie 2012/19/EU über Elektround Elektronikaltgeräte (waste electrical and electronic equipment – WEEE) gekennzeichnet. Die Richtlinie gibt den Rahmen für eine EU-weit gültige Rücknahme und Verwertung der Altgeräte vor. Über aktuelle Entsorgungswege bitte beim Fachhändler informieren.

Garantiebedingungen

Für dieses Gerät gelten die von unserer jeweils zuständigen Landesvertretung herausgegebenen Garantiebedingungen des Landes, in dem das Gerät gekauft wurde. Sie können die Garantiebedingungen jederzeit über Ihren Fachhändler, bei dem Sie das Gerät gekauft haben, oder direkt bei unserer Landesvertretung anfordern. Die Garantiebedingungen für

Deutschland und die Adressen fi nden

Sie auf den letzten vier Seiten dieses Heftes. Darüber hinaus sind die Garantiebedingungen auch im Internet unter der benannten Webadresse hinterlegt.

Für die Inanspruchnahme von Garantieleistungen ist in jedem Fall die Vorlage des Kaufbeleges erforderlich.

Änderungen vorbehalten.

12

de

Kleine Störungen selbst beheben

Störung

Ursache

Abhilfe

Kein Heißwasseroder

Düse 8 ist verstopft.

Düse 8 reinigen.

Dampfbezug möglich.


Zu wenig Schaum oder

Hülse b an Düse 8 nicht in

Hülse b an Düse 8 nach

zu flüssiger Schaum.

richtiger Position.

unten schieben.


Ungeeignete Milch.

Kalte Milch mit 1,5 % Fett­


gehalt verwenden.


Kaffee läuft nur

Mahlgrad zu fein.

Mahlgrad gröber stellen.

tropfenweise.


Kaffee läuft nicht.

Wassertank nicht gefüllt oder

Wassertank füllen und


richtig aufgesetzt.

auf korrekten Sitz achten,


gegebenenfalls das Wasser­


leitungs­system füllen (siehe


„Gerät in Betrieb nehmen“).


Kaffee hat keine „Crema“

Ungeeignete Kaffeesorte.

Kaffeesorte wechseln.

(Schaumschicht).

Bohnen nicht mehr röstfrisch.

Frische Bohnen verwenden.


Mahlgrad nicht auf Kaffee-

Mahlgrad optimieren.


bohnen abgestimmt.


Mahlwerk mahlt keine

Bohnen fallen nicht ins Mahl­-

Leicht an den Bohnen­

Kaffeebohnen.

werk (zu ölige Bohnen).

behälter klopfen.


Lautes Geräusch des

Fremdkörper im Mahlwerk

Hotline kontaktieren.

Mahlwerks.

(z. B. Steinchen, die auch


bei erlesenen Kaffeesorten


vorkommen).


Die LED S und Taste â blinken abwechselnd.

Die Brüheinheit 22 fehlt, ist

Brüheinheit 22 einsetzen und

nicht richtig eingesetzt oder

verriegeln.

verriegelt.


Können Probleme nicht behoben werden, unbedingt die Hotline anrufen!

Die Telefonnummern befinden sich auf den letzten Seiten der Anleitung.

13

en

Safety instructions

Please read and follow the operating instructions carefully and keep them for later reference. Enclose these instructions when you give this appliance to someone else. This appliance is designed for the preparation of normal household quantities in the home, or in household-like, non-commercial environments. Household-like environments include staff kitchens in shops, offi ces, agricultural and other small businesses or for use by guests at bed-and-breakfast establishments, small hotels and similar residential facilities.

¡ Danger of electric shock!

Connect and operate the appliance only according to the type plate specifi cations. To avoid potential hazards, repairs such as replacing a damaged cable must only be carried out by our customer service personnel.

This appliance can be used by children aged from 8 years and above and by persons with reduced physical, sensory or mental capabilities or lack of experience and knowledge if they have been given supervision or instruction concerning use of the appliance in a safe way and if they understand the hazards involved. Keep children under 8 years of age away from the appliance and connecting cable and do not allow them to use the appliance. Children shall

not play with the appliance. Cleaning and user maintenance shall not be made by children unless they are older than 8 years and supervised.

Never immerse the appliance or mains cable in water. Use only if power cord and appliance show no signs of damage. Should a fault occur, pull the plug or disconnect from the mains immediately.

14

en

¡ Risk of suffocation!

Do not allow children to play with packaging material.

¡¡Risk of scalding!

The nozzle for hot water and steam gets very hot. Hold the nozzle by the plastic part only, not by the metal parts. When steam or hot water is released, the nozzle may initially sputter.

¡¡Risk of injury!

Do not reach into the grinding unit.

15

en

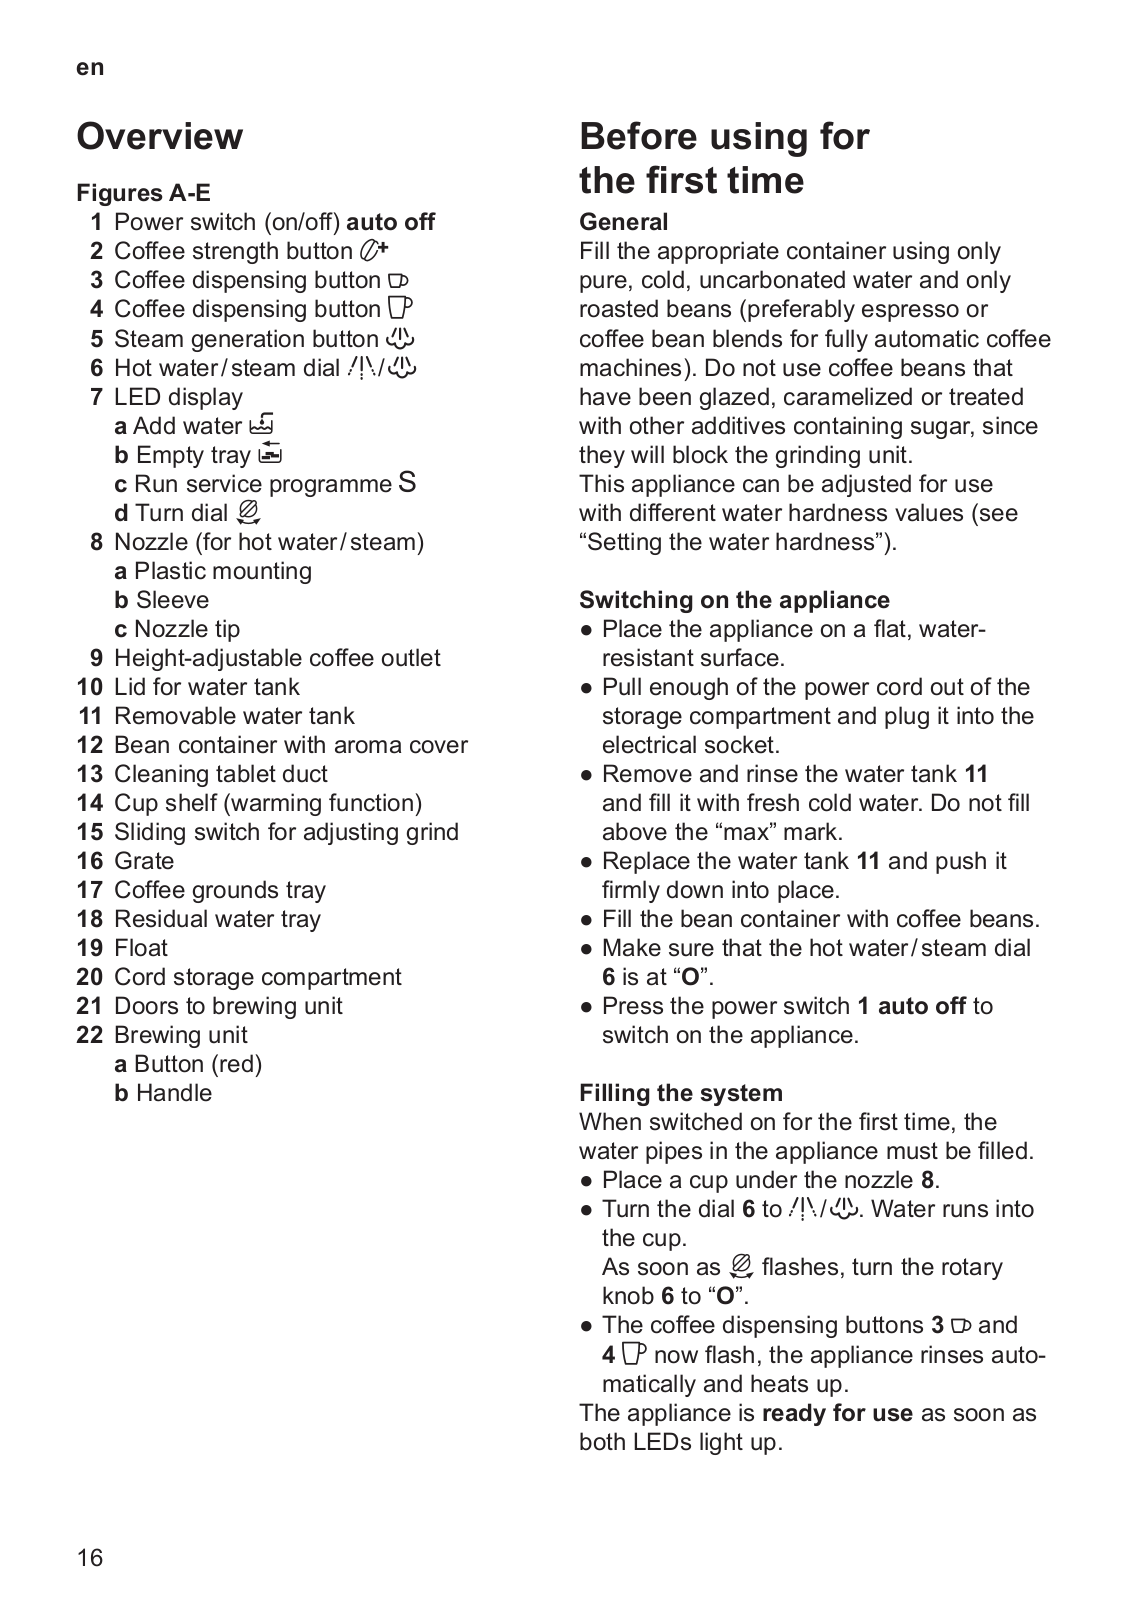
Overview

Figures A-E

1Power switch (on/off) auto off

2Coffee strength button â

3Coffee dispensing button E

4Coffee dispensing button F

5Steam generation button h

6Hot water / steam dial g / h

7LED display

a Add water H b Empty tray I

c Run service programme S d Turn dial J

8Nozzle (for hot water / steam) a Plastic mounting

b Sleeve

c Nozzle tip

9Height-adjustable coffee outlet

10Lid for water tank

11Removable water tank

12Bean container with aroma cover

13Cleaning tablet duct

14Cup shelf (warming function)

15Sliding switch for adjusting grind

16Grate

17Coffee grounds tray

18Residual water tray

19Float

20Cord storage compartment

21Doors to brewing unit

22Brewing unit a Button (red) b Handle

Before using for the first time

General

Fill the appropriate container using only pure, cold, uncarbonated water and only roasted beans (preferably espresso or coffee bean blends for fully automatic coffee machines). Do not use coffee beans that have been glazed, caramelized or treated with other additives containing sugar, since they will block the grinding unit.

This appliance can be adjusted for use with different water hardness values (see “Setting­ the water hardness”).

Switching on the appliance

●●Place the appliance on a flat, waterresistant surface.

●●Pull enough of the power cord out of the storage compartment and plug it into the electrical socket.

●●Remove and rinse the water tank 11 and fill it with fresh cold water. Do not fill above the “max” mark.

●●Replace the water tank 11 and push it firmly down into place.

●●Fill the bean container with coffee beans. ●●Make sure that the hot water / steam dial

6 is at “O”.

●●Press the power switch 1 auto off to switch on the appliance.

Filling the system

When switched on for the first time, the water pipes in the appliance must be filled. ●●Place a cup under the nozzle 8.

●●Turn the dial 6 to g / h. Water runs into the cup.

As soon as J flashes, turn the rotary knob 6 to “O”.

●●The coffee dispensing buttons 3 E and

4 F now flash, the appliance rinses automatically and heats up.

The appliance is ready for use as soon as both LEDs light up.

16

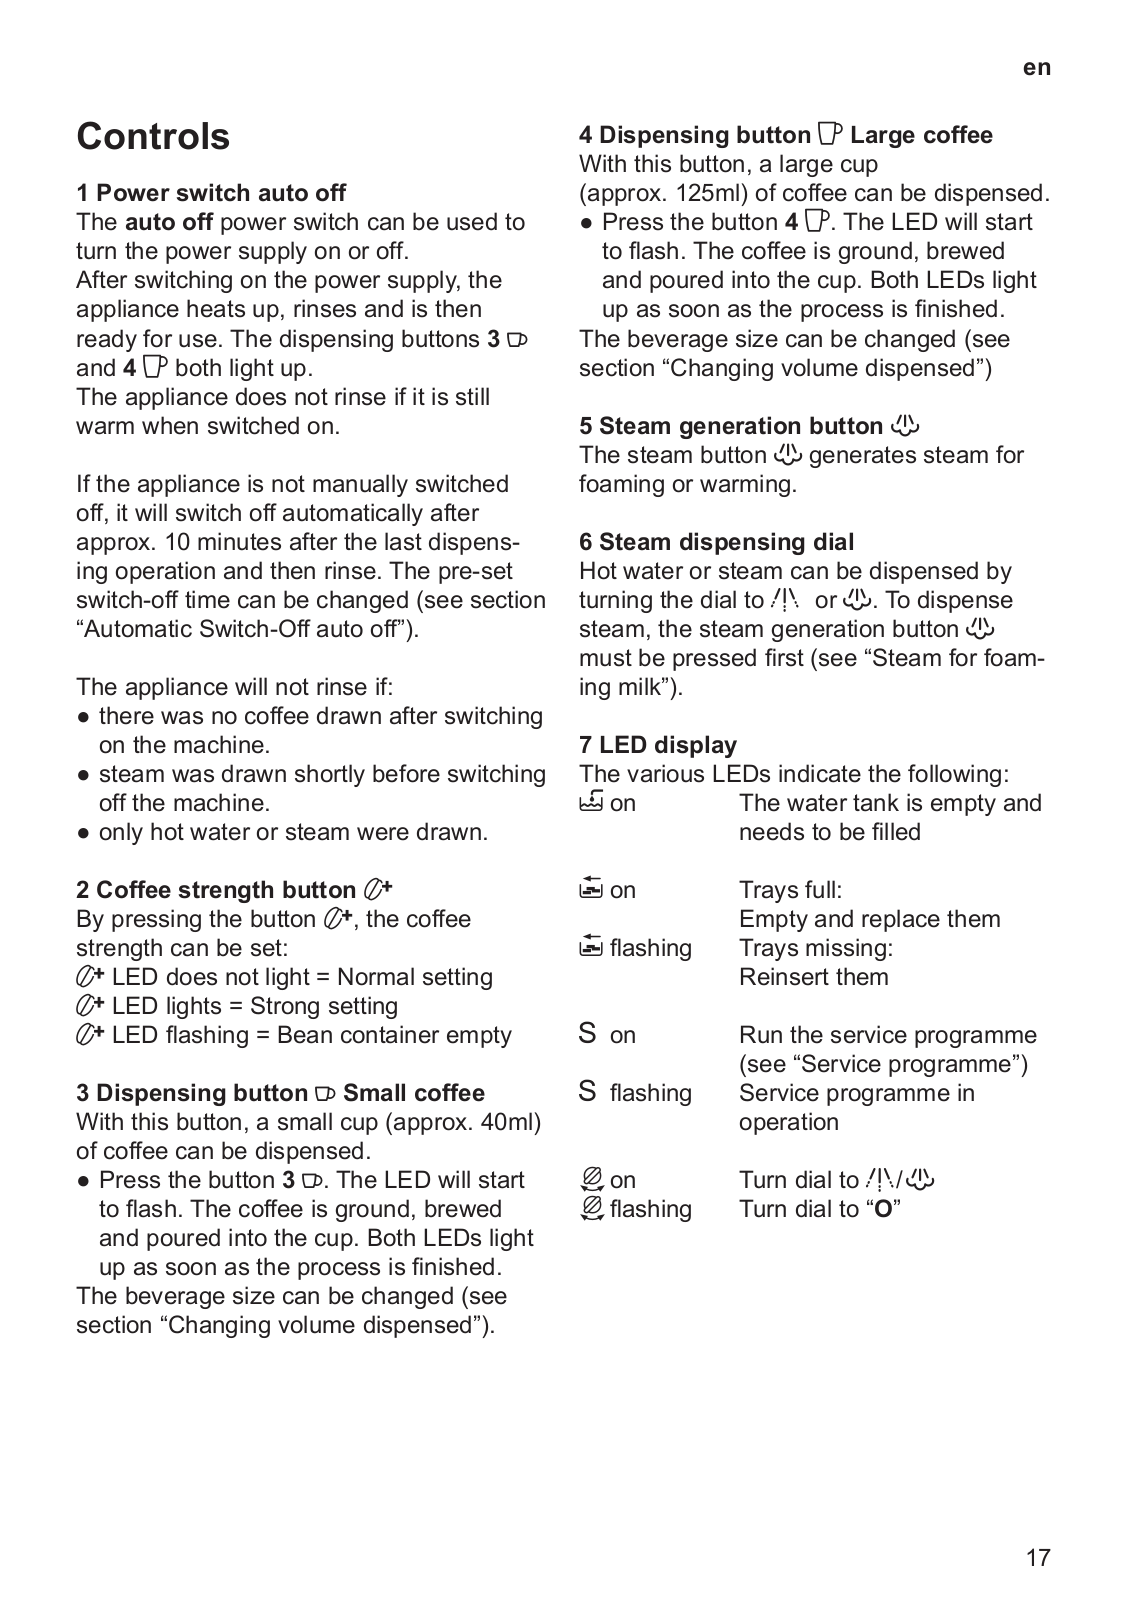
Controls

1 Power switch auto off

The auto off power switch can be used to turn the power supply on or off.

After switching on the power supply, the appliance heats up, rinses and is then ready for use. The dispensing buttons 3 E and 4 F both light up.

The appliance does not rinse if it is still warm when switched on.

If the appliance is not manually switched off, it will switch off automatically after approx. 10 minutes after the last dispensing operation and then rinse. The pre-set switch-off time can be changed (see section “Automatic Switch-Off auto off”).

The appliance will not rinse if:

●●there was no coffee drawn after switching on the machine.

●●steam was drawn shortly before switching off the machine.

●●only hot water or steam were drawn.

2 Coffee strength button â

By pressing the button â, the coffee strength can be set:

âLED does not light = Normal setting

âLED lights = Strong setting

âLED flashing = Bean container empty

3 Dispensing button E Small coffee

With this button, a small cup (approx. 40ml) of coffee can be dispensed.

●●Press the button 3 E. The LED will start to flash. The coffee is ground, brewed and poured into the cup. Both LEDs light up as soon as the process is finished.

The beverage size can be changed (see section “Changing volume dispensed”).

en

4 Dispensing button F Large coffee

With this button, a large cup

(approx. 125ml) of coffee can be dispensed. ●●Press the button 4 F. The LED will start to flash. The coffee is ground, brewed

and poured into the cup. Both LEDs light up as soon as the process is finished.

The beverage size can be changed (see section “Changing volume dispensed”)

5 Steam generation button h

The steam button h generates steam for foaming or warming.

6 Steam dispensing dial

Hot water or steam can be dispensed by turning the dial to g or h. To dispense steam, the steam generation button h must be pressed first (see “Steam for foaming milk”).

7 LED display

The various LEDs indicate the following: H on The water tank is empty and

needs to be filled

I on

Trays full:

I flashing

Empty and replace them

Trays missing:


Reinsert them

S on

Run the service programme

S flashing

(see “Service programme”)

Service programme in


operation

Jon

Turn dial to g / h

Jflashing

Turn dial to “O

17

en

Settings and displays

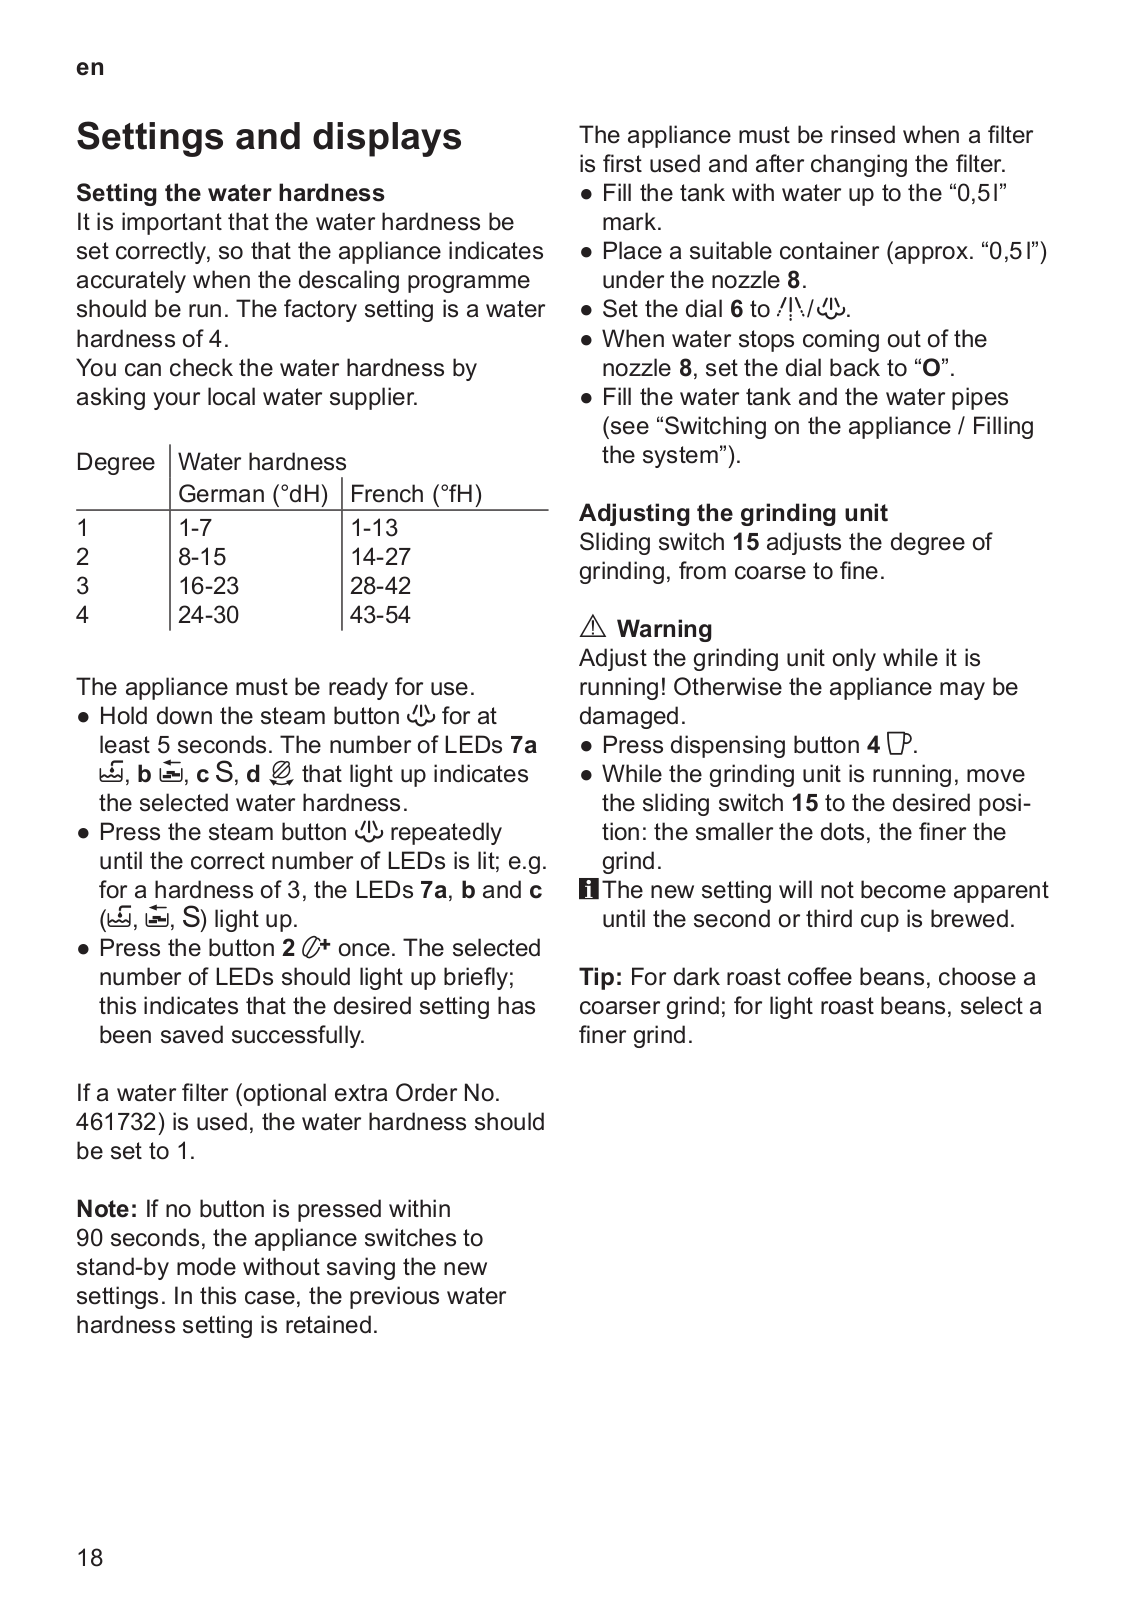
Setting the water hardness

It is important that the water hardness be set correctly, so that the appliance indicates accurately when the descaling programme should be run. The factory setting is a water hardness of 4.

You can check the water hardness by asking your local water supplier.

Degree

Water hardness


German (°dH)


French (°fH)

1

1-7


1-13

2

8-15


14-27

3

16-23


28-42

4

24-30


43-54

The appliance must be ready for use. ●●Hold down the steam button h for at

least 5 seconds. The number of LEDs 7a H, b I, c S, d J that light up indicates the selected water hardness.

●●Press the steam button h repeatedly until the correct number of LEDs is lit; e.g. for a hardness of 3, the LEDs 7a, b and c (H, I, S) light up.

●●Press the button 2 â once. The selected number of LEDs should light up briefly; this indicates that the desired setting has been saved successfully.

If a water filter (optional extra Order No.

461732) is used, the water hardness should be set to 1.

Note: If no button is pressed within 90 ­seconds, the appliance switches to stand-by mode without saving the new

settings. In this case, the previous water hardness setting is retained.

The appliance must be rinsed when a filter is first used and after changing the filter. ●●Fill the tank with water up to the “0,5 l”

mark.

●●Place a suitable container (approx. “0,5 l”) under the nozzle 8.

●●Set the dial 6 to g / h.

●●When water stops coming out of the nozzle 8, set the dial back to “O”.

●●Fill the water tank and the water pipes (see “Switching on the appliance / Filling the system”).

Adjusting the grinding unit

Sliding switch 15 adjusts the degree of grinding, from coarse to fine.

¡¡Warning

Adjust the grinding unit only while it is running! Otherwise the appliance may be damaged.

●●Press dispensing button 4 F.

●●While the grinding unit is running, move the sliding switch 15 to the desired position: the smaller the dots, the finer the grind.

iiThe new setting will not become apparent until the second or third cup is brewed.

Tip: For dark roast coffee beans, choose a coarser grind; for light roast beans, select a finer grind.

18

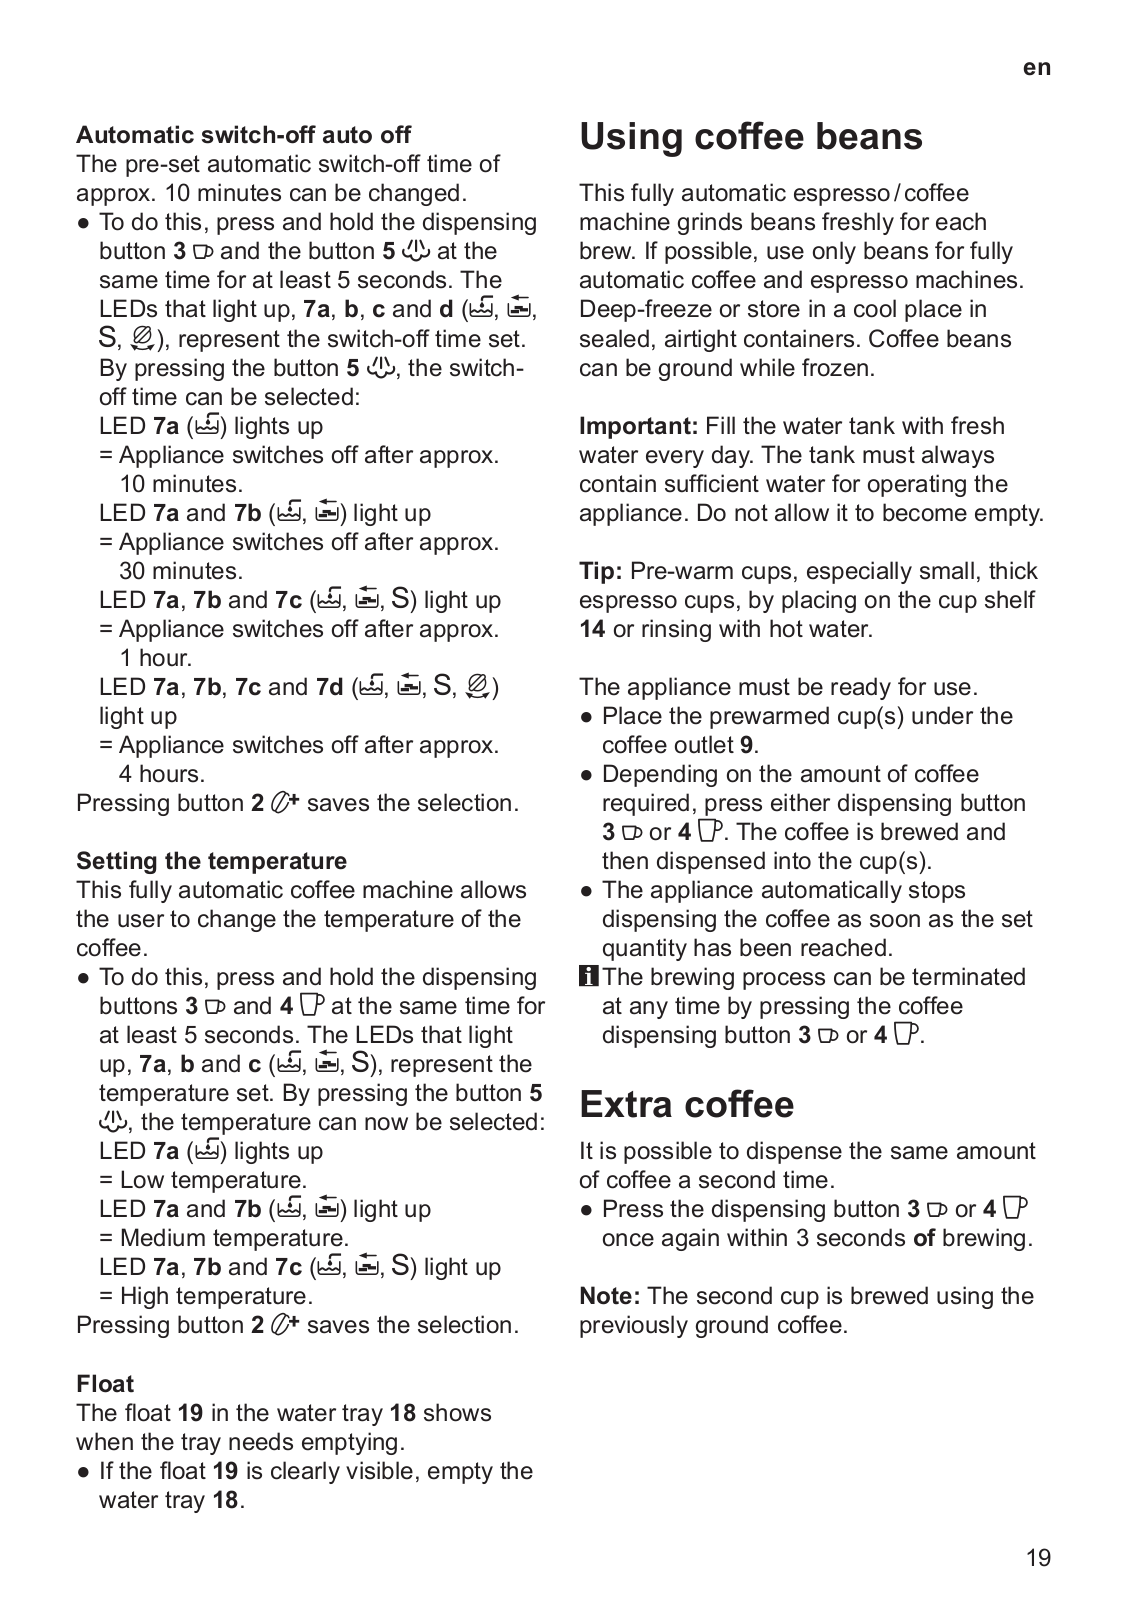
Automatic switch-off auto off

The pre-set automatic switch-off time of approx. 10 minutes can be changed.

●●To do this, press and hold the dispensing button 3 E and the button 5 h at the same time for at least 5 seconds. The LEDs that light up, 7a, b, c and d (H, I, S, J), represent the switch-off time set. By pressing the button 5 h, the switchoff time can be selected:

LED 7a (H) lights up

= Appliance switches off after approx. 10 minutes.

LED 7a and 7b (H, I) light up

=Appliance switches off after approx.

30 minutes.

H, I, S) light upLED 7a, 7b and 7c (

= Appliance switches off after approx. 1 hour.

LED 7a, 7b, 7c and 7d (H, I, S, J) light up

= Appliance switches off after approx. 4 hours.

Pressing button 2 â saves the ­selection.

Setting the temperature

This fully automatic coffee machine allows the user to change the temperature of the coffee.

●●To do this, press and hold the dispensing buttons 3 E and 4 F at the same time for at least 5 seconds. The LEDs that light up, 7a, b and c (H, I, S), represent the temperature set. By pressing the button 5 h, the temperature can now be selected: LED 7a (H) lights up

= Low temperature.

LED 7a and 7b (H, I) light up = Medium temperature.

LED 7a, 7b and 7c (H, I, S) light up = High temperature.

Pressing button 2 â saves the selection.

Float

The float 19 in the water tray 18 shows when the tray needs emptying.

●●If the float 19 is clearly visible, empty the water tray 18.

en

Using coffee beans

This fully automatic espresso / coffee machine grinds beans freshly for each brew. If possible, use only beans for fully automatic coffee and espresso machines. Deep-freeze or store in a cool place in sealed, airtight containers. Coffee beans can be ground while frozen.

Important: Fill the water tank with fresh water every day. The tank must always contain sufficient water for operating the appliance. Do not allow it to become empty.

Tip: Pre-warm cups, especially small, thick espresso cups, by placing on the cup shelf 14 or rinsing with hot water.

The appliance must be ready for use. ●●Place the prewarmed cup(s) under the

coffee outlet 9.

●●Depending on the amount of coffee required, press either dispensing button 3 E or 4 F. The coffee is brewed and then dispensed into the cup(s).

●●The appliance automatically stops dispensing the coffee as soon as the set quantity has been reached.

iiThe brewing process can be terminated at any time by pressing the coffee dispensing button 3 E or 4 F.

Extra coffee

It is possible to dispense the same amount of coffee a second time.

●●Press the dispensing button 3 E or 4 F once again within 3 seconds of brewing.

Note: The second cup is brewed using the previously ground coffee.

19

en

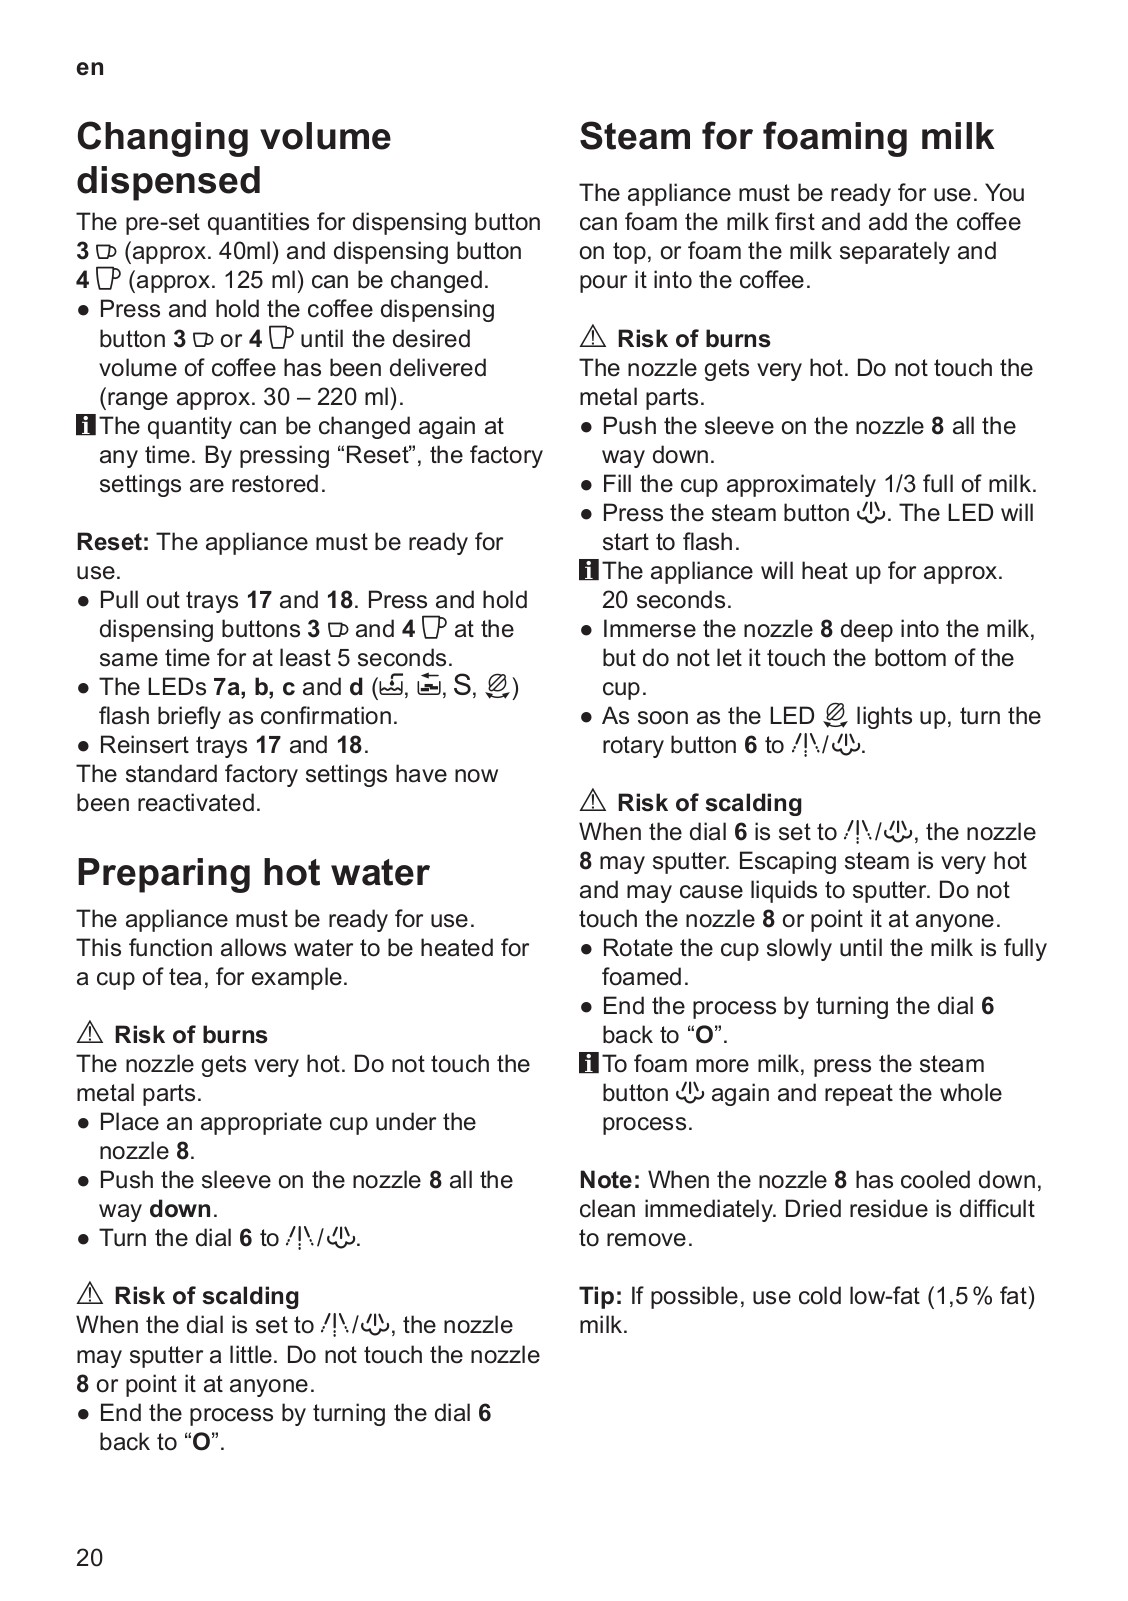
Changing volume dispensed

The pre-set quantities for dispensing button 3 E (approx. 40ml) and dispensing button 4 F (approx. 125 ml) can be changed. ●●Press and hold the coffee dispensing

button 3 E or 4 F until the desired volume of coffee has been delivered (range approx. 30 – 220 ml).

iiThe quantity can be changed again at any time. By pressing “Reset”, the factory settings are restored.

Reset: The appliance must be ready for use.

●●Pull out trays 17 and 18. Press and hold dispensing buttons 3 E and 4 F at the same time for at least 5 seconds.

●●The LEDs 7a, b, c and d (H, I, S, J) flash briefly as confirmation.

●●Reinsert trays 17 and 18.

The standard factory settings have now been reactivated.

Preparing hot water

The appliance must be ready for use. This function allows water to be heated for a cup of tea, for example.

¡¡Risk of burns

The nozzle gets very hot. Do not touch the metal parts.

●●Place an appropriate cup under the nozzle 8.

●●Push the sleeve on the nozzle 8 all the way down.

●●Turn the dial 6 to g / h.

¡¡Risk of scalding

When the dial is set to g / h, the nozzle may sputter a little. Do not touch the nozzle 8 or point it at anyone.

●●End the process by turning the dial 6 back to “O”.

Steam for foaming milk

The appliance must be ready for use. You can foam the milk first and add the coffee on top, or foam the milk separately and pour it into the coffee.

¡¡Risk of burns

The nozzle gets very hot. Do not touch the metal parts.

●●Push the sleeve on the nozzle 8 all the way down.

●●Fill the cup approximately 1/3 full of milk. ●●Press the steam button h. The LED will

start to flash.

iiThe appliance will heat up for approx. 20 seconds.

●●Immerse the nozzle 8 deep into the milk, but do not let it touch the bottom of the cup.

●●As soon as the LED J lights up, turn the rotary button 6 to g / h.

¡¡Risk of scalding

When the dial 6 is set to g / h, the nozzle 8 may sputter. Escaping steam is very hot and may cause liquids to sputter. Do not touch the nozzle 8 or point it at anyone. ●●Rotate the cup slowly until the milk is fully

foamed.

●●End the process by turning the dial 6 back to “O”.

iiTo foam more milk, press the steam button h again and repeat the whole process.

Note: When the nozzle 8 has cooled down, clean immediately. Dried residue is difficult to remove.

Tip: If possible, use cold low-fat (1,5 % fat) milk.

20

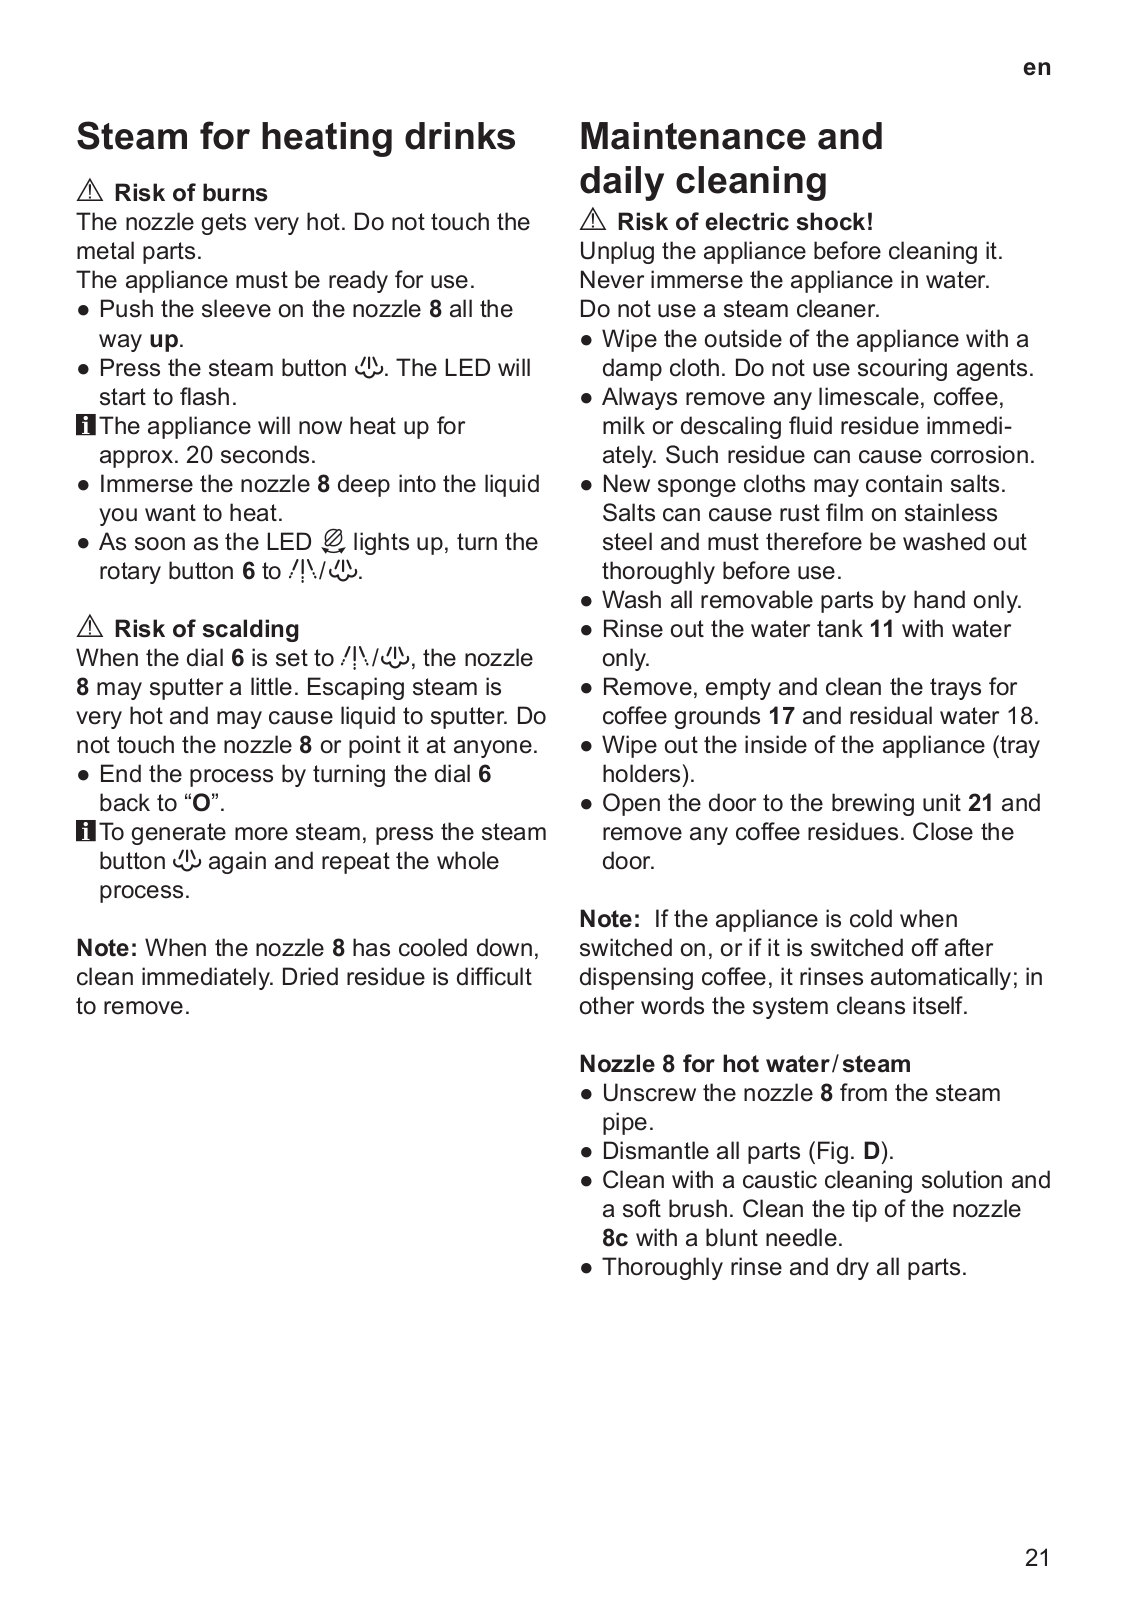
Steam for heating drinks

¡¡Risk of burns

The nozzle gets very hot. Do not touch the metal parts.

The appliance must be ready for use. ●●Push the sleeve on the nozzle 8 all the

way up.

●●Press the steam button h. The LED will start to flash.

iiThe appliance will now heat up for approx. 20 seconds.

●●Immerse the nozzle 8 deep into the liquid you want to heat.

●●As soon as the LED J lights up, turn the rotary button 6 to g / h.

¡¡Risk of scalding

When the dial 6 is set to g / h, the nozzle 8 may sputter a little. Escaping steam is very hot and may cause liquid to sputter. Do not touch the nozzle 8 or point it at anyone. ●●End the process by turning the dial 6

back to “O”.

iiTo generate more steam, press the steam button h again and repeat the whole process.

Note: When the nozzle 8 has cooled down, clean immediately. Dried residue is difficult to remove.

en

Maintenance and daily cleaning

¡¡Risk of electric shock!

Unplug the appliance before cleaning it. Never immerse the appliance in water. Do not use a steam cleaner.

●●Wipe the outside of the appliance with a damp cloth. Do not use scouring agents.

●●Always remove any limescale, coffee, milk or descaling fluid residue immediately. Such residue can cause corrosion.

●●New sponge cloths may contain salts.

Salts can cause rust film on stainless steel and must therefore be washed out thoroughly before use.

●●Wash all removable parts by hand only. ●●Rinse out the water tank 11 with water

only.

●●Remove, empty and clean the trays for coffee grounds 17 and residual water 18.

●●Wipe out the inside of the appliance (tray holders).

●●Open the door to the brewing unit 21 and remove any coffee residues. Close the door.

Note: If the appliance is cold when switched on, or if it is switched off after dispensing coffee, it rinses automatically; in other words the system cleans itself.

Nozzle 8 for hot water / steam

●●Unscrew the nozzle 8 from the steam pipe.

●●Dismantle all parts (Fig. D).

●●Clean with a caustic cleaning solution and a soft brush. Clean the tip of the nozzle 8c with a blunt needle.

●●Thoroughly rinse and dry all parts.

21

en

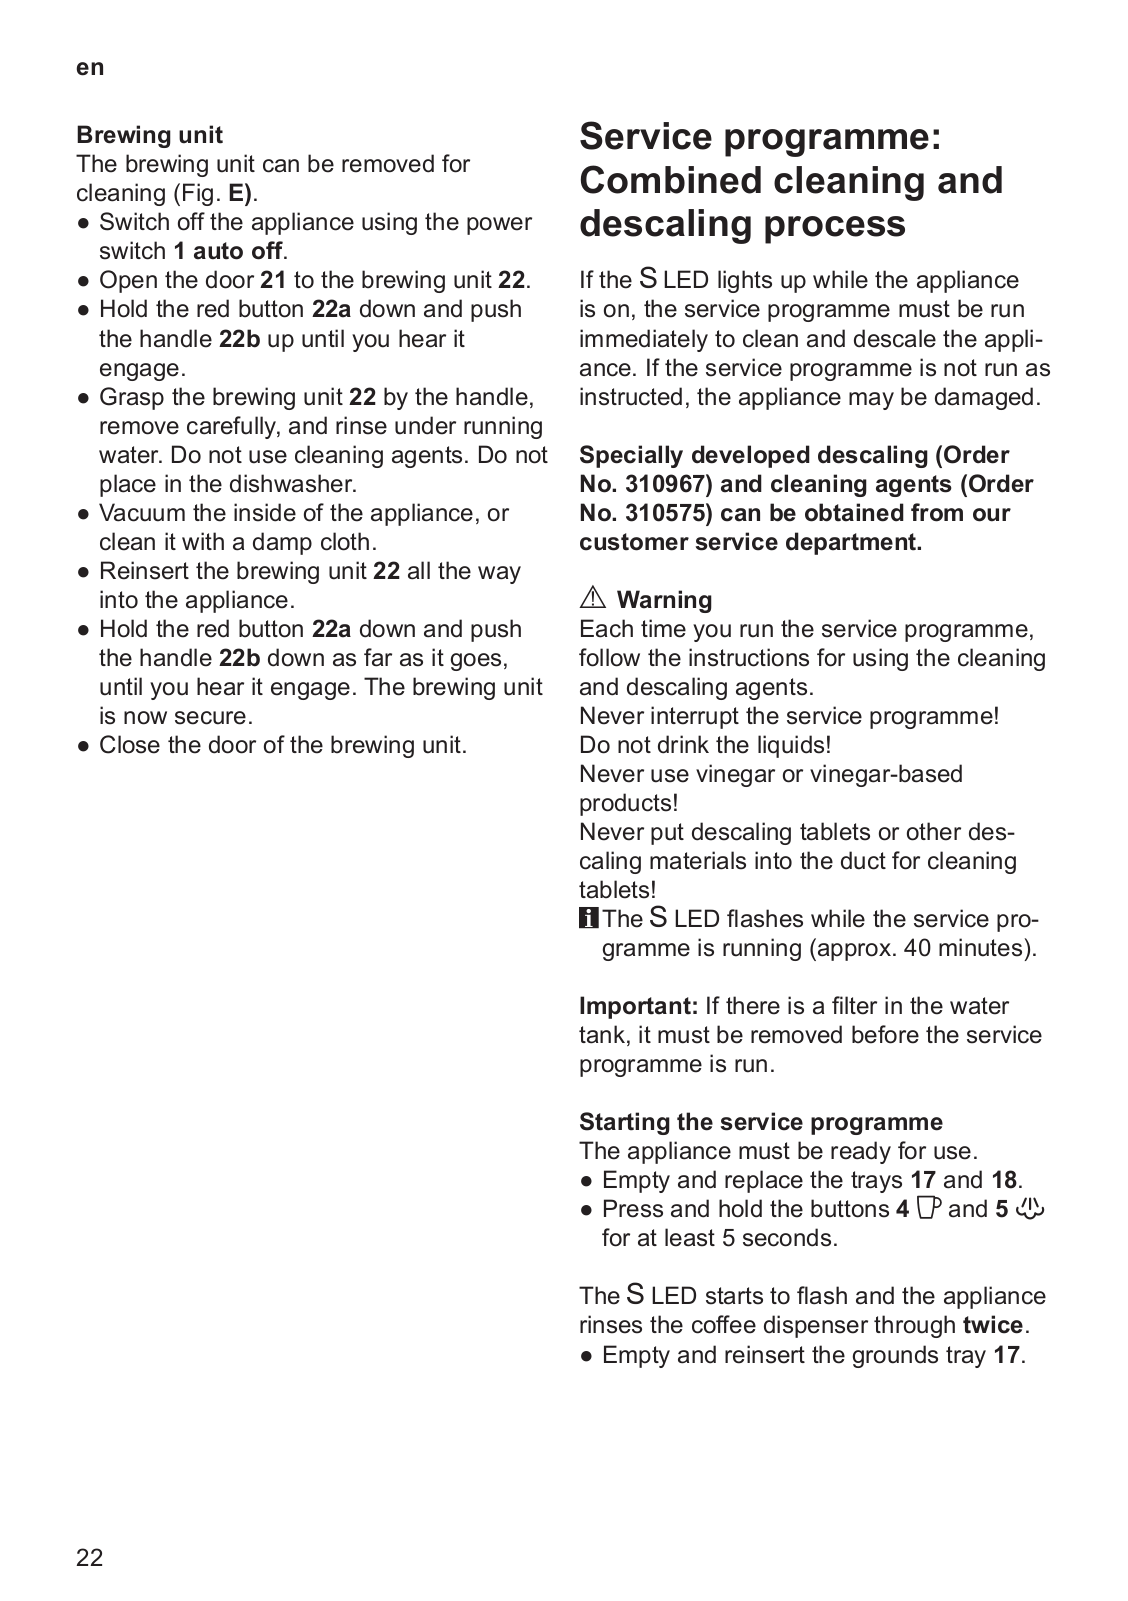
Brewing unit

The brewing unit can be removed for cleaning (Fig. E).

●●Switch off the appliance using the power switch 1 auto off.

●●Open the door 21 to the brewing unit 22. ●●Hold the red button 22a down and push

the handle 22b up until you hear it engage.

●●Grasp the brewing unit 22 by the handle, remove carefully, and rinse under running water. Do not use cleaning agents. Do not place in the dishwasher.

●●Vacuum the inside of the appliance, or clean it with a damp cloth.

●●Reinsert the brewing unit 22 all the way into the appliance.

●●Hold the red button 22a down and push the handle 22b down as far as it goes, until you hear it engage. The brewing unit is now secure.

●●Close the door of the brewing unit.

Service programme: Combined cleaning and descaling process

If the S LED lights up while the appliance is on, the service programme must be run immediately to clean and descale the appli-

ance. If the service programme is not run as instructed, the appliance may be damaged.

Specially developed descaling (Order No. 310967) and cleaning agents (Order No. 310575) can be obtained from our customer service department.

¡¡Warning

Each time you run the service programme, follow the instructions for using the cleaning and descaling agents.

Never interrupt the service programme! Do not drink the liquids!

Never use vinegar or vinegar-based products!

Never put descaling tablets or other descaling materials into the duct for cleaning tablets!

iiThe S LED flashes while the service programme is running (approx. 40 minutes).

Important: If there is a filter in the water tank, it must be removed before the service programme is run.

Starting the service programme

The appliance must be ready for use. ●●Empty and replace the trays 17 and 18. ●●Press and hold the buttons 4 F and 5 h

for at least 5 seconds.

The S LED starts to flash and the appliance rinses the coffee dispenser through twice. ●●Empty and reinsert the grounds tray 17.

22

The LEDs for button h and H “Add water” light up.

●●Place one cleaning tablet in the duct 13. ●●Fill the water tank with lukewarm water, add descaling agent and dissolve com-

pletely (total liquid 0,5 litres) or

pour prepared descaling mixture into the water tank (total liquid 0,5 litres).

●●Press the steam button h. The descaling process begins. Duration approx. 10 minutes. The descaling solution flows into the water tray 18.

The J LED lights up.

●●Place a suitable container (approx. 0,5 litres) under the nozzle 8.

●●Set the dial 6 to g / h. The descaling process begins. Duration approx. 5 minutes. The descaling solution flows into the container.

The I LED lights up.

●●Empty and reinsert the grounds tray 17.

The steam button LED h lights up. ●●Empty and clean the water tank 11, fill

with fresh water up to the “max” mark and reinsert.

●●Place a suitable container (approx. 0,5 litres) under the nozzle 8.

●●Press the steam button h. The cleaning process begins. Water flows into the container.

The J LED flashes.

●●Turn the dial 6 to “O”. The cleaning process begins. Duration approx. 10 minutes. Liquid flows into the coffee grounds tray 17 inside the appliance, then out through the coffee outlet.

The I LED lights up.

●●Empty, clean and reinsert the trays 17 and 18.

The appliance starts to heat up and is ready for use once the LEDs for dispensing buttons 3 E and 4 F light up.

en

Important: If the service programme is interrupted, e.g. due to a power cut, it is vital that the appliance be rinsed before it is used again.

The appliance must be ready for use. The â and steam button h LEDs flash.

●●Rinse the water tank 11 thoroughly and fill with fresh water.

●●Press the steam button h. The appliance is rinsed and liquid flows into the tray.

The J LED lights up.

●●Hold a cup under the nozzle 8 and turn the dial 6 to g / h. Water runs into the cup.

The J LED flashes. ●●Turn the dial 6 back to “O”.

The appliance rinses and is ready for use again.

Anti-freeze

In order to avoid damage through cold during transportation and storage, the appliance must be emptied completely

first.

The appliance must be ready for use. ●●Remove, empty, and replace water tank. ●●Place a large, narrow container under

nozzle 8. ●●Press h button.

●●As soon as the LED J lights up, turn the rotary button 6 to g / h.

The appliance will release steam for a while.

●●When nozzle 8 stops releasing steam, turn dial back to “O”.

●●Turn off the appliance.

23

en

Disposal

Dispose of packaging in an environ-

J mentally-friendly manner. This appliance is labelled in accordance with European Directive 2012/19/EU concerning used electrical and electronic appliances (waste electrical and electronic equipment – WEEE). The guideline determines the framework for the return and recycling

of used appliances as applicable throughout the EU. Please ask your specialist retailer about current disposal facilities.

Guarantee

The guarantee conditions for this appliance are as defi ned by our representative in the country in which it is sold. Details regarding these conditions can be obtained from

the dealer from whom the appliance was purchased. The bill of sale or receipt must be produced when making any claim under the terms of this guarantee.

Changes reserved.

Troubleshooting

Problem

Possible cause

Solution

No hot water or steam

Nozzle 8 is blocked.

Clean nozzle 8.


discharge.


Foam insufficient or too

Sleeve b on nozzle 8 not in

Push down sleeve b on


runny.

correct position.

nozzle 8.


Milk not suitable for foaming.

Use cold low-fat (1,5 % fat)


milk.

Coffee dispensing slows to Coffee is ground too fine.

Adjust the grinding unit to a

a trickle.


coarser setting.


Coffee not dispensed.

Water tank not filled or not

Fill water tank and make sure


correctly positioned.

it is in the right position. If


necessary, fill water pipes (see


“Switching on the appliance”).


Coffee has no “crema”

Unsuitable type of coffee.

Change type of coffee used.

(creamy foam).

Beans no longer fresh.

Use fresh beans.


Degree of grinding

Optimize degree of grinding.


inappropriate­

for beans.


Grinding unit does not

Beans are not falling into the

Gently tap the bean container.

grind the beans.

grinding unit (beans too oily).


Grinding unit makes a loud Foreign objects in the grinding

Call the hotline.

noise.

unit (e.g. grit, which can be


found even in superior types of


coffee).


LED S and button â flash The brewing unit 22 is missing, Insert and secure the brewing­ alternately. or is not properly inserted or unit 22.

secured.

If you are unable to solve the problem, please call the hotline.

You will find the telephone numbers at the back of these instructions.

24

fr

Consignes de sécurité

Lire attentivement ce mode d’emploi, s’y conformer lors de l’utilisation et le conserver! Veuillez joindre ce mode d’emploi si vous passez l’appareil à quelqu’un d’autre. Cet appareil est conçu pour la préparation de quantités usuelles, dans le cadre d’un foyer ou d’un usage non commercial de type domestique. Citons p.ex. les cuisines du personnel dans les commerces, bureaux, exploitations agricoles et établissements artisanaux ainsi que les clients de pensions, petits hôtels et toute autre résidence de type similaire.

¡ Risque de chocs électriques!

Ne brancher et n’utiliser l’appareil que conformément aux données indiquées sur la plaque signalétique. Les réparations sur l’appareil telles que le remplacement d’un cordon endommagé ne doivent être effectuées que par notre SAV afi n d’éliminer tout danger.

Cet appareil peut être utilisé par des enfants à partir de 8 ans et par des personnes ayant des facultés physiques, sensorielles ou mentales réduites ou manquant d’expérience et/ou de

connaissances à condition d’être surveillés ou d’avoir été informés quant à la bonne utilisation de l’appareil et d’avoir compris les dangers qui en découlent. Les enfants de moins de 8 ans doivent être tenus éloignés de l’appareil et du cordon d’alimentation et ne doivent pas utiliser l’appareil. Ne pas laisser les enfants jouer avec l’appareil. Le nettoyage et l’entretien incombant à l’utilisateur ne doivent pas être effectués par des enfants sauf s’ils ont 8 ans ou plus et sont surveillés.

25

fr

Ne jamais plonger l’appareil ou le cordon électrique dans l’eau. N’utiliser la machine que lorsque le cordon électrique et l’appareil ne présentent aucun dommage. En cas de défaut, débrancher immédiatement la fi che secteur ou couper la tension du réseau.

¡ Risque d’étouffement!

Ne pas laisser les enfants jouer avec les emballages.

¡¡Risque de brûlure !

La buse Eau chaude / Vapeur devient brûlante. Saisir uniquement la buse par l’élément en plastique et ne pas la diriger vers des parties du corps. Lors du prélèvement de vapeur ou d’eau chaude, la buse peut projeter de l’eau au début.

¡¡Risque de blessure!

Ne pas glisser les doigts à l’intérieur du broyeur.

26

Loading...
+ 90 hidden pages