How it Works
Log In / Sign Up
Buy Points
How it Works
FAQ
Contact Us
Questions and Suggestions
Users
Bosch
Loading...
G
GAM220MF Professional
2
GAM Professional 220 MF
GardenPump 18
2
GAS 10
2
GAS 10,8V-LI
GAS 10,8V-LIH
GAS 10.8 V-LI Professional
5
GAS 10PS
2
GAS 1200 L Professional
GAS 12-25
GAS 12-25 L Professional
GAS 12-25 PL
5
GAS 12-25 PL Professional
GAS 12V
4
GAS 12V-LI
GAS 12V Professional
GAS 12V синий
GAS 14,4V-LI
2
GAS 15
3
GAS 15 L
GAS 15 L Professional
3
GAS 15 Professional
GAS 15 PS
3
GAS 15 PS Professional
GAS18V-02
GAS 18 V-1
3
GAS 18V-10 L
7
GAS 18V-10LH
GAS 18V-10 L Professional
2
GAS 18V-1H
GAS18V-3
GAS 18 V-LI
5
GAS 18V-LIH
GAS20-17A
GAS 20 L SFC
11
GAS 20 L SFC Professional
3
GAS 25
GAS 25 L SFC
9
GAS 25 L SFC NL
GAS 25 L SFC Professional
2
GAS 25 Professional
2
GAS 35 H AFC
GAS 35 L AFC
19
GAS 35 L AFC Professional
2
GAS 35 L SFC+
19
GAS 35 L SFC Professional
3
GAS 35 M AFC
25
GAS 35 M AFC Professional
3
GAS 50 M
GAS 50 M PROFESSIONAL
4
GAS 50 Professional
4
GAS 55 M
GAS 55 M AFC
16
GAS 55 M AFC Professional
5
GASCONVERSIONKIT
GAS FREE-STANDING CONVECTION RANGE
Gas free-standing Range with Mechanical controls
GAS Professional 14.4 V-LI
3
GAS Professional 15
GAS Professional 15 PS
GAS Professional 18 V-LI
3
GAS RANGE
Gas Ranges
GAX18V-30
3
GAX 18V-30 Professional
GAZ 2500 F 20
GAZ 2500 F 25
GAZ 2500 F 30
GAZ 2500 F 37
GAZ 2500 F 40
GAZ 2500 F 47
GAZ 2500 F 50
GAZ 2500 F 55
Gaz 3000 W
Gaz 4000 W
Gaz 5000 F
Gaz 5000 F 32
Gaz 5000 F 44
Gaz 5000 F 55
Gaz 5000 F 73
Gaz 5000 F 94
Gaz 6000 W
2
Gaz 7000 W
GB032107
GB052140
GB053140
GBA 10,8 V 1,5 Ah
GBA 10,8 V 2,0 Ah
GBA 10,8 V 2,5 Ah
GBA 12 V 1,5 Ah
GBA 12 V 2,0 Ah
GBA 12 V 2,5 Ah
GBA 12 V 2,5 Ah W
GBA 12V 3.0 Ah
GBA 12 V 4,0 Ah
GBA 12V 6.0 Ah
GBA 14,4 V 2,0 Ah
GBA 14.4V 4.0Ah
4
GBA 18V
GBA 18 V 6,3 Ah
Loading...
Loading...
Nothing found
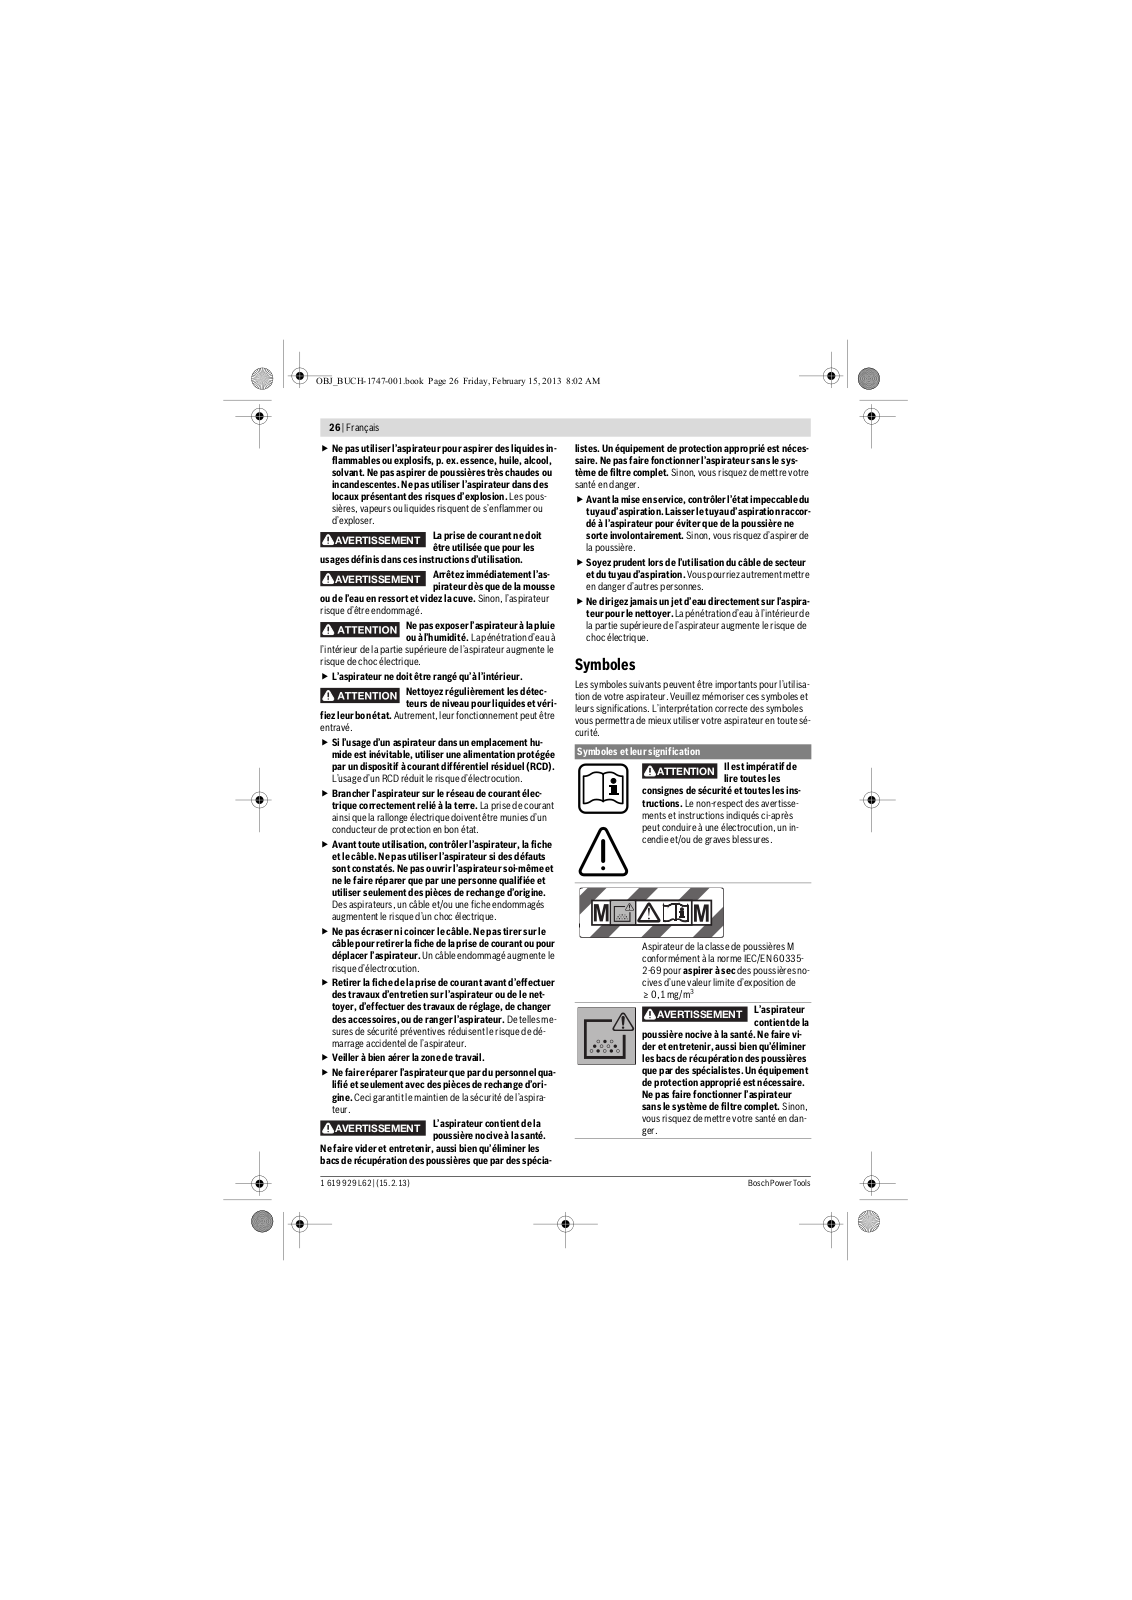
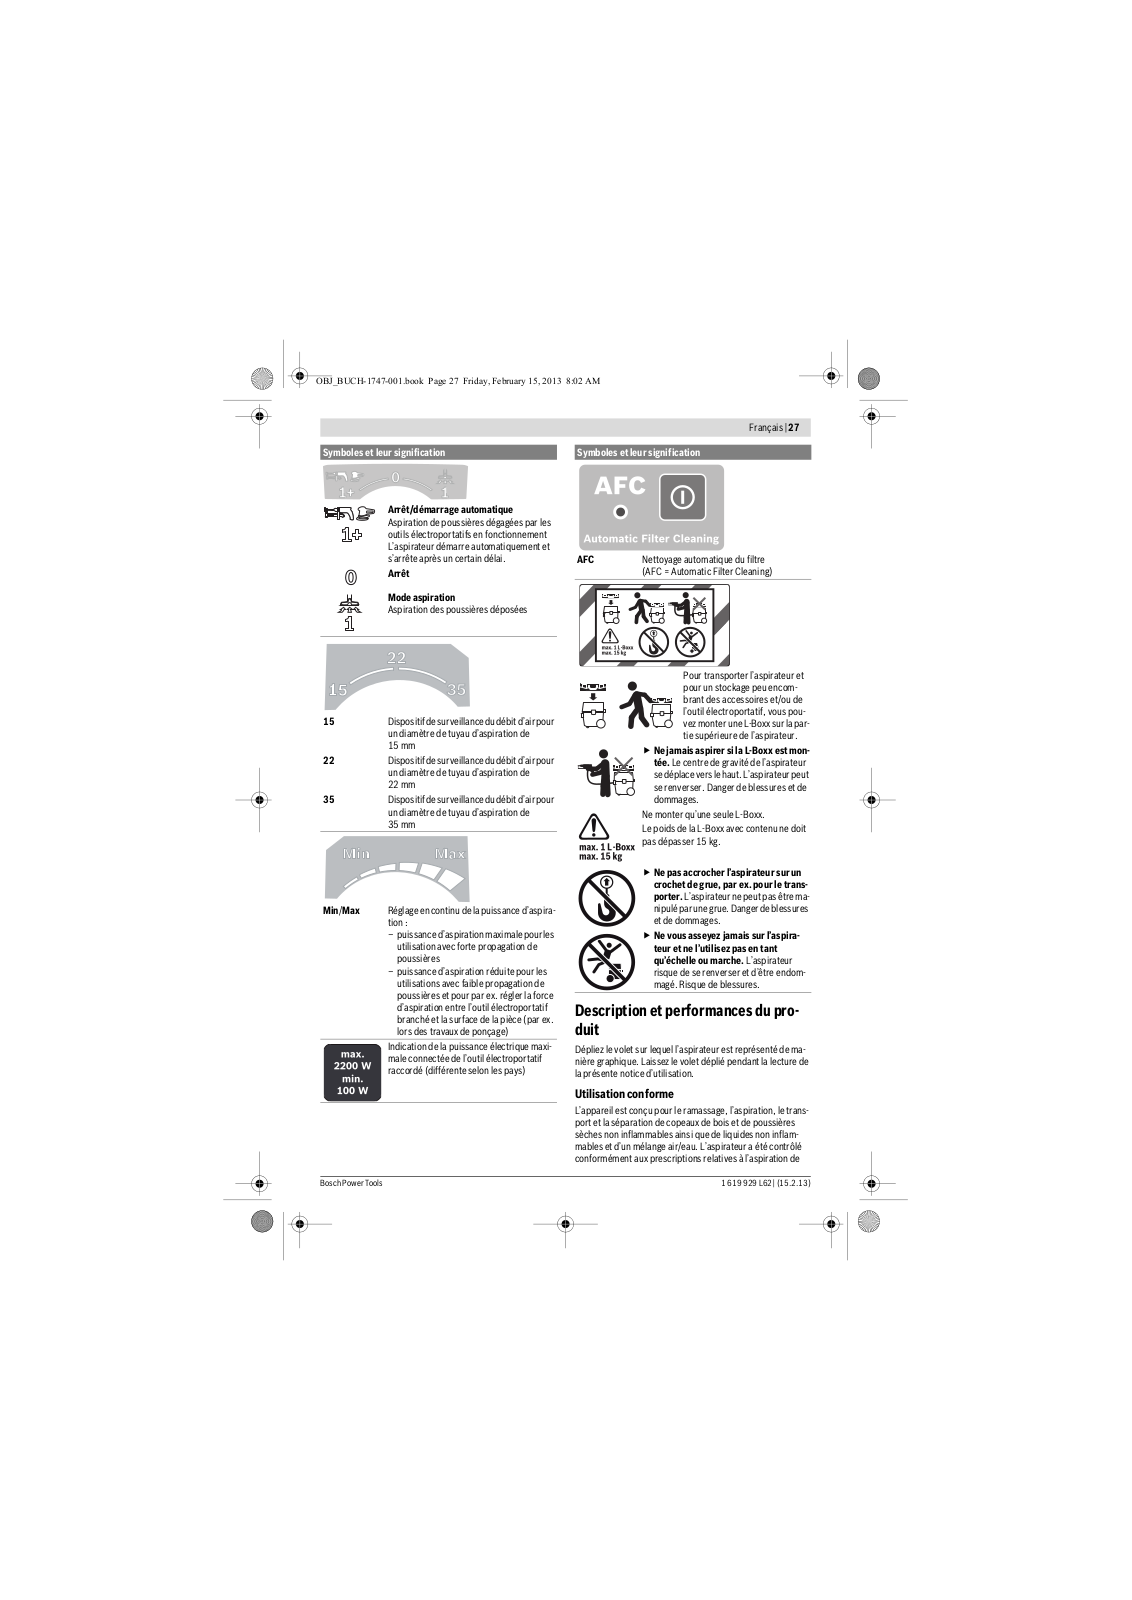
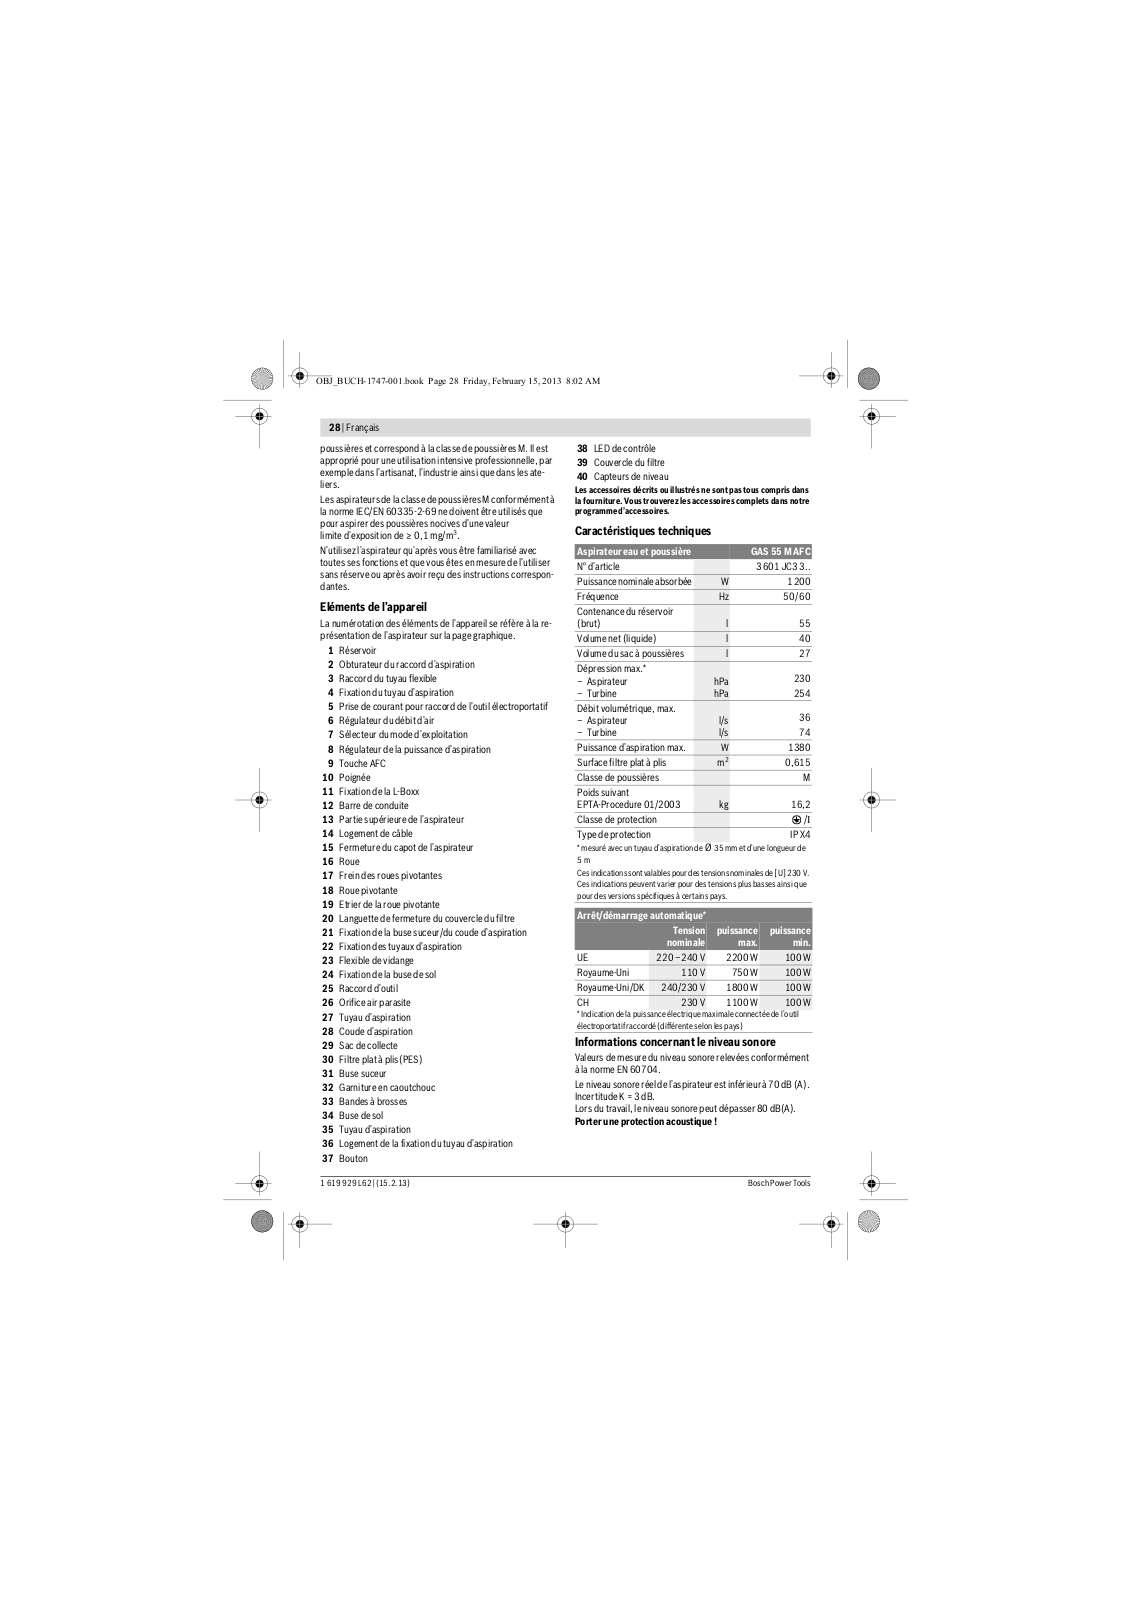
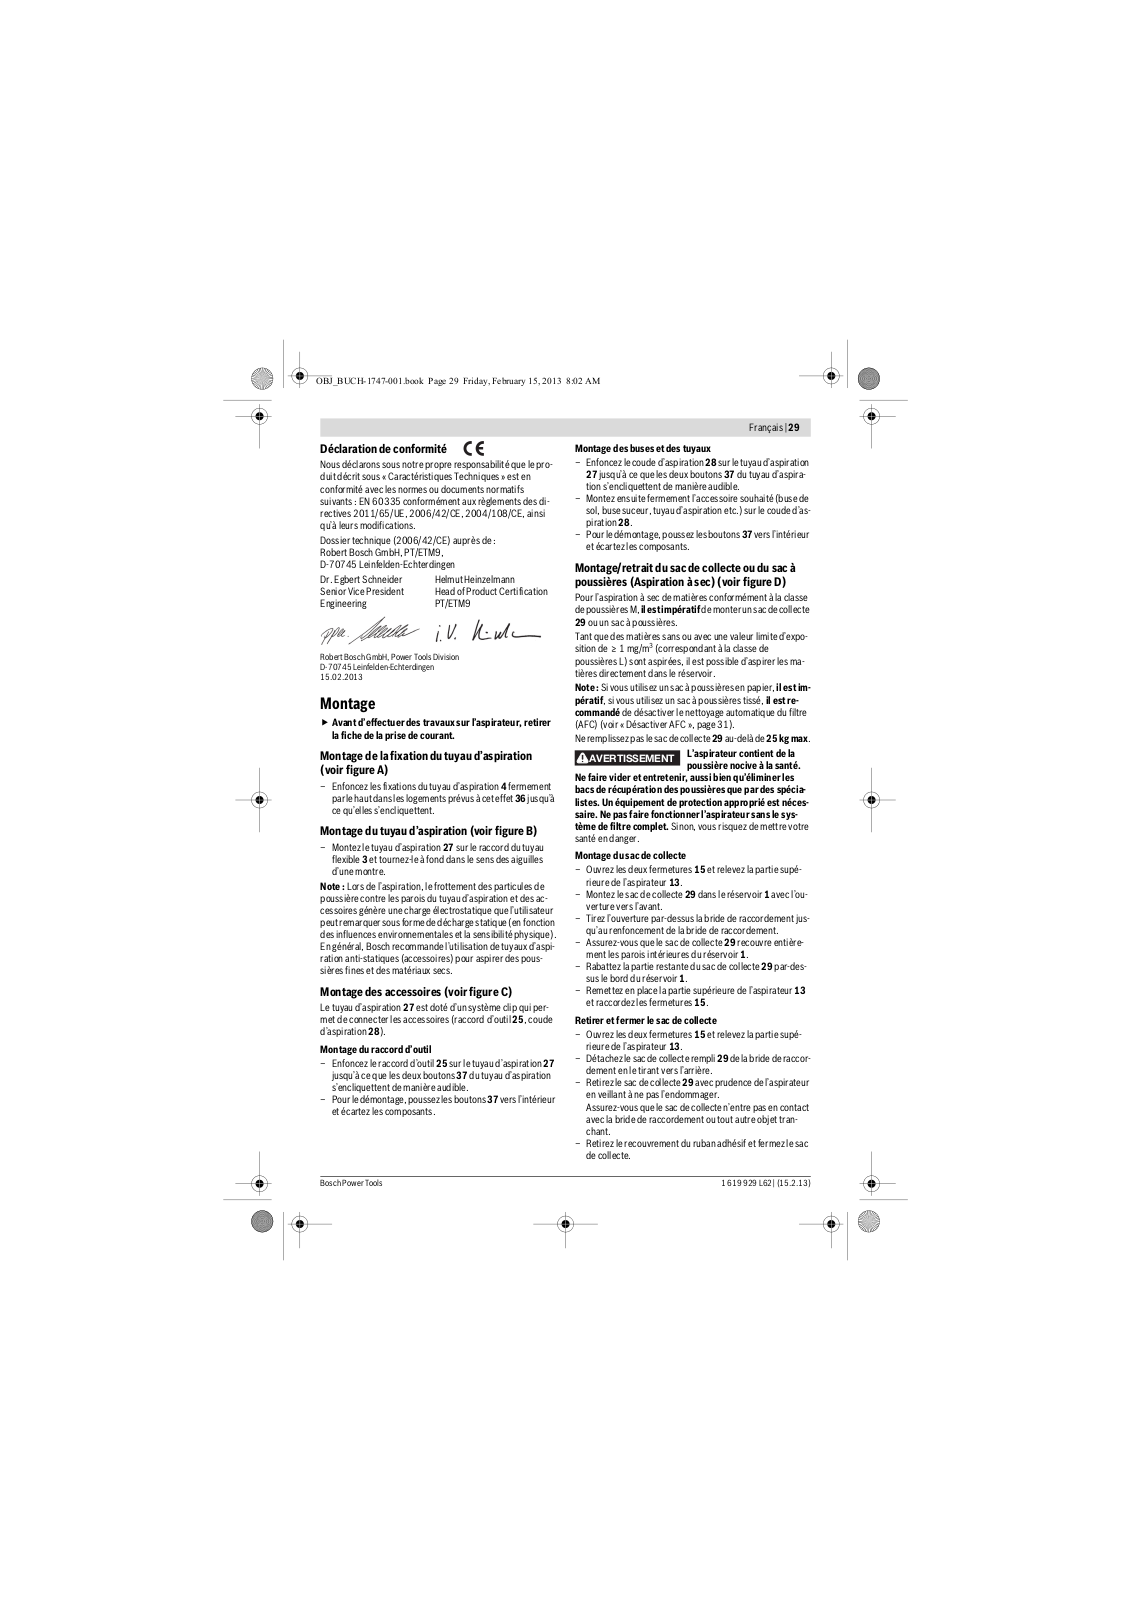
GAS 55 M AFC Professional
Original Instructions Manual
264 pgs
31.77 Mb
0
Original Instructions Manual
15 pgs
5.19 Mb
0
Original Instructions Manual
275 pgs
31.99 Mb
0
Original Instructions Manual
37 pgs
12.93 Mb
0
User manual [ml]
246 pgs
29.29 Mb
0
Table of contents
Loading...
Bosch GAS 55 M AFC Professional User manual [ml]
...
Bosch User manual [ml]
Download
Specifications and Main Features
Frequently Asked Questions
User Manual
Download
Loading...
+
216
hidden pages
Unhide
You need points to download manuals.
1 point = 1 manual.
You can buy points or you can get point for every manual you upload.
Buy points
Upload your manuals
 Loading...