

Page 1
Video Recorder 400 Series
Four Channel Digital Video Recorder
Quick install
REC
400 Series
Bosch Security Systems F.01U.137.406 | v1.0 | 2009.09
Page 2
2 Quick install Video Recorder 400 Series
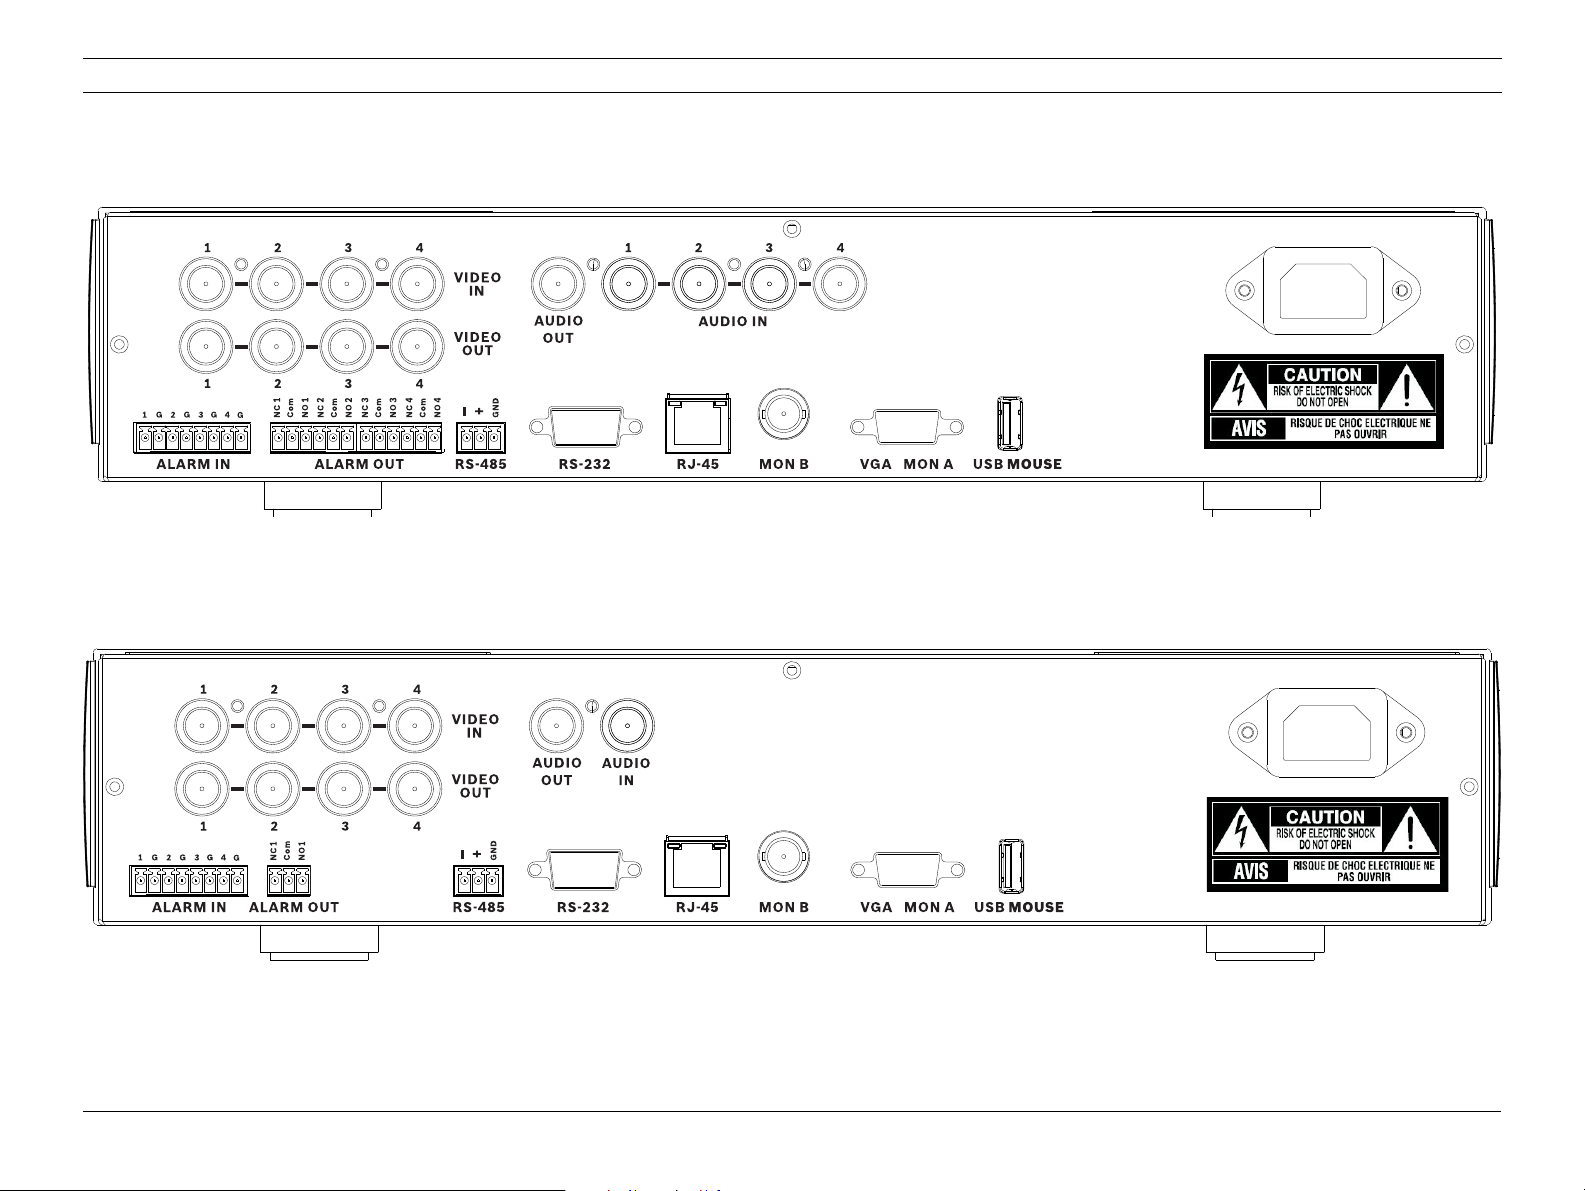
Figure 0.1 Advanced model
Figure 0.2 Basic model
Copyright Bosch Security Systems, 2009 www.BoschSecurity.com
Page 3
Video Recorder 400 Series Quick install | en 3
Quick install
To get the unit quickly operational, make the connections
described below and then enter the relevant data in the Quick
install menu. The Quick install menu appears the first time the
unit is started.
Connections
Primary connections
1. Connect the cameras to the VIDEO IN BNC connectors
(automatically terminated).
2. Connect monitor A to the VGA MON A output
(supporting 800x600, 1024x768, or 1280x1024).
3. Connect USB mouse to a USB port.
Optional connections
1. Connect monitor B to the MON B BNC connector.
2. Connect up to 4 audio signals to the AUDIO IN RCA
(CINCH) inputs.
3. Connect the AUDIO OUT RCA (CINCH) output to the
monitor or an audio amplifier.
4. Connect up to 4 ALARM IN inputs (via the supplied
terminal blocks).
5. Connect up to 4 ALARM OUT outputs (via the supplied
terminal blocks).
6. Connect a pan/tilt/zoom control unit to the RS-485 port
(via the supplied screw terminal block).
7. Connect to your network via the RJ-45 Ethernet port.
8. Connect a “Bosch RS232 to Bi-phase converter” to the
RS-232 port if required.
Powering up
Switch on all connected equipment.
– Connect the power cord to the unit.
First-time use
The Quick install menu opens the first time the unit is used. Fill
in the basic settings in the three tabs to get the unit
operational. The unit begins recording automatically when the
Quick install menu is closed.
To open the Quick install menu at any other time:
1. Press the menu key to bring up the System Control
Bar.
2. Press the menu key again to enter the main menu.
– The main menu appears on monitor A.
3. Select System, then the Configuration submenu, and
finally Quick install.
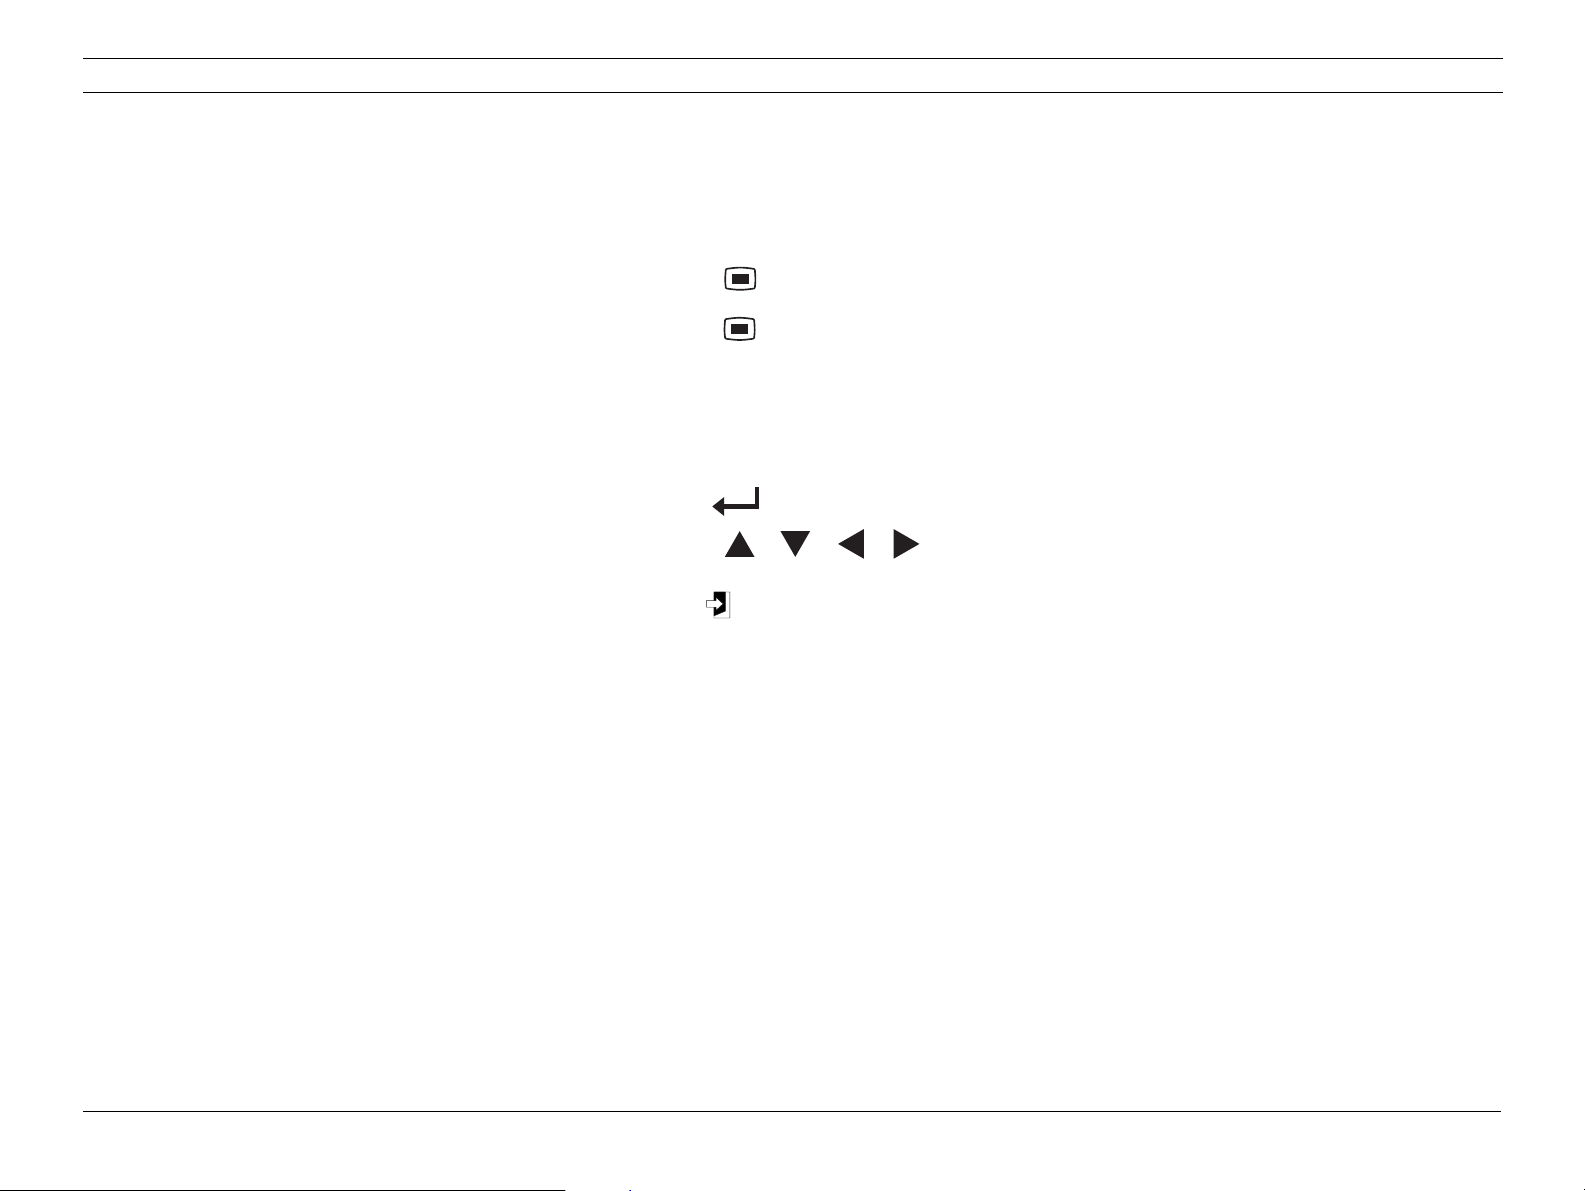
Navigating
Use the supplied USB mouse. Alternatively, use the following
front panel keys:
– Use the enter key to select a submenu or item.
– Use the arrow keys to
move through a menu or list.
– Use the exit key to go back or to switch off the
menu.
After bootup, the unit presents the log in screen over a quad
display. The default User ID is ADMINISTRATOR, the default
password is 000000 (six zeros).
Quick install menu
The Quick install menu contains three tabs: International,
Continuous Recording, and Network. Click the Exit button to
exit the Quick install menu. Changing Quick install settings
overwrites customized settings.
International
Language Select the language for the menu from the
Time
zone
Time
format
Time Fill in the current time.
Date
format
Date Fill in the current date.
Continuous Recording
Set the Continuous Recording Resolution, Quality, Frame rate,
Covert, and Audio for each profile in the table.
Network
DVR name Enter a DVR name to be used in the
DHCP Enable DHCP to have IP address, subnet
list.
Select a time zone from the list.
Select either a 12 or a 24 hour clock format.
Select from three date formats which show
either the month (MM), the day (DD), or the
year (YYYY) first.
network.
mask, and default gateway assigned
automatically by the network server.
The actual values are displayed.
IP address,
Subnet mask,
and Gateway
Bosch Security Systems F.01U.137.406 | v1.0 | 2009.12
Fill in the IP, subnet mask, and gateway
addresses when DHCP is disabled.
Page 4

Video Recorder 400 Series Operating instructions | en 4
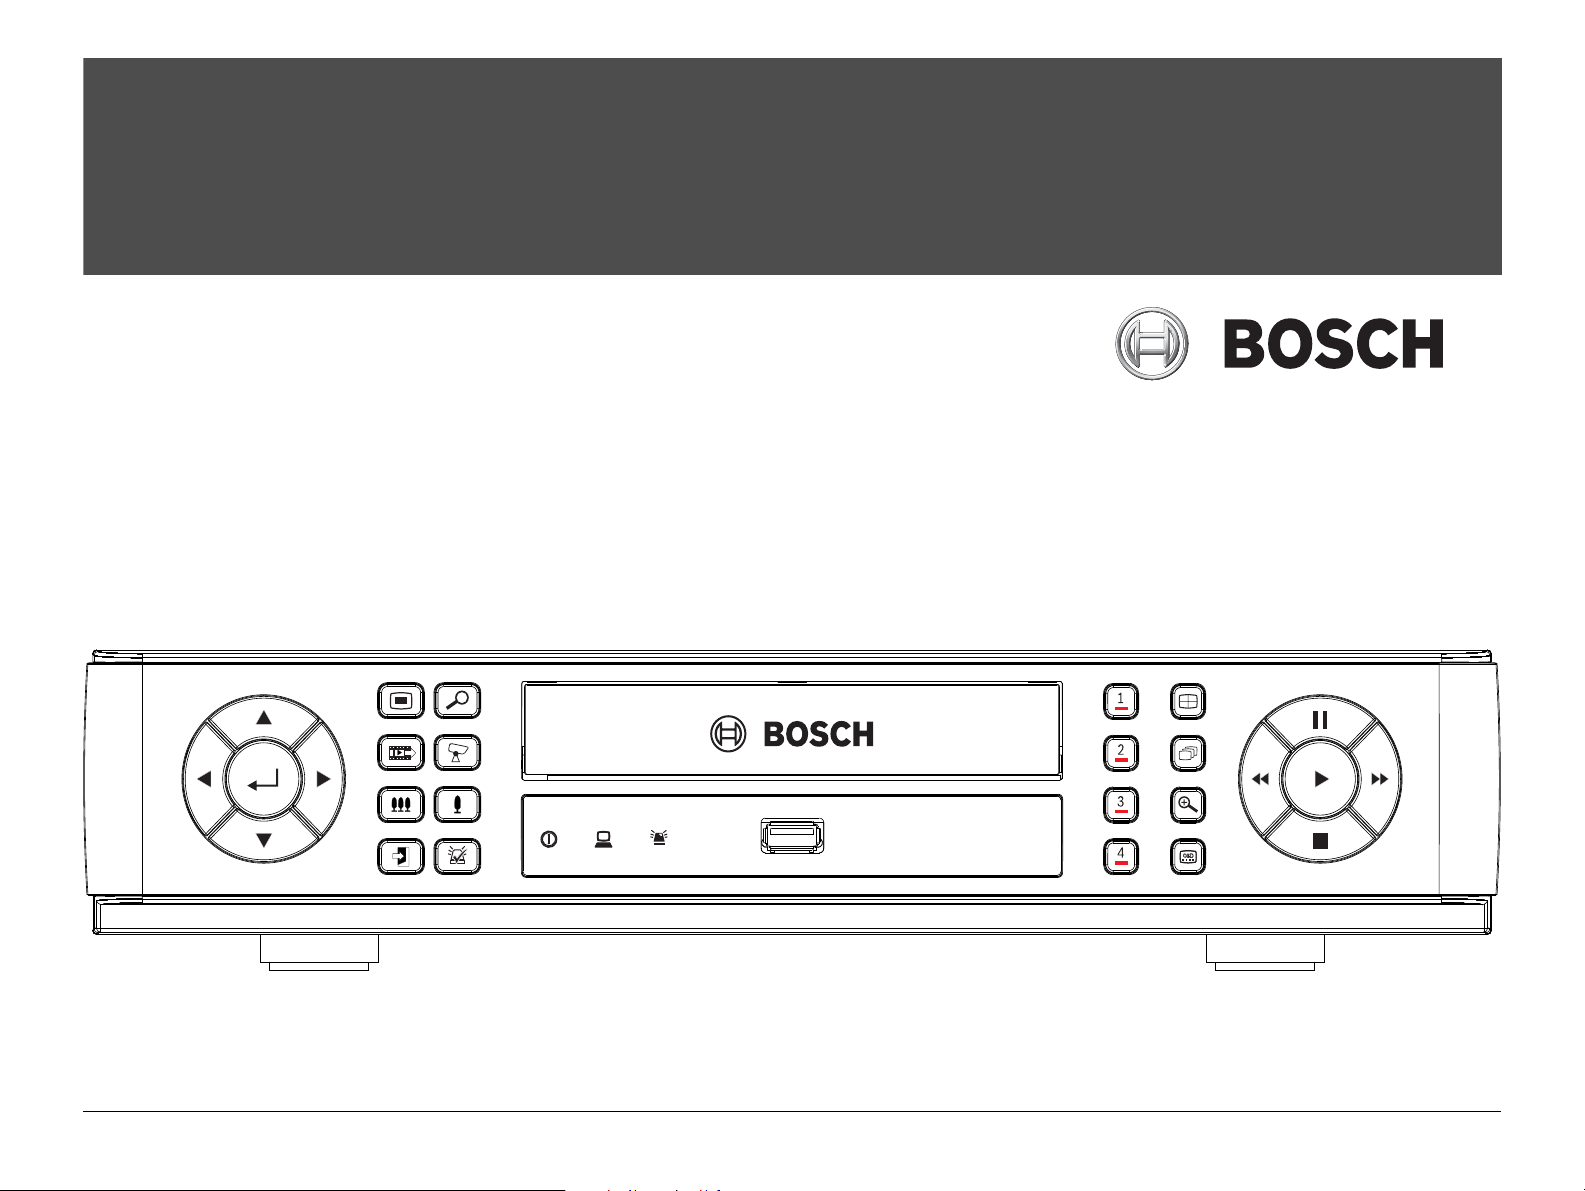
Operating instructions
Front panel controls
Keys
The keys on the front panel control all functions. Symbols on
the keys show the functions. Inactive keys emit an audible
beep when pressed.
Arrow keys:
Up, Down, Left, Right
– move around through menu items or values when
in menu mode
– in PTZ mode, the arrow keys can be used to
control the pan or tilt functions of the selected
camera
– moves the visible area of the selected image in
digital zoom mode
Enter key
– selects a submenu or menu item, or confirms
selections made in menus
– brings up the cameo submenu in full screen or
quad modes
Menu key
– opens the system menu
Exit key
– press to return to previous level or to exit the
menu system
Acknowledge key
– press to acknowledge an alarm event; an indicator
light is located on the key
Camera keys (1-4)
– press to see a full-screen display of the video
input
– the LED will be illuminated when the camera is
recording
– the LED will flash during an alarm on the camera
Quad key
– press to go to quad mode
– in quad mode, press to toggle to full screen
Sequence key
– view cameras in sequence on full-screen or quad
displays
Digital zoom key
– zooms in on the active full screen camera display
OSD key
– press to view date/time and camera information,
date/time only, or none
Fast forward key
– in live mode, press to start playback from one
minute earlier
– in playback mode, press to speed up the forward
playback rate
– in reverse playback mode, press to start forward
playback
– in pause mode, press to step forward one frame
Stop key
– while in playback mode, press to return to live
mode
Indicators
The indicators on the front panel display light or flash to alert
you of various operating conditions.
Power - lights green when the unit is powered
Network - lights green when a remote user is
connected to the unit
Alarm - flashes red when an alarm is detected
Record - lights red when the unit is recording video
Search key
– press to open the date/time search menu to look
for recorded images
Export key
– press to open the export menu
PTZ key
– enables or disables the PTZ mode
Zoom out key
– PTZ zoom out key
Zoom in key
– PTZ zoom in key
Bosch Security Systems F.01U.137.406 | v1.0 | 2009.09
Pause key
– press to freeze the picture
Reverse key
– in live mode, press to start reverse playback of
recordings for the displayed cameras
– in playback mode, press to start or speed up
reverse playback
– in pause mode, press to step back one frame
Play key
– in live mode, press to resume playback from the
last selected playback position
– in pause or fast forward/reverse modes, press to
resume playback
 Loading...