

Bosch Art 23 Easytrim Accu, Art 26 Easytrim Accu, Art 2600 Easytrim Accu, Art 2300 Easytrim Accu Instruction Manual
F016 L70 455 • 06.08
360°
1
2
3
5
14
4
6
8
9
10
7
12
11
13

The product is intended for the cutting of grass and
weeds under bushes, as well as on slopes and
edges that can not be reached with the lawn mower.
Intended Use is related to operation within 0 °C and
40 °C ambient temperature.
This manual gives instructions on the correct assembly and safe use of your machine. It is important
that you read these instructions carefully.
Carefully remove the machine from its packaging
and check that you have all the following items:
– Trimmer
– Cutting guard
– Cutting disc
– Blades
– Battery charger
– Operating instructions
When parts are missing or damaged, please contact your
dealer.
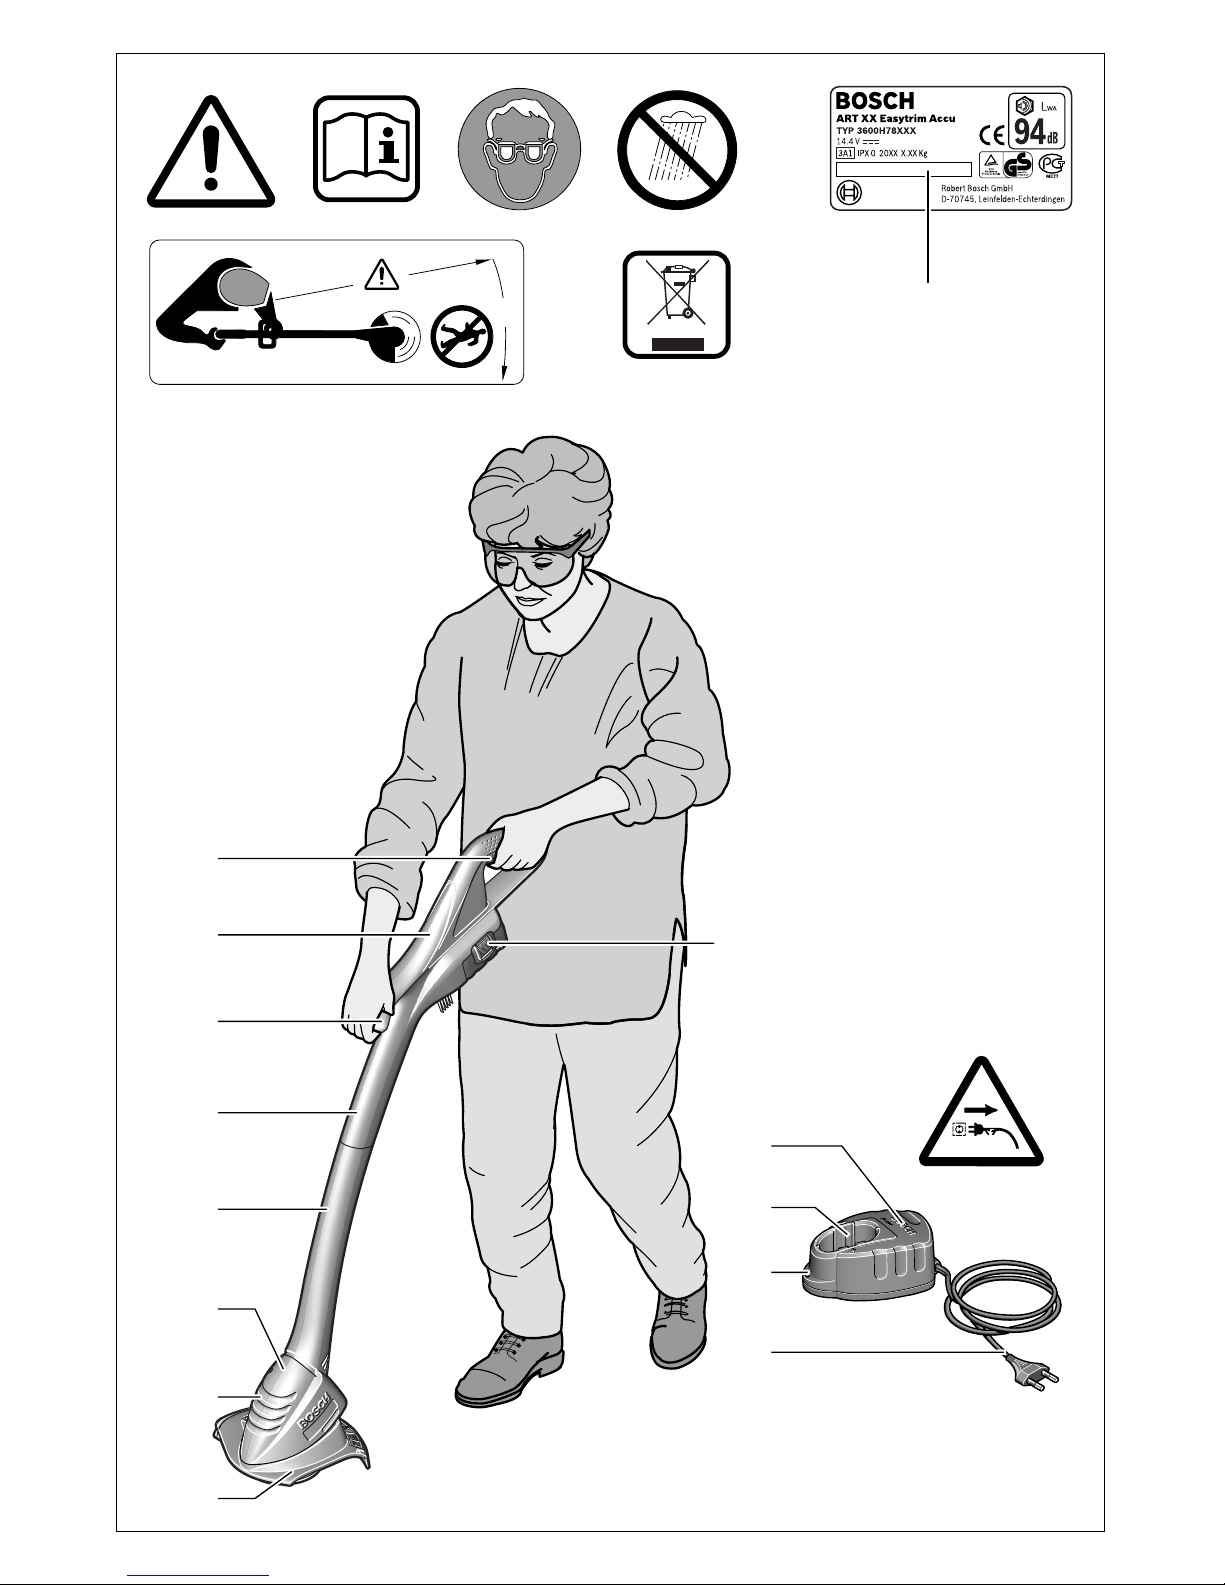
1
On/Off switch
2
Handle
3
Guide handle
4
Shaft, upper
5
Shaft, lower
6
Trimmer head
7
Ventilation slots
8
Cutting guard
9
Battery
10
Battery charger
11
Charging compartment
12
LED indicator
13
Mains plug*
14
Serial No
* Country specific
Not all of the accessories illustrated or described are
included as standard delivery.
Product Specification
Trimmer
ART 23 EASYTRIM ACCU/
ART 2300 EASYTRIM ACCU
ART 26 EASYTRIM ACCU/
ART 2600 EASYTRIM ACCU
Part number (Typ)
3 600 H78 H.. 3 600 H78 J..
No-load speed [rpm] 9 500 9 000
Cutting circle [cm] 23 26
Weight (without optional extras) [kg] 1.9 2.0
Serial Number See serial No
14
(rating plate) on machine.
Battery type
NiCd NiCd
Battery order number
2 607 335 533 2 607 335 533
Battery Voltage [V] 14,4 14,4
Battery rating [Ah] 1.5 1.5
Charging time (empty battery) [min] 250 250
Battery Charger
AL 1404 AL 1404
Order number
2 607 225 .. 2 607 225 ..
Charging current [A] 0.4 0.4
Allowable charging temperature
range [°C] 0 – 45 0– 45
* Charge time based on a battery charger input voltage of 230 V.
Intended Use
Introduction
Delivered Items
Operating Controls
F016 L70 455 • 06.08
Charging Procedure
The charging procedure starts as soon as the mains
plug
13
is plugged into the socket and the battery
9
is inserted into the charging compartment
11
.
The green LED 12 is not a charge control indicator!
When the green LED is lit, it indicates that a
charging current flows.
After the end of the charging process (approx. 3 h–
4 h), pull the mains plug of the battery charger from
the socket and remove the battery.
The battery should not be charged for longer
than 5.5 hours.
A temperature increase of the battery indicates that
it is fully charged.
Charging Advice
With continuous or several repetitive charging cycles without interruption, the charger can warm up.
This is not harmful and does not indicate a technical
defect of the unit.
A battery that is new or has not been used for a
longer period does not develop its full capacity until
after approximately 5 charging/discharging cycles.
Leave such batteries in the charging compartment
until they have clearly warmed up.
A significantly reduced working period after charging
indicates that the batteries are used and must be replaced.
Do not connect the battery before product
is completely assembled.
Ensure product is assemble in the following order:
Assemble trimmer shaft
Push the upper shaft 4 and lower shaft 5 together
until a click can be heard.
Note:
Once the upper and lower shaft is assembled
it can not be disassembled. Ensure internal cable is
not trapped or twisted.
Mounting the Cutting Guard
Place the cutting guard 8 on the trimmer head 6.
➊
Hook the guard onto trimmer head and push until
secure fitting.
➋
Push rear of guard until secure (click).
Fitting Cutting Disc/Fitting Blade
Press cutting disc
15
onto drive adaptor as shown
(click).
Fit the blade, place the blade
16
over the pivot
17
and pull outwards until it snaps into place.
Remove stones, loose pieces of wood and
other objects from the cutting area.
The blade continues to rotate for a few seconds
after the trimmer is switched off. Allow the motor/blade to stop rotating before switching “on”
again.
Do not rapidly switch off and on.
Switching On and Off
Press switch 1 and hold depressed. Release
switch 1 for switching off.
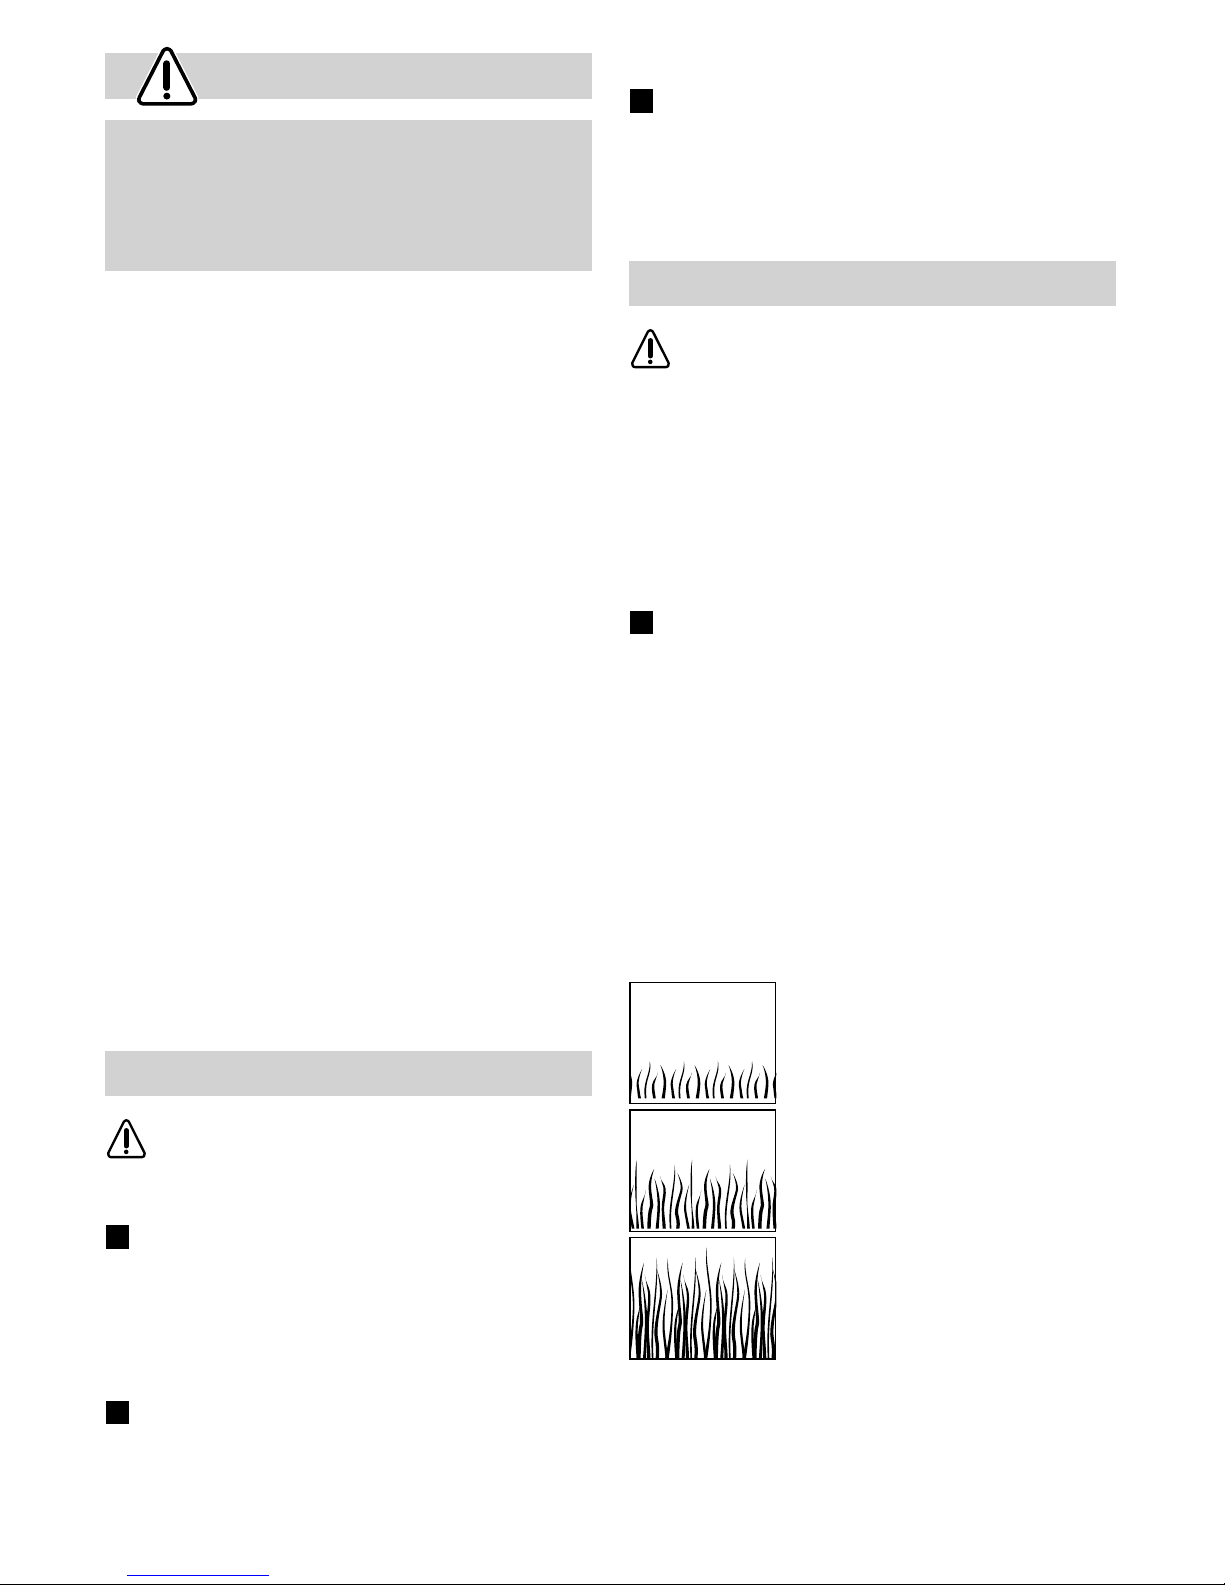
Cutting Grass
Move the trimmer left and right, keeping it well away
from the body.
The trimmer can efficiently cut grass up to a height
of 15 cm. Cut taller grass in stages.
Cutting Around Trees and Bushes
Carefully cut around trees and bushes so that they
do not come into contact with the cutting line.
Plants can die if you damage the bark.
Battery duration
Battery duration is dependent on the working conditions:
light conditions:
up to 500 metres
medium conditions:
up to 300 metres
tough conditions:
up to 50 metres
For Your Safety
Warning! Switch off, remove battery from machine before adjusting or cleaning.
The blade continues to rotate for a few seconds after the trimmer is switched off.
Caution – do not touch rotating blade.
Product Assembly
A
B
Cutting and Edging
C
D
F016 L70 455 • 06.08
 Loading...