

Page 1
Mini Prep Cell
Assembly Guide
Catalog #170-2927
Page 2
Mini Prep Cell Assembly Guide
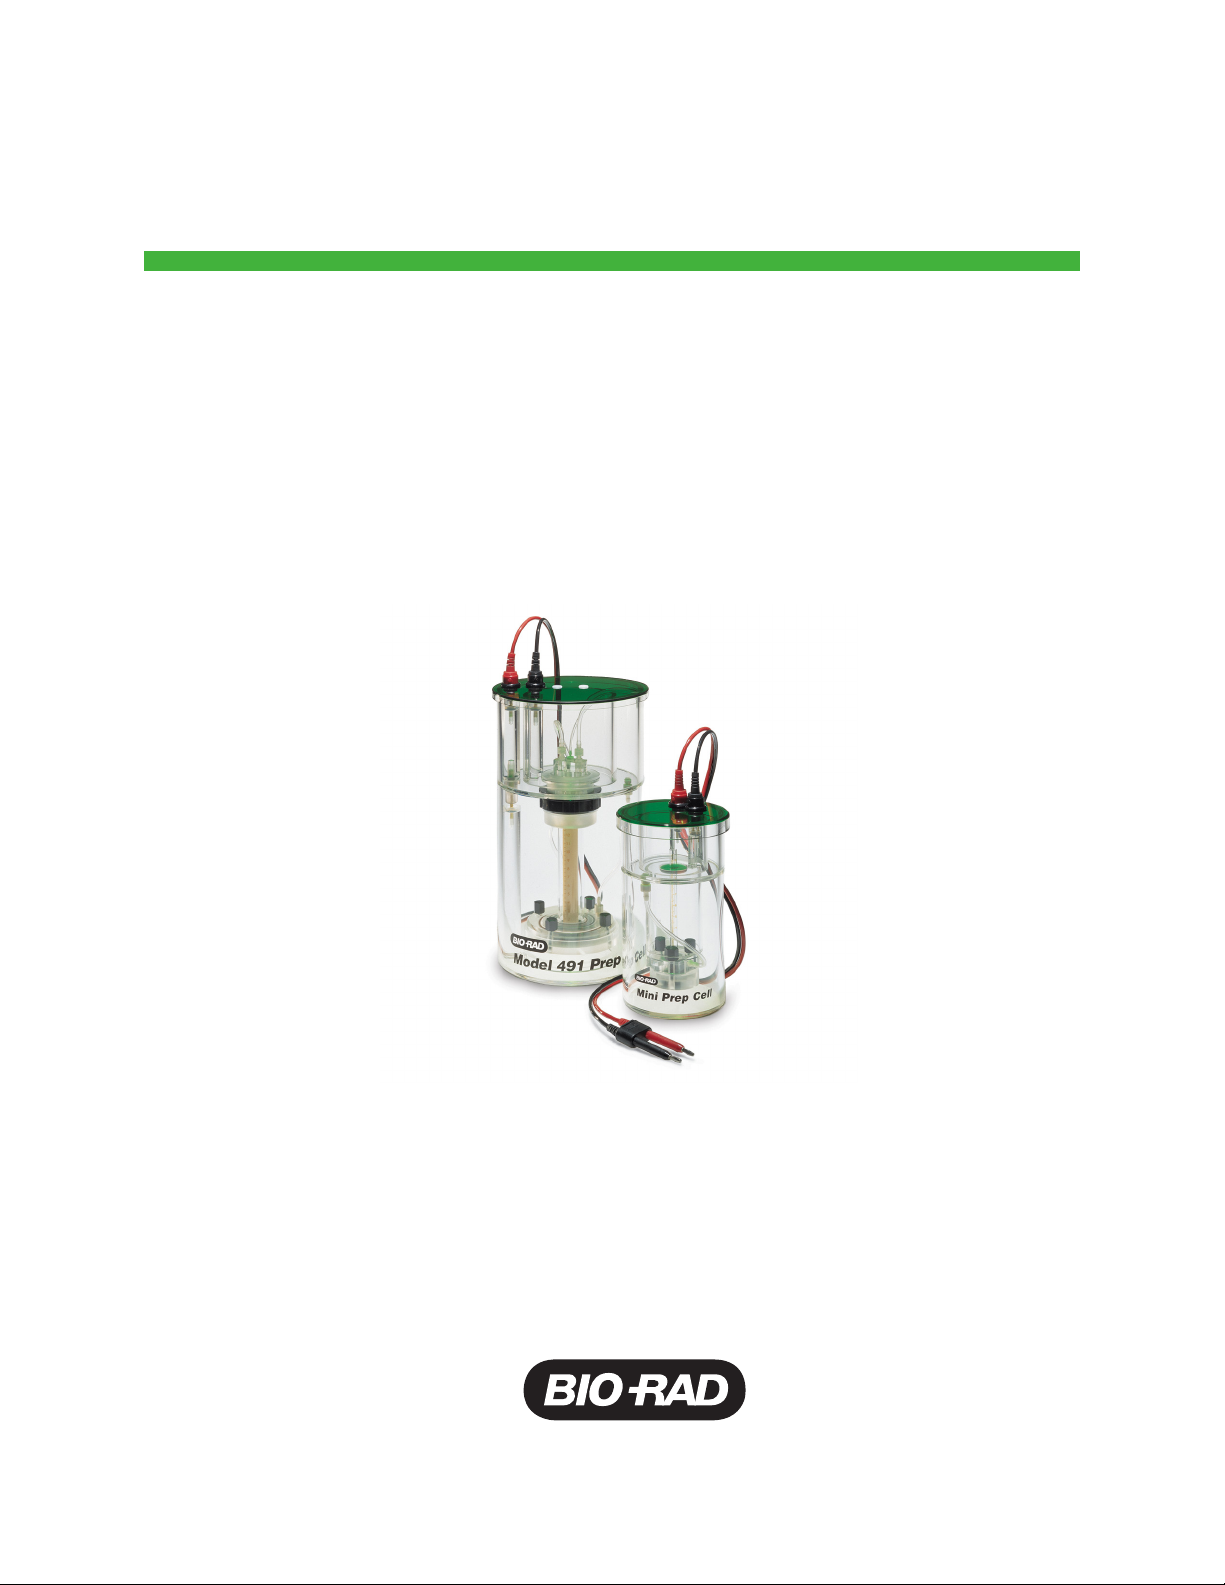
Cylindrical
holding station
Casting stand
Gel tube assembly
Fig. 1
Cast the Gel
1. Slide the gel tube assembly through the elution chamber top and
secure it on the leveled casting stand with the three screws;
hand tightening is sufficient.
2. Prepare the resolving gel solution as described in the instruction
manual.
3. Use a small syringe with a PTFE (polytetrafluoroethylene) tube
affixed to it to slowly fill the gel tube with monomer mixture
(Figure 1). Gently tap the casting stand against the bench top to
dislodge trapped air bubbles. Visually inspect the bottom of the
gel for bubbles immediately after pouring the gel solution into the
tube.
4. Overlay the gel solution with water-saturated 2-butanol or
tert-amyl alcohol using the narrow PTFE tube on a syringe. Allow
the resolving gel to stand overnight for complete polymerization.
After 1–2 hours of polymerization, replace the alcohol overlay
with gel buffer.
5. Decant or aspirate the buffer overlay and, if appropriate, cast the
stacking gel on top of the resolving gel. Overlay the stacking gel
monomer with water-saturated 2-butanol or tert-amyl alcohol.
Allow the stacking gel to polymerize for 1–2 hours.
2
Page 3
Mini Prep Cell
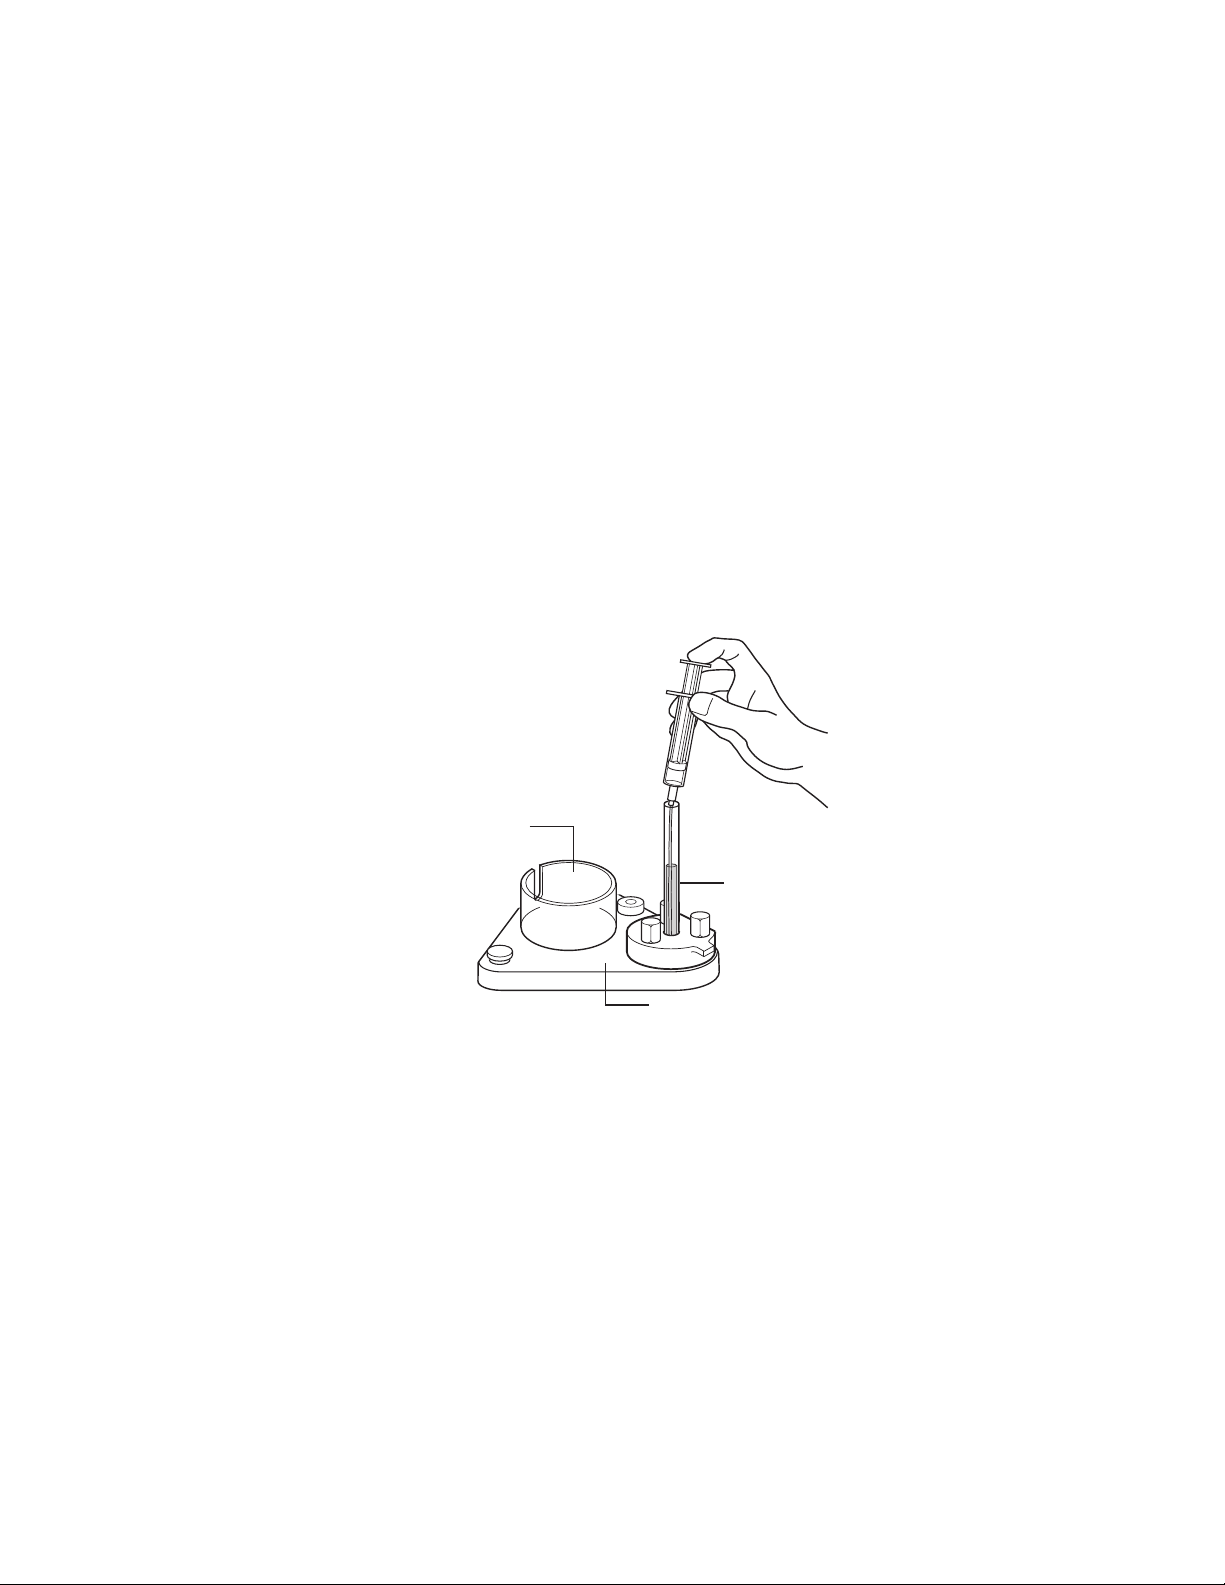
PTFE tube
Elution manifold base
Fig. 2
Assemble and Purge the Elution Chamber
Assembly Guide
1. Soak the support frit, elution frit, and dialysis membrane in
eletrophoresis buffer.
2. Place the molded harvest ring into the lower portion of the
elution chamber then press in the gray sealing gasket around the
harvest ring to hold the assembly in place.
3. Fill a syringe with electrophoresis buffer and connect it to the
Luer fitting of the 1 mm PTFE tube exiting the base of the
elution manifold (Figure 2). Gently push elution buffer through the
elution tubing (do not pull) until buffer fills the space within the
gray sealing gasket.
4. Place the dialysis membrane on top of the support frit and then
place the elution frit on top of the dialysis membrane.
5. Decant the stacking gel overlay, rinse the surface of the stacking
gel with water, and loosen the three screws holding the column
to the casting stand.
6. Remove the gel tube from the casting stand and place the
assembly on the lower portion of the elution manifold. Hand
tighten the three screws in the threaded holes in the lower
portion of the manifold (Figure 3).
3
Page 4

Mini Prep Cell Assembly Guide
Elution tube
Elution buffer feedline
Fig. 4
Gel tube assembly
Elution manifold base
Fig. 3
7. Continue purging the assembled elution chamber until elution
buffer flows out through the elution buffer feedline (Figure 4).
Visually inspect the elution chamber for air bubbles. If bubbles
persist, tap the elution chamber against the lab bench to free the
bubbles then gently push elution buffer through the assembled
elution chamber until the bubbles flow out through the elution
buffer feedline.
4
Page 5

Mini Prep Cell
Grommet
Casting stand
Fig. 5
Assemble the Upper and Lower Buffer Chambers
Assembly Guide
1. Place the assembled elution chamber/gel tube assembly into the
cylindrical holding station on the casting stand. Allow the elution
tube to pass out through the slot in the holding station.
2. Slide the top of the gel tube into the grommet in the center of the
upper buffer chamber.
3. Align the two wings protruding from the elution manifold with
the slots in the lower electrode housing. Twist and lock the two
components in place.
4. Connect the elution buffer feed line (female Luer fitting) to the
male Luer fitting attached to the elution buffer reservoir. Gently
push elution buffer through the elution collection tube to prime
the elution system. Priming is complete when buffer flows into
the elution buffer reservoir (Figure 5).
5. Fill each of the upper buffer reservoirs with 100 ml of
electrophoresis buffer. Add 400 ml of electrophoresis buffer to
the lower buffer chamber. The level of buffer should just reach
the bottom edge of the gel tube. Place the upper buffer chamber/gel tube assembly into the lower chamber.
5
Page 6

Mini Prep Cell Assembly Guide
Sample
Lower chamber
Fig. 6
Load the Sample
Carefully load the sample on the surface of the gel with the 1 ml
syringe and attached loading tube. Layer the sample under the
electrophoresis buffer (Figure 6). Make sure the gel is not punctured
with the PTFE loading tube. Once the sample is loaded, place the lid
on the cell and attach the cables to the power supply. Set the power
supply to the appropriate settings and begin electrophoresis.
Set the Elution Rate
The recommended elution buffer flow rate is 75–100 µl/min. Fractions
collected for 2.5 minutes (~200–250 µl) usually maintain sufficient separation of eluted proteins. Fraction collection should begin after the ion/
dye front has eluted.
6
Page 7

Bio-Rad
Laboratories, Inc.
Life Science
Group
Web site ww w.bio-rad.com USA 800 424 6723 Australia 61 2 9914 2800 Austria 01 877 89 01 Belgium 09 385 55 11 Brazil 55 11 3065 75 50
Canada 905 364 3435 China 86 21 6169 8500 Czech Republic 420 241 430 532 Den mark 44 52 10 00 Finland 09 80 4 22 00
France 01 47 95 69 65 Germany 089 31 884 0 Greece 30 210 953 2 220 Hong Kon g 852 2789 330 0 Hungary 36 1 459 6100 India 91 124 4029300
Israel 03 963 6050 Italy 39 02 216091 Japan 81 3 6361 7000 Korea 82 2 3473 4460 Mexico 52 555 488 7670 The Netherlands 0318 540666
New Zealand 64 9 415 2280 Nor way 23 38 41 30 Poland 48 22 331 99 9 9 Portugal 351 21 472 7700 Russia 7 495 721 14 04
Singapore 65 6415 3188 South Africa 27 861 246 723 Spain 34 91 590 52 00 Swed en 08 555 12700 Switzerland 026 674 55 05
Taiwan 886 2 2578 7189 Thailand 1800 88 22 88 United Kingdom 02 0 8328 2000
Sig 121310044265 Rev A US/EG
 Loading...