How it Works
Log In / Sign Up
Buy Points
How it Works
FAQ
Contact Us
Questions and Suggestions
Users
Beko
Loading...
W
WTC 6532 X0
WTC6533XW0
WTC 6733 XS0
WTC 7533 XW0
WTC 8622 XCW
WTC 8622 XW
WTC 8733 XB0B
2
WTC 8733 XCM
3
WTC 8733 XS0S
2
WTC 9602 XW0
2
WTE 10712 PAR
3
WTE 10734 XDOS
3
WTE10734XDOSN1
2
WTE 10734 XS0ST
3
WTE 10735 XC0ST
2
WTE 10736 AQN
3
WTE10736HT
3
WTE10736XBMN1
5
WTE10741BSCDOS1
2
WTE10744N
WTE10744X0WST
2
WTE10744XB0M
WTE10744XB0W
WTE 10744 XDOS
3
WTE10744XDOS1
3
WTE 10744 XM
WTE 10744 XST
2
WTE10744XW0
WTE10744XWDOS
WTE10746CHT1
3
WTE 11735 XCST
8
WTE 11735 XS
WTE 11744 XDOS
2
WTE11745X0MSTD
WTE12744XDOS1
3
WTE12744XWD
3
WTE 12745 X0D
WTE 12745 X0MSTD
WTE 5401 B0
WTE 5411 B0
WTE 5501 B0
2
WTE 5502 B0
WTE 5502 BB0BPT
WTE 5511 BO
WTE 5511 BW
2
WTE 5512 B0
WTE 6501 B0
2
WTE 6511 B0
4
WTE 6511 BS
3
WTE 6511 BW
2
WTE 6511 BWR
4
WTE6511Y
WTE 6512 B0
5
WTE 6512 BSS
3
WTE 6521 XAW
WTE 6531 X0
WTE 6532 B0
4
WTE6611BW
8
WTE 6612 BS
2
WTE 7500 B0
2
WTE 7502 B0
WTE 7502 B0B
WTE 7502 B0S
WTE 7511 B0
3
WTE 7511 BW
2
WTE 7511 X0A
WTE 7512 B0
2
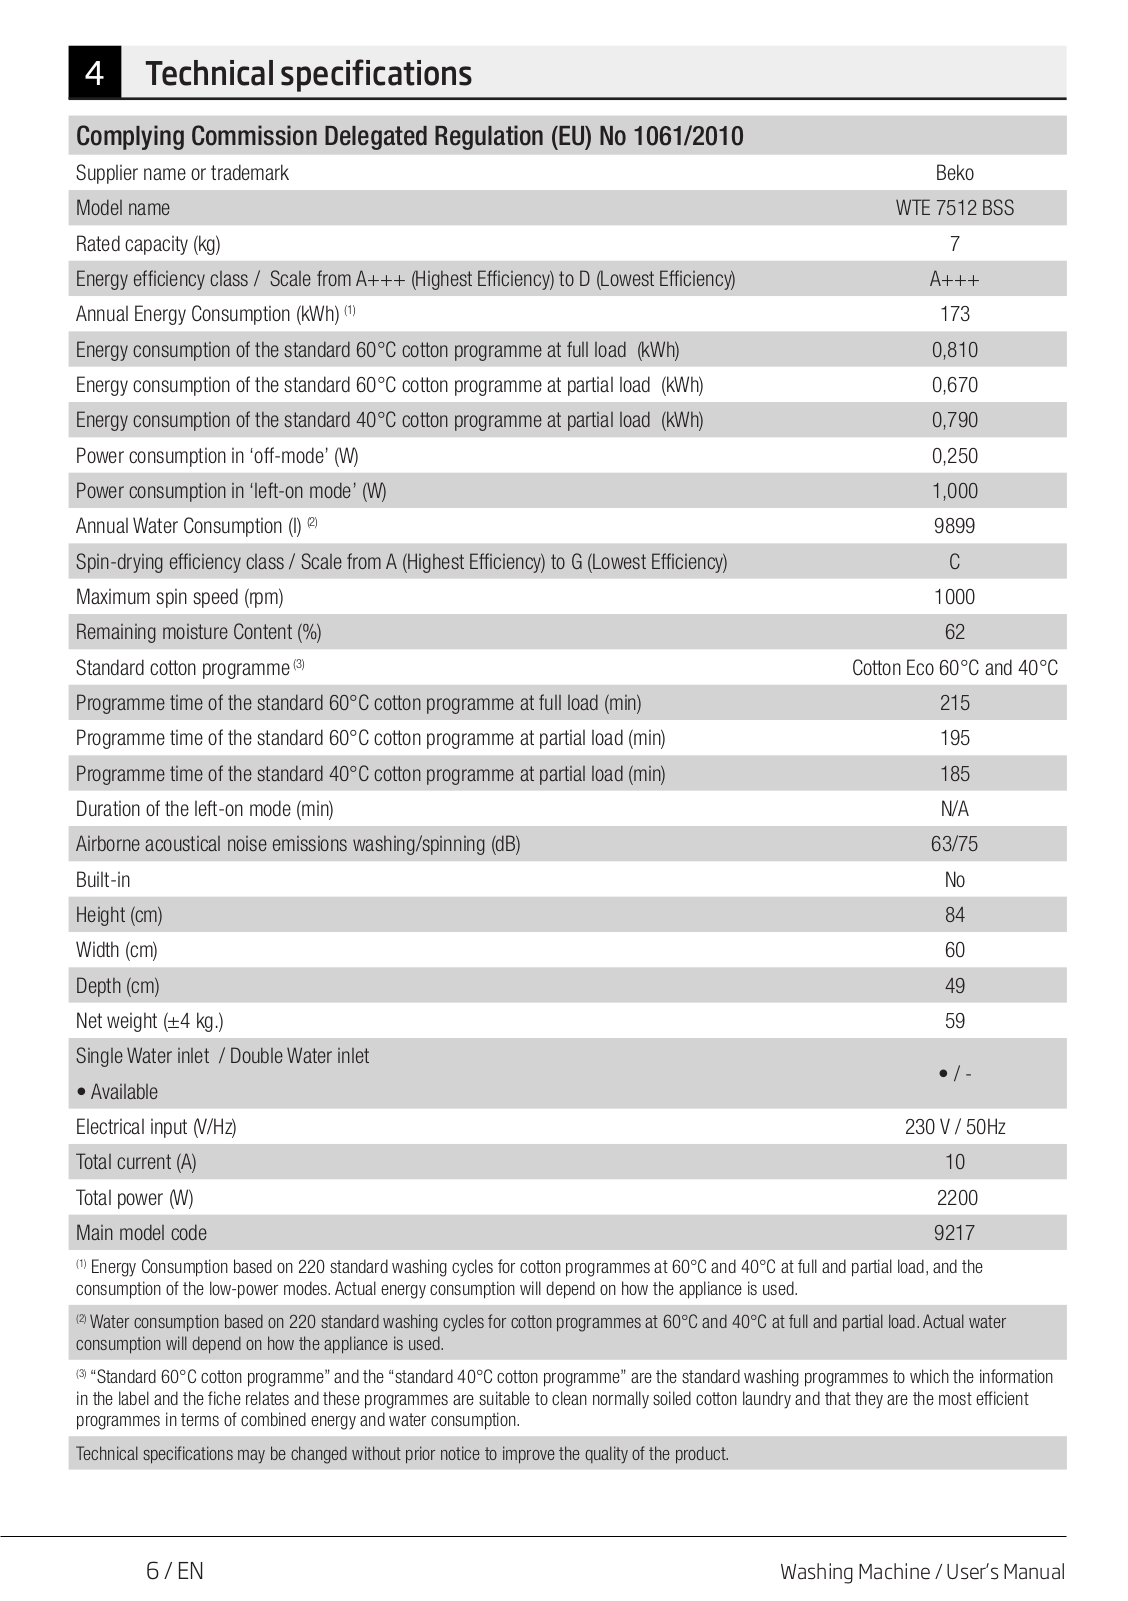
WTE 7512 BSS
WTE 7512 XS0
2
WTE 7512 XW0
WTE 7512 XWW
WTE7522XAW
WTE7522XBCW
WTE7522XWW
WTE 7531 X0
WTE 7532 BCX
2
WTE 7536 XA
3
WTE7604XLW0
3
WTE 7611 B0
2
WTE 7611 BW
2
WTE 7611 BWR
2
WTE7611SY
WTE 7612 BS
5
WTE 7636 XA
4
WTE 7636 XB
WTE7733XC0M
WTE7736XC1M
WTE8636X0C
2
WTE9636WX0A
WTE9644XWD
WTE 9736 XN
3
WTE 9744 N
7
WTG1041B1W
WTG1041B2CW
WTG50M1W
WTG620M1W
3
WTG620M2W
WTG641M3W
WTG720M1W
2
WTG720M2W
Loading...
Loading...
Nothing found
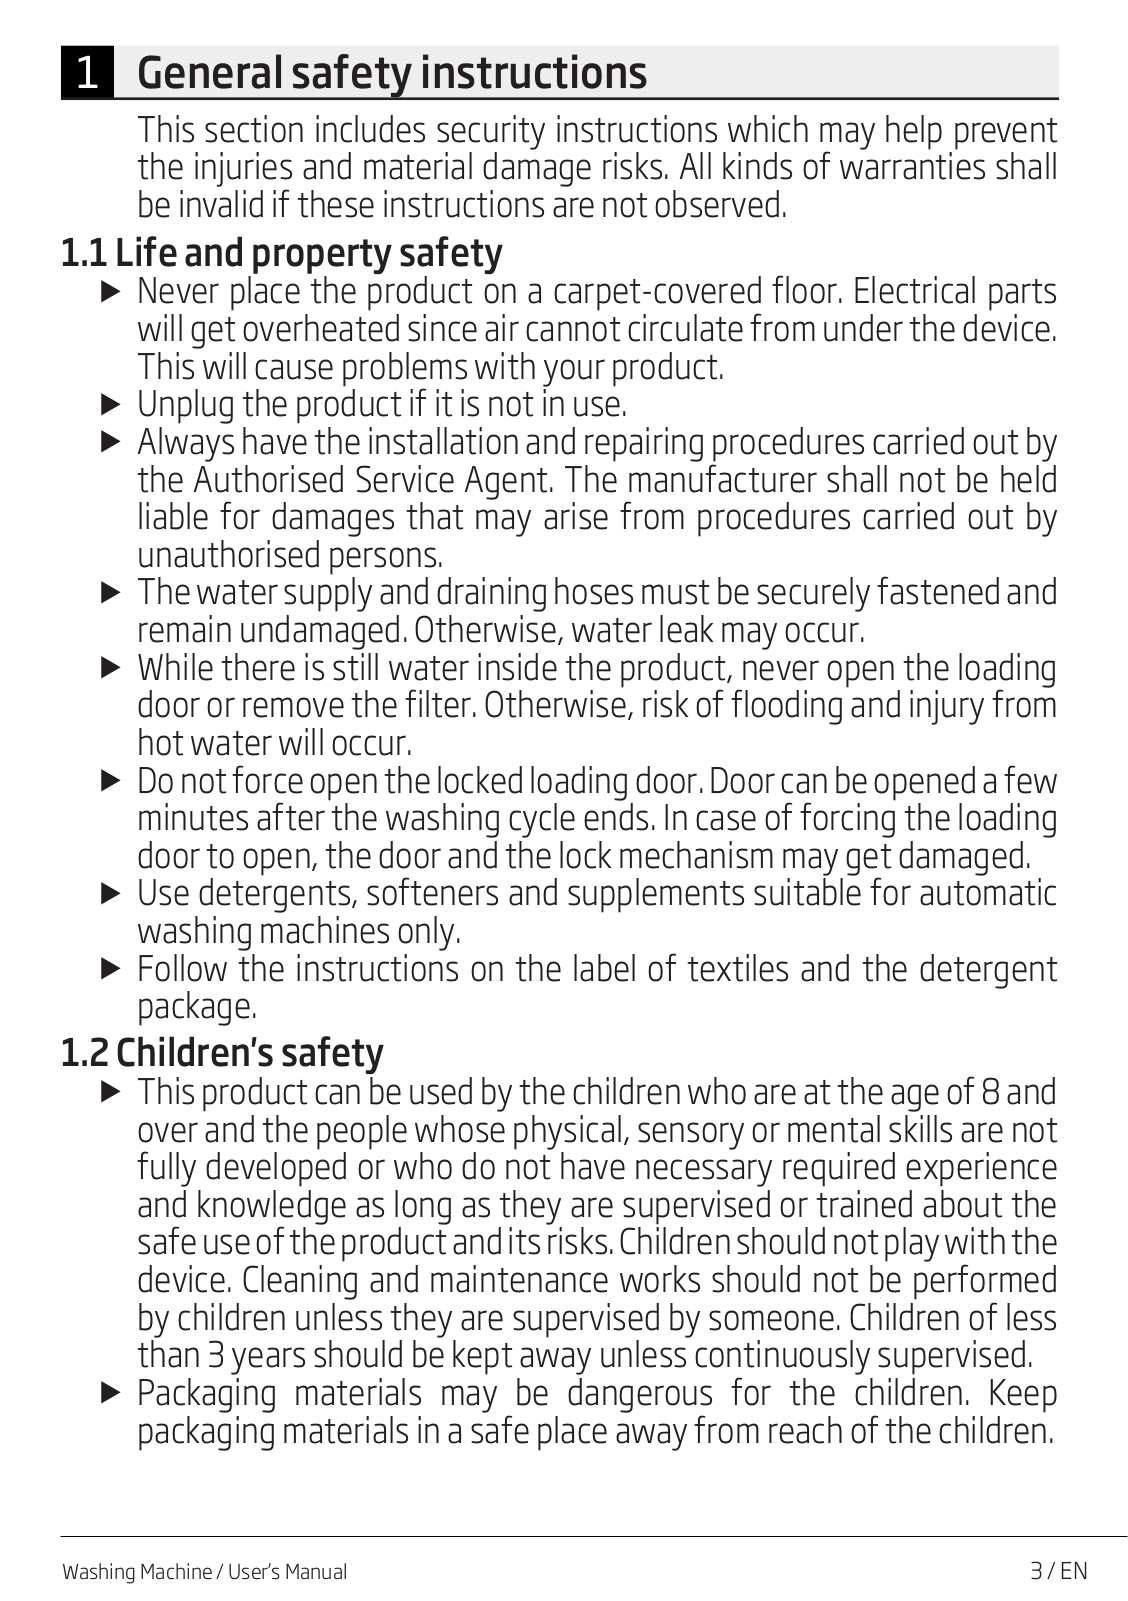
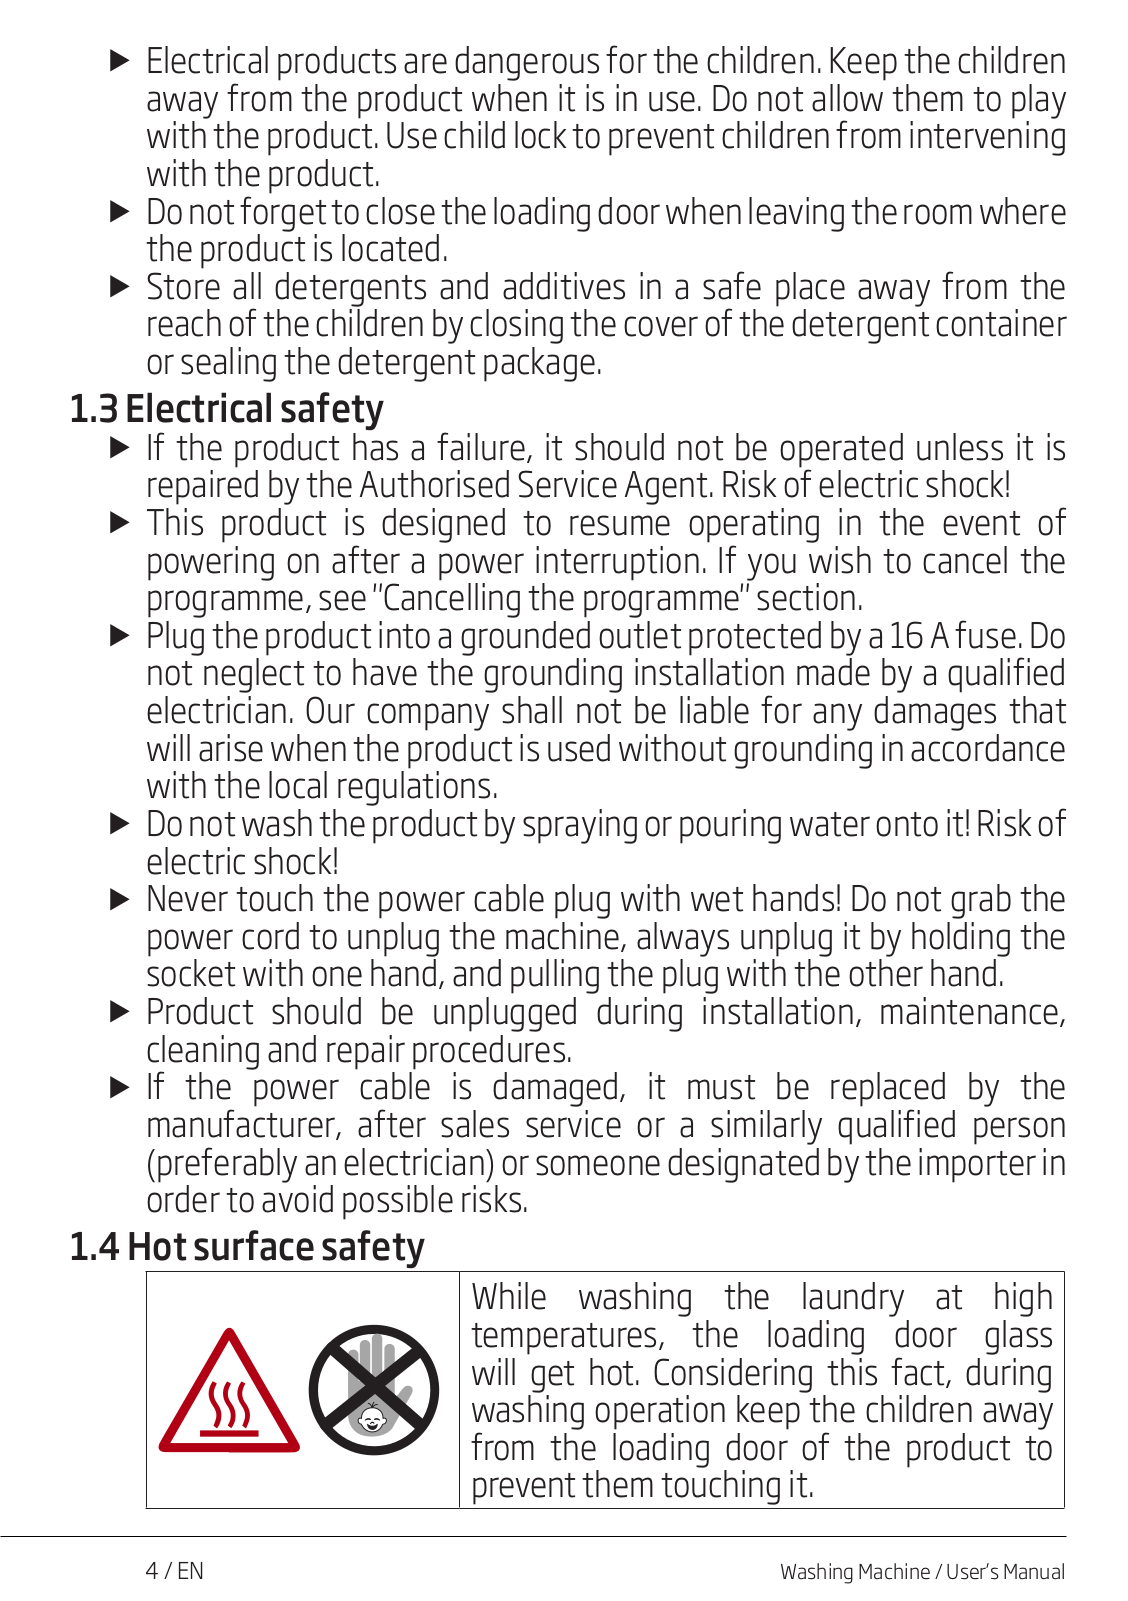
WTE 7512 BSS
User manual [EN,EL,AR]
92 pgs
6.35 Mb
0
Table of contents
Loading...
Beko WTE 7512 BSS User manual [EN,EL,AR]
...
Beko User manual [EN,EL,AR]
Download
Specifications and Main Features
Frequently Asked Questions
User Manual
Download
Loading...
+
64
hidden pages
Unhide
You need points to download manuals.
1 point = 1 manual.
You can buy points or you can get point for every manual you upload.
Buy points
Upload your manuals