

Page 1

Early SSN Estimator User Guide for
Altera Programmable Devices
101 Innovation Drive
San Jose, CA 95134
www.alter a.com
Document Version: 1.0
Document Date: © November 2009
Page 2

Copyright © 2009 Altera Corporation. All rights reserved. Altera, The Programmable Solutions Company, the stylized Altera logo, specific device designations, and all other
words and logos that are identified as trademarks and/or service marks are, unless noted otherwise, the trademarks and service marks of Altera Corporation in the U.S. and other
countries. All other product or service names are the property of their respective holders. Altera products are protected under numerous U.S. and foreign patents and pending applications, maskwork rights, and copyrights. Altera warrants performance of its semiconductor products to current specifications in accordance with Altera's standard warranty,
but reserves the right to make changes to any products and services at any time without notice. Altera assumes no responsibility or liability arising out of the application or use of
any information, product, or service described herein except as expressly agreed to in writing by Altera Corporation. Altera customers are advised to obtain the latest version of
device specifications before relying on any published information and before placing orders for products or services
.
UG-01075-1.0
Page 3

Contents
Chapter 1. Early SSN Estimator
Application of the Tool . . . . . . . . . . . . . . . . . . . . . . . . . . . . . . . . . . . . . . . . . . . . . . . . . . . . . . . . . . . . . . . . . . . 1–1
Setting up the Early SSN Estimator . . . . . . . . . . . . . . . . . . . . . . . . . . . . . . . . . . . . . . . . . . . . . . . . . . . . . . . . 1–1
Global Parameters . . . . . . . . . . . . . . . . . . . . . . . . . . . . . . . . . . . . . . . . . . . . . . . . . . . . . . . . . . . . . . . . . . . . 1–2
Desired Margin . . . . . . . . . . . . . . . . . . . . . . . . . . . . . . . . . . . . . . . . . . . . . . . . . . . . . . . . . . . . . . . . . . . . 1–2
Result Mode . . . . . . . . . . . . . . . . . . . . . . . . . . . . . . . . . . . . . . . . . . . . . . . . . . . . . . . . . . . . . . . . . . . . . . . 1–2
Parameters Specific to the I/O Bank . . . . . . . . . . . . . . . . . . . . . . . . . . . . . . . . . . . . . . . . . . . . . . . . . . . . . 1–5
Interpreting Early SSN Estimator Results . . . . . . . . . . . . . . . . . . . . . . . . . . . . . . . . . . . . . . . . . . . . . . 1–6
Chapter 2. Tutorial: Mixing SSTL and LVTTL in a Single Bank
Step 1: Configure the Global Parameters . . . . . . . . . . . . . . . . . . . . . . . . . . . . . . . . . . . . . . . . . . . . . . . 2–1
Step 2: Assign I/O Standards to the Corresponding Bank . . . . . . . . . . . . . . . . . . . . . . . . . . . . . . . . 2–1
Step 3: Interpret the Results . . . . . . . . . . . . . . . . . . . . . . . . . . . . . . . . . . . . . . . . . . . . . . . . . . . . . . . . . . 2–2
Step 4: Fixing the Problem . . . . . . . . . . . . . . . . . . . . . . . . . . . . . . . . . . . . . . . . . . . . . . . . . . . . . . . . . . . 2–2
Additional Information 1
Revision History . . . . . . . . . . . . . . . . . . . . . . . . . . . . . . . . . . . . . . . . . . . . . . . . . . . . . . . . . . . . . . . . . . . . . Info–1
How to Contact Altera . . . . . . . . . . . . . . . . . . . . . . . . . . . . . . . . . . . . . . . . . . . . . . . . . . . . . . . . . . . . . . . . Info–1
Typographic Conventions . . . . . . . . . . . . . . . . . . . . . . . . . . . . . . . . . . . . . . . . . . . . . . . . . . . . . . . . . . . . . Info–1
© November 2009 Altera Corporation Early SSN Estimator User Guide for Altera Programmable Devices
Page 4

iv
Early SSN Estimator User Guide for Altera Programmable Devices © November 2009 Altera Corporation
Page 5

1. Early SSN Estimator
Use the early SSN estimator (ESE) to estimate the simultaneous switching noise (SSN)
in your designs during the early design phase. This avoids going through extensive
pre- and post-layout simulations. The early SSN estimator is a Microsoft Excel-based
spreadsheet tool for calculating the worst-case quiet low/quiet high noise seen at the
far end of the victim pin induced by multiple aggressors switching simultaneously.
The early SSN calculator assumes typical process, voltage, and temperature (PVT)
conditions for the targeted device and the PCB board under development. The
spreadsheet requires only basic design-specific information such as the I/O standard,
current strength, slew rate, and number of simultaneous switching I/Os.
1 The early SSN estimator models the SSN generated by inductive crosstalk. Current
draw of the switching buffers may create power delivery network (PDN) resonance
and cause PDN compression. PDN compression due to resonance is different from the
SSN described here. Improving PDN design reduces PDN compression.
The results obtained through the spreadsheet tool are intended only as an estimate of
the worst case noise and not as a specification. The actual results observed on your
board may vary due to differences between your PCB design and the assumed typical
design conditions used by the calculator. For designers who intend to get a very
accurate noise estimate based on their specific PCB design, Altera recommends using
a post-layout simulation approach, taking into account the various parameters such
as board stackup, via breakout, power delivery network design, and trace spacing
specific to the design.
This user guide describes how to use the early SSN estimator to estimate the far-end
noise induced on the victim pin.
Application of the Tool
The purpose of the tool is to provide a rough estimate on the amount of SSN within
the design during the early design phase. This spreadsheet tool is very useful when
exploring the various “what-if” scenarios to study the impact on the observed noise
seen using different drive strengths, various number of simultaneous switching I/Os,
different VCCIO voltage standards, and various I/O settings.
Setting up the Early SSN Estimator
The ESE spreadsheet consists of the following tabs (Figure 1–1):
■ Calculator—the primary tab where you input the relevant design information to
estimate the amount of SSN noise.
■ Data Viewer—gives a schematic view of the noise profile of individual I/O
standards as a function of the number of I/Os. The Data Viewer tab is independent
of the Calculator tab. It only displays the noise profile of the I/O standard that is
set in the Data Viewer tab regardless of the I/O standards selected for the various
banks in the Calculator tab.
© November 2009 Altera Corporation Early SSN Estimator User Guide for Altera Programmable Devices
Page 6

1–2 Chapter 1: Early SSN Estimator
Setting up the Early SSN Estimator
■ Release Notes—contains information about the current version of the tool. It also
lists the changes from the previous versions of the tool.
■ Signal Integrity Center—provides a link to information dedicated exclusively to
signal integrity on Altera’s website (www.altera.com).
■ Reset—used to clear all the data that is entered into the Calculator tab.
Figur e 1–1. Tabs in the ESE Tool
In the Calculator tab, there are two kinds of parameters:
■ Global parameters
■ Parameters Specific to I/O Bank
Global Parameters
Figure 1–2 shows the global parameters (desired margin and result mode) listed
under the Options section in the Calculator tab. The ESE calculates the far-end noise,
assuming a worst-case placement of pins. Worst-case pin placement assumes that
aggressor pins are packed as closely as possible to the worst-case victim pin.
Figur e 1–2. Defining Global Parameters
Desired Margin
The desired margin sets the amount of margin that you want to allocate for non-SSN
related items. This margin is applicable to all banks that are populated in the
Calculator tab. By default, the ESE assumes that the entire noise margin is allocated to
SSN. You can enter this value in either volts or percentage of noise margin, depending
on the setting you chose in the Result Mode parameter.
Result Mode
The ESE can report results in two different formats: volts and percentage margin. The
default format is to report both noise and margin in volts. In percentage margin mode,
noise is reported as volts but the margin is expressed as a percentage of the total
zero-noise margin. When the victim net is driven low, the noise margin is calculated
using Equation 1–1. When driven high, Equation 1–2 is used.
Early SSN Estimator User Guide for Altera Programmable Devices © November 2009 Altera Corporation
Page 7

Chapter 1: Early SSN Estimator 1–3
{1
QLN
K()
QL–()
VIL
Max DC()
QL–()
------------------------------------------------- -
} *100 where–
{1
QH QHN–
K()
()
QH VIH–
Min DC()
()
--------------------------------------------------
} *100 where–
Setting up the Early SSN Estimator
Equation 1–1. Victim Net Dri ven Low
V
IL margin (K)
V
IL margin (K)
=
= Signal Margin Low when K aggressors are switching simultaneously
K = Number of I/Os switching simultaneously
QLN
= Quiet Low Noise when K aggressors are switching simultaneously
(K)
QL = Quiet Low Voltage (No aggressors switching)
V
IL Max (DC)
= Receiver Maximum DC Input Low Voltage
Equation 1–2. Victim Net Dri ven High
V
IH margin (K)
V
IH margin (K)
=
= Signal Margin High when K aggressors are switching simultaneously
K = Number of I/Os switching simultaneously
QHN
= Quiet High Noise when K aggressors are switching simultaneously
(K)
QH = Quiet High Voltage (No aggressors switching)
V
IH Min (DC)
= Receiver Minimum DC Input High Voltage
© November 2009 Altera Corporation Early SSN Estimator User Guide for Altera Programmable Devic es
Page 8

1–4 Chapter 1: Early SSN Estimator
Setting up the Early SSN Estimator
Figure 1–3 shows the ESE calculations for Bank1a when five I/Os are switching
simultaneously using LVTTL18 8-mA drive strength with a fast slew rate interface.
The example goes through the calculation to arrive at the VIL/VIH margin that is being
reported by the ESE tool.
1 Although each Altera device family has its own Early SSN tool, the methodology
behind these tools is the same. The following examples use the Stratix III Early SSN
tool.
Figur e 1–3. VIL/VIH Margin Calculation
From Figure 1–3 for the victim driven low, the various parameters are as follows:
K = 5
QLN (5) = 0.084 V
QL = 0
VIL max (DC) = 0.630 V
VIL margin (5) = {1 – [(0.084 – 0)/(0.63 – 0)]} * 100 = 86.7%
Similarly, for the victim driven high, the various parameters are as follows:
K = 5
QHN (5) = 1.723 V
QH = 1.8 V
VIH min (DC) = 1.17 V
VIH margin (5) = {1 – [(1.8 – 1.723)/ (1.8 – 1.17)]} * 100 = 87.8%
Early SSN Estimator User Guide for Altera Programmable Devices © November 2009 Altera Corporation
Page 9

Chapter 1: Early SSN Estimator 1–5
Setting up the Early SSN Estimator
Parameters Specific to the I/O Bank
Figure 1–4 shows the ESE parameters for a given bank.
Figur e 1–4. Parameters Specific to an I/O Bank
■ Bank VCCIO—All pins in an I/O bank share a common VCCIO voltage. Sharing
the VCCIO voltage restricts the combinations of legal I/O standards that can be
present within an I/O bank. Selecting a VCCIO voltage automatically populates
the I/O standard drop-down box with the set of I/O standards that are supported
by the given VCCIO voltage.
■ I/O Standard—The calculator supports up to four different I/O standards in a
single bank. If the I/O standard you are interested in is not shown in the drop
down box, ensure that the bank VCCIO voltage has been set correctly.
■ Drive Strength—Altera devices support multiple drive strengths depending on
the I/O standard. This drop down menu allows you to select valid values.
■ Slew Rate—Altera programmable devices support the control of the output
slew-rate that you can configure to balance noise and performance. A faster slew
rate provides high-speed transitions for high-performance systems. A slow slew
rate helps reduce system noise, but adds a nominal delay to rising and falling
edges.
1 The slew rate control option is not available for all Altera programmable
devices. For example, Stratix II GX devices do not offer the slew rate option.
■ Number of Outputs or Bidirectional Pins—The ESE tool models simultaneously
switching outputs-induced SSN. Switching inputs are not modeled because the
ESE has no information on what device is driving an FPGA input. Enter the
number of outputs or bidirectional pins that correspond to your selected I/O
standard and drive strength.
■ V
IL (DC)
/V
Thresholds—The ESE bases its margin estimates on the input
IH (DC)
thresholds of the receiving device. By default, the V
IL (DC)
and V
parameters
IH (D C)
are automatically populated with their I/O standard-specific values when you
select an I/O standard. You can manually change the values to any threshold
values.
© November 2009 Altera Corporation Early SSN Estimator User Guide for Altera Programmable Devic es
Page 10

1–6 Chapter 1: Early SSN Estimator
Setting up the Early SSN Estimator
Not all banks shown in the ESE tool are available in all Altera programmable devices.
The number of I/O banks available and bank size depends on the device density.
Interpreting Early SSN Estimator Results
The ESE reports four types of results for use in guiding your early I/O design—
output low/high voltages, input threshold margins, margin okay indicators, and
maximum pin limit—as shown in Figure 1–4.
■ Max FPGA V
—The maximum voltage output low parameter reports the highest
OL
voltage that an FPGA pin can output when driving a low value, taking into
account SSN-induced noise.
■ Min FPGA V
—The minimum voltage output high parameter reports the lowest
OH
voltage that an FPGA pin can output when driving a high value, taking into
account SSN-induced noise.
■ V
Margin/VIH Margin—This parameter indicates how much additional noise the
IL
output can tolerate before violating the V
voltage input low or V
IL (DC)
IH ( DC)
input high thresholds at the receiver.
■ V
Threshold Indicator—These indicators are a quick way to verify if all the
IL/VIH
I/O standards of a given bank have sufficient margin. If all the checks pass, the
indicators are green. If any margin is violated, the indicators are red.
■ Pin Limit—The pin limit indicates the maximum number of pins of the
corresponding I/O standard that you can use without violating noise margins,
assuming that all other I/O standard pin counts are held constant. For an I/O
standard, if the number of outputs switching is less than or equal to the pin limit
indicated, the VIL/VIH threshold indicators are green.
voltage
Early SSN Estimator User Guide for Altera Programmable Devices © November 2009 Altera Corporation
Page 11

This tutorial describes how you can add ten 1.8-V LVTTL pins to a bank filled with ten
1.8-V SSTL Class I 12 mA and ten 1.8-V SSTL Class II 16 mA drivers. In this tutorial
you are targeting a voltage margin of 225 mV to account for other non-SSN related
items. Use the ESE to determine if you might have problems.
Step 1: Configure the Global Parameters
1. Configure result mode to display the results in Voltage.
2. Enter a desired margin of 0.225 volts, as shown in Figure 2–1.
Figur e 2–1. Global Parameters Configuration
2. Tutorial: Mixing SSTL and LVTTL in a Single Bank
Step 2: Assign I/O Standards to the Corresponding Bank
1. Set the I/O Bank 1a VCCIO to 1.8 V.
2. Select the I/O Standard SSTL Class I in row one.
3. Select a drive strength of 12 mA.
4. Select Fast slew rate.
1 Not all Altera device families have the slew rate control option.
5. Enter 10 as the number of output pins.
6. Select the I/O Standard SSTL Class II in row two.
7. Select a drive strength of 16 mA.
8. Select Fast slew rate.
1 Not all Altera device families have the slew rate control option.
9. Enter 10 as the number of output pins.
10. Select the I/O standard LVTTL in row three.
11. Select a drive strength of 12 mA.
12. Select Fast slew rate.
1 Not all Altera device families have the slew rate control option.
13. Enter 10 as the number of output pins, as shown in Figure 2–2.
© November 2009 Altera Corporation Early SSN Estimator User Guide for Altera Programmable Devices
Page 12

2–2 Chapter 2: Tutorial: Mixing SSTL and LVTTL in a Single Bank
Figur e 2–2. Local Parameters Assignment
Step 3: Interpret the Results
■ The V
■ The V
your design). This is highlighted in red to indicate that it is lower than the desired
margin.
threshold indicator is red, indicating that a margin has been violated.
IH
margin for SSTL Class II is 0.222 V (less than the 0.225 V that you want for
IH
■ The pin limit for SSTL Class II is seven pins. This means that if the number of
outputs for SSTL Class II is reduced to seven, the margin will no longer be
violated.
■ The pin limit for LVTTL is eight pins. This means that only eight LVTTL pins can
be safely combined with ten SSTL Class I and ten SSTL Class II pins under the
entered drive strengths and slew rate for the given desired margin of 0.225 V that
you set.
Step 4: Fixing the Problem
There are multiple approaches to fix the issue.
First Approach
Reduce the amount of margin that you want to allocate for non-SSN-related items
from 225 mV to 200 mV, as shown in Figure 2–3.
The pin limit for LVTTL increased from 8 to 22, thereby allowing you to implement
your design with ten SSTL Class I I/Os and ten SSTL Class II I/Os, along with ten
LVTTL output pins.
Early SSN Estimator User Guide for Altera Programmable Devices © November 2009 Altera Corporation
Page 13

Chapter 2: Tutorial: Mixing SSTL and LVTTL in a Single Bank 2–3
Figur e 2–3. First Approach
Second Approach
If the timing margin allows, reduce the current drive strength for the SSTL Class I
buffers from 12 mA to 8 mA, keeping the desired voltage margin at 225 mV for
non-SSN-related items, as shown in Figure 2–4.
This decrease in drive strength reduces the SSN sufficiently to allow you to
implement your design with ten SSTL Class I and ten SSTL Class II I/Os, along with
ten LVTTL I/Os with sufficient margin.
Figur e 2–4. Second Approach
Third Approach
If the design allows, change the slew rate control SSTL Class I I/O to medium-fast,
keeping the desired voltage margin at 225 mV for non-SSN related items, as shown in
Figure 2–5.
Changing the slew rate setting from fast to medium-fast reduces the SSN sufficiently
to allow you to implement your design with ten SSTL Class I and ten SSTL Class II
I/Os, along with ten LVTTL I/Os with sufficient margin.
1 Not all Altera device families have slew rate control option.
© November 2009 Altera Corporation Early SSN Estimator User Guide for Altera Programmable Devic es
Page 14

2–4 Chapter 2: Tutorial: Mixing SSTL and LVTTL in a Single Bank
Figur e 2–5. Third Approach
Early SSN Estimator User Guide for Altera Programmable Devices © November 2009 Altera Corporation
Page 15
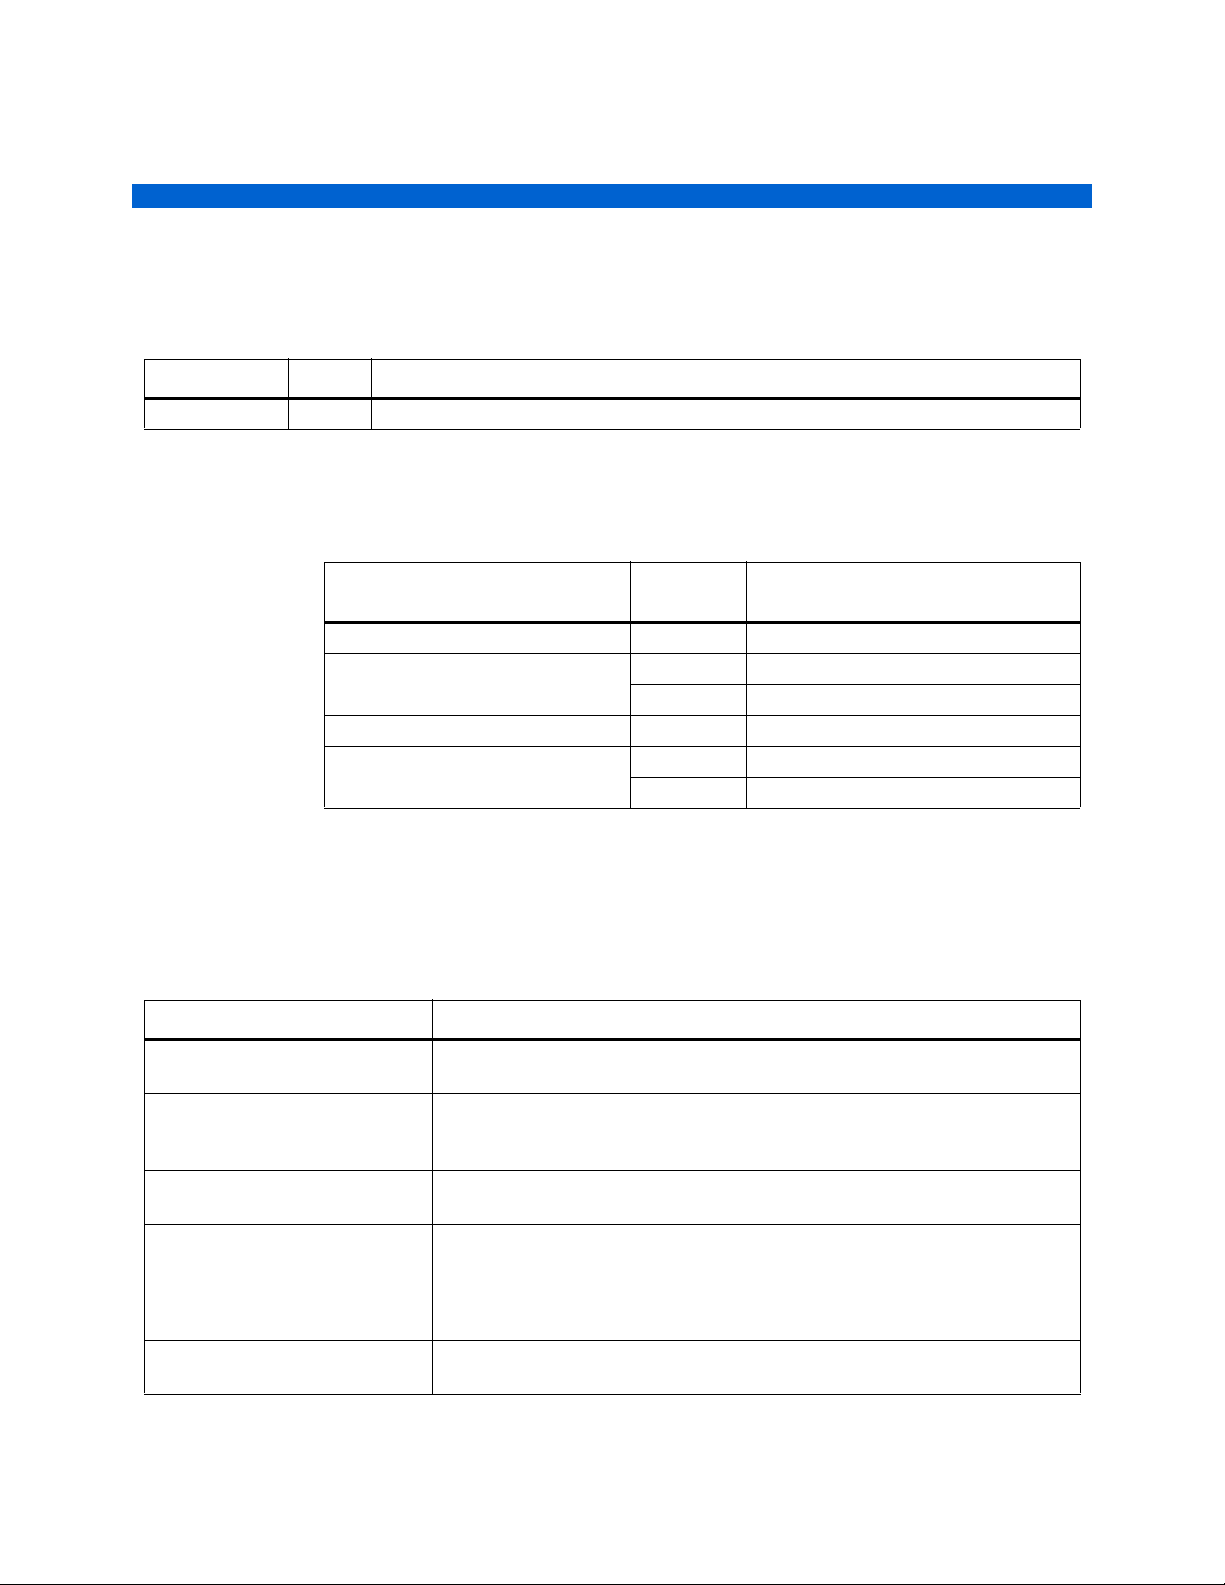
Revision History
The following table shows the revision history for this user guide.
Date Version Changes Made
November 2009 1.0 Initial release.
How to Contact Altera
For the most up-to-date information about Altera® products, see the following table.
Contact (Note 1)
Technical support Website www.altera.com/support
Technica l training Website www.altera.com/training
Email custrain@altera.com
Altera literature services Email literature@altera.com
Non-technical support (General) Email nacomp@altera.com
(Soft ware Licensing) Email authorization@altera.com
Note:
(1) You can also contact your local Altera sales office or sales representative.
Additional Information
Contact
Method Address
Typographic Conventions
The following table shows the typographic conventions that this document uses.
Visual Cue Meaning
Bold Type with Initial Capital Letters
bold t ype Exter nal timing parameters, dir ectory names, project names, disk drive names, file
Italic Type with Initial Capital Letters Document titles are shown in italic type with initial capital letters. Example: AN 75:
Italic type Internal timing paramet ers and variables are shown in italic type.
Initial Capital Letters Keyboard keys and menu names are shown with initial capital letters. Examples:
Command names, dialog box titles, checkbox options, and di alog box options ar e
shown in bol d, initial capita l let ters. Example: Save As dialog box.
names, file name extensions, and software utility names are shown in bold type.
Examples: f
High-Speed Board Design.
Examples: t
Variable names are enclosed in angle brackets (< >) and shown in italic type.
Example: <file name>, <project name>.pof file.
Delete key, the Op tions menu.
, \qdesigns directory, d: drive, chiptrip.gdf file.
MAX
, n + 1.
PIA
© November 2009 Altera Corporation Early SSN Estimator User Guide for Altera Programmable Devices
Page 16

1–2
Typographic Conventions
Visual Cue Meaning
“Subheading Title” References to sections within a document and titles of on-line help topics are shown
in quotation marks. Example: “Typographic Conventions.”
Courier type Signal and port names are shown in lowercase Courier type. Exampl es: data1, tdi,
input. Active-low signals are de noted by suffix n, e.g., resetn.
Anything that must be typed exactly as it appears is shown in Courier type. For example:
c:\qdesigns\tutorial\chiptrip.gdf. Also, sections of an actual file,
such as a Report File, references to parts of files (e.g., the AHDL keyword
), as well as logic function names (e.g., TRI) are shown in Courier.
SIGN
1., 2., 3., and
a., b., c., etc.
■ ■ Bullets are used in a list of items when the sequence of the items is not important.
Numbered steps are used in a list of items when the sequence of the items is important, such as the steps listed in a procedure.
SUBDE-
v The checkmark indicates a procedure that consist s of one step only.
1 The hand points to information that requires special attention.
c
w
A caution calls attention to a condition or possible situation that can damage or
destroy the product or the user’s work.
A warning calls attention to a condition or possible situation that can cause injury to
the user.
r The angled arrow indicates you should pr ess the Enter key.
f The feet direct you to more information on a particular topic.
Early SSN Estimator User Guide for Altera Programmable Devices © November 2009 Altera Corporation
 Loading...