

Page 1
EnergyMetering
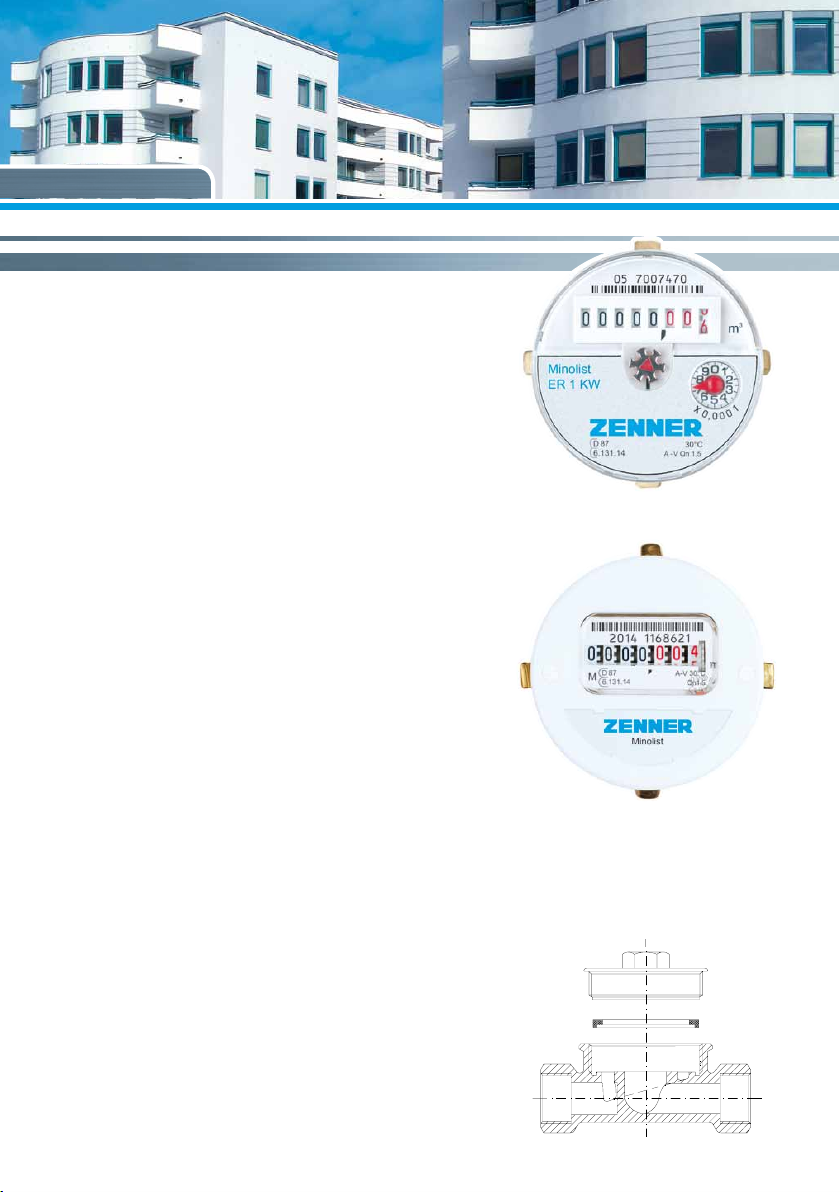
Measuring capsule Minolist 2”
(ER1 and ER2)
Installation instructions
The installation has to be done by qualied profes-
sional personnel. The general rules of technology
have to be followed.
Notes
■ Install vertically only, not tilted, inclined
or overhead.
■ Mount a ball valve upstream of the UPT.
■ Consider the correct ow direction. This is
indicated by an arrow on the side of the UPT.
■ The optimal depth (mid pipe below nished wall)
is 65 mm to 93 mm.
■ Capsule is delivered without inserted sealing ring
with loosely screwed tightening lid.
Installation UPT
1. Flush piping system
2. Close valves, release pressure and drain
the pipe.
3. If screwed:
a) Clean sealing surfaces and t in new
sealing in the ttings.
b) Mount the UPT and tighten the screws.
4. If soldering:
a) Remove mounting accessory, tightening
lid and sealing ring.
b) Solder connections and let cool down
completely the UPT.
Minolist ER 1
Minolist ER 2
Page 2
EnergyMetering
5. Screw on the UPT. Fit in the sealing ring
in the nut und tighten the lid.
6. Open slowly the closing valves and check
the installation if tight.
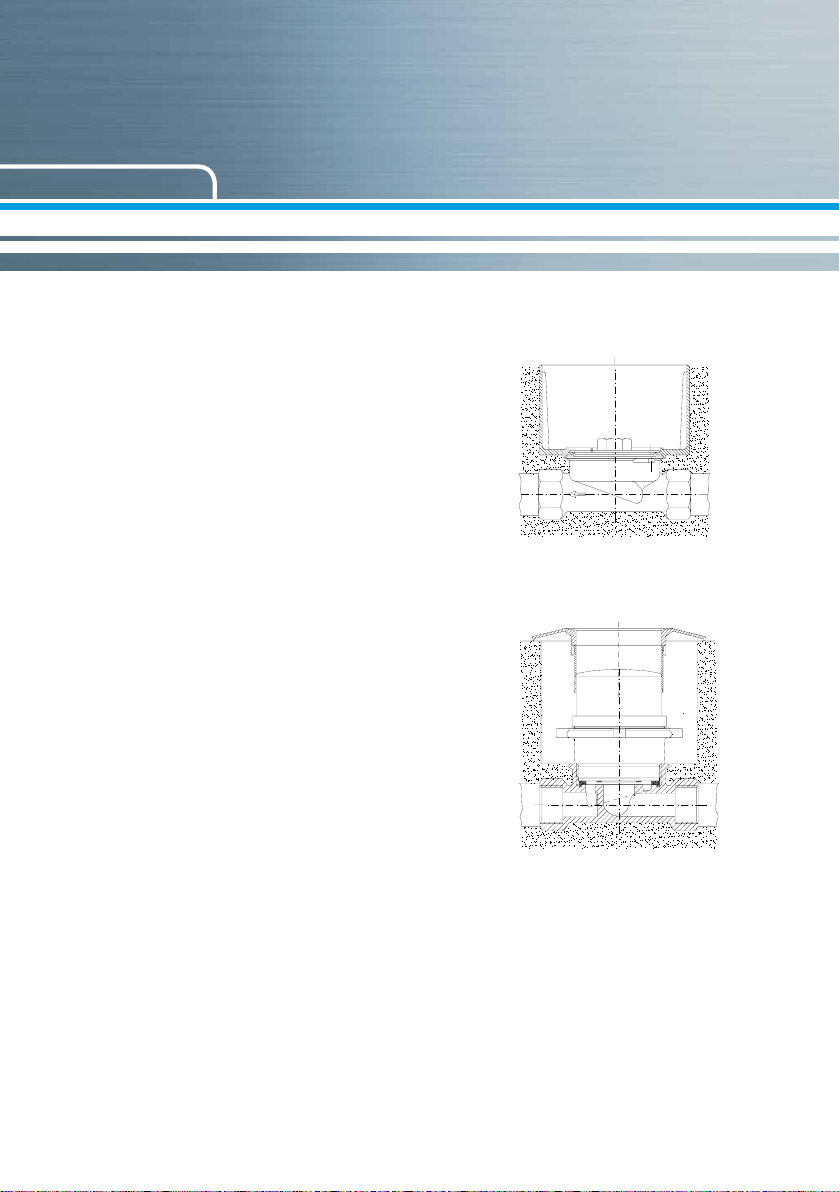
Installation measuring capsule
1. Flush piping system
2. Close the valves and discharge the
pressure of the pipe.
3. Unscrew the tightening lid, change the
existing sealing into a new one
4. Screw the capsule by hand into the UPT
and tighten it with the mounting key.
5. Open slowly the closing valves and check
the installation if tight.
6. Turn the counter into the right reading
position and seal the meter.
7. Assemble the rosette.
Changing the capsule
1. Close the valves and discharge the
pressure of the pipe
2. De-assembling of rosette
3. Check the meter type
4. Screw the capsule with the assembling
key out of the UPT
5. Take away the sealing, clean the sealing
surface and take a new sealing into the nut.
6. Assemble new capsule by using the assem-
bling key by hand
ZENNER International GmbH & Co. KG
Römerstadt 6
D-66121 Saarbrücken
Telephone +49 681 99 676-30
Telefax +49 681 99 676-3100
7. Open slowly the closing valves and check
the installation if tight
8. Turn the counter into the right reading
position and seal the meter
9. Assemble the rosette
E-Mail info@zenner.com
Internet www.zenner.com
Subject to modications and errors excepted. Any liability for misprints excluded. SAP119821_140115_EN
 Loading...