

Zebra STB2000-C40007R, STB2000-C40017R Quick Reference Manual
STB2000-C40007R/C40017R Cradles
Quick Reference Guide

2 STB2000-C40007R/STB2000-C40017R Cradles
No part of this publication may be reproduced or used in any form, or by any
electrical or mechanical means, without permission in writing from Zebra. This
includes electronic or mechanical means, such as photocopying, recording, or
information storage and retrieval systems. The material in this manual is subject
to change without notice.
The software is provided strictly on an “as is” basis. All software, including
firmware, furnished to the user is on a licensed basis. Zebra grants to the user a
non-transferable and non-exclusive license to use each software or firmware
program delivered hereunder (licensed program). Except as noted below, such
license may not be assigned, sublicensed, or otherwise transferred by the user
without prior written consent of Zebra. No right to copy a licensed program in
whole or in part is granted, except as permitted under copyright law. The user
shall not modify, merge, or incorporate any form or portion of a licensed program
with other program material, create a derivative work from a licensed program, or
use a licensed program in a network without written permission from Zebra. The
user agrees to maintain Zebra’s copyright notice on the licensed programs
delivered hereunder, and to include the same on any authorized copies it makes,
in whole or in part. The user agrees not to decompile, disassemble, decode, or
reverse engineer any licensed program delivered to the user or any portion
thereof.
Zebra reserves the right to make changes to any software or product to improve
reliability, function, or design.
Zebra does not assume any product liability arising out of, or in connection with,
the application or use of any product, circuit, or application described herein.
No license is granted, either expressly or by implication, estoppel, or otherwise
under any Zebra intellectual property rights. An implied license only exists for
equipment, circuits, and subsystems contained in Zebra products.
Zebra and the Zebra head graphic are registered trademarks of ZIH Corp. The
Symbol logo is a registered trademark of Symbol Technologies, Inc., a Zebra
Technologies company.
Warranty
For the complete Zebra hardware product warranty statement, go to:
http://www.zebra.com/warranty.

Quick Reference Guide 3
Introduction
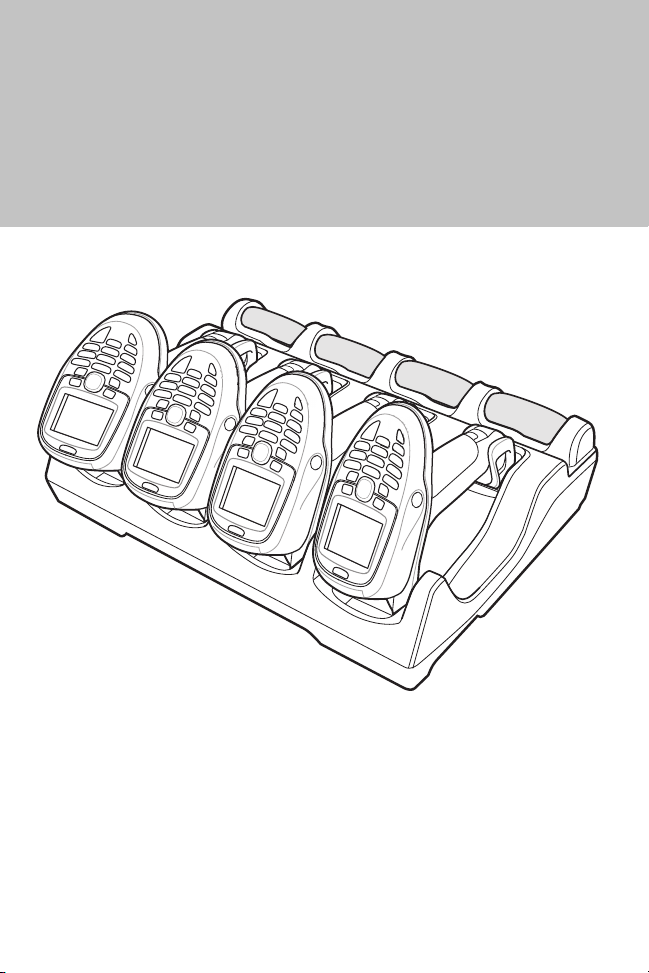
The STB2000-C40007R four slot charge only and STB2000-C40017R four slot
Ethernet cradle act as chargers and host communication interfaces for the
MT2000 Series cordless scanners and batteries. Cradles can sit on a desktop or
be mounted on a wall. This document provides basic instructions for cradle set up
and use. Unless otherwise noted, cradle refers to both configurations of the
cradle. Any discussion of transmission of information refers specifically to the
STB2000-C40017R four slot Ethernet cradle.
Cradle Configurations
STB2000-C40007R:
four spare batteries.
STB2000-C40017R:
four spare batteries; synchronizes up to four scanners with a host computer through
an Ethernet connection (see
Four slot, charge only. Charges up to four scanners and up to
Four slot, Ethernet. Charges up to four scanners and up to
Ethernet Cradle Connections on page 6
).
Accessories
• Power supply (p/n 50-14000-241R or PWRS-14000-241R) and DC cable
(p/n 50-16002-029R) for desk/wall mounting configuration.
Optional:
• DC split cable (p/n 25-121355-01R); when daisy chaining, allows one power
supply for two cradles.
• Four screws for wall mounting (not available from Zebra).
Related Documentation
• MT2070/ MT2090 Quick Start Guide - describes how to get the scanner up and
running (p/n 72-117308-xx).
• MT2070/ MT2090 User Guide - describes how to use the scanner (p/n
72E-117859-xx).
• MT2070/ MT2090 Integrator Guide - describes how to set up the scanner and
accessories (72E-117858-xx).
• Enterprise Mobility Developer Kit (EMDK) Help File - provides API information
for writing applications.
Unpacking
Carefully remove all protective material from around the equipment and inspect it
for damage. If any equipment is missing or damaged in transit, contact Zebra
Support. KEEP THE PACKING. It is the approved shipping container and should
be used if the equipment ever needs to be returned for servicing.
Mounting Templates
Refer to the Integrator Guide for mounting templates.
4 STB2000-C40007R/STB2000-C40017R Cradles
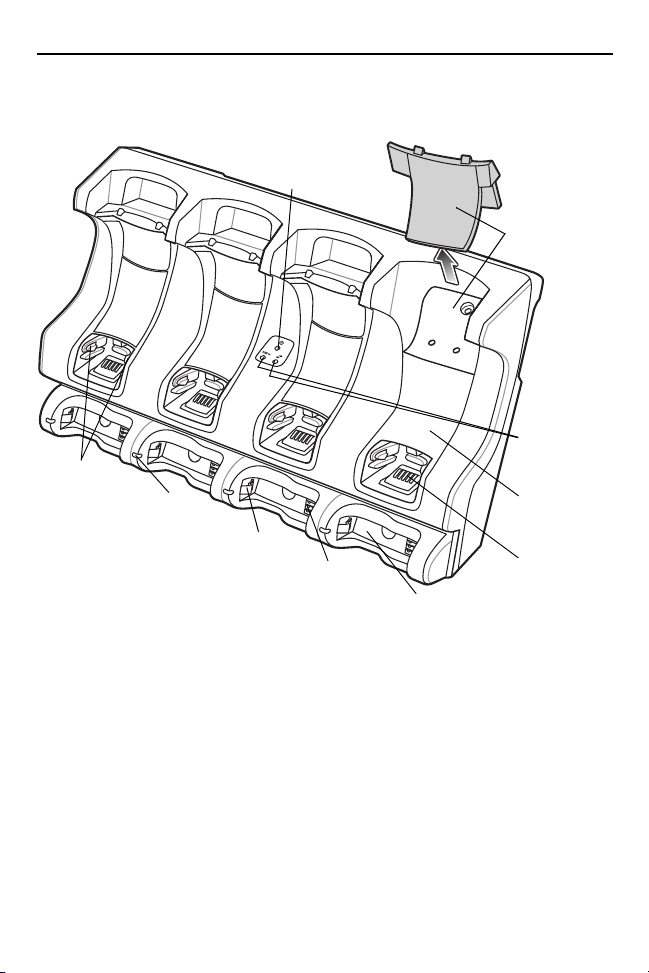
Scanner
Well
(four)
Battery Well (four)
Wall
Mounting
Latches (two
in each
scanner well)
Charging/
Communication
Contacts
Battery
Charging
LED (four)
Interchangeable
Desk/Wall
Mount Cup
(four)
Battery
Charging
Contacts
Ethernet
Activity LEDs
(Ethernet
cradle only)
Cradle
Power
LED
Battery
Retention
Latch
Features
Front
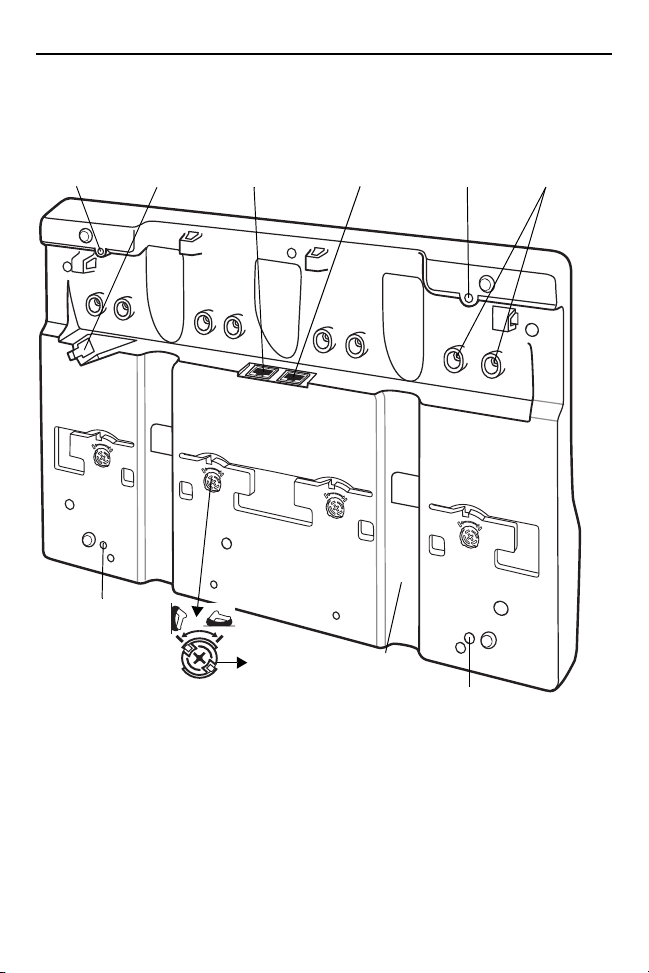
Quick Reference Guide 5
Power Port
Wall Mount
Conversion
Dial
Secondary
Ethernet port for
daisy chain
(Ethernet cradle
only)
Primary
Ethernet Port
(Ethernet
cradle only)
Cable Well
(2)
Wall Mount
Cup Screws
Mounting
Hole
Mounting
Hole
Mounting
Hole
Mounting
Hole
Back
Four Slot Charge Only Cradle Connections
1. Connect the power supply to the cradle’s power port.
2. If applicable, secure the cables into the cable well in the back of the cradle.
3. Connect the power supply to an AC power source with the appropriate AC line
cord.
 Loading...