

Page 1
Owner’s Manual
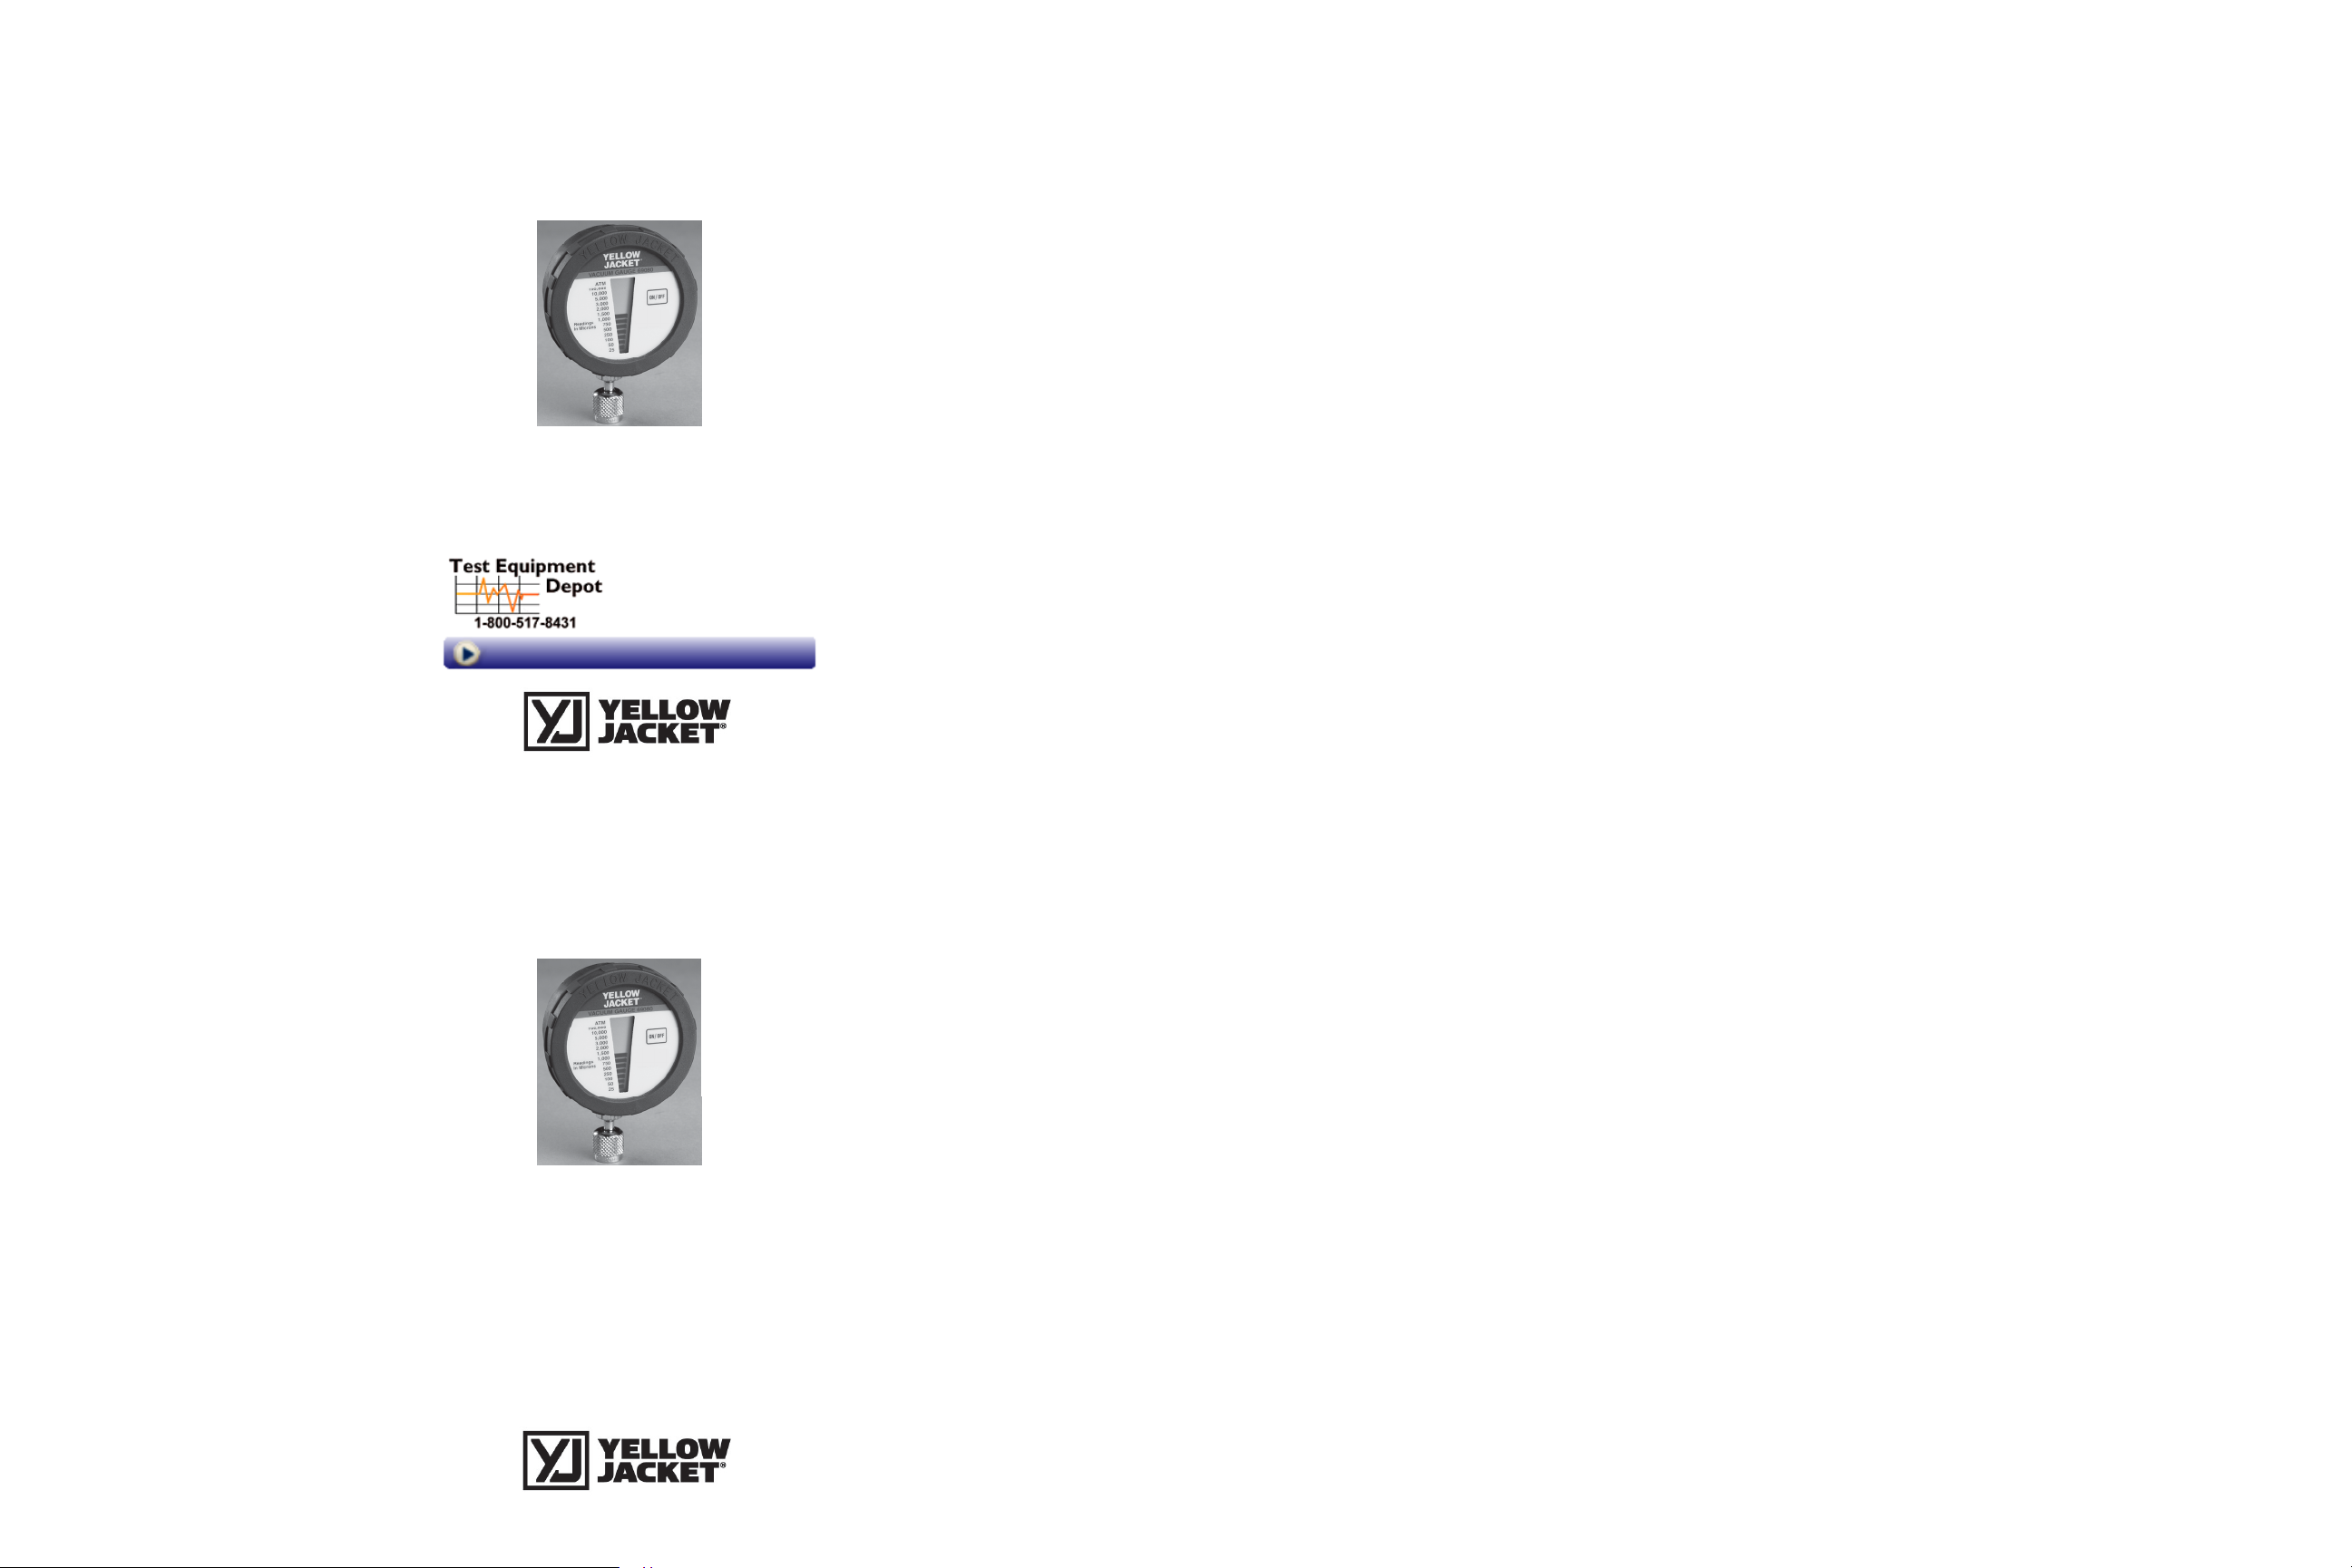
LCD Vacuum Gauge
Model 69080
Features
• Quick and simple
operation
• 14 vacuum levels
(Atmosphere to 25
microns)
• Long battery life
• 20 minute auto-off
Specifications
Battery: 9 volt alkaline
Battery Life: Approximately 25 hours of continuous use.
Low Battery Indicator: The lit segments will blink when the battery
is low.
Visit us at www.TestEquipmentDepot.com
P/N 180293
99 Washington Street
Melrose, MA 02176
Phone 781-665-1400
Toll Free 1-800-517-8431
Package Contents
• Vacuum Gauge
• Operating
instruction manual
• Battery (installed)
• Detachable hook
• Tee fitting for in
-line
measurements
OPERATING INSTRUCTIONS
B
attery Installation
Remove the battery compartment cover screw and remove the cover. Observing the polarity
marking, press the battery into the compartment. Replace battery compartment cover and
screw.
Basic Set-up Sequence
1. Connect the gauge to a dry part of the system. The sensor will not work if it becomes
filled with system oil.
2. Turn on the gauge. All bars will light initially. Begin the evacuation. The first (top) bar
of the display will disappear when the vacuum reaches approximately 100,000 microns.
3. The gauge will shut-off on its own after approximately 20 minutes. When the gauge is
turned back on, it will take approximately 30 seconds for the sensor to warm-up and
the true reading to appear.
Tips for best evacuation and gauge performance
When pulling a vacuum take the following steps: If the reading on the Yellow Jacket pump
built-in gauge stays in the mid range, there is either high contamination or a large leak in the
system. (Throughout the process, remember the refrigerant recovery laws.)
If you think there is excessive moisture, blow out the AC&R system with dry nitrogen wherever possible. This reduces the amount of contaminants that must be pulled into the pump,
and increases evacuation speed.
Cleaning the sensor
Use Isopropyl Alcohol to clean the sensor.
Add alcohol to sensor, cover with thumb and shake like a test tube. Pour solution out noting
amount of oil in alcohol. If sensor is very oily you may need to repeat process.
You can remove the Schrader core depressor for cleaning but it must be put back in. Use a
needle-nose pliers.
Troubleshooting
• Flashing display: Battery is low - replace the battery.
• No display: Check battery – verify battery polarity and make sure battery is making good
contact with the spring terminals.
• Erroneous vacuum readings: Sensor may be contaminated – clean the sensor.
Technical Information
mportance and method for avoiding contamination of the sensor
The i
The most common problem affecting the operation of electronic vacuum gauges is sensor
contamination. Oil and other contaminants in the sensor area may affect the sensor’s
ability to detect changes in vacuum level. All electronic vacuum gauges are subject to oil
contamination.
Oil contamination is usually avoidable and is not covered under warranty. Oil is present in
all AC/R systems and can be drawn out of a system during evacuation. It is best to remove the access fitting core with a YELLOW JACKET
pull the system below 28” Hg before connecting the electronic vacuum gauge to the side
port on the valve. This will allow you to properly isolate the system from the pump as well
as reducing the chance of contaminating the sensor with oil from either the system or the
vacuum pump.
If your 69080 vacuum gauge has been contaminated with oil, you will see signs of oil in
the rubber seal at the end of the sensor. The vacuum readings will also be higher than
expected. In some cases of extreme contamination the display will not go below atmospheric pressure.
The 69080 vacuum gauge sensor can usually be cleaned with isopropyl alcohol. Always
wear safety glasses when working with chemicals. Add alcohol to the sensor, cover with
thumb, and shake like a test tube. Pour solution out, noting amount of oil in mixture. If
sensor is very oily, you may need to repeat the process. You may remove the Schrader
core depressor for cleaning, but it must be put back in. Use a needle-nose pliers.
To keep your 69080 vacuum gauge accurate, it is best to avoid oil contamination. Here
are some recommendations to avoid contamination:
1.
Inspect fitting for signs of oil before connecting the 69080 vacuum gauge.
2. Keep the sensor vertical when possible.
Connect the gauge directly to the system, away from the pump.
3.
4. Isolate the pump from the system (and the gauge) with a valve before turning the
pump off.
This is very important when the gauge is mounted near the pump.
®
18975 Vacuum Charge Valve and
Owner’s Manual
LCD Vacuum Gauge
Model 69080
Features
• Quick and simple
operation
• 14 vacuum levels
(Atmosphere to 25
microns)
• Long battery life
• 20 minute auto-off
Specifications
Battery: 9 volt alkaline
Battery Life: Approximately 25 hours of continuous use.
Low Battery Indicator: The lit segments will blink when the battery
is low.
P/N 180293
Package Contents
• Vacuum Gauge
• Operating
instruction manual
• Battery (installed)
• Detachable hook
• Tee fitting for in
-line
measurements
OPERATING INSTRUCTIONS
B
attery Installation
Remove the battery compartment cover screw and remove the cover. Observing the polarity
marking, press the battery into the compartment. Replace battery compartment cover and
screw.
Basic Set-up Sequence
1. Connect the gauge to a dry part of the system. The sensor will not work if it becomes
filled with system oil.
2. Turn on the gauge. All bars will light initially. Begin the evacuation. The first (top) bar
of the display will disappear when the vacuum reaches approximately 100,000 microns.
3. The gauge will shut-off on its own after approximately 20 minutes. When the gauge is
turned back on, it will take approximately 30 seconds for the sensor to warm-up and
the true reading to appear.
Tips for best evacuation and gauge performance
When pulling a vacuum take the following steps: If the reading on the Yellow Jacket pump
built-in gauge stays in the mid range, there is either high contamination or a large leak in the
system. (Throughout the process, remember the refrigerant recovery laws.)
If you think there is excessive moisture, blow out the AC&R system with dry nitrogen wherever possible. This reduces the amount of contaminants that must be pulled into the pump,
and increases evacuation speed.
Cleaning the sensor
Use Isopropyl Alcohol to clean the sensor.
Add alcohol to sensor, cover with thumb and shake like a test tube. Pour solution out noting
amount of oil in alcohol. If sensor is very oily you may need to repeat process.
You can remove the Schrader core depressor for cleaning but it must be put back in. Use a
needle-nose pliers.
Troubleshooting
• Flashing display: Battery is low - replace the battery.
• No display: Check battery – verify battery polarity and make sure battery is making good
contact with the spring terminals.
• Erroneous vacuum readings: Sensor may be contaminated – clean the sensor.
Technical Information
mportance and method for avoiding contamination of the sensor
The i
The most common problem affecting the operation of electronic vacuum gauges is sensor
contamination. Oil and other contaminants in the sensor area may affect the sensor’s
ability to detect changes in vacuum level. All electronic vacuum gauges are subject to oil
contamination.
Oil contamination is usually avoidable and is not covered under warranty. Oil is present in
all AC/R systems and can be drawn out of a system during evacuation. It is best to remove the access fitting core with a YELLOW JACKET
pull the system below 28” Hg before connecting the electronic vacuum gauge to the side
port on the valve. This will allow you to properly isolate the system from the pump as well
as reducing the chance of contaminating the sensor with oil from either the system or the
vacuum pump.
If your 69080 vacuum gauge has been contaminated with oil, you will see signs of oil in
the rubber seal at the end of the sensor. The vacuum readings will also be higher than
expected. In some cases of extreme contamination the display will not go below atmospheric pressure.
The 69080 vacuum gauge sensor can usually be cleaned with isopropyl alcohol. Always
wear safety glasses when working with chemicals. Add alcohol to the sensor, cover with
thumb, and shake like a test tube. Pour solution out, noting amount of oil in mixture. If
sensor is very oily, you may need to repeat the process. You may remove the Schrader
core depressor for cleaning, but it must be put back in. Use a needle-nose pliers.
To keep your 69080 vacuum gauge accurate, it is best to avoid oil contamination. Here
are some recommendations to avoid contamination:
1.
Inspect fitting for signs of oil before connecting the 69080 vacuum gauge.
2. Keep the sensor vertical when possible.
Connect the gauge directly to the system, away from the pump.
3.
4. Isolate the pump from the system (and the gauge) with a valve before turning the
pump off.
This is very important when the gauge is mounted near the pump.
®
18975 Vacuum Charge Valve and
 Loading...