


Firmware Update Procedure for
CRX-N560/N560D (MCR-N560/MCR-N560D)
IMPORTANT NOTICE
Follow the instructions carefully and do not attempt any other procedures not specified in the
instructions provided by Yamaha.
Improperly updated products may cause improper operation, and any parts or service required to
restore proper operation will not be covered under the Yamaha Limited Warranty.
Choose from the following 2 methods to update to the latest firmware.
Click here for Firmware Update Through the Internet
(Connection to the Internet is required)
Click here for Firmware Update by USB
(A USB thumb drive is required)
In case of error, see the Troubleshootin g section
[ 1. Firmware Update Through the Internet ]
Requirements:
Your network CD receiver is connected to the Internet if you can receive
Internet radio stations. (See owner’s manual for details)
STEP 1 Power on the unit and enter option setting s
Press OPTION button on the remote control.
STEP 2 Start Update
Using the UP/DOWN buttons, select menu “System Config”
and press ENTER button. After that, select “Firm Update” using
UP/DOWN buttons and press Enter button.
Initially, “Network” is flashing on the display.
To perform network update, select “Network” and press Enter button.
(Update in progress…)
UP
DOWN
OPTION
ENTER
Firmware Update Procedure for
CRX-N560/N560D (MCR-N560/MCR-N560D)
note:
DO NOT
In case the power is accidentally cut off, the network player will restore original
firmware. Perform the update procedure from STEP 1 again.
interrupt the power or press any buttons during the update.
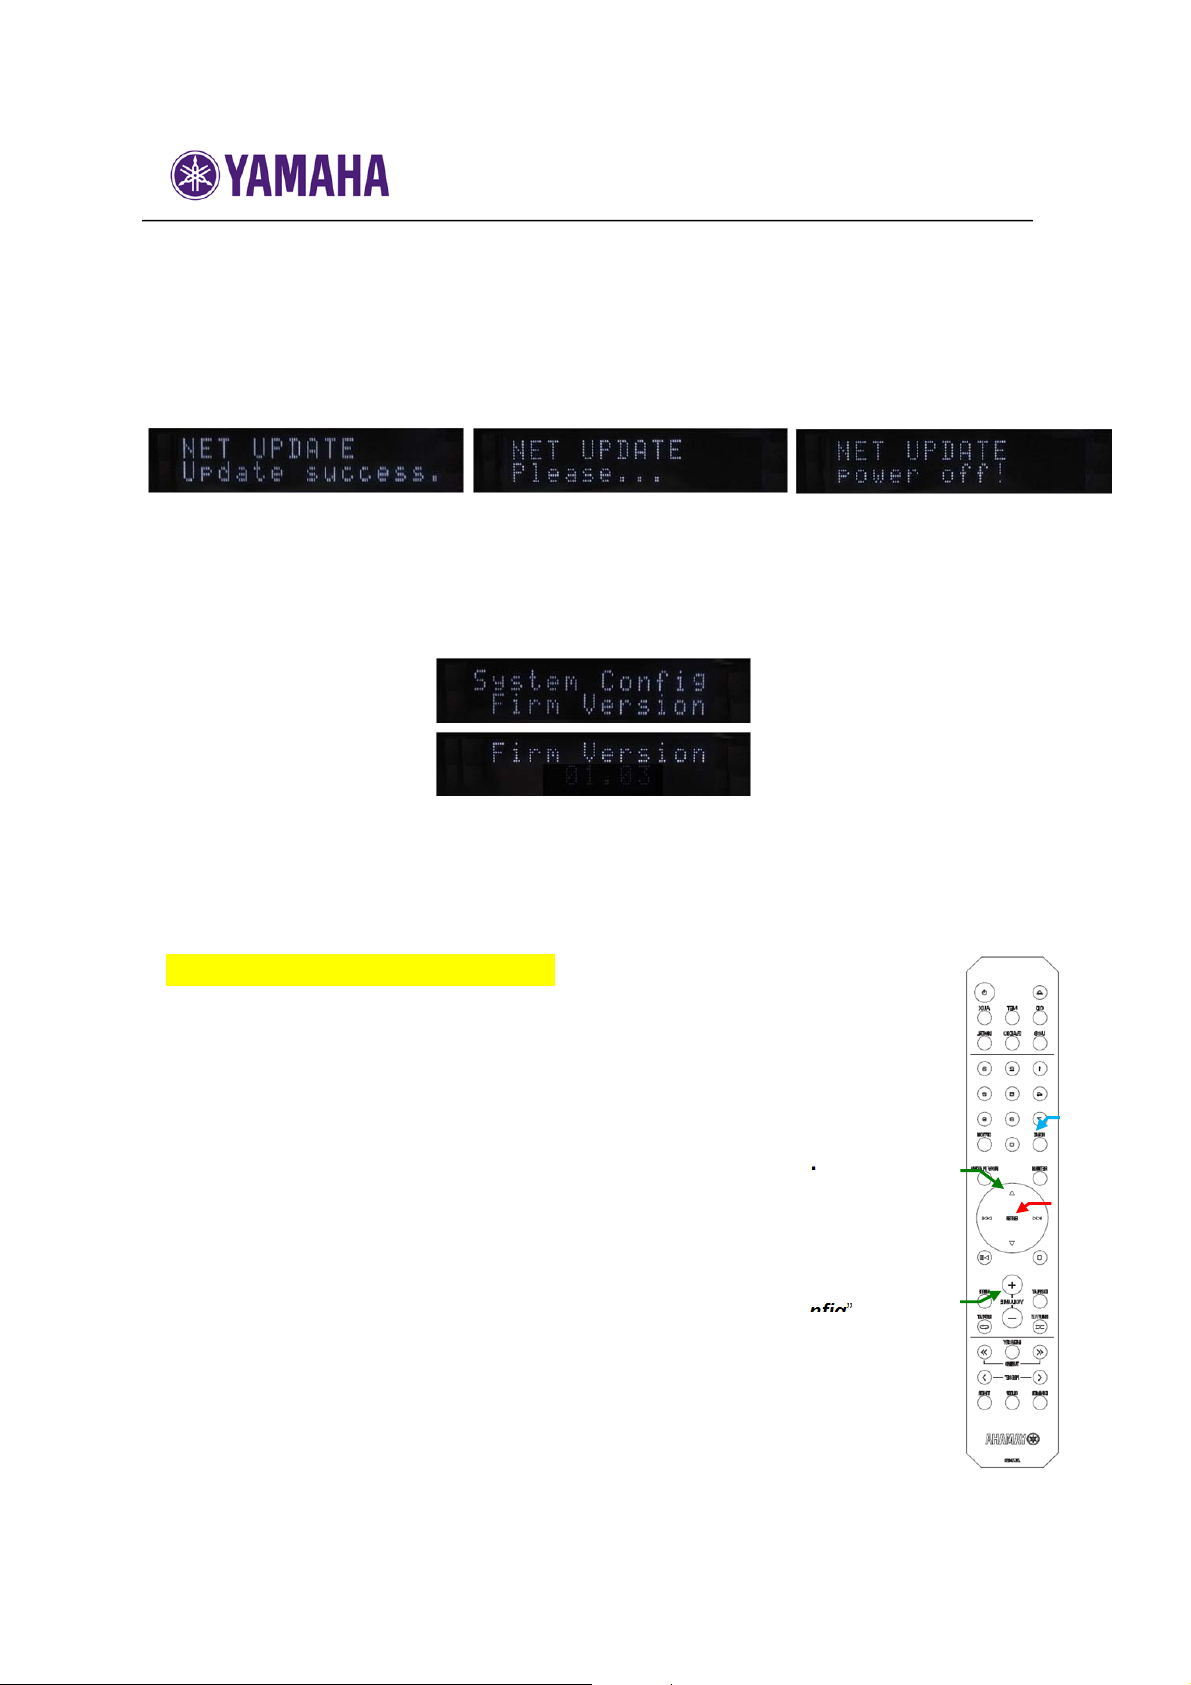
Update is completed when “
displayed alternately. Then, power off the unit.
Update success.
”, “
Please…
STEP 3 Confirm updated firmware version
Power on and press the
“
System Config
Version
been updated.
” accordingly. Press
” using the
OPTION
UP/DOWN
ENTER
button on the remote control and select
buttons. Press
again to confirm that the firmware version has
ENTER
XXX.XX
(XX.XX shows actual firmware version.)
(X
Congratulations!
You have completed the firmware update. Your player is ready for normal use.
[ 2. Firmware Update by USB ]
Requirements:
・
USB thumb drive, with enough free space to store the firmware.
(
File system with FAT16 or FAT32 format)
・
Firmware file provided by Yamaha.
STEP 1 Insert the USB thumb drive on the front panel.
STEP 2 Power on the unit and enter option setting s
Press
OPTION
STEP 3 Start Update
Using the
and press
UP/DOWN
button on the remote control.
UP/DOWN
ENTER
buttons and press
buttons, select menu “
button. After that, select “
Enter
System Config
Firm Update
button.
”, “
power off!
and select “
”
” using
” is
Firm
OPTION
UP
ENTER
DOWN
 Loading...