

Page 1
Specification additions/changes for Yamaha CL5/CL3/CL1 V1.02
Thank you for choosing a Yamaha CL series CL5/CL3/CL1 Digital Mixing Console.
With the CL series firmware version 1.02, some specifications have added or changed since the publication of
the Owner’s Manual and Reference Manual. This manual contains descriptions of the added and changed
specifications.
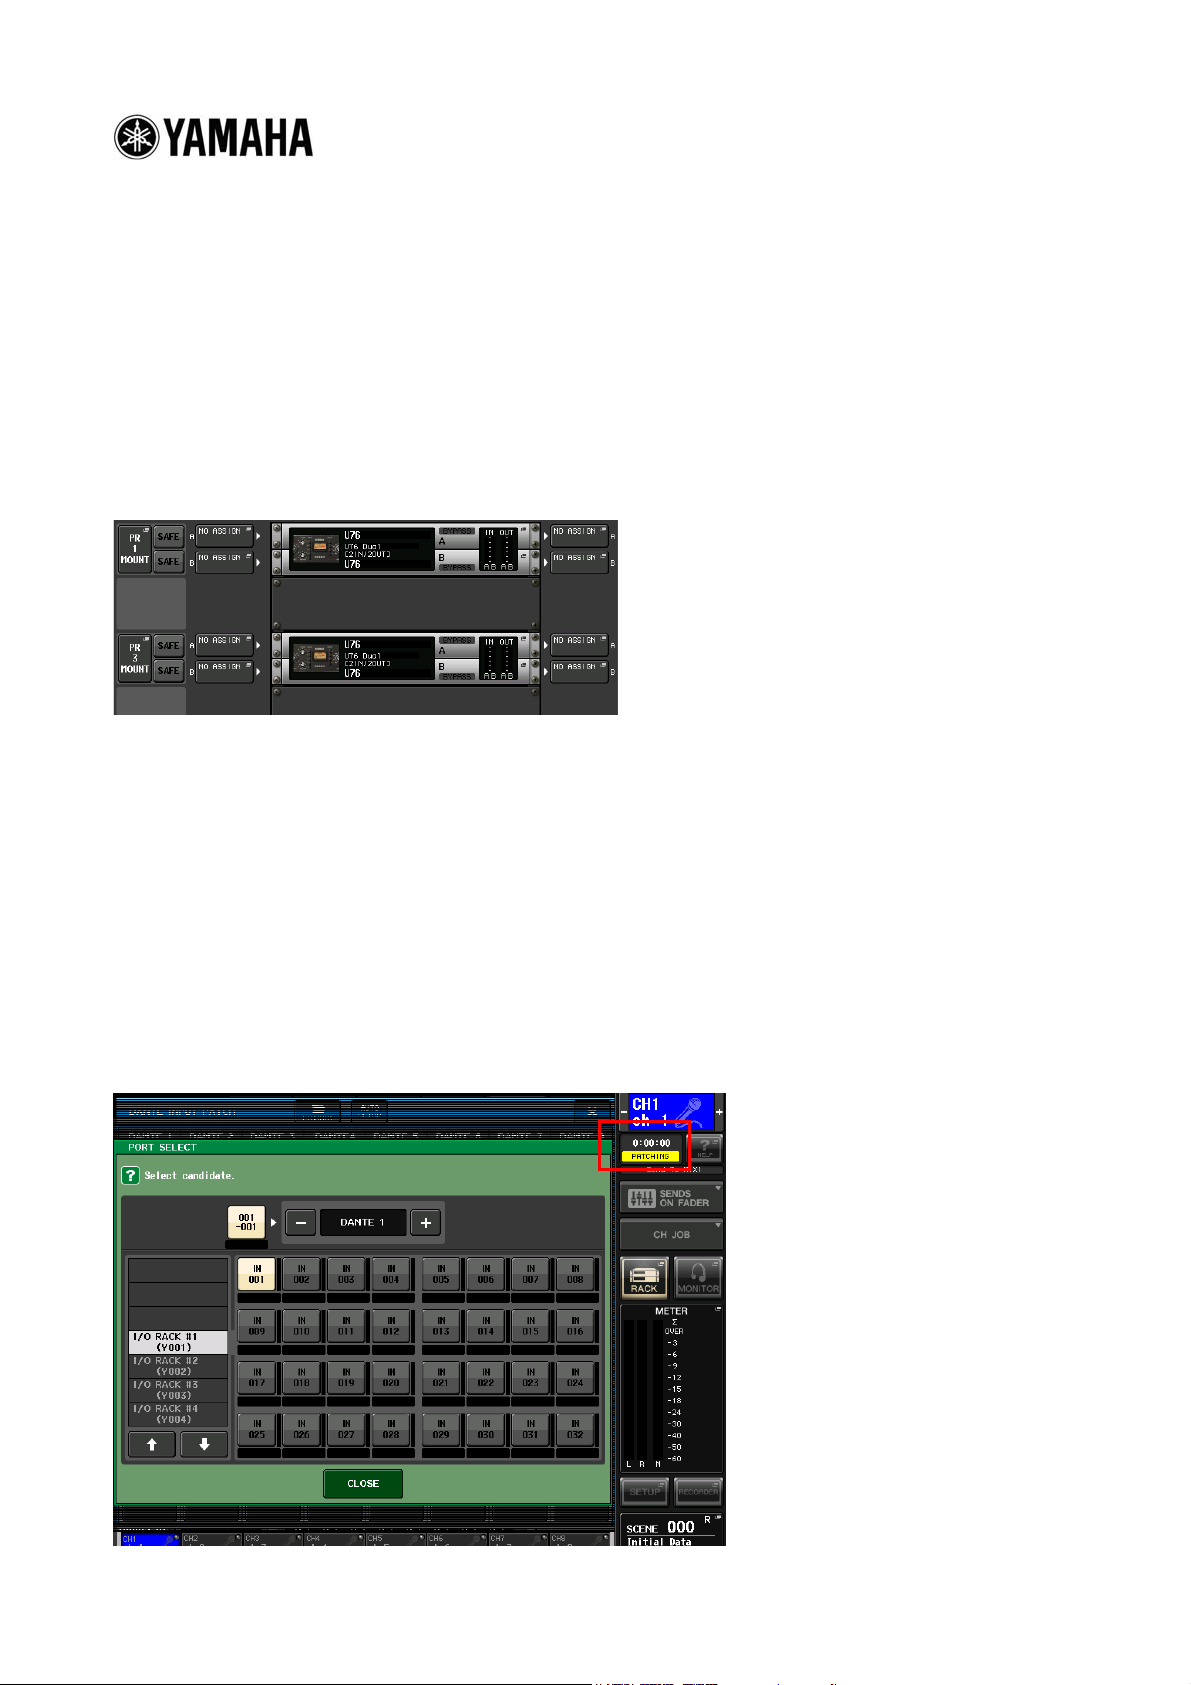
Mounting limitation for two-space Premium Rack processor
(Reference Manual, p. 127)
A two-space Premium Rack processor (U76) can be mounted only in an odd-numbered rack.
Addition of PATCHING indicator
(Reference Manual, p. 136)
A PATCHING indicator has been added to the Function Access Area.
The PATCHING indicator appears when a DANTE INPUT PATCH setting or an I/O RACK OUTPUT PATCH
setting is changed. While this indicator is lit, a DANTE INPUT PATCH setting or an I/O RACK OUTPUT
PATCH setting cannot be changed continuously.
Page 2
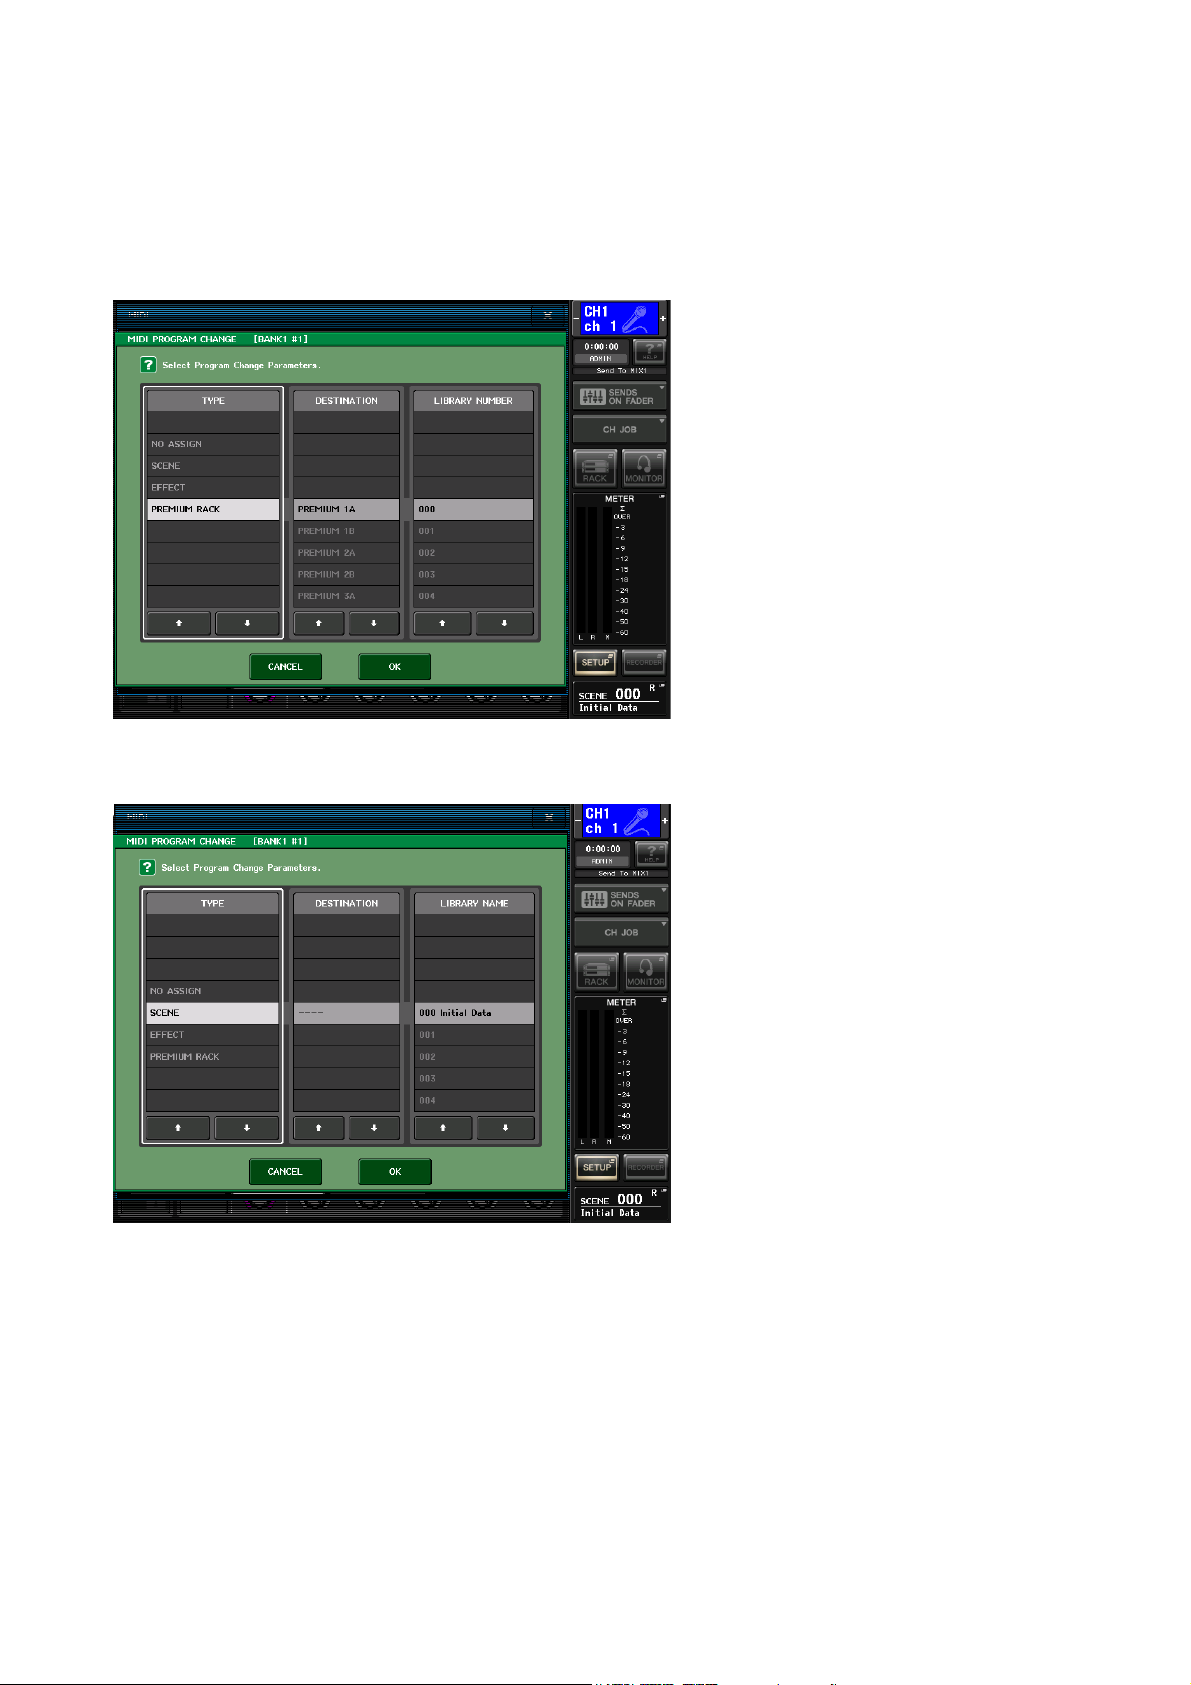
Using a Premium Rack with the MIDI PROGRAM CHANGE popup window
(Reference Manual, p. 148)
The procedure for using a Premium Rack has changed for the MIDI PROGRAM CHANGE popup window.
If you have selected PREMIUM RACK in the TYPE field, you can select the rack number in the
DESTINATION field and the library number in the LIBRARY NUMBER field.
The DESTINA
TION field and LIBRARY NAME field also appear when you select SCENE in the TYPE field.
Page 3

Addition of options when loading a settings file
(Reference Manual, p. 170)
In the SAVE/LOAD popup window, you can select whether or not to load Dante settings while loading a
settings file.
DANTE SETUP AND I/O RACK button
WITH
When you turn off the button, settings related to DANTE SETUP and the I/O rack are excluded when the
settings file is loaded.
NOTE
The SECONDARY PORT and CONSOLE ID settings in the DANTE SETUP popup window are not changed,
even if the WITH DANTE SETUP AND I/O RACK button is on.
Display of version information
(Reference Manual, p. 184)
Version information has been added to the SETUP screen, which is accessed by pressing the SETUP button
in the Function Access Area.
The following items appear.
BATTERY: Status of the internal battery (Normally YES; LOW or NO when the battery runs down)
POWER SUPPLY: Whether the currently running power supply is internal (INT) or PW800 (EXT)
MAIN: Version number of main CPU
SUB: Version number of sub CPU
DANTE: Version number of DANTE module
Page 4

Operation when changing NETWORK settings
(Reference Manual, p. 191)
After changing settings in the NETWORK popup window, which is accessed by pressing the SETUP button in
the Function Access Area, then pressing the NETWORK button, the CL series must be restarted.
NOTE
The NETWORK setting is not changed, even if the CL series is initialized.
Operation when changing settings in the DANTE SETUP popup window
(Reference Manual, p. 198)
● When settings have been changed in the DANTE SETUP popup window, the ACCESS indicator lights while
the setting changes are stored on the unit.
The ACCESS indicator lights when settings for the following are changed.
- Parameters in the DANTE SETUP screen
- Parameters in the WORD CLOCK screen
- Patch settings, Library operations, and AUTO SETUP button operations in the DANTE INPUT PATCH
popup window
- Parameters in the OUTPUT tab of the I/O RACK screen
In order to apply changes to settings in the DANTE SETUP popup window, the unit must be turned off, then
on again; however, turn the unit off after the ACCESS indicator turns off.
● If the SECONDARY PORT setting or the IDs for the CL series or the I/O rack in the DANTE SETUP popup
window has been changed, the units must be turned off, then on again. Follow the steps below to perform the
operation.
NOTE
The SECONDARY PORT and CONSOLE ID settings are not changed, even if the CL series is initialized.
Changing the SECONDARY PORT setting
1. Unplug th
NOTE
When changing the SECONDARY PORT setting, the network topology for the CL series and I/O rack
must also be changed. For example, if the setting is changed to DAISY CHAIN while leaving the
connection for the REDUNDANT setting, it will no longer be possible to transmit audio. Before changing
e Ethernet cable from the Dante connectors on the CL series and I/O rack.
the setting, first disconnect the cables.
2. Confirm the SECONDARY PORT setting for the CL series and the DIP switch setting on the I/O
rack.
3. Turn the CL series and I/O rack off, then on again.
Page 5

4. After waiting about 1 minute, plug the Ethernet cable into the Dante connector on the I/O rack,
and then wait about 20 seconds before plugging the Ethernet cable into the Dante connector on the
CL series.
Changing the ID
1. T
urn off the CL series.
2. Turn the I/O rack off, then on again.
3. Wait about 1 minute, and then turn on the CL series.
NOTE
If the CL series cannot be turned off, unplug the Ethernet cable from the Dante connector on the I/O rack,
turn off the I/O rack while it is disconnected from the network, then turn it on again, and then wait about 1
minute before connecting the Ethernet cable.
Page 6

I/O rack settings for scene recall
(Reference Manual, p. 198)
For each CL series unit, you can specify which I/O rack the information saved on the CL series will be applied
to when the CL series is started up and when a scene is recalled. When there are multiple CL series units,
specify the settings so that a scene is recalled to an I/O rack from only one CL series.
Follow the steps below.
1. In the Function Access Area, press the SETUP button.
2. Press the DANTE SETUP button to access the DANTE SETUP popup window.
3. In the DE
VICE TYPE list, set the DEVICE TYPE for the I/O rack that you want recalled from the
currently selected CL series to an I/O rack indicated by “(w/RECALL)”.
4. In the same way, for other CL series units, specify the DEVICE TYPE setting to set whether or not a
scene is recalled to an I/O rack.
NOTE
・ General network settings (BIT/LATENCY/W. CLOCK) from the CL series where CONSOLE ID is set to #1
are applied globally.
・ The head amp of the I/O rack can even be operated from a CL series where “(w/RECALL)” is not set.
・ An I/O rack where “(w/RECALL)” is set for one CL series cannot be set with “(w/RECALL)” for a different
CL series.
C.S.G., Pro Audio Division
©2012 Yamaha Corporation
205YJ-A0
 Loading...