

Xerox CopyCentre 238, CopyCentre 265, CopyCentre 245, CopyCentre 255, CopyCentre 275 Supplementary Manual
...
CopyCentre, WorkCentre, WorkCentre Pro
232, 238, 245, 255, 265, 275
Tab Creation Supplement
Version 3.0
November 2005

Prepared by:
Xerox
GKLS European Operations
Bessemer Road
Welwyn Garden City
Hertfordshire
AL7 1HE
ENGLAND
©2005 by Xerox Corporation. All rights reserved.
Copyright protection claimed includes all forms and matters of copyrighted material and
information now allowed by statutory or judicial law or hereinafter granted, including without
limitations, material generated from the software programs which are displayed on the screen,
such as icons, screen displays, looks etc.
®
Xerox
Corporation. Product names and trademarks of other companies are hereby acknowledged.
Changes, technical inaccuracies and typographical errors will be corrected in subsequent
editions.
, and all Xerox products mentioned in this publication are trademarks of Xerox
1 Introduction
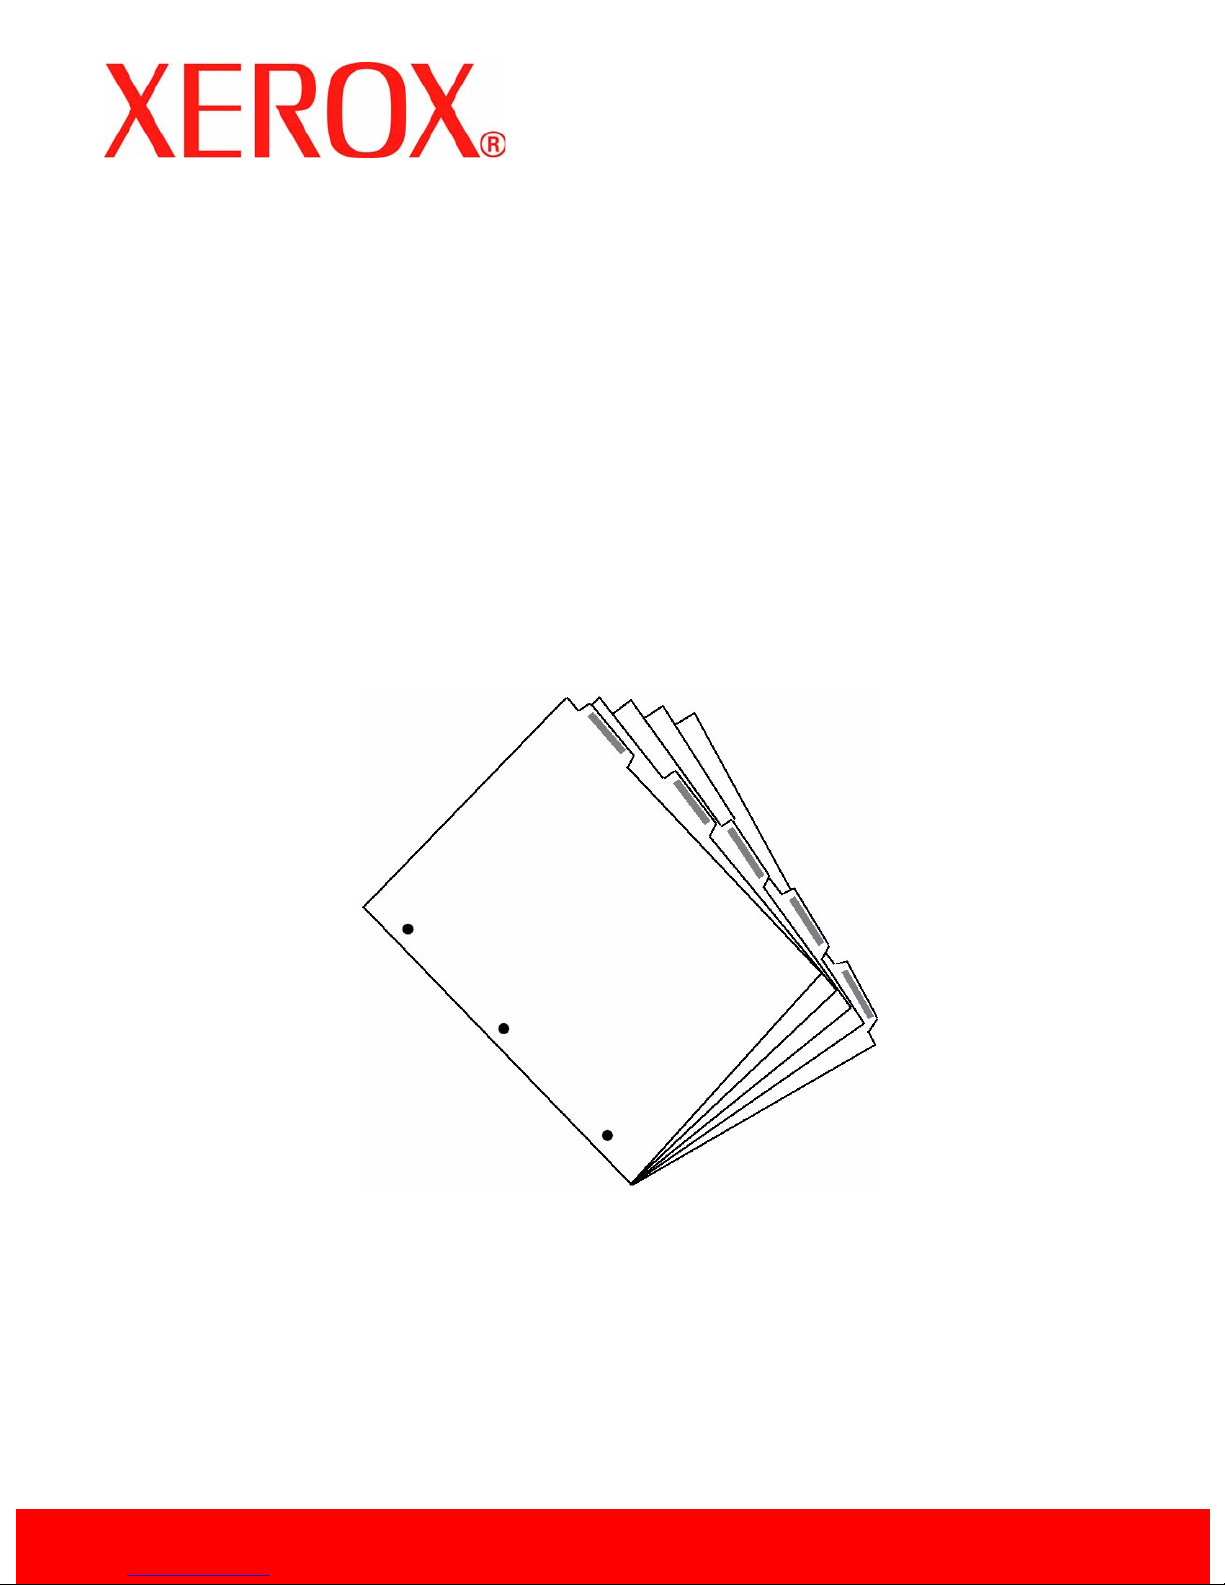
This supplement is intended to help you to create copied and printed documents with
printed tab dividers.
Tab creation overview
Your system is capable of automatically creating copies or prints with covers, inserts or
printed tabs so that subsequent manual sorting is not required.
Printed jobs
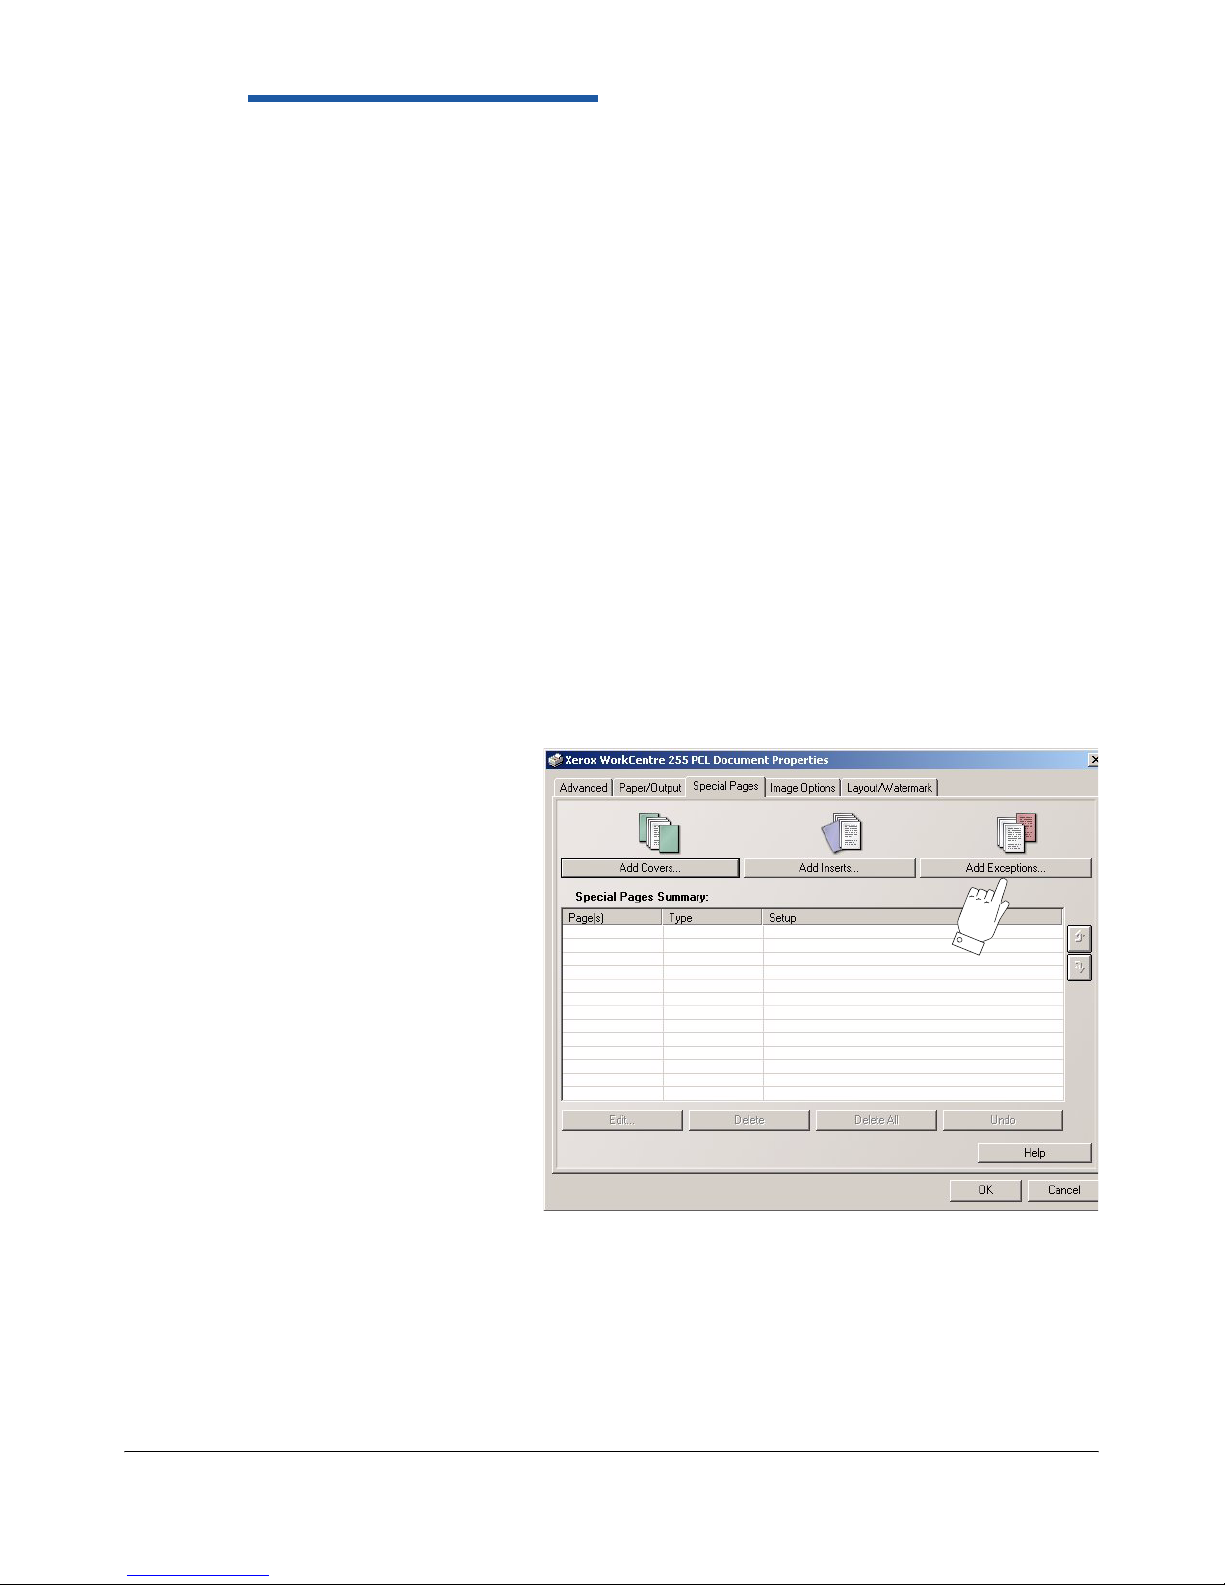
For printed jobs, tabs are enabled from the Special Pages tab in the print driver:
• To add blank or pre-printed tab stock use the Add Inserts... option
• To add tab stock and print onto the tabs use the Add Exceptions... option
Add Exceptions is a very
powerful tool and enables
each page of your
document to be printed
with different output
settings such as 1 or 2 sided or different stock.
This is the feature used to
insert and print onto tab
dividers.
Xerox CopyCentre, WorkCentre, WorkCentre Pro 232/238/245/255/265/275 Tab Supplement 1
1 Introduction
Copied jobs
The Insert feature is used for producing copied sets with imaged or non-imaged tab
dividers.
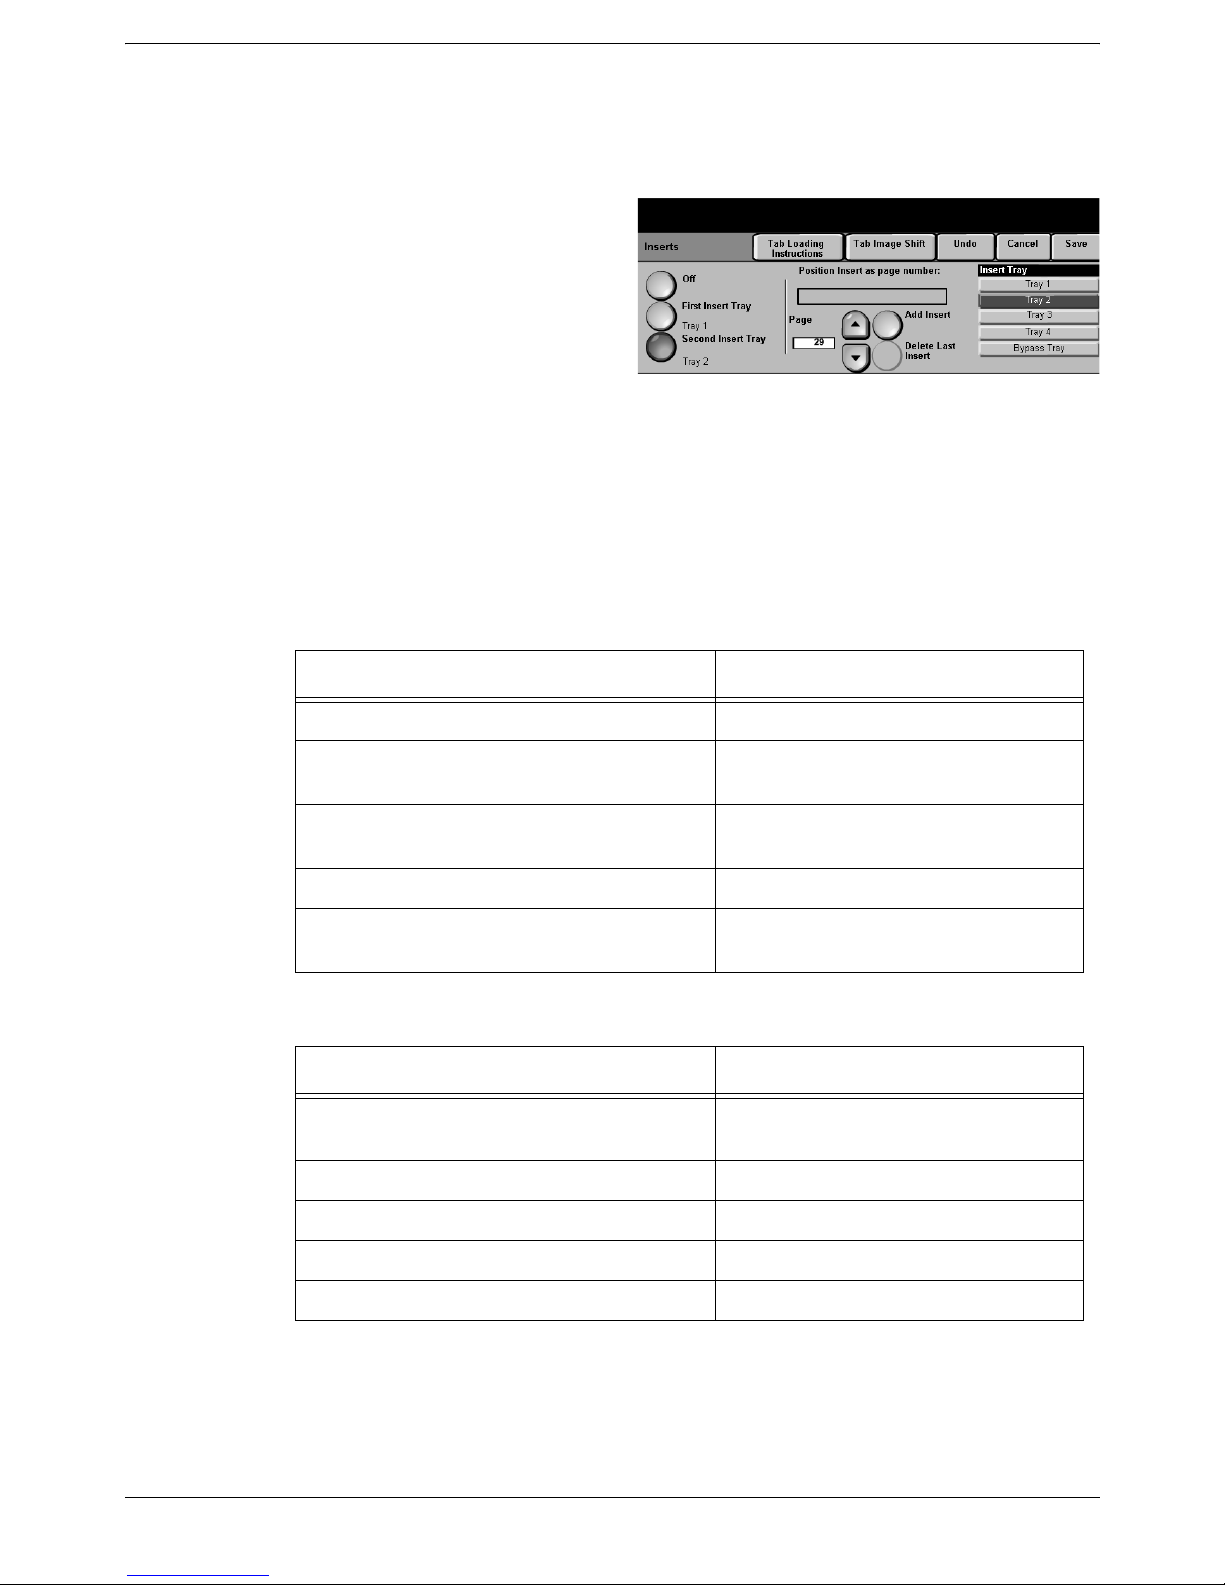
This feature, located on the
Basic Copying, Job Assembly
tab enables you to insert tab
stock into your copied sets and
print onto the tabs.
5, 19,
The screen contains instructions
for loading the tab stock into the
paper trays and the controls for
selecting the position of your tab stock in your final sets.
The Job Build feature is used to:
– copy jobs that exceed 70 pages
– copy an original document that has tab dividers.
Using this supplement
The instructions in this booklet will help you print and copy tab dividers:
Type of Job Go to section...
Copy onto tabs only Copying onto tabs – page 7
Copy onto tabs automatically collated into the
copied sets
Make a copy of a document that has printed
tab dividers
Print onto tabs only Printing onto tabs – page 14
Print onto tabs as automatically collated into
the printed sets
Copying onto tabs – page 7
Copying using Build Job – page 12
Printing onto tabs – page 14
Specifications
Parameter
Paper Trays Tab stock can only be loaded into
Tab Stock Sizes A4, 8.5 x11 inches (9 x 11 inches)
Specification
the Bypass Tray, Tray 1 or Tray 2
Number of tabs per set 40
Number of tab positions up to 5
Weight of tab stock 200 g/m² or 53lb stock
2 Xerox CopyCentre, WorkCentre, WorkCentre Pro 232/238/245/255/265/275 Tab Supplement
2 Setup
This chapter describes:
– how to load tab stock into the paper trays
– how to create tab masters
Loading tab stock into the paper trays
This procedure is the same for both copying and printing onto tab stock.
Note:
– tab stock can be loaded into either the Bypass Tray, Tray 1 or Tray 2.
– The stock you are using for the body of the document should be loaded into
Trays 3 or 4.
– The tab stock and the body stock MUST be the same size and orientation.
Use 8.5 x 11 inch paper with 9 x 11 inch tab stock or A4 paper with A4 tab
stock in the same orientation.
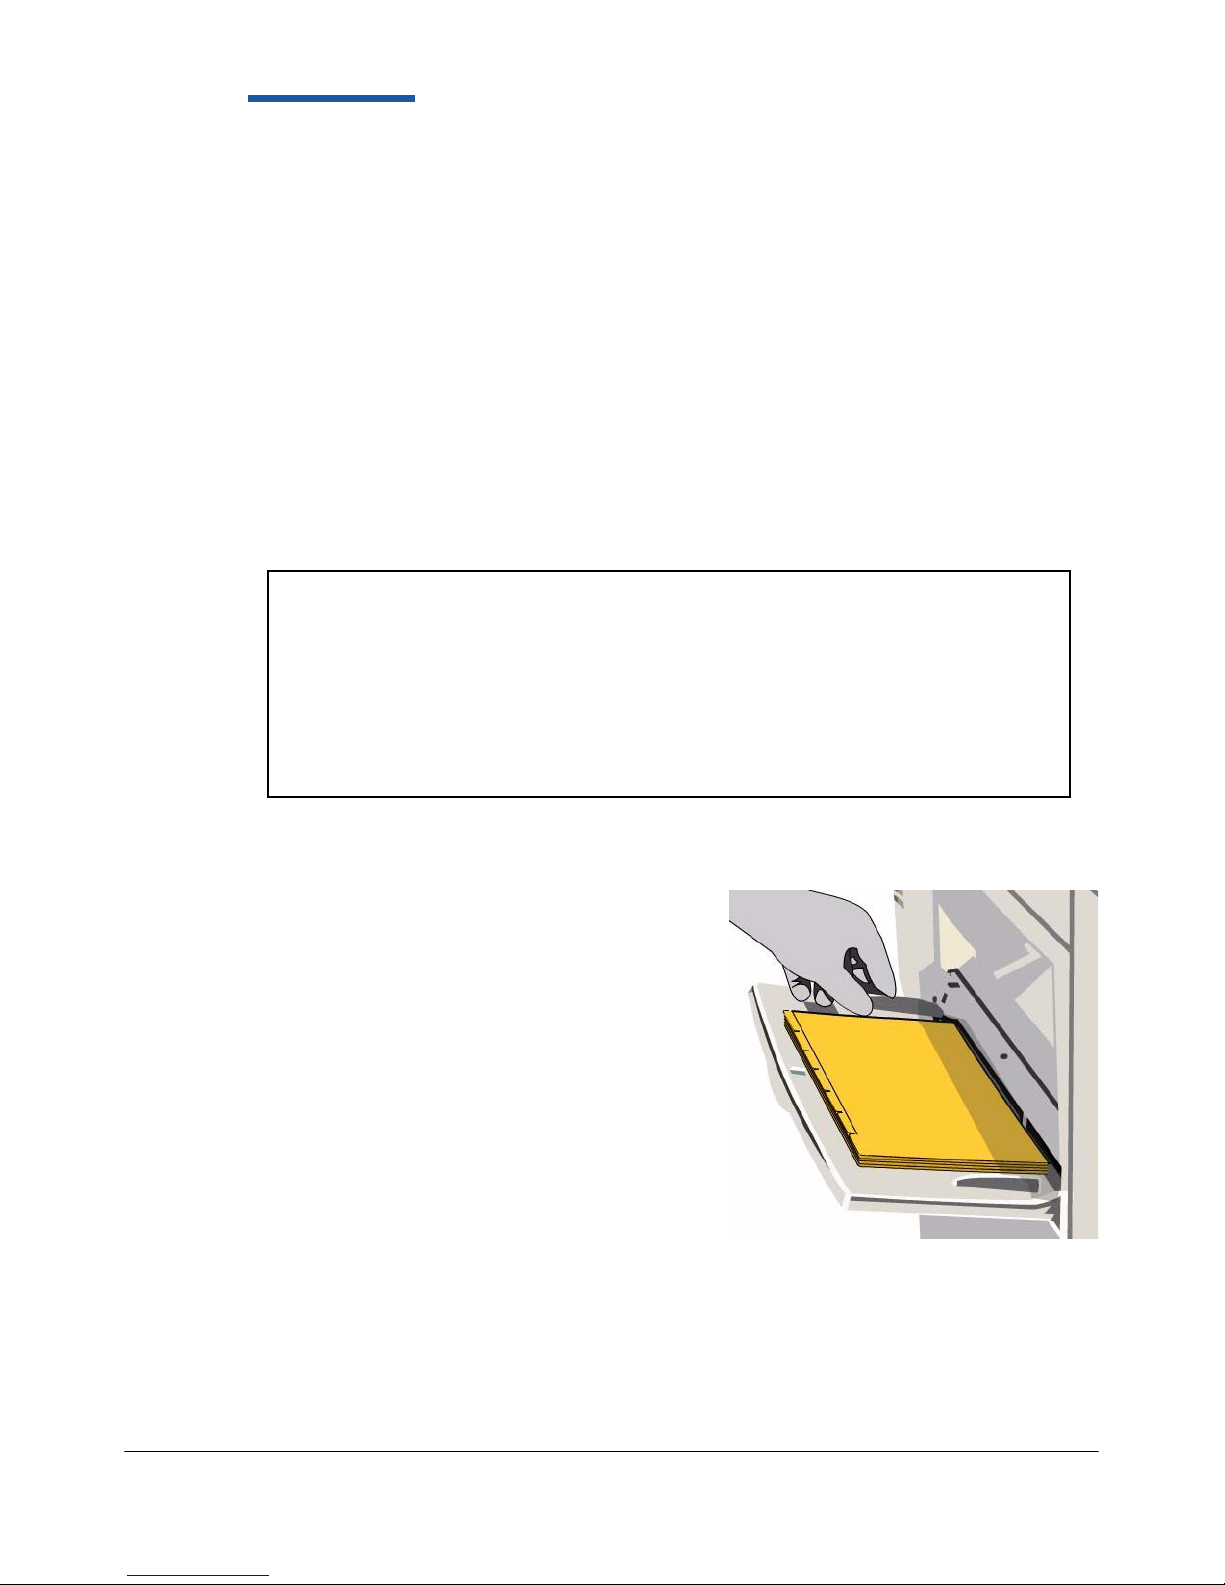
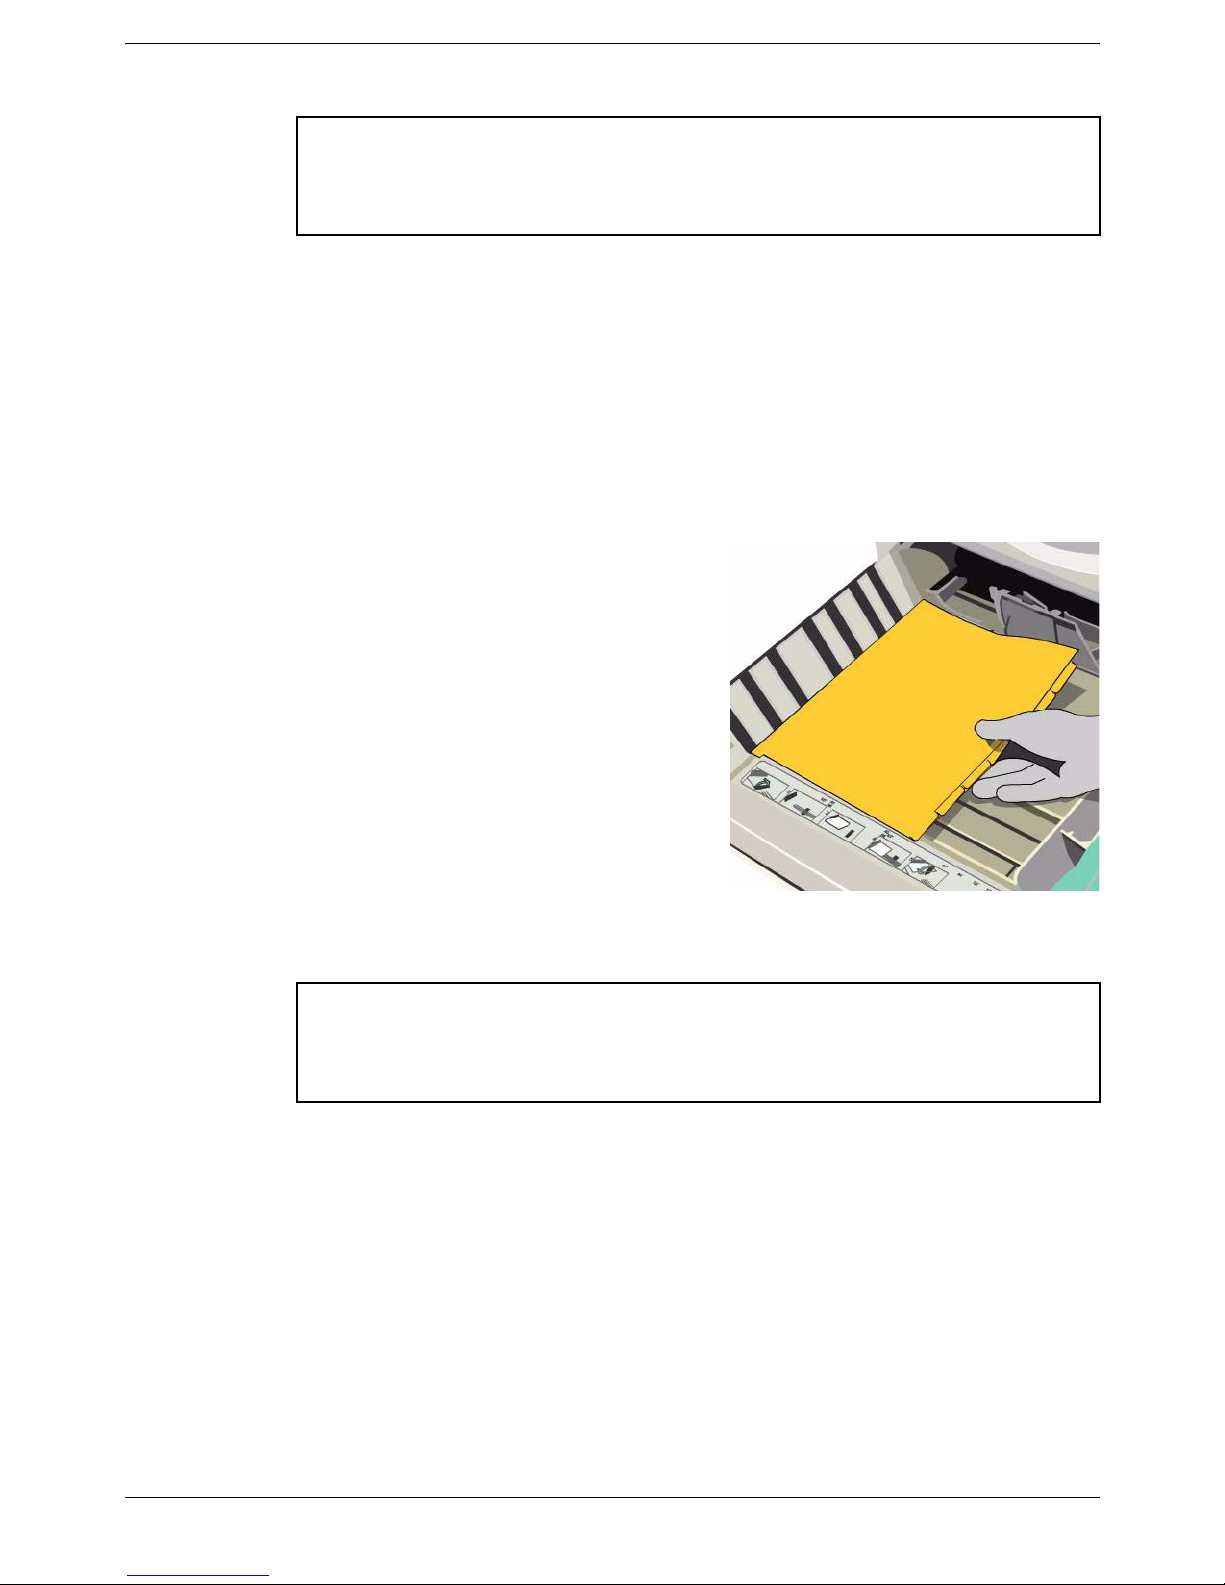
Bypass Tray
1 Load the tab stock into the bypass tray as
follows:
a) Tabs to the lef t with tab 1 on top and at
the front of the tray
b) Tabs in standard order. If more than
one set of tabs is required, the number
and sequence of the tabs loaded must
match the number and sequence of
tabs to be printed. Any surplus tabs
should be removed from each set prior
to starting the job.
2 Move the rear guide against the rear edge
of the tab stock.
Xerox CopyCentre, WorkCentre, WorkCentre Pro 232/238/245/255/265/275 Tab Supplement 3
2Setup
Note: It is important to ensure that the machine knows which tray contains the
tab stock as the print driver will select the tray by stock type and size.
Always select the correct Size, Color and Type after loading the stock in
the tray.
3 When the Tray Information screen appears, select Change Type and Color.
4 Select Tab Stock as the Stock Type and select Save.
5 Select Change Size.
6 Select the size of the tab, either A4 or 8.5x11 inches as appropriate and select
Save. (Select the same size as the body stock of the job.)
7 Select Confirm.
Trays 1 or 2
1 Load the tab stock into either tray 1 or
tray 2 as follows:
a) Tabs to the right
b) Tabs in reverse order, that is tab 1
face down, on top and at the front of
the tray
c) If more than one set of tabs is
required, the number and sequence
of the tabs loaded must match the
number and sequence of tabs to be
printed. Any surplus tabs should be
removed from each set prior to
starting the job.
2 Adjust the paper guides to touch the side and back of the stack of tabs.
Note: It is important to ensure that the machine knows which tray contains the
tab stock as the print driver will select the tray by stock type and size.
Always select the correct Size, Color and Type after loading the stock in
the tray.
3 When the Tray Information screen appears, select Change Type and Color.
4 Select Tab Stock as the Stock Type and select Save.
5 Select Change Size.
6 Select the size of the tab page, either A4 Tab for an A4 document or 9x11 Tab
for an 8.5x11 inch document as appropriate and select Save.
7 Select Confirm.
4 Xerox CopyCentre, WorkCentre, WorkCentre Pro 232/238/245/255/265/275 Tab Supplement
 Loading...