

Page 1

Xerox FreeFlow Scanner 665
Customer Software Release Supplement
701P41834
Version 1.0
May, 2004
Page 2

Xerox Corporation
Global Knowledge and Language Services
800 Phillips Road - Bldg. 845-17S
Webster, NY 14580
Copyright © 1996-2004 Xerox Corporation. All rights reserved. XEROX®, The Document Company® and all
identifying numbers used in connection with the Xerox products mentioned in this publication are trademarks of
XEROX CORPORATION. Copyright protection claimed includes all forms and matters of copyrightable material and
information now allowed by statutory or judicial law or hereinafter granted, including without limitations, material
generated from the software programs which are displayed on the screen such as styles, templates, icons, screen
displays looks, etc.
While every care has been taken in the preparation of this material, no liability will be accepted by Xerox Corporation arising out of any inaccuracies or omissions.
Printed in the United States of America.
Xerox®, Xerox Canada Ltd®, Xerox Limited®, and all Xerox products mentioned in this publication are trademarks of Xerox Corporation. Other company trademarks are acknowledged as follows:
All non-Xerox brands and product names are trademarks or registered trademarks of their respective companies.
Changes are periodically made to this document. Changes, technical inaccuracies, and typographical errors will be corrected in subsequent editions.
Page 3

Table of contents
1. Introduction . . . . . . . . . . . . . . . . . . . . . . . . . . . . . . . . . . . . . . . . . 1 - -1
Overview . . . . . . . . . . . . . . . . . . . . . . . . . . . . . . . . . . . . . . . . . . . . . . . 1 - -1
Xerox FreeFlow Scanner 665 . . . . . . . . . . . . . . . . . . . . . . . . . . 1 - -1
2. Hints and Tips . . . . . . . . . . . . . . . . . . . . . . . . . . . . . . . . . . . . . . . 2 - -1
Hints and Tips . . . . . . . . . . . . . . . . . . . . . . . . . . . . . . . . . . . . . . . . . . .2 - -1
FreeFlow Scanner 665 . . . . . . . . . . . . . . . . . . . . . . . . . . . . . . . 2 - -2
“Automatic” mode line screens . . . . . . . . . . . . . . . . . . . . . . . . .2 - -5
DocuTech Original Types . . . . . . . . . . . . . . . . . . . . . . . . . . . . . 2 - -6
i
Page 4

TABLE OF CONTENTS
ii
Page 5

1. Introduction
Overview
This Customer Software Release Supplement (CSRS) is issued
with the Xerox FreeFlow Scanner 665 to provide customers with
information specific to the FreeFlow Scanner 665.
NOTE: This CSRS contains only a Hints and Tips section for the
FreeFlow Scanner 665.
Xerox FreeFlow Scanner 665
The Xerox FreeFlow Scanner 665 is a new Xerox scanner that
converts documents in digital format and scans 8.5 x 11 inch
black and white single-sided documents at 65 images per minute
(ipm) at 600 dpi.
CUSTOMER SOFTWARE RELEASE SUPPLEMENT 1-1
Page 6

INTRODUCTION XEROX FREEFLOW SCANNER 665
1-2 CUSTOMER SOFTWARE RELEASE SUPPLEMENT
Page 7

Hints and Tips
2. Hints and Tips
The Hints and Tips in this section have been written to support the launch of the Xerox FreeFlow Scanner 665.
CUSTOMER SOFTWARE RELEASE SUPPLEMENT 2-1
Page 8

HINTS AND TIPS XEROX FREEFLOW SCANNER 665
FreeFlow Scanner 665
Table 2-1 lists Hints and Tips for the FreeFlow Scanner 665.
Table 2-1. FreeFlow Scanner 665 Hints and Tips
# Feature/Function Hints/Tips
1 Hole Fill Regular use of the “Hole Fill” function in the scanner requires daily cleaning
of the paper guide on the automatic document handler (ADH). The paper
guide is the long, dark gray, plastic strip on the underside of the ADH, has a
pattern of very thin images, and two cutouts for the rollers. The following
steps should be used to clean this part:
1. Apply “Xerox Lens and Mirror Cleaner (XPN 43P81)” to a clean, lint
free, non-abrasive cloth.
2. Lift up the ADH.
3. Identify the flat, dark gray paper guide on the right-hand, underside of
the DADH. The paper guide is a long, flat piece of ribbed plastic, 5
inches from the right-hand side of the DADH. The paper guide is
approximately 13 inches in length and 1 inch wide and pivots in the
right/left motion when touched. This part also has two “cutouts” in it with
two rollers resting in the cutouts.
4. Rub the cloth in the right-to-left motion across the paper guide, starting
at the back of the scanner, working your way to the front.
2 “Hole Fill” when
“Reprocessing”
images in “Preview”
3 Scanning
photographs
4 Artifacts in
“Automatic” mode
CAUTION
Be careful not to dislodge the thin belt near the roller closest to the front
of the scanner.
The system may inadvertently white-fill small “blocks” (~3-5 mm in size) of
a scanned image in areas of the original that are similar to the pattern on
the document feeder paper guide. To eliminate these white-fill blocks,
disable the “Hole Fill” option.
The “Reprocess” command does not eliminate holes.
If a “Preview” of an image is made with “Hole Fill” turned off, and
“Reprocess” is selected with “Hole Fill” off or on, the holes will not be
removed from the previewed image. Holes will be removed from the final
scan “Accept”.
Scanning photographs through the document handler is not recommended
due to the potential for damaging the original, as well as the susceptibility of
“streaks” in the resultant scanned image.
Windows < 0.5” x 0.5” are categorized as “background” and subsequently,
are processed differently from nearby windows (documents with a lot of
“small sized” content, such as maps with “landmarks” on them, are most
susceptible to this type of failure). This also occurs when scanning originals
with light shades of yellow and blue.
NOTE: If this problem occurs, the document should be scanned in a
different orientation, or off of the platen glass.
2-2 CUSTOMER SOFTWARE RELEASE SUPPLEMENT
Page 9

XEROX FREEFLOW SCANNER 665 HINTS AND TIPS
Table 2-1. FreeFlow Scanner 665 Hints and Tips
# Feature/Function Hints/Tips
5 Fast Preview It is recommended that you leave the PC monitor screen resolution at the
default setting when the system is installed (1024 x 768). If the screen
resolution is changed from this default, the rulers on the scanner preview
window may be covered by the preview image, particularly with smaller,
custom sized originals.
6 More - Pictorial
Rendering
7 Background
Suppression
8 SCSI scanner
connection
9 System calibration The scanner image quality may vary slightly for the first 20 - 30 minutes of
10 Windows “Found
New Hardware”
message
The Brightness, Contrast, and Advanced Image Adjustment controls will
not function if the “Pictorial Rendering” selection (found in the “More” button
on the “Image Quality” tab) is changed to “Threshold” for any “Original
Type” other than “Text and Line Art.”
Background suppression has improved significantly as compared to the
“DocuImage 620S Scanner” and the “Production Scanner”. Specifically, the
“Normal” selection will remove the background on the wider range of
background darkness levels. Documents with darker backgrounds or
darker colored stocks that previously required background suppression
settings of “Strong” or “Very Strong” may no longer require these settings.
It is important to ensure the connectors on the SCSI interface cable that
connects the scanner to the PC is properly seated and the thumbscrews
holding the connector are tightened. If the screws on the connector are not
tightened, the connections, particularly on the scanner, may become loose
over time, resulting in one of the following fault codes: 62-125, 62-145.
operation if the scanner has been turned off for an extended period of time.
If the scanner has been turned “off” for longer than 48 hours, it is
recommended that you calibrate the scanner immediately prior to scanning
a job for the first 20 - 30 minutes of operation after powering on.
Upon a reboot of the scanner and the PC, Windows may occasionally
display a “Found New Hardware” message, despite having completed a full
installation of the scanner hardware. Assuming the devices were rebooted
in the proper sequence (scanner first, until the “Ready” light is lit, then the
PC), this message can be ignored by selecting “Cancel” from the “Found
New Hardware” dialog.
11 Pictorial rendering
warning message
12 Printing Help If you attempt to print the full contents of “Help” (Go to Help and choose the
CUSTOMER SOFTWARE RELEASE SUPPLEMENT 2-3
Changes made to the “Pictorial rendering” selection, followed by a change
in the “Original Type” selection, may yield a warning, noting that the
pictorial rendering has been automatically changed (“Warning - setting
change - the following setting will be reset: Pictorial rendering”).
NOTE: The “Pictorial rendering” selection is located by selecting the
“More” button on the “Image Quality” tab of the scanner driver.
heading “Solving Problems”, then choose to print “selected heading and all
subtopics”), the last subtopic entitled “Clearing Jams and Misfeeds” does
not print and must be printed separately.
Page 10

HINTS AND TIPS XEROX FREEFLOW SCANNER 665
Table 2-1. FreeFlow Scanner 665 Hints and Tips
# Feature/Function Hints/Tips
13 Low resolution
scanning of text
14 Original Types /
Image File Sizes
15 Second-side show-
through when
scanning from the
platen
16 Scanner Support Unpredictable behavior can result if the scanner diagnostic software
17 Image registration If scanned images repeatedly contain thin, black lines on the edge of the
Scanning text printed in 10pt font or less at resolutions of 100 dpi or less
will result in image content that may be difficult to discern. These lowresolution selections are typically used for generating thumbnails. If better
readability is desired, resolutions of 200 dpi of higher should be used.
Originals scanned using incorrect “Original Type” selection (scanning a
halftone in “Photograph” mode, for example) can yield image file sizes that
are significantly larger than the resultant file size scanned in the correct
“Original type”.
Originals with a large amount of dark content on the reverse side of a page,
may exhibit more “show-through” in the resulting scanned image than if
scanned through the document feeder. If show-through is a problem, place
a black piece of paper on top of the original being scanned from the platen.
A stronger “background suppression” setting may also help in removing
unwanted show-through.
(“Scanner Support” application) is invoked while the scanner is booting.
The application should be run with the scanner fully powered off, or fully
powered on.
image, run the “Setup Registration” routine in the “Scanner Support”
application to re-set the scanner’s registration.
18 “Help” The following information in “Help” about “Scan Tickets” is incorrect:
1. Within the Twain GUI, go to the Help menu and then the Index —>
Scan Tickets.
2. Choose the “Backing up your scan ticket tiles” option.
3. Part 2 reads: Select [Start: Programs: Windows Explorer] - with
Windows XP, it should read [Start: Programs: Accessories: Window
Explorer].
4. Part 3 reads: “Browse to C:\winnt\Twain_32\Xerox665s\international” with Windows XP, it should read “C:\Program Files\Common
Files\Xerox\Scanner”.
The following information in “Help” on “Scanner Specifications” is incorrect:
1. Within the Twain GUI go to Help --> Index --> Scanner Quick
Reference --> Document Feeder --> Scanner Specifications.
2. Note that under the Minimum paper dimensions reads 6.5 x 5.5 inches,
long edge feed — this should read short edge feed.
3. Under document Feeder --> Color Spaces & resolutions supported
Binary B/W reads 76 - 1200 dpi — should read 72, 75, 96, 100, 120,
150, 200, 240, 300, 400, 600, 1200 dpi.
19 Electronic Page
Deskew
Although the “Electronic Page Deskew” (Options: Preferences) is enabled
when scanning from the platen or the feeder, it is only functional when
scanning from the feeder.
2-4 CUSTOMER SOFTWARE RELEASE SUPPLEMENT
Page 11
XEROX FREEFLOW SCANNER 665 HINTS AND TIPS
Table 2-1. FreeFlow Scanner 665 Hints and Tips
# Feature/Function Hints/Tips
20 Scanner driver
options in 3rd party
applications
“Automatic” mode line screens
“Optimize Image For”
When using any application other than “DigiPath” to call the scanner driver
(i.e., PhotoShop), some GUI selections may not be available and/or may be
set to different default settings. These selection and defaults settings will
differ from application to application.
The following sections include more Hints and Tips for the FreeFlow Scanner 665.
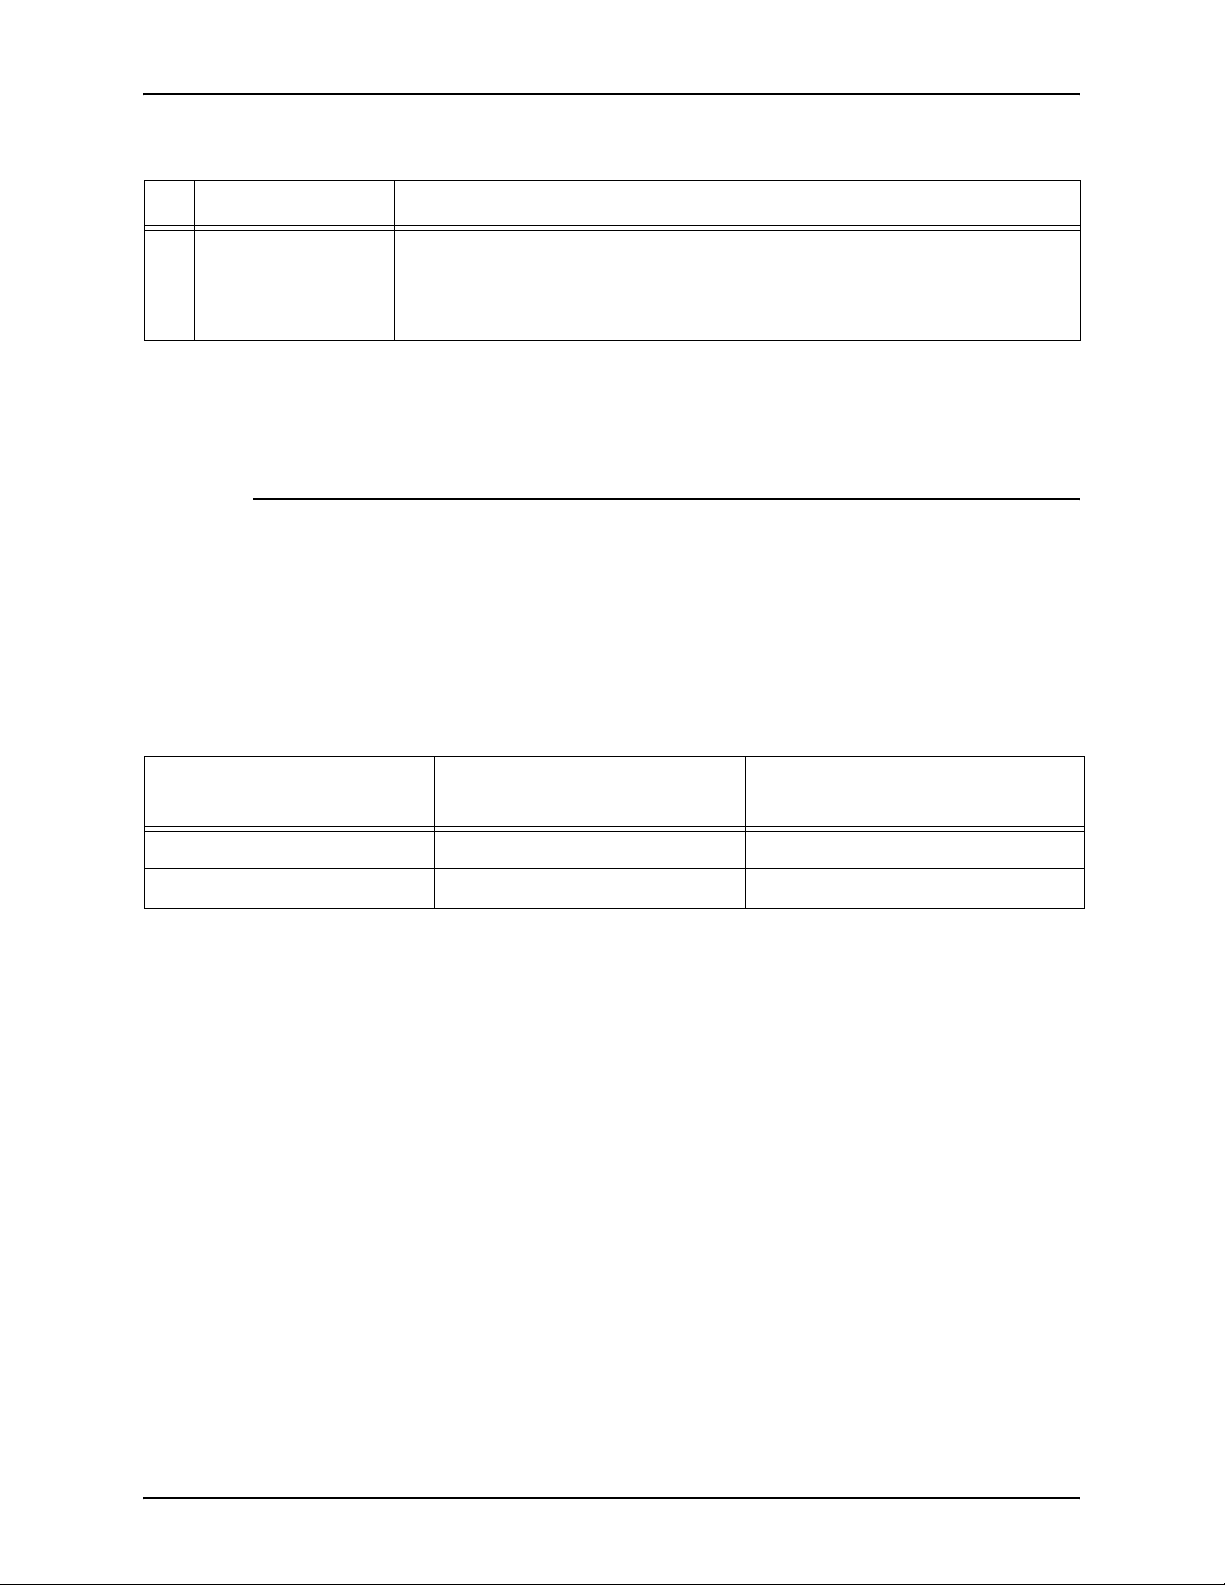
When changing the default resolution in “Automatic” mode, it is
recommended that you also change the line screen. Line screen
selections are listed in the “Pictorial Rendering” list box (found in
the “More” button on the “image Quality” tab). Table 2-2 lists the
default values for the specific selections and the recommended
alternative selections:
Table 2-2. Recommended alternative values
Default res./default line
screen
Alternative res./recommended
line screen
DocuTech 100/120 Pro 1200 dpi / 141 lpi 600 dpi /125 lpi
DocuTech 100/120 C/P 600 dpi / 125 lpi 1200 dpi / 141 lpi
CUSTOMER SOFTWARE RELEASE SUPPLEMENT 2-5
Page 12

HINTS AND TIPS XEROX FREEFLOW SCANNER 665
DocuTech Original Types
“DocuTech” Original Type are no longer available with the
FreeFlow Scanner 665. DocuTech original types are image
quality selections that would optimize the scanner performance
such that it produced image quality similar to that which is
available on the original DocuTech 135. Table
2-3 defines the
settings on the FreeFlow Scanner 665 that can produce image
quality similar to what is available on the original DocuTech 135.
For each desired DocuTech mode be sure to select “Xerox DocuTech 6135” as the target printer (“Optimize image for”).
Table 2-3. FreeFLow 665 Scanner settings
FreeFlow
DocuTech
Mode
Standard Text and line art 0 2 Mild Threshold
Paste-Up Test and line art 1 5 Mild Threshold
Colored
Background
Light Image Text and line art -10 2 Mild Threshold
Photograph Photograph 11, 32, 54, 74, 912 Off DocuTech 106 HT
Halftone
(30 - 100 lpi)
Halftone
(101 - 300
lpi)
Photograph
and text
Scanner 665
“Original Type”
Text and line art 0 2 Normal Threshold
Fine Halftone 18, 36, 50, 64, 822 Mild DocuTech 106 HT
Coarse Halftone 0 4 Mild Threshold
Using “IQ
Windows”:
Set window 1
(Entire page) to:
Text and line
art
Brightness or
Fine
Adjustment
0
Sharpness
2
Background
Suppression
Mild
Pictorial
Rendering
(“More” button)
Threshold
Set Window 2
(etc.) to:
Photograph
2-6 CUSTOMER SOFTWARE RELEASE SUPPLEMENT
11, 32, 54, 74,
91
2
Off
DocuTech 106 HT
Page 13

XEROX FREEFLOW SCANNER 665 HINTS AND TIPS
Table 2-3. FreeFLow 665 Scanner settings
DocuTech
Mode
Halftone and
text
FreeFlow
Scanner 665
“Original Type”
Using “IQ
Windows”:
Set window 1
(Entire page) to:
Text and line
art
Set Window 2
(etc.) to:
Fine Halftone
Brightness or
Fine
Adjustment Sharpness
0
18, 36, 50, 64,
82
2
2
Background
Suppression
Mild
Mild
Pictorial
Rendering
(“More” button)
Threshold
DocuTech 106 HT
CUSTOMER SOFTWARE RELEASE SUPPLEMENT 2-7
Page 14

HINTS AND TIPS XEROX FREEFLOW SCANNER 665
2-8 CUSTOMER SOFTWARE RELEASE SUPPLEMENT
 Loading...