

Page 1
Waves PuigChild
User Manual
Page 2

TABLE OF CONTENTS
CHAPTER 1 – INTRODUCTION...........................................................................................................................................3
1.1 WELCOME ..........................................................................................................................................................................3
1.2 PRODUCT OVERVIEW .........................................................................................................................................................4
1.3 ABOUT THE MODELING ......................................................................................................................................................5
1.4 COMPONENTS.....................................................................................................................................................................5
CHAPTER 2 – QUICKSTART GUIDE..................................................................................................................................7
CHAPTER 3 – INTERFACE AND CONTROLS...................................................................................................................8
3.2 PUIGCHILD INTERFACE ......................................................................................................................................................8
3.2 PUIGCHILD CONTROLS.......................................................................................................................................................9
CHAPTER 4 – THE WAVESYSTEM...................................................................................................................................12
4.1 THE WAVESYSTEM TOOLBAR ..........................................................................................................................................12
Toolbar Functions.............................................................................................................................................................12
4.2 PRESET HANDLING...........................................................................................................................................................12
Preset Types......................................................................................................................................................................12
Loading Presets and Setups..............................................................................................................................................13
Saving Presets and Setups.................................................................................................................................................13
Deleting Presets................................................................................................................................................................14
A/B Comparison and Copying ..........................................................................................................................................14
4.3 INTERFACE CONTROLS .....................................................................................................................................................14
Toggle Buttons..................................................................................................................................................................14
Value Window Buttons......................................................................................................................................................15
Sliders ...............................................................................................................................................................................15
Hover Box.........................................................................................................................................................................15
Multiple Selection of Controls ..........................................................................................................................................15
TAB Functions ..................................................................................................................................................................16
APPENDIX A – PUIGCHILDCONTROLS..........................................................................................................................17
PuigChild User Manual
2
Page 3

Chapter 1 – Introduction
1.1 Welcome
Thank you for choosing Waves! In order to get the most out of your Waves processor, please take the
time to read through this manual.
In conjunct
an extensive Answer Base, the latest Tech Specs, detailed Installation guides, new Software
Updates, and current information on Authorization and Registration.
By signing up at www.wavesupport.net
products, reminders when updates are available, and information on your authorization status.
ion, we also suggest that you become familiar with www.wavesupport.net
, you will receive personalized information on your registered
. There you will find
PuigChild User Manual
3
Page 4
1.2 Product Overview
About the Fairchild 670
Among gear aficionados, the stereo Fairchild 670 is considered the most coveted of all compressors,
not only because of its pr
thousands of dollars on the vintage market. (They originally cost less than $1000.) With 20 vacuum
tubes and 11 hand-wired transformers in a hefty 6 rack-space chassis, these hard-to-find units weigh in
at a robust 65 lbs.
Designed by Estonian-born Rein Narma in the early 1950s, both the stereo 670 and its mono
counterpart
voltages. Both variable-mu limiters are unique in that they use tubes for gain reduction as well as
amplification. Compression takes place directly in the audio path, rather than being routed to a separate
circuit.
Prior to the 660 and 670, Narma’s Gotham Audio Developments had built consoles a
such lumina
Sherman Fairchild caught wind of the project, licensed the design, and hired Narma to come onboard
as the company's chief engineer. After his stint at Fairchild, Narma relocated to the San Francisco Bay
Area and became vice president of Ampex, pioneers of multitrack recording equipment.
the Fairchild
ries as Rudy Van Gelder and Les Paul. Shortly after Paul asked Narma to build a limiter,
istine sound, but also its rarity and price: 670s routinely go for tens of
660 use single push-pull amplification stages with extremely high control
nd components for
PuigChild User Manual
4
Page 5

1.3 About the Modeling
Many different elements contribute to the unique sonic chara
Fairchild 670. Waves painstakingly modeled and incorporated these elements into the PuigChild in
order to fully capture and replicate the sound and performance of the original equipment.
These are some of the most important elements of analog behavior:
•
Total Harmonic Distortion
Perhaps the most important analog behavior is Total Harmonic Distortion or THD, which is defined
as the ratio of the sum of the powers of all harmonic compon
frequency. THD is usually caused by amplification, and changes signal shape and content by
adding odd and even harmonics of the fundamental frequencies, which can change the overall tonal
balance. THD can also change peak output gain, usually by no more than +/- 0.2-0.3 dB.
•
Transformers
Some hardware uses transformers to stabilize or change Input/Output loads and signal levels. In
earlier days, transformers did not have a flat frequency response, and oft
super-high frequency roll offs. The original Fairchild has four transformers, so if you encounter a low
or extremely high frequency loss, this is due to the modeled transformers.
•
Long Release Times
The Fairchild includes settings which use long time constants of several seconds. This might cause
short looped passages t
returns to unity. This is identical to the original hardware performance, and should not be a cause
for concern.
•
Hum
Waves modeled both 50Hz power current and 60Hz power current. If you listen closely, you will
hear that there is a diffe
region and dependent upon the local electrical conditions, you may find that the modeled hum is
different than the hum already present in your studio, and may not be suitable for your particular
use.
o sound different during successive playbacks, because the Release never
rence in hum level between 50Hz and 60Hz. Since hum is unique to each
cteristics of analog gear such as the
ents to the power of the fundamental
en introduced low and
1.4 Components
WaveShell technology enables us to split Waves processors into smaller plug-ins, which we call
components. Having a choice of co
choose the configuration best suited to your material.
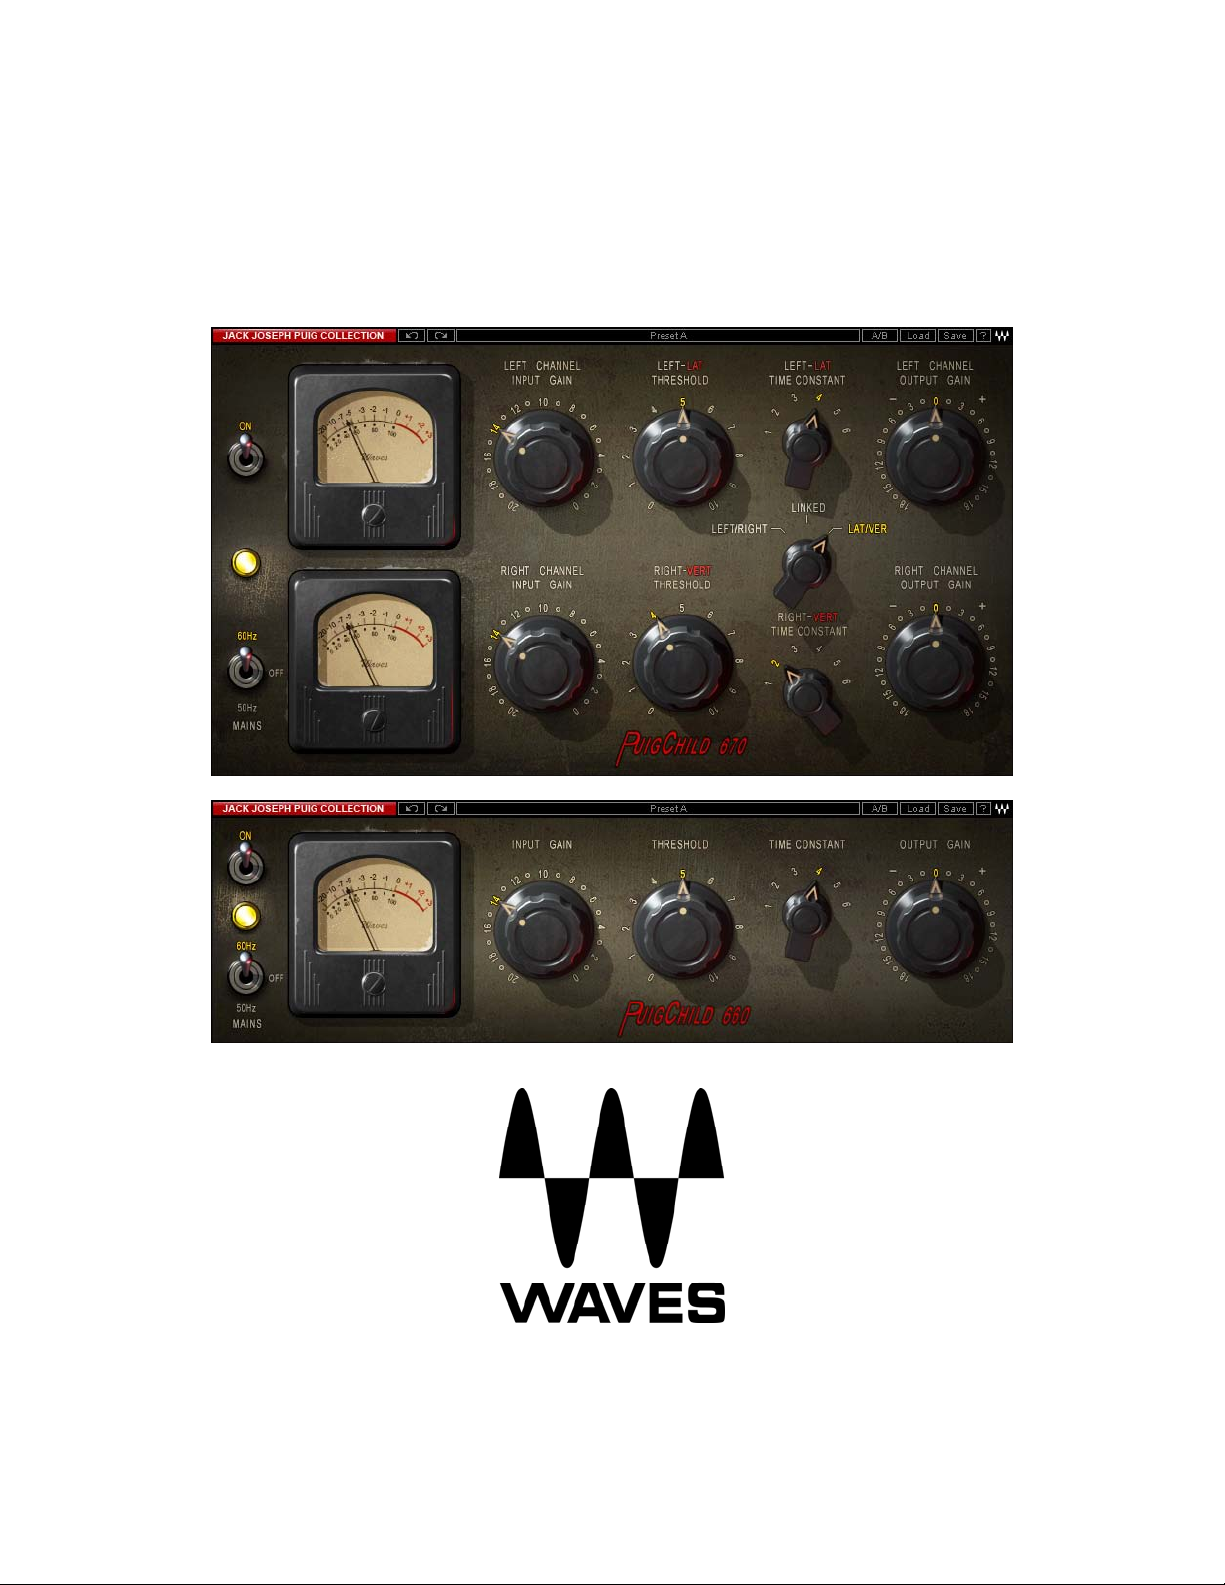
The PuigChild has two component processors:
mponents for a particular processor gives you the flexibility to
PuigChild User Manual
5
Page 6

PuigChild 670 Stereo – Two channel compressor, with two separate sets of detectors and
compression paths.
PuigChild 660 Mono – One channel compressor, based on t
he left channel of the 670.
PuigChild User Manual
6
Page 7

Chapter 2 – Quickstart Guide
The PuigChild offers a wide variety of musical colors using just a few simple controls.
• Use the Input controls to set the amount of signal running into the compressor.
• Use the Threshold controls to set the amount of signal compression.
• Use the gain reduction Meter to monitor the amount of gain reduction applied to the signal.
• Use the Time Constants controls to set the fixed Attack and Release settings.
• Use Output to adjust the output (makeup) gain of the signal.
PuigChild User Manual
7
Page 8

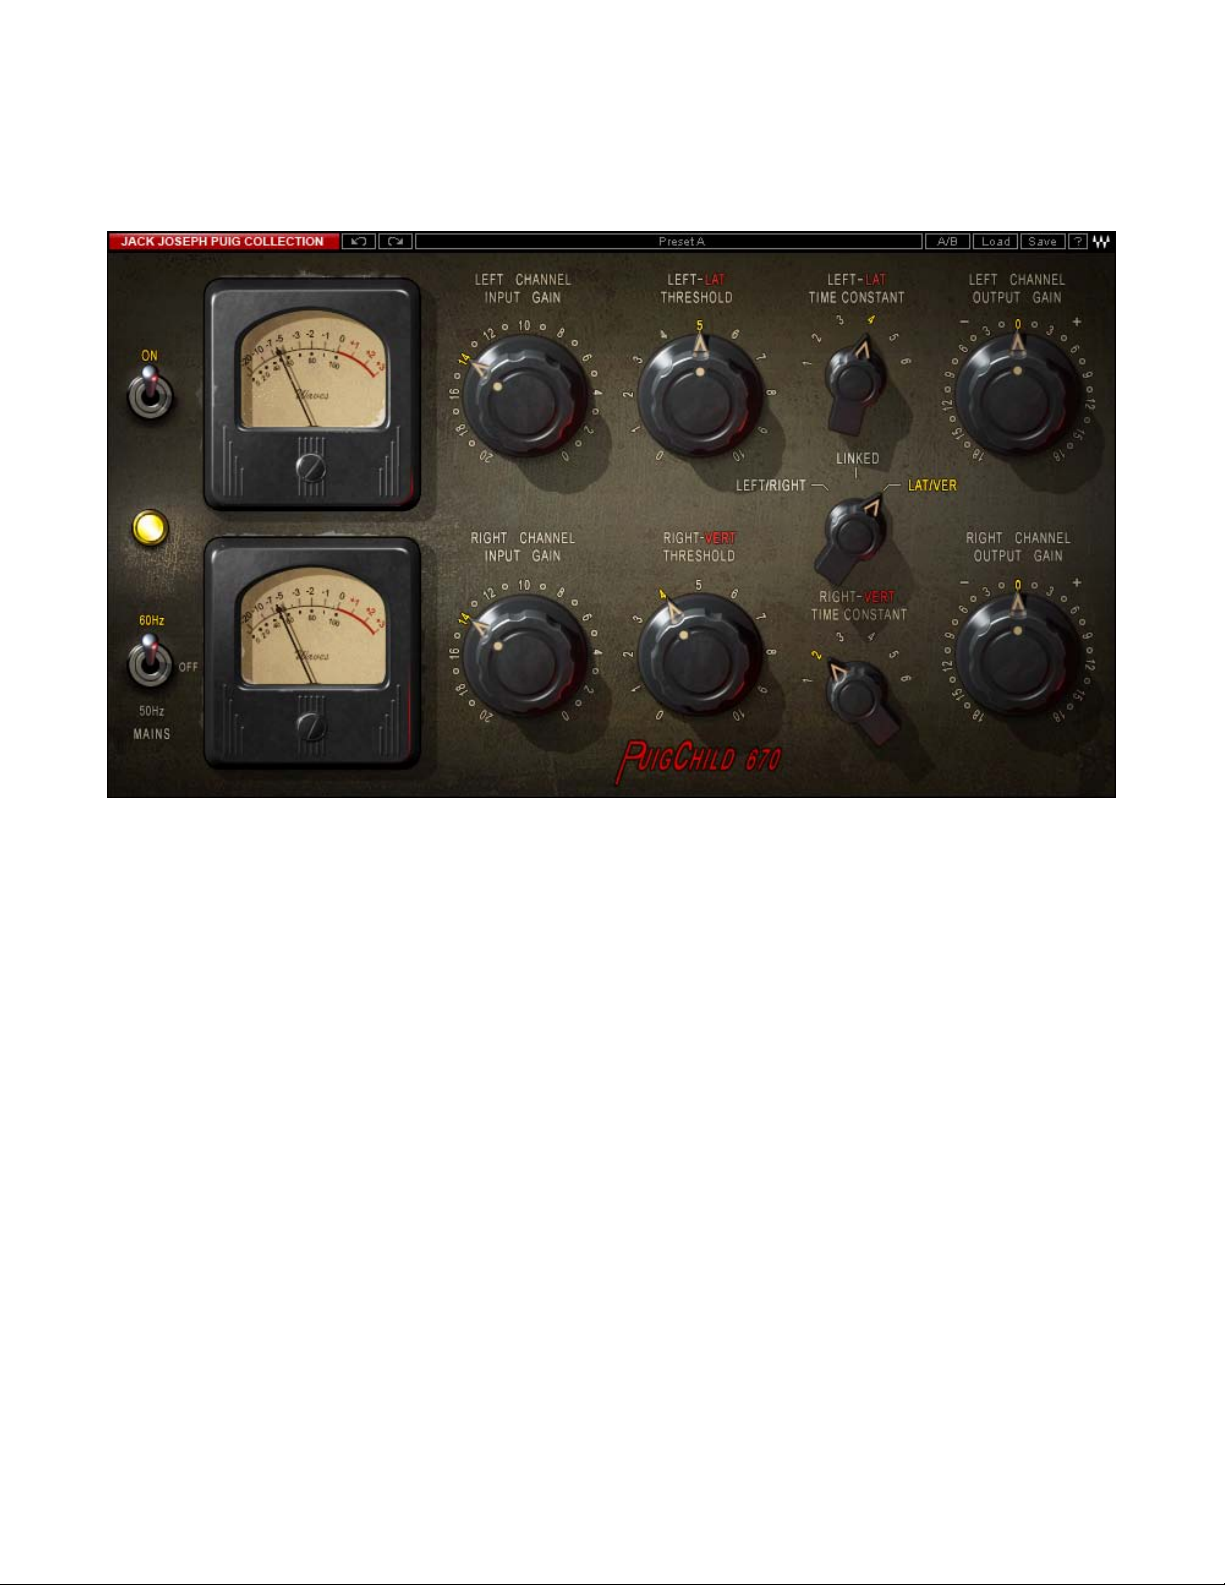
Chapter 3 – Interface and Controls
3.1 PuigChild Interface
PuigChild User Manual
8
Page 9

3.2 PuigChild Controls
Input controls the volume of the signal entering the audio compression path.
Range
-20 to 0
Resolution
1dB steps
Default
-14 (unity gain, input = output).
Threshold sets the amount of signal compression.
Range
0 to10
Resolution
0.1 steps
Default
0 (no compression)
Please note:
The scale is not linear and has been adjusted to conform to the exact scaling of the modeled
unit. Thus, t
here may be
Time Constant controls the fixed Attack and Release lengths.
Range
1 to 6
Resolution
1, 2, 3, 4, 5, 6.
Default
1
The following values are based on the original values, as publicized by Fairchild. Our
using these values as a rough guide, based on 10dB of compression.
Position 1
Release: 0.3 seconds
Position 2
Attack:
Release: 0.8 seconds
Position 3
measureme
Attack: .2 ms
Attack: .4 ms
nts, however, differed considerably from the values given. Therefore, we suggest
.2 ms
more compression than expected at certain steps, as with analog gear.
PuigChild User Manual
9
Page 10

Release: 2 seconds
Position 4
Release: 5 seconds
Position 5
Attack:
Release: Automatic based on program material—2 seconds for individual peaks, 10
seconds
Position 6
Release: Automatic based on program material—0.8 seconds for individual peaks, 10
Attack: .4 ms
.4 ms
multiple peaks
for
Attack: .2 ms
seconds for multiple peaks, 25 seconds for consistent high program level
Link controls the relationship between the left (upper) channel and the right (lower) channel.
States
Left/Right, Linked, Lateral/Vertical
Default
Linked
Left/Right: The compressor acts as two completely separate compressors, with the option to
separately adjust all
of a stereo signal.
Link: Both channels are
lower channel settings are grayed out. The compression detector will calculate the maximum
level of the two channels combined, and compress both channels according to the maximum
level. This mode better preserves the stereo image of a signal.
Lateral/Vertical: Feeds
stereo signal into sum (fed to the upper/left channel) and difference (fed to the lower/right
channel). The input level is set after the matrix, so the relationship between the sum and the
difference channels can be controlled. At the compressor output, the signal passes through a
second matrix which turns it back into a Left/Right stereo signal. (Output gain occurs before the
second matrix).
supplies of the original units.
60Hz
Mains controls analog characteristics caused by noise floor and hum, based on the power
Range
Off, 50Hz, 60Hz
Default
rols per channel. This mode can significantly change the stereo image
cont
linked to on
the stereo signal through
e another. Upper channel controls both channels, while
a sum/difference matrix which splits the
PuigChild User Manual
10
Page 11

On/Off turns the compression On/Off but leaves Analog modeling.
Range
On/Off
Default
On
Output controls the output level.
Range
-18dB to +18dB (in 0.1dB steps)
Default
0dB
Meters display gain reduction, from 0 to 20dB of gain reduction.
PuigChild User Manual
11
Page 12

Chapter 4 – The WaveSystem
4.1 The WaveSystem Toolbar
All Waves processors feature the WaveSystem toolbar which takes care of most administrative
functions yo
toolbar are the same on practically all Waves processors, so familiarity with its features will be helpful
whichever processor you are using.
Toolbar Functions
Undo Undoes the last 32 performed action. The PuigTec supports multiple undo levels.
Redo Redoes the last 32 undone action
Setup A/B Toggles between two presets. This is useful for close comparison of different parameter
Copy A->B Copies the current settings to the second preset register
Load Recalls presets from file
Save Saves presets in the Waves file formats
? Opens the manual for the processor you are using
u will encounter while working with your Waves software. The features of the WaveSystem
settings
4.2 Preset Handling
Preset Types
Factory Presets are permanent presets in the Load menu. Factory presets cannot be over-written
deleted. When applicable, different component plug-ins may have different factory presets.
User Presets are your favorite settings of the plug-in saved as a preset in the Load menu, under ‘User
Presets’. User Presets can be over-written and deleted.
Setup Files may contain more than one preset. For example, a single file can contain all the presets for
a sessio
access. This can be particularly useful with multiple instances of a plug-in in a single session. By saving
all the settings you create into a single Setup File, they can all be quickly available for every instance of
that plug-in.
When you open a Setup File, all its setups become part of your Load pop-up menu for fast
n.
or
PuigChild User Manual
12
Page 13

Loading Presets and Setups
Click-and-hold on the Load button to see the Load pop-up menu. The menu is divided into four
sections. If a section
Open Preset File… Select to open any setup or preset file, whether from the Library or your own
‘Filename.xps’: Displays any currently loaded Setup File and it
Factory Presets: Displays the default Factory Presets.
User Presets: Displays any loaded User Presets.
is not currently available it will not appear in the Load pop-up menu.
creations.
s presets.
Saving Presets and Setups
Click-and-hold on the Save button to see the Save pop-up menu. Four options are available. If an
option is not currently available it will be grayed out and inaccessible.
Save to New
Save ‘File Name’ – “Preset Name” Overwrites the settings of the loaded preset (whether a User
Save to ‘File Name’ As… Saves the current settings as a new preset into the Setup file that
Put into Preset Menu As… Save the current settings into a User Preset that will always be in
File… Select this t
for the setup filename, then for the preset name. You must provide
a name for both the setup file and the preset. Click OK (ENTER)
to complete the save. It is a good idea to create a folder in which
to save several setup files for a project.
Preset or a preset from a Setup File) with the cu
Setup File is currently loaded, the name of the Setup File is
displayed followed by the name of the preset itself. If a User
Preset is loaded, its name is displayed.
is open (if one is not op
prompted to give the preset a name.
your Load menu (until deleted). You will be prompted to give this
preset a na
file.
o start a ne
me. User Presets are stored in the plug-in’s preference
w Setup file. There are two prompts - first
rrent settings. If a
en, the option is grayed out). You will be
PuigChild User Manual
13
Page 14

Deleting Presets
You may delete User Presets and presets within a Setup File. Factory Presets and Setup Library files
cannot be deleted or overwritten.
1. Hold the Command (Mac)/Contro
2. Click-and-hold the Load button to see the pop-up menu.
3. While still holding the Command/Control key, select the preset or setup to delete.
4. A confirmation box will appear, allowing you to cancel or ‘OK’ the deletion.
l (PC) key down.
A/B Comparison and Copying
The Setup A/Setup B button may be clicked to compare two settings. If you load a preset in the Setup B
position, this will not affe
If you want to slightly modify the settings in Setup A, you can copy them t
Copy to B button, then alter Setup A and compare with the original Setup B.
The name of the current setup will be shown in the title bar (on platforms which support it), and will
switch as you change fro
Note: an asterisk will be added to the preset name when a change is made to the preset -
ct the preset loaded into the Setup A position, and vice-versa.
o Setup B by clicking on
m Setup A to Setup B.
the
4.3 Interface Controls
Controls can be in one of three states:
• Not Selected where the control is not the target of any user entry
• Selected where the control is the target of mouse control entry only
• Selected and Active where the control is the target for both mouse and keyboard entry
Toggle Buttons
Toggle buttons display the state of a control, and allow switching between two or more states. Singleclick to change the control’s state. Some toggle buttons have a text display which updates with the
current setting, and othe
Some processors have link buttons between a pair of toggle buttons, allowing click-and-drag
adjustment while retaining the offset
rs (bypass, solo, or monitoring toggles) illuminate when the control is active.
between the controls.
PuigChild User Manual
14
Page 15

Value Window Buttons
Value windows display the value of a control and allow click-and-drag adjustment, or direct control
via the key
• Using the mouse, click-and-drag on the value window to adjust. Some value windows support
• Using the arrow keys, click once with mouse to select the button, and then use up/down –
• Using key entry, double click on the button to open the value window, and directly enter the
Some processors have link buttons between a pair of value windows, allowing click-and-drag
adjustment while retaining the offset
board.
left/right, some up/down
direction of movement that button supports).
left/right (de
incremental steps across the button’s range (holding down the arrow keys will move faster
through the range).
value from your keyboard. If you enter an out of
remains at the current setting (system beeps? If system sounds are on?)
pending on t
(as you hover over a button, arrows will appear to let you know which
he direction supported by that button) to move in the smallest
range number, the butto
between the controls.
n stays selected but
Sliders
Click on the slider itself or anywhere within the sliders track. The numerical value of the slider se
is displayed in a hover window above the slider path.
ttings
Hover Box
Hovering boxes will appear and display the control value when hovering with the mouse over the
control.
Multiple Selection of Controls
One of the most powerful features of the WaveSystem is the ability to select and adjust many controls
at the same time. Using the mouse, simply drag-select the desired group
by clicking and holding at a point outside the controls and forming a rectangle to include the controls
you wish to adjust. Alternatively, you can hold down Shift while clicking the mouse on any control you
wish to link. This second method is useful when you want to select two (or more) controls that are
separated on the GUI by other controls you do not wish to select.
of button or graphic controls
PuigChild User Manual
15
Page 16

TAB Functions
TAB moves the ‘selected’ status to the next control, with shift-TAB moving in the reverse direction.
Additionally, the Mac has an option-TAB function for ‘down’ movement and shift-option-TAB for ‘up’
movement where
If you have several Value Window Buttons selected, TAB functions will take you through the selected
controls on
ly.
applicable.
PuigChild User Manual
16
Page 17

Appendix A – PuigChild Controls
Control Range Default
Input Gain
Threshold
Time Constant
On/Off
Mains
Link
Left/Right, Linked, Lat/Ver Linked
-20 to 0 -14
0 to 10 (0.1 steps) 0
1, 2, 3, 4, 5, 6 1
On, Off On
Off, 50Hz, 60Hz 60Hz
Output
-18dB to 18dB (0.1 steps) 0dB
PuigChild User Manual
17
 Loading...