


MSR-49NM
Turbo air Speeds Up the Pace of Inno vation
CAUTION!
Refrigerator
PLEASE KEEP POWER SWITCH ON
BEFORE OPERATING THIS EQUIPMENT
Freezer
Installation and Operation Manual
Please read this manual completely before attempting to install or operate this equipment!
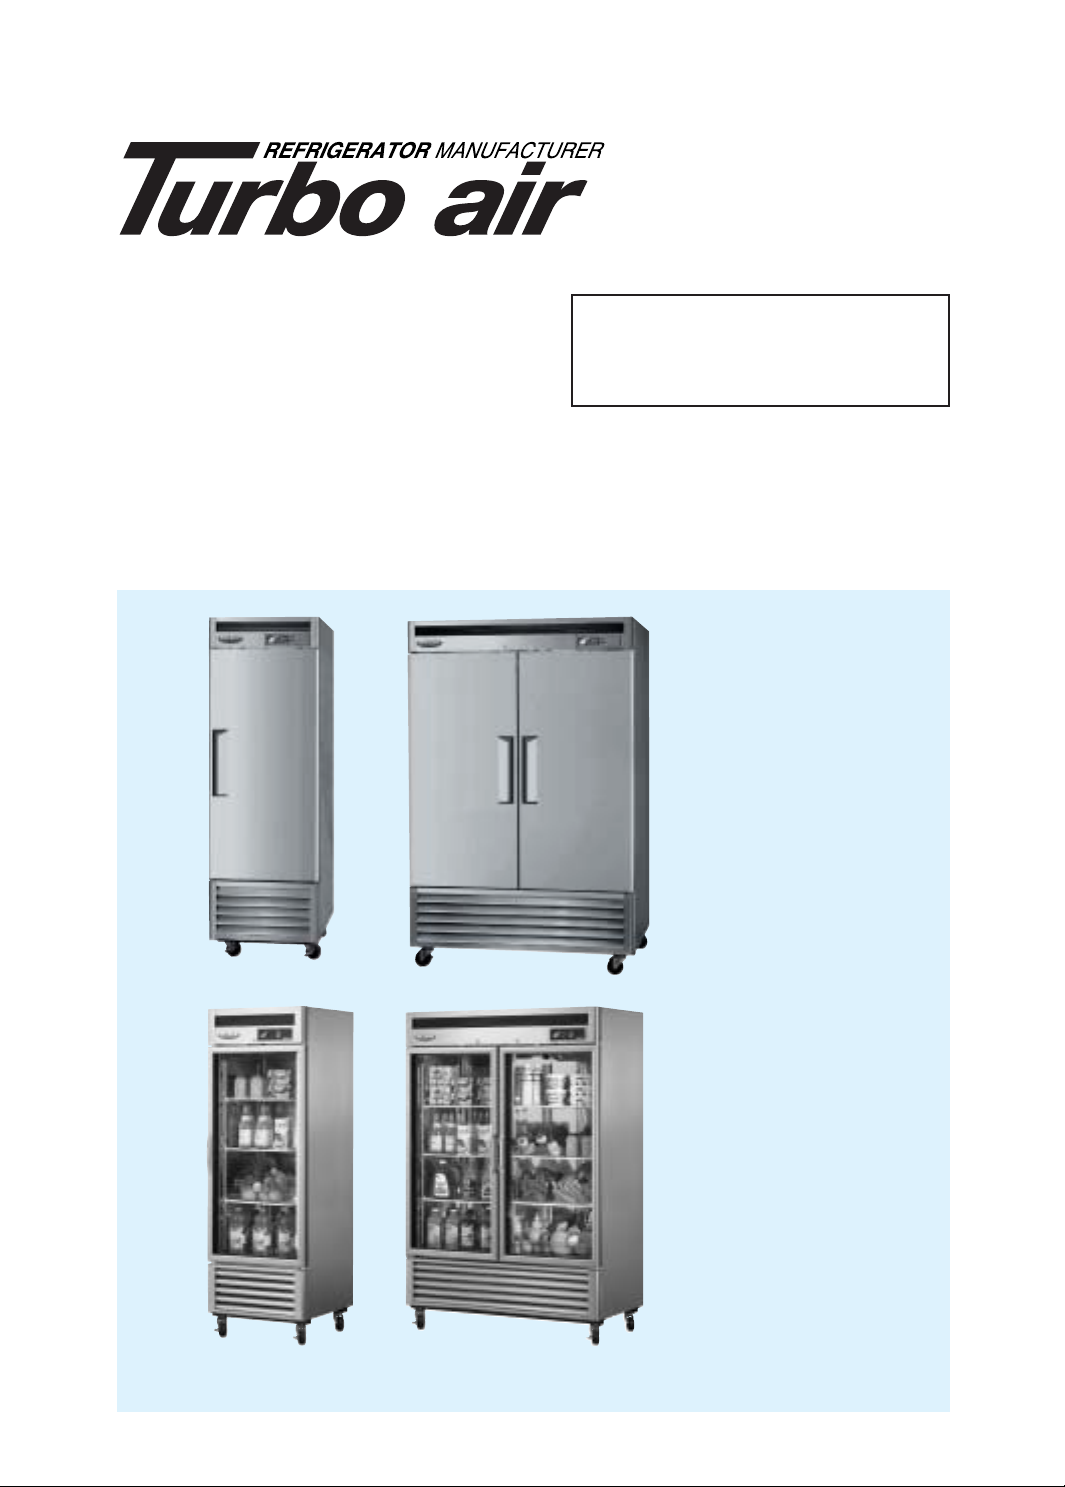
<Solid Door>
Refrigerator
MSR-23NM
MSR-49NM
Freezer
MSF-23NM
MSF-49NM
<Glass Door>
Refrigerator
MSR-23G-1
MSR-49G-2
MSR-72G-3
CONTENTS
1. SPECIFICATION
PAGE
..........................................................................................
2
2. SERIAL NUMBER
........................................................................................
3. INSTALLATION............................................................................................ 3
4. CLEANING
...................................................................................................
5. BASIC OPERATION
5-1. REFRIGERATORS........................................................................... 5~8
5-2. FREEZERS..................................................................................... 9~12
6. BEFORE REQUESTING SERVICE
7. WARRANTY
.........................................................................................
...........................................................
14~15
13
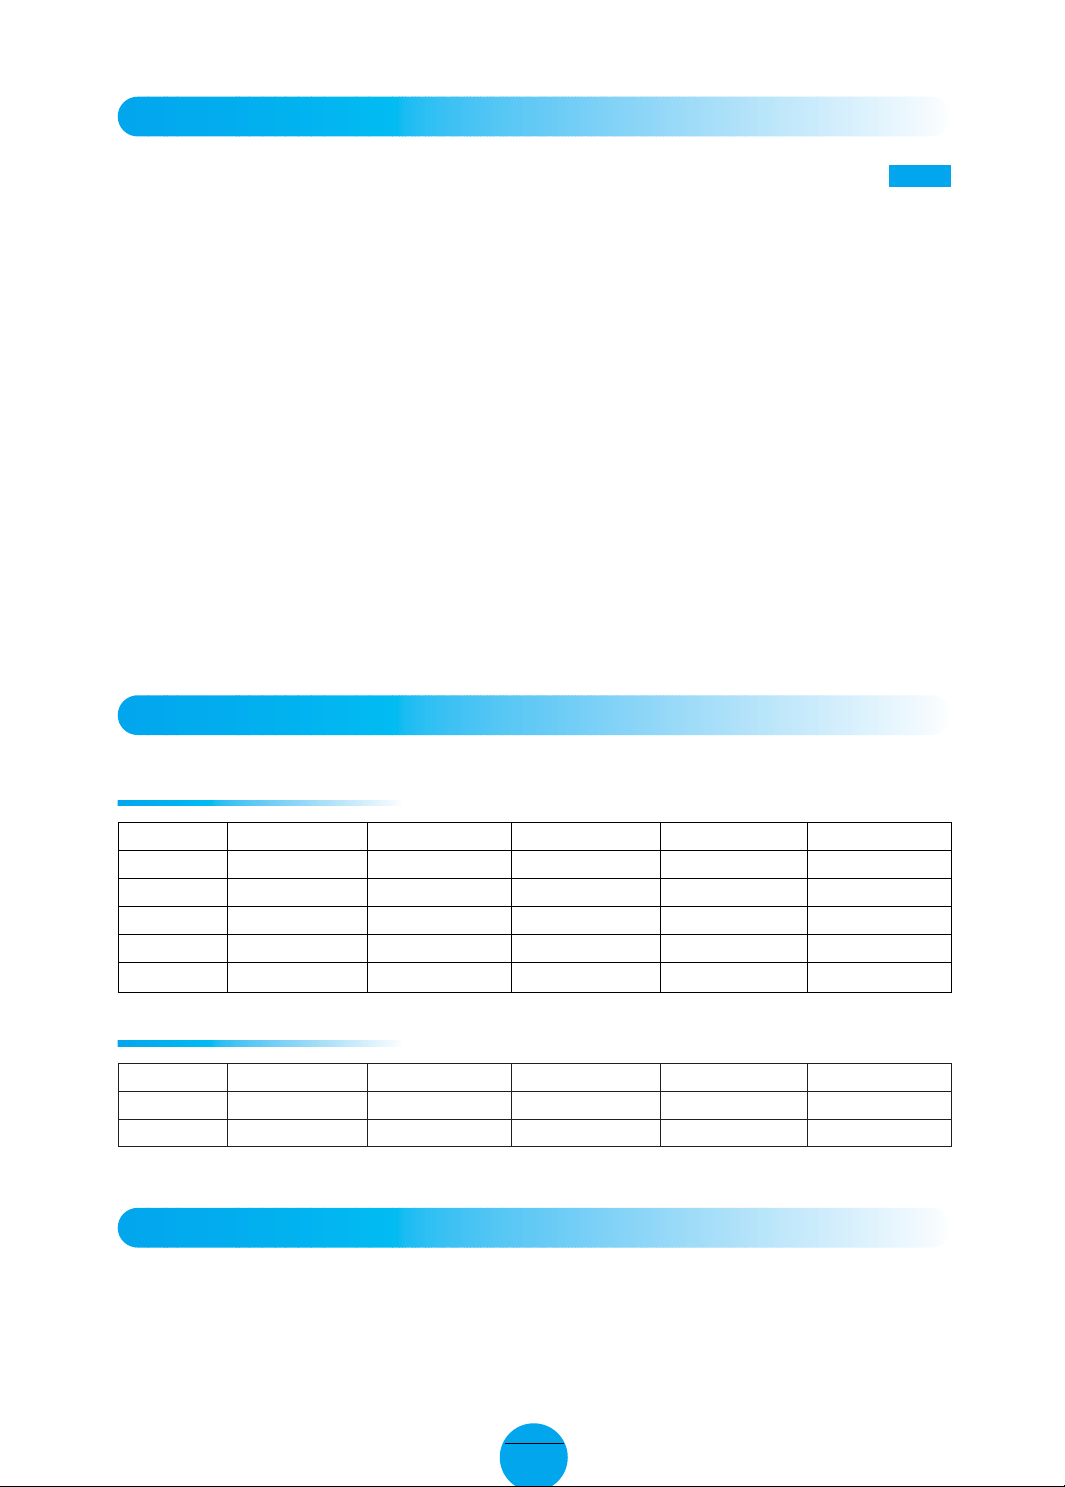
SPECIFICATION
Refrigerators
2
4
MODEL COMP H.P. V/Hz REFRIGERANT AMPS WEIGHT
MSR-23NM
MSR-49NM
MSR-23G-1
MSR-49G-2
MSR-72G-3
1/3 115V/60Hz R-134a 5.5A 259lbs
1/3 115V/60Hz R-134a 9.2A 412lbs
1/3 115V/60Hz R-134a 5.5A 274lbs
1/3 115V/60Hz R-134a 9.2A 427lbs
2/3 115V/60Hz R-134a 9.6A 610bls
Freezers
MODEL COMP H.P. V/Hz REFRIGERANT AMPS WEIGHT
MSF-23NM
MSF-49NM
1/2 115V/60Hz R-404A 8.7A 285lbs
3/4 115V/60Hz R-404A 10.5A 462lbs
SERIAL NUMBER
The serial number is located on the data label inside.
Please retain the unit’s serial number for service purpose.
2
Turbo air

INSTALLA TION
1. GOOD AIR CIRCULATION
- Be sure to avoid any partition and object which may stop the air flow.
- Be sure that air space is allowed to flow the rear of the unit.
Turbo air recommends that the rear of the unit would be no less than 5 inches from the
wall.
2. PLACE ON STRONG GR OUND
- Be sure that the location be chosen has a strong enough floor to support the total
weight of the cabinet and any other contents.
3. DO NOT PLA CE NEAR HEAT
- Be sure to avoid hot corners and locations near stoves.
- High ambient temperature will make much lower cooling efficiency.
4. INDOOR USAGE ONLY
- Be sure to install this unit indoor.
- So, It should prohibit getting wet from the rain.
5. STABILIZING
- Make sure the unit is installed in a stable condition with the front wheels locked
while in use.
6. LEVELING
- Be sure that the unit levels from the front to the back and side to side.
7. Unit should be on dedicated outlet.
8. Place black plastic condensate pan through bac k or front.
Make sure pads are installed upwards, a drain hose is in pan.
3
Turbo air

CLEANING
1.
CLEANING STAINLESS STEEL INTERIOR AND EXTERIOR (select models)
: Damage to stainless steel finish due to improper use of cleaning products or non-
recommended products is NOT covered under this product's warranty.
• DO NOT USE
- Abrasive or harsh cleaners
- Ammonia
- Chlorine bleach
- Concentrated detergents or solvents
- Metal or plastic-textured scouring pads
- Vinegar-based products
- Citrus-based cleaners
• Do
- Use warm, soapy water and a soft, clean cloth or sponge.
- Rinse surfaces with clean, warm water and dry immediately to avoid water spots.
2. CLEANING THE CONDENSER FINS
- To maintain proper refrigeration performance, the Condenser coil must be free of
dust, dirt, and grease.
This will require periodic cleaning. Condenser fins should be cleaned at least every
three months (90 days) or as needed.
3. CLEAN THE GASKET
- The door gasket should be cleaned frequently to maintain proper sealing.
4. CHECK AFTER CLEANING
- Check the unit again for safety.
- Check that the unit is operating properly.
CA UTION
1. POWER CORD
- Be sure that the power cord is connected to the proper voltage.
- A protected circuit of the correct voltage and amperage must be run for connection of
the line cord.
- Turn ‘off’ the power switch before disconnecting the power cord, whenever
performing maintenance functions or cleaning the refrigerated cabinet.
- Compressor warranties are void if compressor burns out due to low voltage.
2. RE-STARTING
- If disconnected, wait for 5 minutes before re-starting.
4
Turbo air

BASIC OPERATION
REFRIGERATORS
MSR-23NM MSR-23G-1
MSR-49NM MSR-49G-2
MSR-72G-3
1. Plug in and turn on the power switch located on the bottom of the top grille right side.
The Display panel will be lighted and make a beep sound. The compressor will begin
to run.
2. The default temperature setting is No. “5”.
3. The compressor is automatically cycled by the electronic controller (PCB, D-Sensor).
4. The Defrost cycle is automatically controlled by the R-sensor, and the PCB.
5. Set level toward “1” for higher temperature and toward “9” for lower temperature.
6. The interior light is activated by the rocker switch at the bottom of the grille when the
door is opened. (MSR-23NM,MSR-49NM)
7. Evaporator fan motor(s) will run after all doors are completely closed.
5
Turbo air
 Loading...