

“Business phones that
build business”
(337) 234-2828
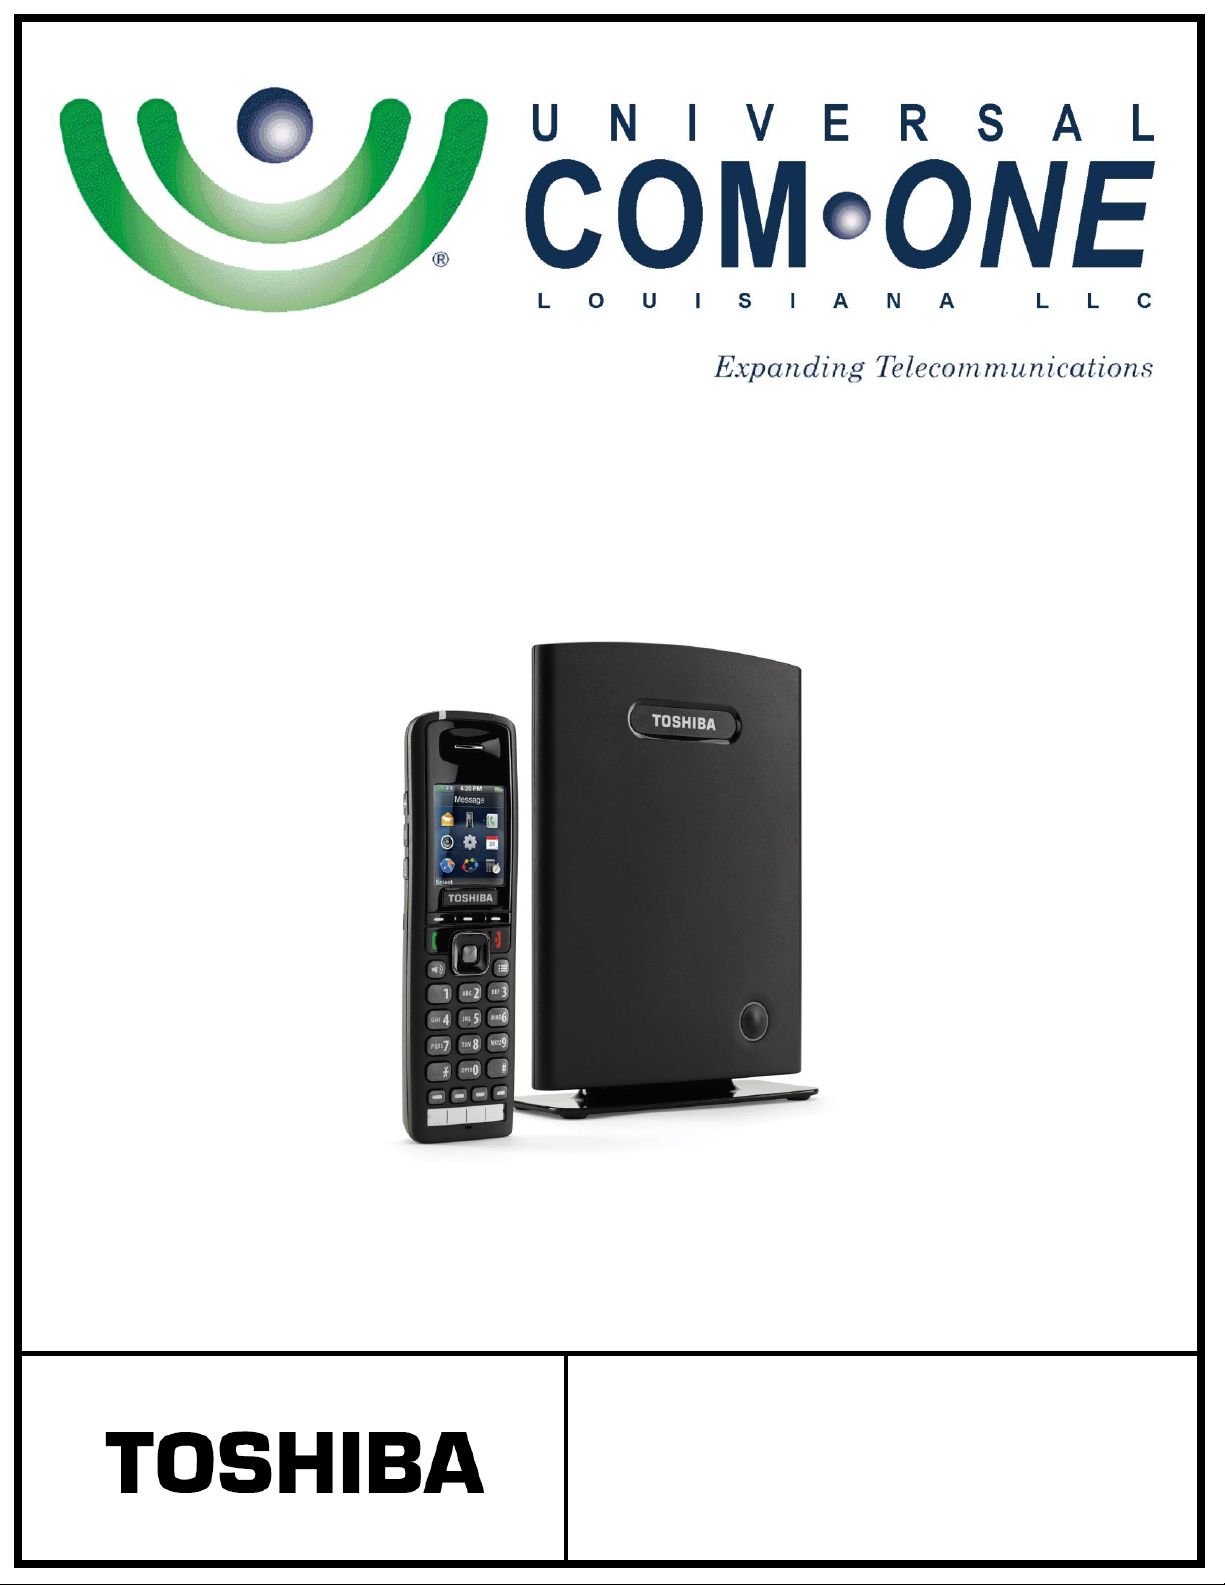
IP 4100-DECT
Cordless Phone
User Guide

To make a call: Dial the number, then press Talk from the earpiece or press Speaker from
Making and Receiving Calls
Transferring Calls
Do Not Disturb
Changing the Audio Volume
Using the Call Lists
the speakerphone.
To answer a call: Press Talk from the earpiece or press Speaker from the speakerphone.
To reject a call: Press Reject.
To silence the ringer: Press Silent.
To mute the microphone during a call: Press Mute. Press Mute again to turn the
microphone back on.
To switch between the speakerphone and earpiece: Press Speaker.
To put a call on hold: Press Hold. If the call remains on hold for longer than the hold
time, it rings again.
To return to a call on hold: Press Retrieve.
To hang up: Press End.
1. While on a call, press Transfer. This automatically puts the call on hold.
2. Enter the extension you want to transfer the call to.
3. Press Transfer.
For a supervised transfer, wait until the other extension answers - you can speak to the
person you're transferring the call to; the caller remains on hold. To complete the transfer,
press Transfer again.
While do not disturb is on, the handset turns off the ringer and ignores all incoming calls. Callers
will hear a busy signal. (Outgoing calls are not affected.)
1. From the main menu screen, select the Settings icon.
2. On the Settings screen, select Do not disturb.
3. Select Enable to turn on Do not disturb or Disable to turn it off.
Each handset has individual volume settings for the earpiece, the speakerphone, and the headset
jack: press Plus to increase the volume of the item you are currently listening to and Minus to
decrease it. The handset saves the volume setting.
The handset saves the last 50 calls (whether incoming or outgoing) to the call list.
To open the call list: Press Calls to see all calls on the lists. Use Right and Left to select
the specific call list you want to review:
- Answered calls
- Dialed calls (numbers dialed from this handset)
- Missed calls
To scroll through the list: Press Down to scroll through the list from newest to oldest.
Press Up to scroll from oldest to newest.
2

To see details on a call: Highlight the call record in the list and press View.
Using the Contact List and Central Directory
Navigating the Lists
Adding Contacts
Deleting Contacts
To dial a number: Highlight the call record you want to dial and press Talk or Call.
To add a number to the contact list:
1. Highlight the call record and press More.
2. Select Append to a contact to add this phone number to an existing contact.
OR select Add to contact list to create a new contact for this call record;
To delete records from the call list: Press More. Select Delete item to erase the
selected call record; select Delete all items to erase all records on the list.
To close the list: Press End.
Contact List (Local)
Up to 100 entries unique to each handset. They are stored locally and can be edited by the end
user of the handset.
To Open or close the list: From the contact list, open the main menu and select the Lists
Contacts icon. From the central directory, open the main menu and select the Central
Directory icon.
Scroll through the entries: From the contact list, Press Down to scroll through the
contact list from A to Z or Up to scroll from Z to A.
Jump to entries that start with a certain letter: From the contact list, press the number
key corresponding to the letter you want to jump to.
Dial a contact: Find the contact you want, and press Call or Talk.
Open the main menu screen and select the Contacts icon.
Press More and select Add contact. (If the contact list is empty, this is the only available
option.)
Select Name and enter the name you want to use for this contact.
Select one of the four phone number slots (Work, Mobile, Home, or Other) and enter the
phone number you want to use for this contact. You must enter at least one phone number,
but it doesn't matter which of the slots you use.
To set a special ringtone for this contact, select Ringtone and choose the ringtone you
want the handset to use when this contact calls. (To hear a sample of the ringtone, press
Play.)
Open the main menu screen and select the Contacts icon.
Highlight the contact you want to erase and press More.
To erase this contact only, select Delete contact; to erase all contacts from this local list,
select Delete all contacts.
When the handset prompts you to confirm, press OK.
3

Open the main menu screen and select the Contacts icon.
Edit a Contact’s Phone Number Before Dialing
Assigning Contacts to a Speed Dial Number
Making a Call From a Speed Dial Number
Voice Mail Waiting Indicator
Using the Security Menu
Locking the Keypad
Highlight the contact you want to call and press More. Select Edit before dial, then edit the
phone number. When you're finished editing the number, press Call or Talk. This will not
change the phone number stored in the contact list.
Your handset provides a total of 12 speed dial keys that you can assign to any contact: Keys 2-9
on the dial pad and the four function keys at the bottom of the handset.
Open the man menu screen and select the Contacts icon.
Highlight the contact you want to assign, and press More.
Select Speed dial. The handset shows the list of speed dial numbers and what contacts
are assigned.
The speed dial numbers from 2 through 9 correspond to the number keys on the
dial pad.The speed dial numbers 10 through 13 correspond to F1 through F4,
respectively.
Select the speed dial number you want to assign this contact to and press Add. If the
number you select is already assigned, press Delete to erase the existing assignment or
press Replace to overwrite the assignment with the new contact.
Press the function key (F1 through F4) or press and hold the number key that you assigned the
contact to. The handset automatically dials the first phone number on that contact record.
When you have new messages, the STATUS LED turns green, red, or yellow, according to the
settings you selected in the LED signal menu. After you listen to all new messages, the STATUS
LED turns off.
The Security menu lets you configure the keypad to automatically lock if the handset remains idle
and change the PIN used to deregister or reset the handset.
While the keys are locked, you will not be able to use any handset functions that require a key
press, including making and receiving calls. You can still dial emergency numbers (911) while the
keys are locked.
1. From the main menu screen, select the Settings icon.
2. On the Settings screen, select Security, then select Automatic keylock.
3. Select the amount of time (from 15 seconds to 5 minutes) you want the handset to wait
before it locks the keypad, or select Off to have the handset never lock the keypad.
If the handset is idle for the amount of time you selected, it locks the keys. To unlock the keypad,
press Select followed by *. The keypad will remain unlocked until it remains inactive for the
amount time selected above.
4
 Loading...