

Page 1
PARTS LIST
❏ 1 Side panel - left
❏ 1 Side panel - right
❏ 1 Instrument panel
❏ 1 Floor
❏ 1 Aft bulkhead
❏ 1 Front half control stick
❏ 1 Rear half control stick
❏ 1 Seat
❏ 1 Instruction sheet
❏ 1 Instrument panel decal
❏ 1 1/4” x 18” black elastic - seat belts
❏ 5 Small round head pins - control knobs
TOOLS AND SUPPLIES
❏ Thin CA (Great Planes
®
Pro™CA recommended)
❏ Hobby knife and #11 blades
❏ Scissors or Lexan
®
shears
❏ Round file
❏ 220 and 400-grit wet or dry sandpaper
❏ Sanding block (Great Planes
®
Easy T ouch™Bar Sander
recommended – #GPMR6170)
❏ Selection of small paint brushes
❏ Model Enamel paint – (Testors Enamel recommended)
❏ Needle nose pliers
❏ Tweezers
ASSEMBLY
❏ 1. Cut each of the plastic parts from the master sheets. Be
sure to leave the raised edges around each piece as they add
stiffness and depth to the parts. Lightly sand the edges smooth.
❏ 2. Test fit the parts into your model, trimming and sanding
as necessary to obtain a good fit.
❏ 3. Wash all of the parts with warm soapy water. Rinse and
dry them thoroughly before painting.
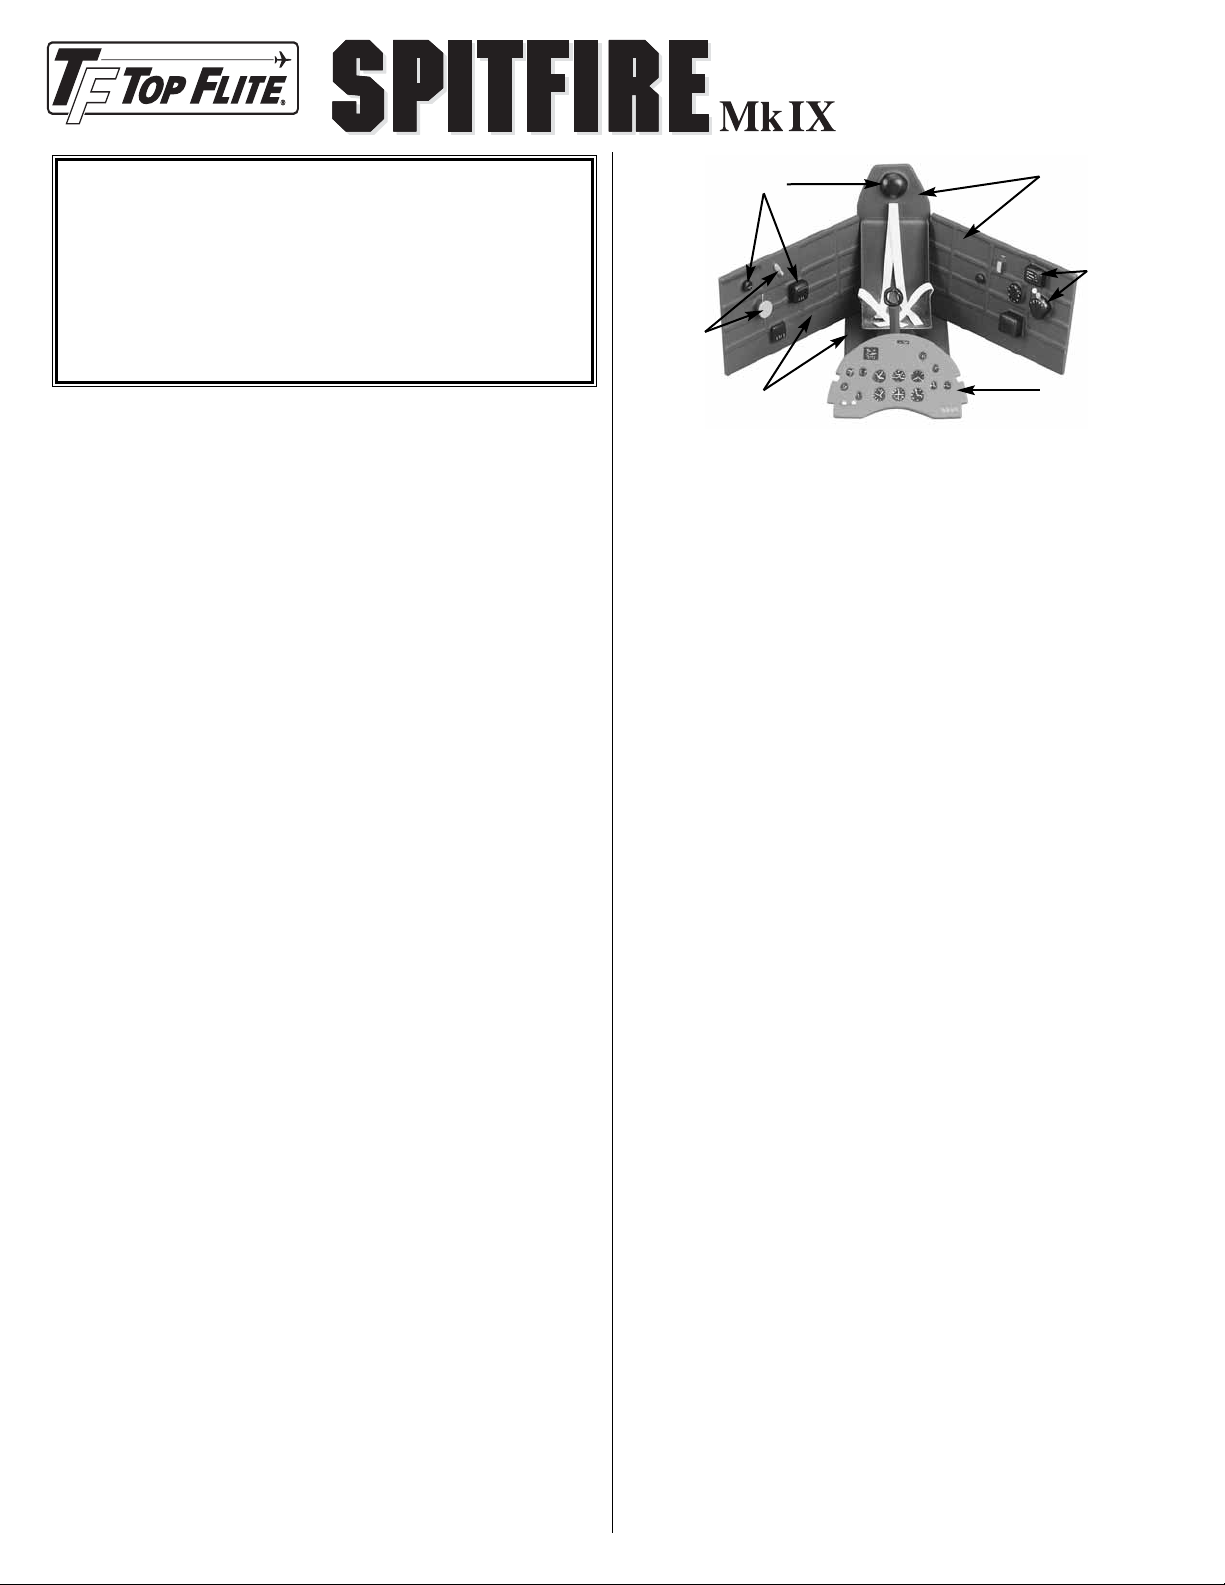
❏ 4. Paint all parts with flat enamel model paint following the
suggestions on the photos.
❏ 5. Trim the decals to fit the instrument faces and placards.
Apply them to the painted parts. A sharp hobby knife and
tweezers work well for this purpose. Be sure to burnish the
decals down so they “stay put.” NOTE: The instrument panel
portion of the decal is arranged to match the plastic part, so as
you cut each instrument, adhere it to the corresponding spot
on the panel. For added realism you could also cut holes
through the plastic instrument panel. Then, install the decals
as a single piece from the back surface.
❏ 6. Glue the painted seat to the top of the spacer on the floor.
❏ 7. Join the two halves of the control stick together. Glue a
“tab” made from a sliver of scrap plastic into the bottom of the
control stick. Cut a small slit through the floor to fit the control
stick “tab.” Glue the painted control stick into the floor, ahead of
the seat.
❏ 8. Cut the pins to about 1/2” long. Insert them into the
throttle quadrant where desired. Glue the pins in position from
behind the throttle quadrant.
❏ 9. Test fit the pilot in position and add the seat belts by
gluing them to the seat bottom. Cut a 1/4” slit through the seat
back above your pilot’s shoulders. Fold the elastic for the
shoulder harness in half. Insert the elastic fold through the slit
and then glue the elastic to the back of the seat. After installing
the cockpit into the model, use silicone adhesive to secure your
pilot in position. Attach the seatbelts b y gluing or pinning them
in place.
❏ 10. Glue the finished par ts into your model with 6-minute
epoxy or silicone adhesive.
When you take your Spitfire to the field, try to be gracious
in accepting all the praise you will undoubtedly get.
Happy flying!
If you have questions or comments write or call:
Top Flite Models
P.O.Box 788 (217) 398-8970
Urbana, IL 61801
Congratulations for deciding to install a fully detailed, scale
looking interior in your Top Flite Spitfire.This is a project that
can be as detailed or as straight forward as you care to
make it — the choice is yours.We have provided the basic
kit that can be assembled and painted in a few hours. It
represents a Spitfire Mk IX interior as delivered from the
factory. By using this kit, some imagination and your
modeling experience, you can create a great looking
interior that will “wow” them at the flying field.
SCALE COCKPIT KIT
ASSEMBLY INSTRUCTIONS
Copyright © 1997
Printed in USA – (SFCKP01)
Medium
Green
Medium
Green
Black
Silver
Black
Gray
 Loading...