

Page 1
2U AUTOLOADER
QUICK START GUIDE
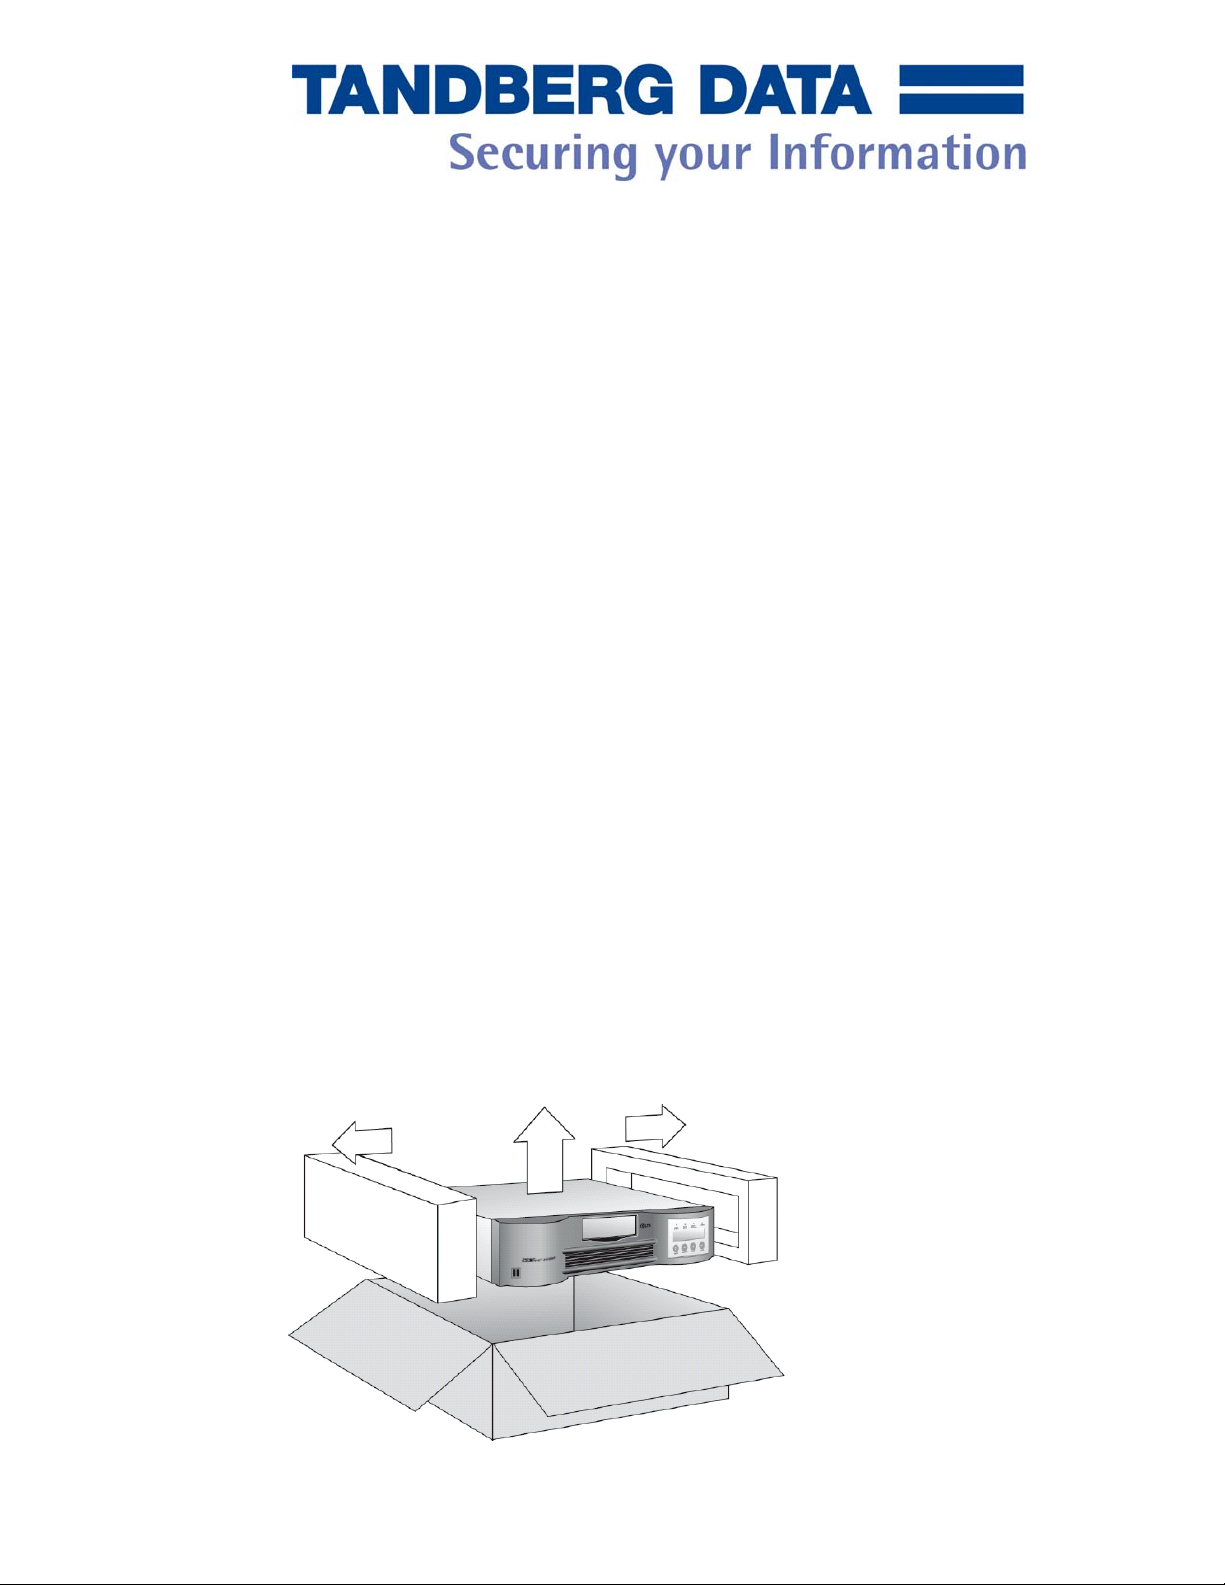
Step 1: Unpack the Autoloader
a. Look for markings on the shipping carton that indicate the top. If
necessary, position the carton so that it is top-side up.
b. Using scissors, a utility knife, or other appropriate tool, carefully cut
the packing tape along the length and ends of the carton.
c. Remove the accessories box from the shipping carton and check
the contents. The accessories box contains the following items:
• SCSI cable and terminator
• Manual CD & Quick Start Guide (Hardcopy)
• Power cord (EU & US version)
If this is a rackmount installation, check the rack kit contents (has
to be purchased separately). The rack kit contains the following:
• Hardware kit with clip nuts and bolts
• Mounting rails
• Fixing flanges
d. Lift the Autoloader and padding out of the box and place it on a
work surface, top facing up.
e. Carefully remove the foam packaging from the Autoloader and
then remove the bag.
1
Rev. 1.0, June 2004
Page 2
Step 2: Choose a Location
Select a location for the Autoloader that has adequate clearance for
ventilation, minimal dust and debris, and an appropriate power source
nearby.
If this is a standalone installation, select a location that is flat, sturdy, and
level. Do not place the Autoloader on its side or stack items on top of the
Autoloader.
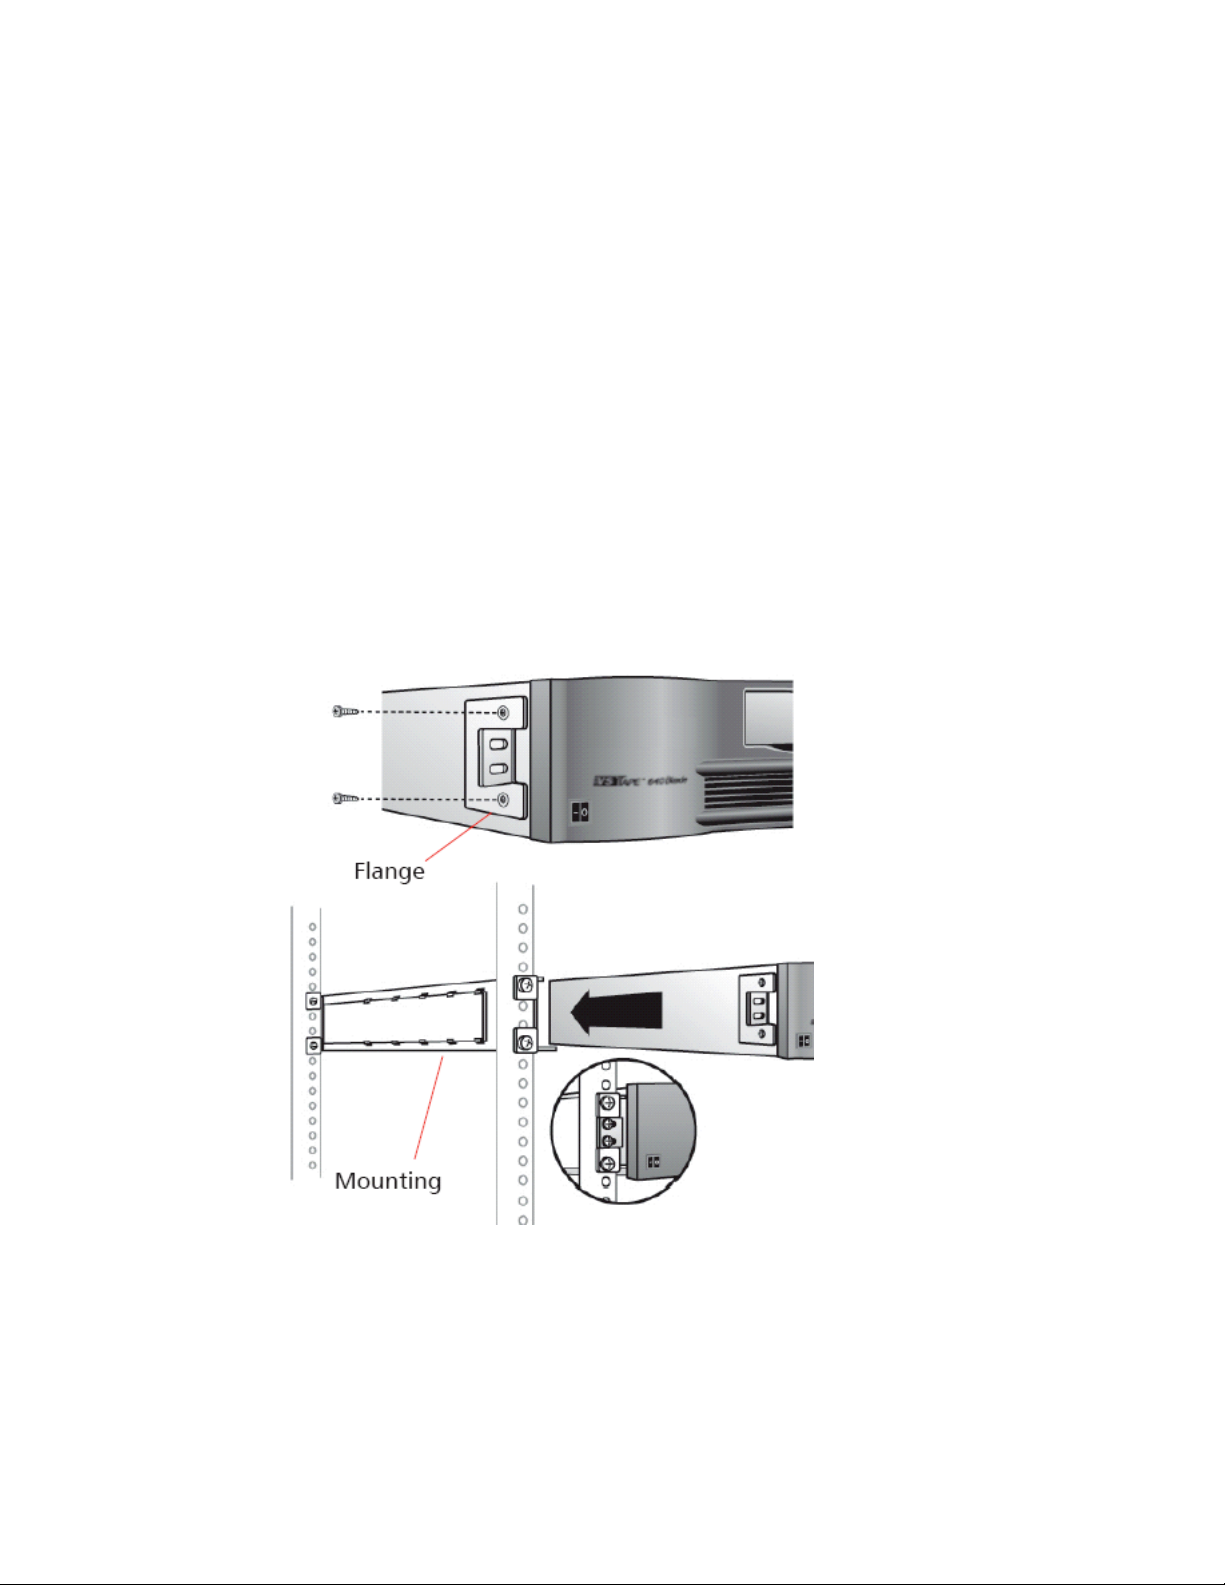
Step 3: Install the Autoloader into a Rack
If this is a rackmount installation, install the Autoloader into a rack by
doing the following:
• Securing the fixing flanges on the sides of the Autoloader
• Installing the mounting rails into the rack
• Securing the flanges to the mounting rails
2
Rev. 1.0, June 2004
Page 3
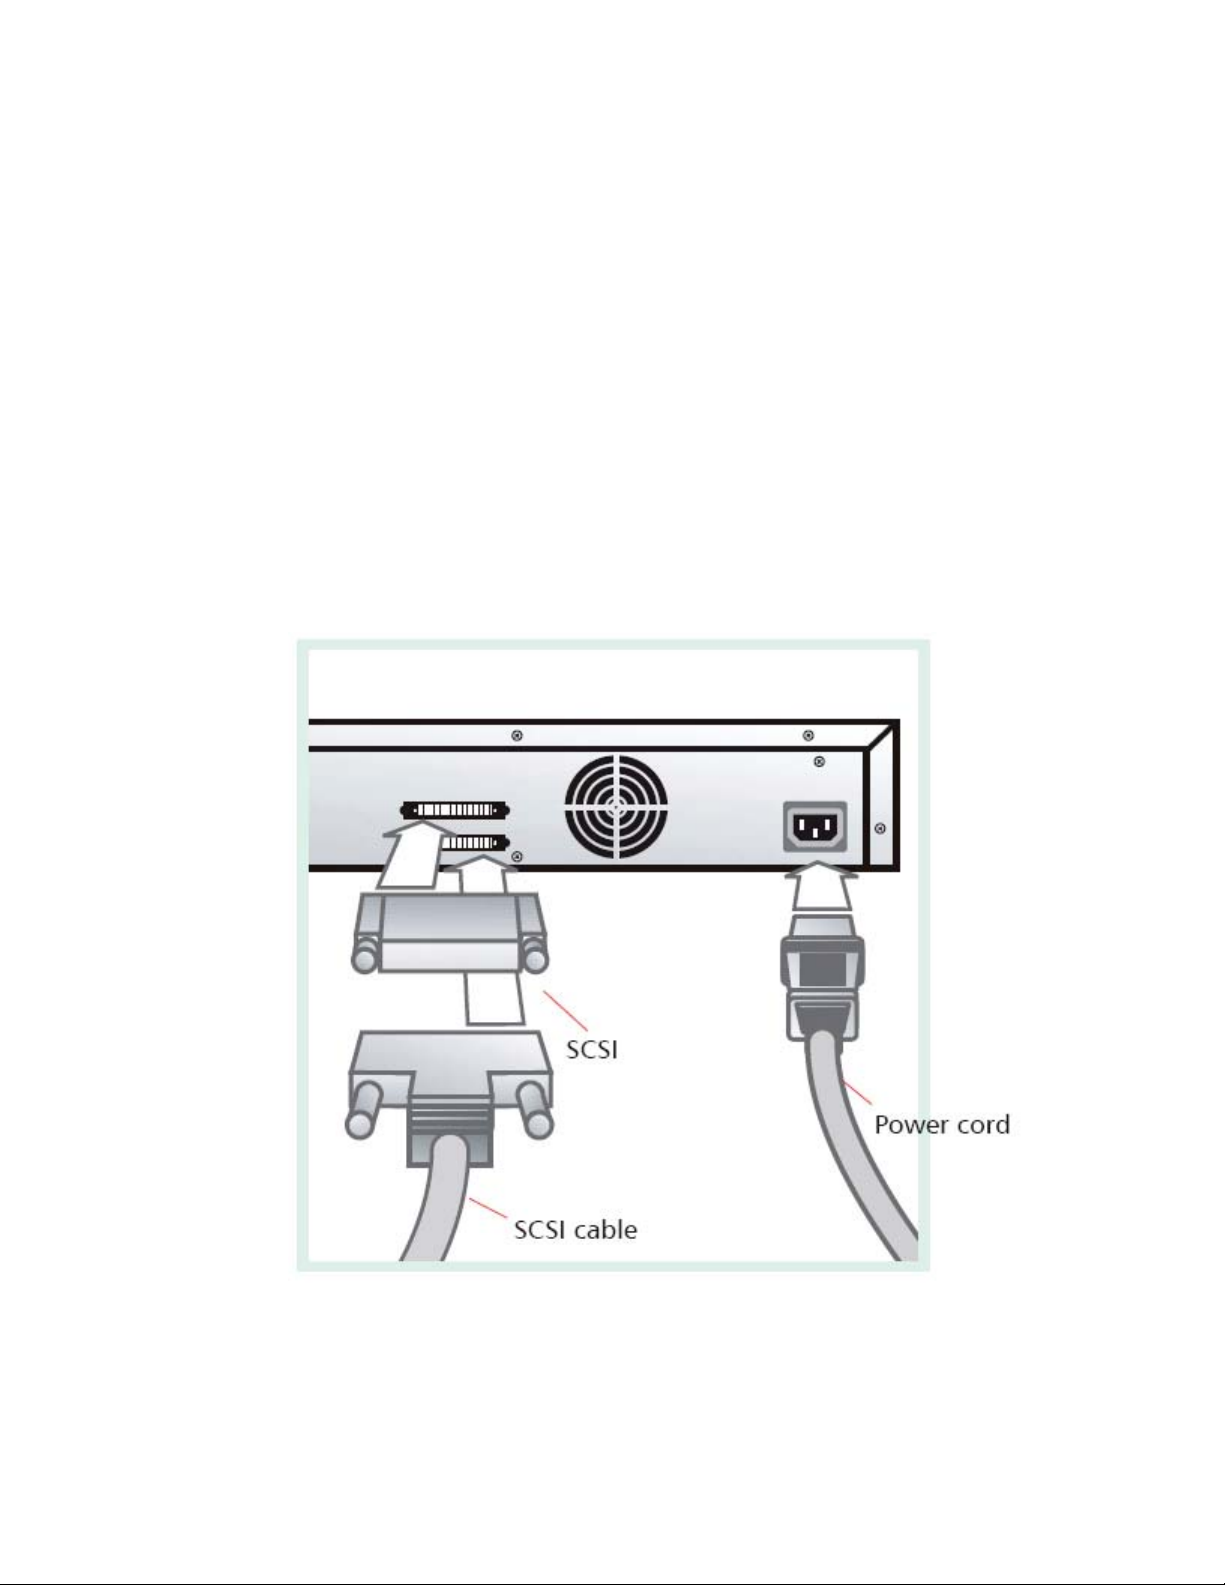
Step 4: Cabling the Autoloader
a. Ensure that all devices on the SCSI bus are powered off.
b. Attach a SCSI cable from the SCSI bus to one of the SCSI connectors
on the back panel of the Autoloader.
c. If the Autoloader is the last device on the SCSI bus (or the only
device), attach a SCSI terminator to the other SCSI connector on the
back panel of the Autoloader.
If the Autoloader is not the last device of the SCSI bus, attach a SCSI
cable from the open connector on the back panel of the Autoloader to
the next device on the bus.
d. Connect a power cord from the back panel of the Autoloader to a
grounded power source.
Step 5: Prepare the Host
If necessary, install a SCSI host bus adapter, software, and a compatible
driver on the host computer. Connect the SCSI bus to the host computer.
3
Rev. 1.0, June 2004
Page 4

Step 6: Turn on the Autoloader
Turn on the Autoloader by pressing the power button on the front
panel. Power on the host and all attached SCSI devices.
Use the eraser end of a pencil or something similar to press the left
side of the power switch. The autoloader powers up.
Step 6: Operating the Autoloader
The following sections provide an overview of Autoloader
operations.
Importing Cartridges.
Load tapes into the Autoloader by using the Import command from
the front panel and then inserting the data cartridge into the
mailslot.
Install data cartridges in slots 1-8:
1. Place cartridge in the cartridge access port.
2. Press any button on the operator panel to change to interaction
mode.
3. Choose the "Commands" menu and press <Enter>.
4. Choose "Import", press <Enter>.
5. Enter the number of the cartridge slot and press <Enter>.
The cartridge is placed in the chosen slot.
4
Rev. 1.0, June 2004
Page 5

6. Repeat step 4 to 7, until all cartridges are imported.
Drive empty
12345678 SEQ
7. Power up your host computer.
8. Verify your backup software.
Exporting Cartridges.
Unload tape cartridges from the Autoloader by using the Export
command from the front panel. The selected cartridge automatically
ejects.
Loading Cartridges.
Load tape cartridges from the Autoloader slots into the tape drive by
using the Load Cartridge command from the front panel.
Unloading Cartridges.
Unload tape cartridges from the tape drive to the Autoloader slots
by using the Unload Cartridge command from the front panel.
Cleaning the Tape Drive.
Clean the tape drive when the Clean Drive LED is illuminated. Use
the Clean Drive command from the front panel to import a cleaning
cartridge into the Autoloader and begin the cleaning operation.
Ordering Media.
To prolong the life of the Autoloader tape drive, use Autoloader
storage media. Autoloader tape cartridges and cleaning cartridges
have been designed in conjunction with the Autoloader tape drive.
More information about operation
and functionality are provided on
the manual CD.
5
Rev. 1.0, June 2004
Page 6

6
Rev. 1.0, June 2004
Page 7

SUPPORT CONTACT INFORMATION:
Europe TANDBERG Data GmbH
Feldstr. 81
D-44141 Dortmund
Germany
Phone: 0049 – (0)231 – 5436 142
Fax: 0049 – (0)231 – 5436 143
USA INOSTOR Inc. (A TANDBERG DATA COMPANY)
13000 Gregg Street
Poway
CA 92064
USA
Phone: 001 – (0)858 – 726 0277
Fax: 001 – (0)858 – 726 0278
ASIA TANDBERG Data Pte. Ltd. (main office for ASIA)
20 Bendemeer Road
#04-05 Cyberhub
Singapore 339914
Phone: 0065 – (0)6396 – 0786
Fax: 0065 – (0)6396 – 0787
Japan TANDBERG Data Inc.
Shinkawa –nittei Annex Bldg. , 7th floor
22-4, Shinkawa 1-chome
Chuo-ku
Tokyo 104
Japan
Phone: 0081 – (0)3 5566 – 2871
Fax: 0081 – (0)3 5566 – 2875
7
Rev. 1.0, June 2004
 Loading...