


SW347-WA2
™
Advanced security made easy
™
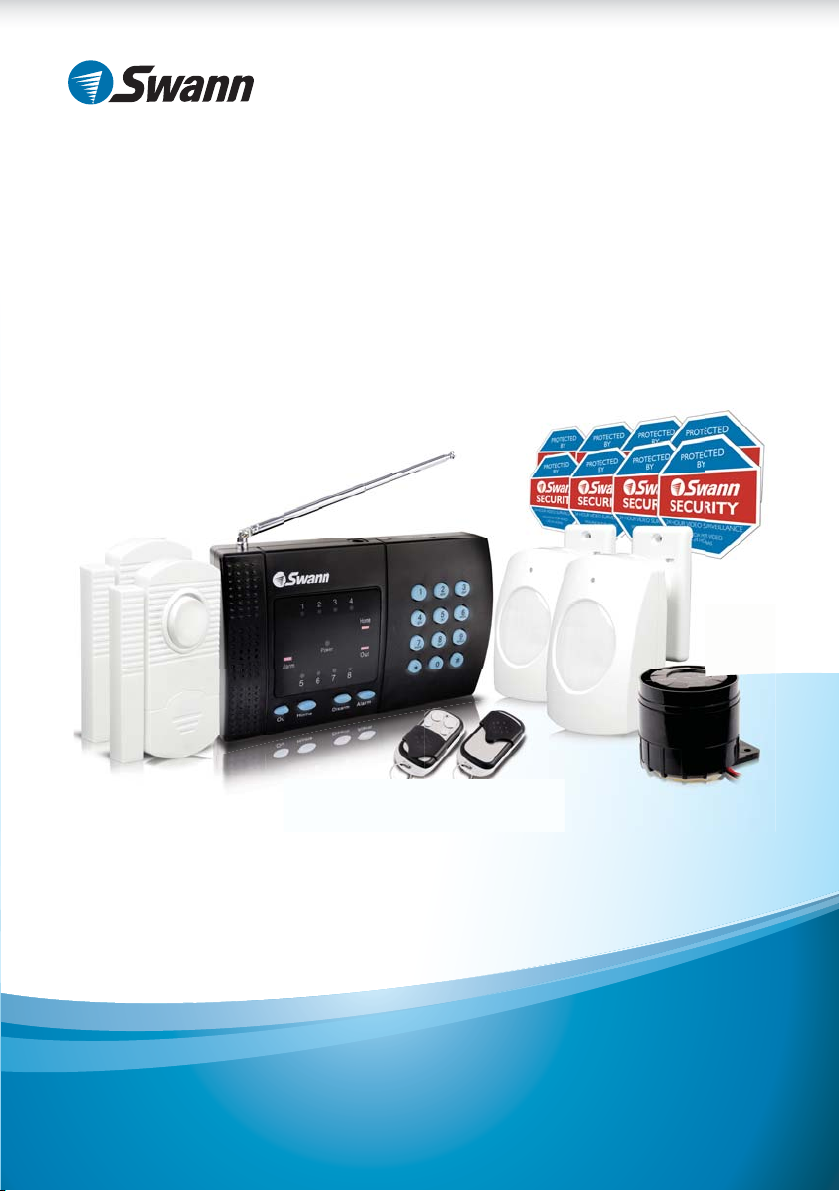
Wireless Alarm System
SW347-WA2
Operating Instructions
SW347-WA2
www.swannsecurity.com
MWA2080710E
1

Before You Begin
FCC Verifi cation:
NOTE: This equipment has been tested and found to comply with the limits for
Class B digital device, pursuant to part 15 of the FCC Rules. These limits are designed to provide reasonable protection against harmful interference in a residential installation. This equipment generates, uses and can radiate radio frequency
energy and, if not installed and used in accordance with the instructions, may
cause harmful interference to radio or television reception, which can be determined by turning the equipment off and on, the user is encouraged to try to correct the interference by one or more of the following measures:
· Reorient or relocate the receiving antenna
· Increase the separation between the equipment and the receiver
· Connect the equipment into an outlet on a circuit different from that to which
the receiver is connected
· Consult the dealer or an experienced radio/TV technician for help
IMPORTANT NOTE: Prohibition against eavesdropping
Except for the operations of law enforcement offi cers conducted under lawful
authority, no person shall use, either directly or indirectly, a device operated pursuant to the provisions of this Part for the purpose of overhearing or recording the
private conversations of others unless such use is authorized by all of the parties
engaging in the conversation.
WARNING: Modifi cations not approved by the party responsible for compliance
could void user’s authority to operate the equipment.
IMPORTANT SAFETY INSTRUCTIONS:
· Make sure product is fi xed correctly and stable if fastened in place
· Do not operate if wires and terminals are exposed
IMPORTANT: Regarding Your Passcode
The Default Passcode is 1235.
In the event that the default settings for the alarm system are restored,
or you accidentally lock the system before setting a passcode of your
own, then this is the code you’ll need to unlock the system.
We strongly recommend choosing a new password as soon as possible.
222
2 19
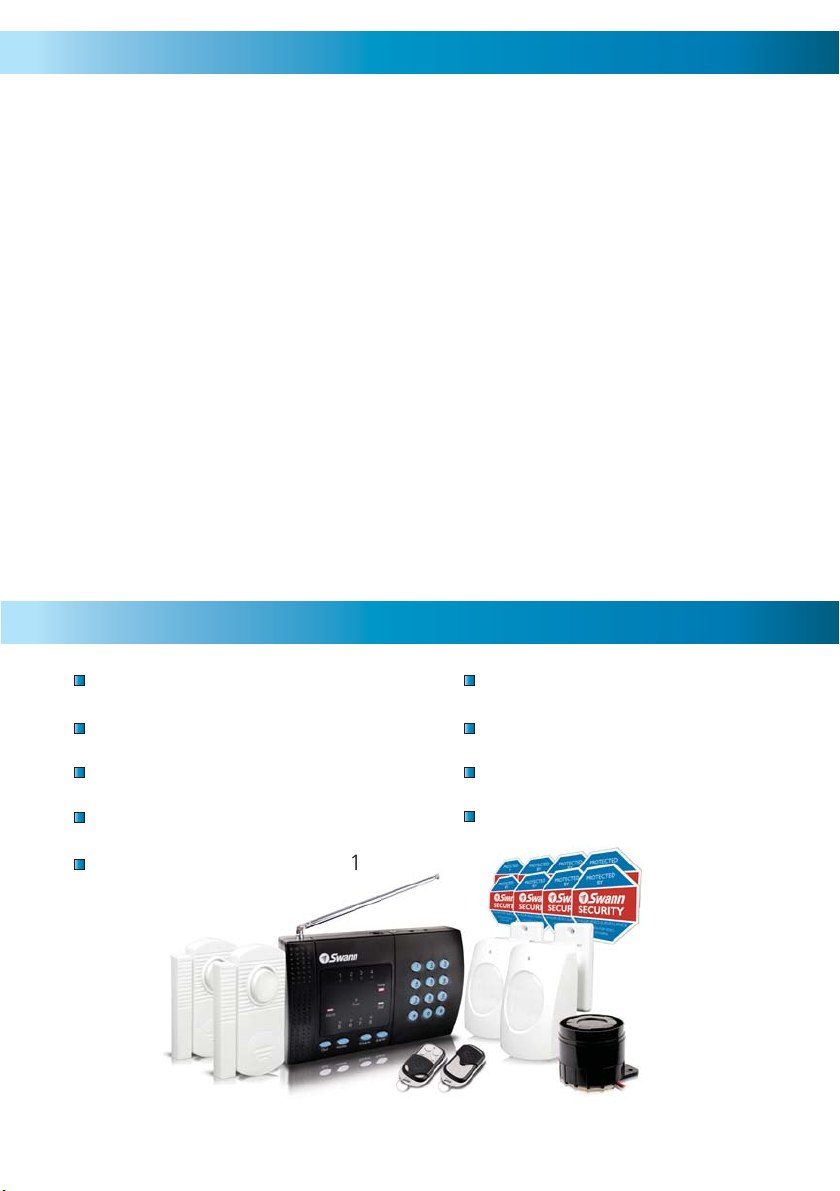
Table of Contents
i-IntrusSirex
Before You Begin 2
Table of Contents 3
Package Contents 3
IMPORTANT - Read Before Installing 4
About the Home Wireless Alarm System 5
The Keypad Alarm Control Unit 6
The Window / Doorway Sensors 7
The Alarm PIR Motion Sensors 8 - 9
The Keypad Remote Controls 10
Operating the System 11
Your Passcode & Alarm Duration 11
Pairing Sensors 13
Arming and Disarming the System 14
Batteries 15
Troubleshooting 16 - 17
Technical Specifi cations 18
Warranty Information 19
Technical Support Rear Cover
Package Contents
Keypad Alarm Control Unit x 1
Remote Control x 2
PIR Motion Sensor x2
Window/Door Sensor x 2
Power Adapter x 1
Operating Instructions x 1
Window Deterrent Stickers x 8
Mounting Hardware
Loud Anti-Intrusion Siren x 1
3
3

IMPORTANT - Read Before Installing
For your safety and the safety of others, and to ensure that you get the most out of
the Home Wireless Alarm System, please read and adhere to these guidelines.
Do not • expose any part of the Wireless Alarm System to any sudden shocks
(such as being dropped or struck).
Do not• install the PIR Motion Sensors near any device which emits heat or cold,
such as air conditioners, refrigerators, ovens, heaters, microwaves or other
electronic equipment which generates heat as a by-product of operation.
Do not• install any component of the Home Wireless Alarm System in direct
sunlight.
Use only alkaline batteries.•
All components are for indoor use only.• Do not install outdoors.
Replace the batteries in the units every six months.• There are batteries in
the Remote Controls, Window/Door Sensors and in the PIR Motion Sensors.
Test the alarm periodically• (every 1 - 2 months and each time you change
the batteries) to ensure it is working properly.
For the best results, • ensure that the antenna on the Keypad Alarm Control
Unit is extended to its maximum length. The strength of the wireless signal
is dramatically affected by the placement of the antenna.
Keep this operating instruction booklet in a safe place.•
This alarm system is designed to be, and acts as, a theft deterrent. This •
system, like any other, cannot offer complete protection for your home
or business - it is simply an alarm system. Like all practical systems, it has
limitations and it could be disabled by a skilled intruder. We suggest that you
avoid relying solely on the Wireless Alarm System to protect your property, but
use it as part of a comprehensive security solution. You can increase your level
of protection through the use of high-quality locks, stronger doors, guards
for your windows and a CCTV system combined with audio-visual recording
devices.
444

About the Wireless Alarm System
The Wireless Alarm System is a convenient, cost-effective and easy to install
security system for your home or small business. Combining multiple types of
sensors, multiple alarm zones, two modes of operation and the convenience of
wireless technology, Swann’s Home Wireless Alarm System offers fl exible solutions
for almost any kind of environment.
Throughout this instructional manual, we’ll be referring to the building in which
the alarm is installed as the “house” or “home”. This is not to say that the Wireless
Alarm System cannot be installed in a business, offi ce, warehouse or wherever you
desire – however, we do anticipate that home security is the most practicable use
for the Wireless Alarm System, and this manual is written from that viewpoint.
The methodology for installing the alarm system in another type of environment
is practically identical.
Placement of the Keypad Alarm Control Unit and Sensors:
Before attempting to install the Home Wireless Alarm System, it’s worth taking the
time to really think about and plan the best locations in your home to place your
sensors and Keypad Alarm Control Unit.
When it comes to placing the sensors, there are two confl icting needs to consider.
On the one hand, it’s important for the sensors to cover the areas most vulnerable
to intrusion but, on the other hand, it shouldn’t be too easy for an intruder to
access the sensors and avoid or physically damage them.
The Keypad Alarm Control Unit needs to be located somewhere close enough to
an entrance/exit that you can get to it relatively quickly – this is important when
arming the system before leaving the house, or disarming it when returning home
if you don’t have the remote control handy. You certainly don’t want false alarms;
but if they do occur, you want either the remote or Keypad Alarm Control Unit
easily accessible to stop it before it wakes the neighbourhood!
Installing the Keypad Alarm Control Unit:
Remember that, unlike the sensors, the Keypad Alarm Control Unit needs to
be connected to power using the supplied 9V power adaptor.
5
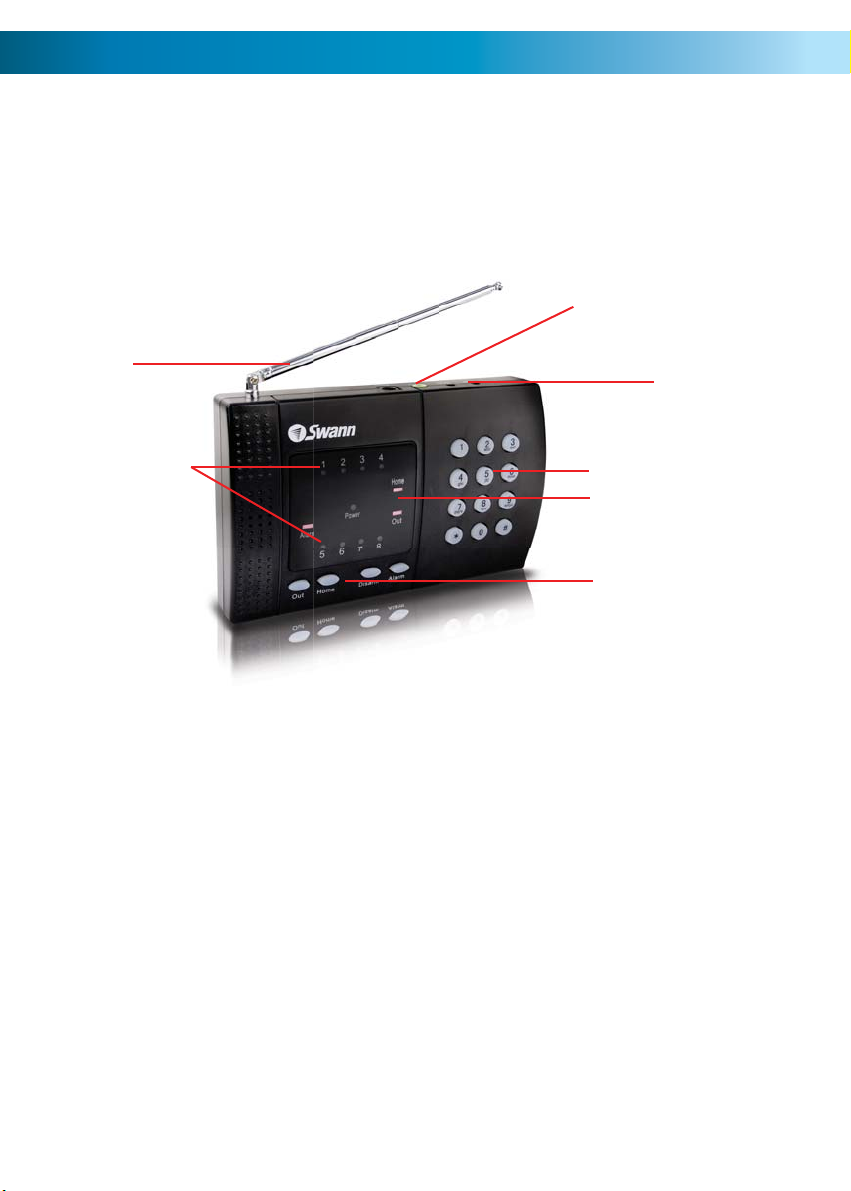
The Keypad Alarm Control Unit
The Keypad Alarm Control Unit is the heart of the Wireless Alarm System. It is
responsible for monitoring the various sensors throughout your home, and for
triggering the alarm signal when one of them reports a disturbance. As such,
it is the single most important part of the Wireless Alarm System, and (with the
possible exception of the remote controls) the part of the system that you will use
most often.
Here’s a quick rundown of the various buttons on the Keypad Alarm Control Unit and
what they do. We’ll cover the more advanced operations later in this manual.
Siren Connection
Antenna
Zone LEDs
Numerical Keypad
Mode Indicator LEDs
Arming Buttons
Zone Set &
Setup Buttons
Out Button: Used when arming the Wireless Alarm System for “Out Mode”.
Home Button: Used when arming the Wireless Alarm System for “Home Mode”.
Disarm Button: Used to disarm the Wireless Alarm System.
Alarm Button: Used to trigger the alarm manually. Essentially, this is a panic
button, and can also be used to test the functionality of the siren. Additionally, this
button will bypass the arming delay if pressed after arming the system.
Home LED: When constantly lit, this indicates that the Wireless Alarm System is
armed in “Home Mode”. When fl ashing, it means that the Wireless Alarm System
is currently counting down the 30 second delay before arming “Home Mode”.
Out LED: When constantly lit, this indicates that the Wireless Alarm System is
armed in “Out Mode”. When fl ashing, it means that the Wireless Alarm System is
currently counting down the 30 second delay before arming “Out Mode”.
Alarm LED: Indicates that the alarm has been tripped.
666
 Loading...