

Page 1
KITCHEN TOOLS
6
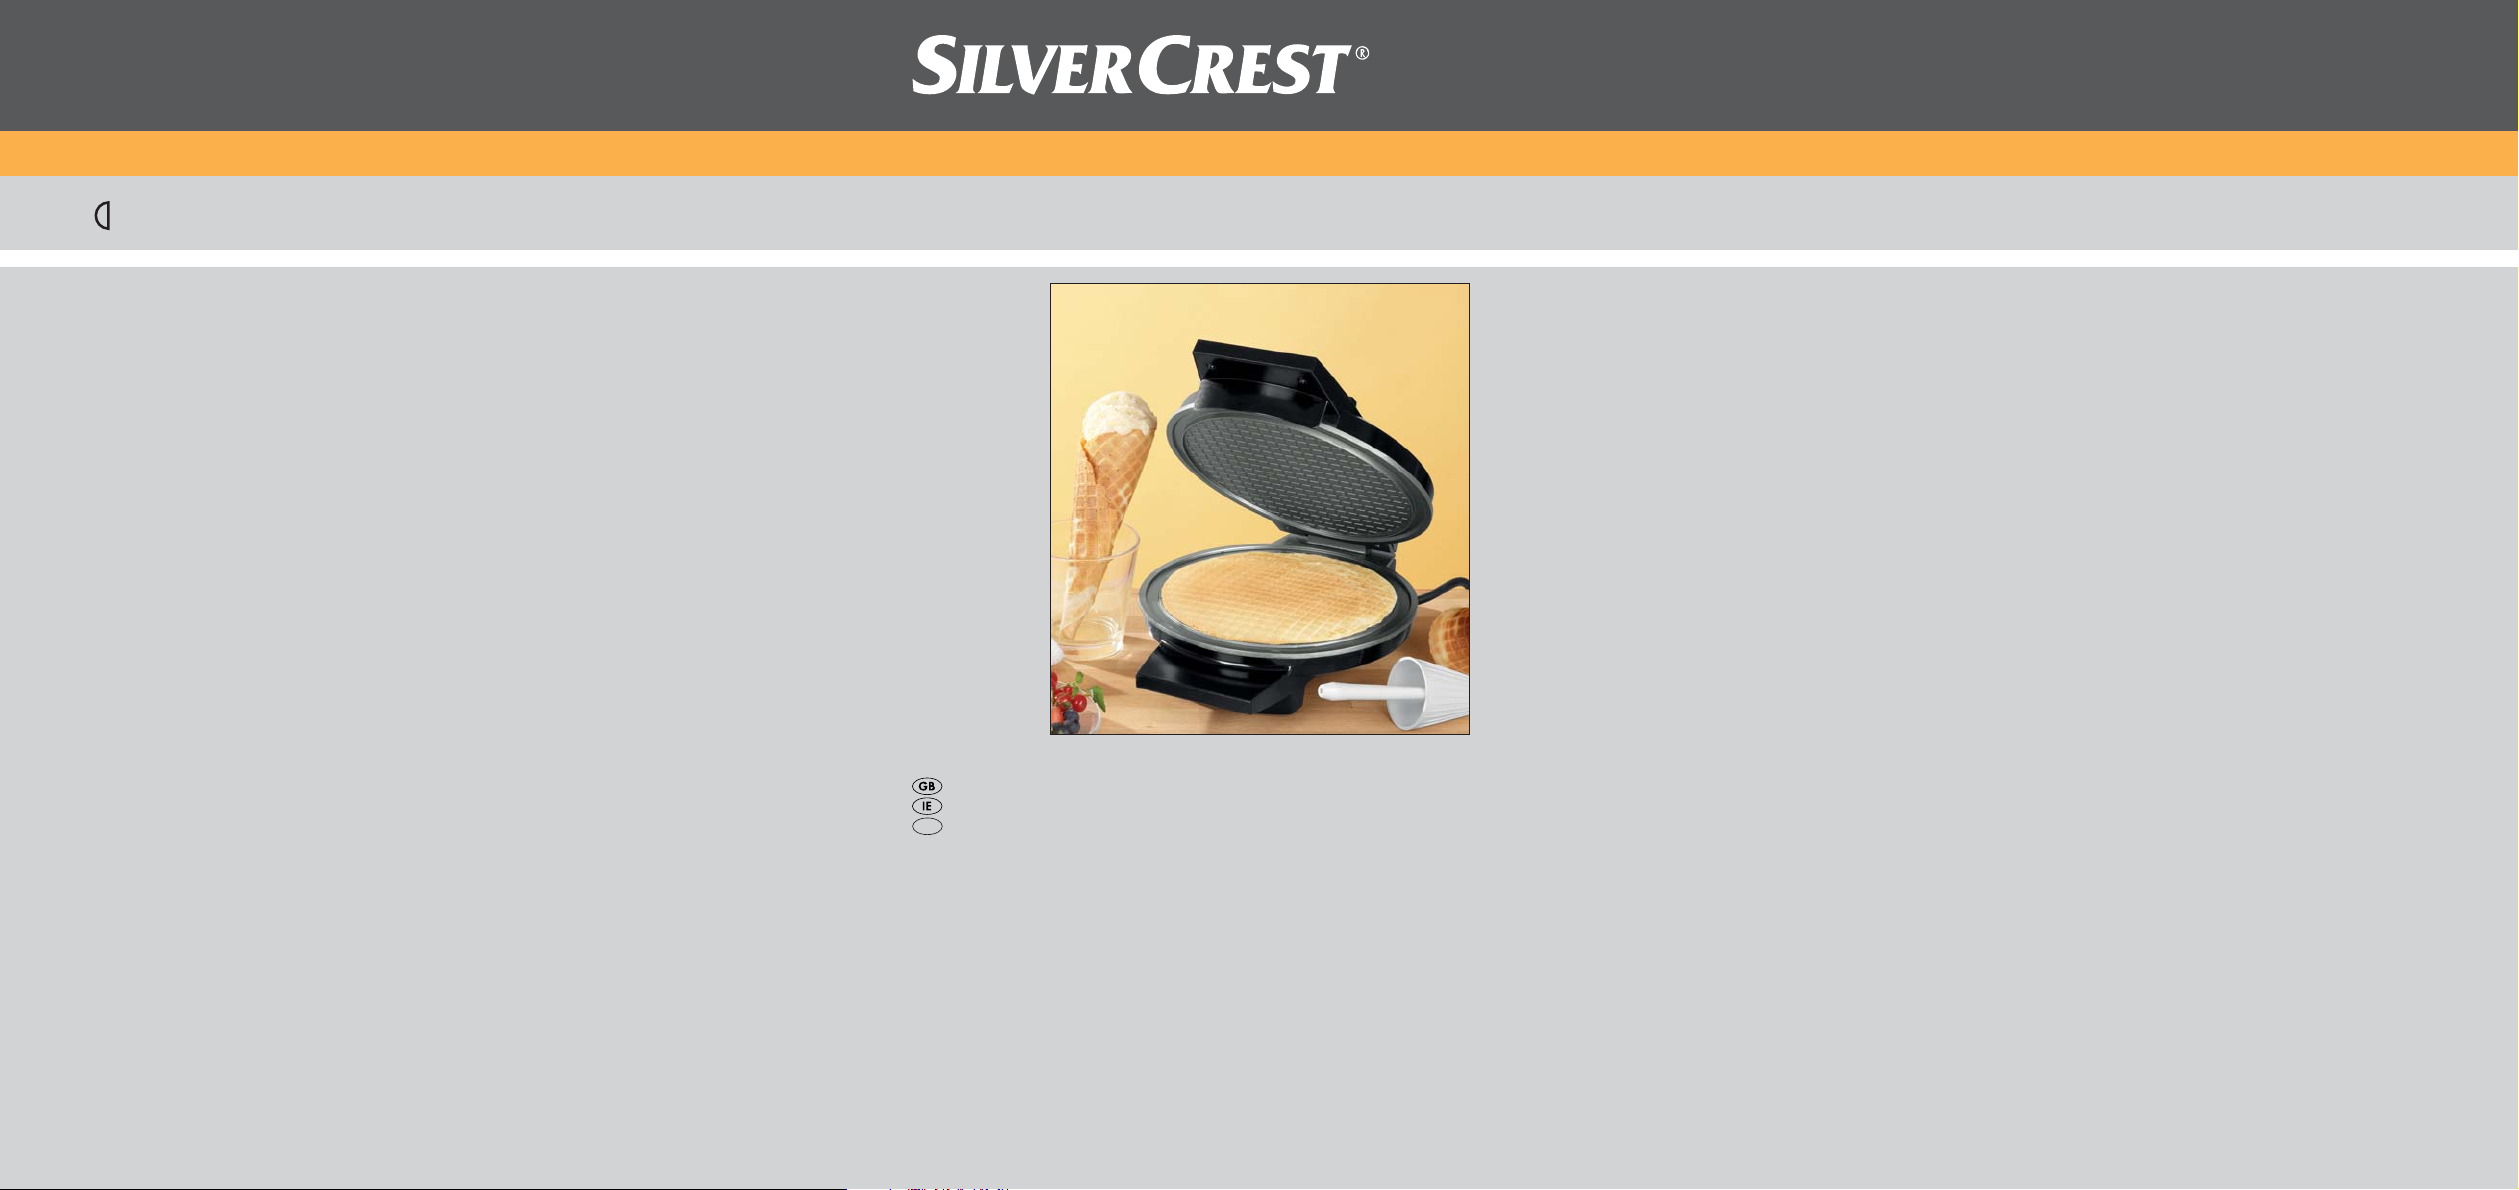
Waffle Cone Maker
KH 1123
Waffle Cone Maker
Operating instructions
CY
KOMPERNASS GMBH
BURGSTRASSE 21 · D-44867 BOCHUM
www.kompernass.com
ID-Nr.: KH1123-12/09-V3
Page 2

KH 1123
q
w
e
r
t
Page 3
CONTENT PAGE
Intended use 2
Technical data 2
Items supplied 2
Appliance description 2
Safety information 2
Before the First Use 3
Baking Waffle-Cones 3
Cleaning and Care 4
Basic recipe 5
Storage 5
Disposal 5
Importer 5
Warranty and Service 6
Read these operating instructions carefully before using the appliance for the first time and preserve this
maual for later reference. Pass this manual on to whoever might acquire the appliance at a future date.
- 1 -
Page 4

WAFFLE CONE MAKER
KH 1123
Intended use
This appliance is intended for baking waffle-croissants
in a domestic environment. It is not intended for the
preparation of other foods nor for commercial or
industrial purposes.
Technical data
Voltage : 220-240 V / ~50 Hz
Power consumption :1200 W
Items supplied
Safety information
To avoid life-threatening electric
shocks:
• Ensure that the appliance never comes into contact
with water when the plug is inserted into a power
socket, especially if it is being used in the kitchen
and close to the sink.
• Ensure that the power cable never becomes wet
or damp during operation. Lay the cable such
that it does not get clamped or otherwise damaged.
• Arrange for defective power plugs and/or cables
to be replaced at once by qualified technicians
or our Customer Service Department.
• Always pull the plug out of the power socket after
use. Simply switching the appliance off is not
sufficient, as it remains under power for as long
as the plug is inserted into the power socket.
• Waffle Cone Maker
• Cone shaper
• Operating Instructions
Appliance description
Operating lamp (red / green)
q
Temperature regulator
w
Cable retainer
e
Upper grip
r
Cone shaper
t
NEVER submerse any parts of the appliance
in water or other liquids! This will incur the risk
of a potentially fatal electrical shock if residual liquid comes into contact with live
components.
To avoid the risks of fire or injury:
• Parts of the appliance will become hot during
operation; therefore you should hold the appliance
only by the grip. The temperature regulator
can also become hot after a certain amount of
operation – it is therefore best to wear oven mitts.
• Pastry can catch fire! Thus, DO NOT place the
appliance under inflammable objects, especially
curtains and drapes.
• Never let the appliance work without supervision.
• Do not use an external timing switch or a separate
remote control system to operate the appliance.
w
- 2 -
Page 5

• This appliance is not intended for use by individuals
(including children) with restricted physical,
physiological or intellectual abilities or deficiences
in experience and/or knowledge unless they are
supervised by a person responsible for their safety
or receive from this person instruction in how the
appliance is to be used. Children should be
supervised to ensure that they do not play with
the appliance.
• Very hot steam clouds can escape when opening
the lid. It is thus best to wear oven mitts when
opening the appliance.
Before the First Use
Before taking the appliance into use check to ensure
that the appliance, the power plug and the power
cable are all in a serviceable condition and that all
packaging materials have been removed.
First of all, clean the appliance as described in the
chapter "Cleaning and Care".
Heat the appliance briefly to the maximum temperature
with the lid closed:
1. For this, insert the plug into a power socket and
turn the temperature regulator
2. The red operating lamp
the plug is connected to the mains power source.
The green operating lamp
the appliance has reached the adjusted
temperature.
q
to position “4”.
w
glows for as long as
glows as soon as
q
Note: If you place the temperature controller
at "0", the green operating lamp qglows constantly. Use this setting to check that the green
operating lamp
this position the appliance will not be heated
up.
3. Remove the power plug and, with the lid open,
allow the appliance to cool down.
4. Clean the appliance again as described in the
chapter "Cleaning and Care". The Waffle-Cone
Maker is now ready for use.
is functioning correctly. In
q
Baking Waffle-Cones
When you have prepared a mixture for the WaffleCone Maker, one such as those in the recipes
given in this booklet:
1 Heat the appliance up with the lid closed. For
this, insert the plug into a power socket and turn
the temperature regulator
As soon as the green operating light
the appliance is sufficiently warmed up!
Note: It can happen that during the baking process the green operating lamp
out briefly and then lights up again. This means
that the adjusted temperature had fallen, the appliance then automatically heats itself back up
to the required temperature.
2. Open the Waffle-Cone Maker with the upper
grip
.
r
to about position 3.
w
q
briefly goes
q
glows,
w
Note: On the first use the generation of a slight
smell can occur, due to residues from the production. It is completely harmless and disperses
after a short time. Provide for sufficient ventilation, for example, open a window.
Important!:
When it is hot, take hold of the Waffle-Cone Maker
only by the upper grip
3. Grease the hot baking surfaces lightly with butter,
margarine or an oil that is suitable for baking.
4. Place ca. 2 - 3 tablespoons of batter in the middle
of the lower baking surface and close the lid.
- 3 -
. Risk of Burns!
r
Page 6

Note: Make certain that the batter does not run
over the edge of the baking surface. Should it
be necessary, increase or decrease the amount
of batter for the next waffle-cone.
5. Then press the lid down with light pressure on
the upper grip
result, we recommend lightly pressing the lid
down for approx. 1 minute.
6. After no less than 1 minute you can open the
lid to check the baking result. Opening the lid
earlier will only tear the waffle-cones.
• The waffle-cones are ready after about 3 minutes.
You can determine the level of browning either
by adjustment of the temperature regulator
or by means of the baking time. In this way, the
waffles can be baked to a golden yellow or a
crispy brown.
. To obtain an optimal baking
r
w
9. Lay the cone shaper tat the edge of the wafflecone and roll the cone shaper
of the waffle-cone so that waffle-cone itself is rolled
up. This will create the typical cone shape.
over the whole
t
7. When the waffle-cone is ready, open the lid.
Risk of Burns:
The waffle-cone and the appliance are very hot!
Do not touch the baking surfaces! Use a wooden
spatula to take the waffle-cone out of the appliance.
8. Remove the waffle-cone before it has cooled
down and place it on a clean and level surface.
Cut off the protruding scraps of pastry so that
the waffle cone is uniformly round.
Note: You can only shape the waffle cone when
the baked waffle is still hot. The waffle becomes
hard as soon as it has cooled down.
Risk of Burns:
The waffle-cone and the appliance are very hot!
Use for example a clean kitchen towel to take hold
of the waffle-cone when shaping it.
10. Allow the waffle cone to cool down on the
cone shaper
11. After baking the last waffle-cone remove the
plug from the power socket and allow the
appliance to cool with the lid open.
t
.
Cleaning and Care
Important!:
Never open the casing of the appliance. There are
no operating elements inside. When the casing is
open, there is the risk of receiving a fatal electrical
shock. Before cleaning the device, ....
• Remove the power plug from the wall socket and
allow the device to cool down completely.
Never submerse any parts of the device in water
or other liquids! There would be the risk of a
fatal electric shock upon the next use of the
appliance should moisture be present in the
voltage conducting elements .
- 4 -
Page 7

• First of all, clean the baking surfaces with a dry
paper towel to soak up the grease residue.
• Then clean all surfaces and the power cable
with a lightly moistened dish cloth. Always dry
the appliance well before using it again.
• Clean the cone shaper
a mild washing-up liquid.
• Do not use detergents or solvents. They could not
only damage the appliance, they can also leave
traces that would be baked into the next wafflecones.
In the case of stubborn residues:
• Under no circumstances should you use hard
or metallic objects. These could damage the
coatings of the baking surfaces.
• It is better to lay a wet wash cloth on the encrusted
residues in order to soften them.
with warm water and
t
Basic recipe
Storage
Allow the appliance to cool off completely before
putting it into storage.
Wind the power cable around the cable retainer
on the bottom of the appliance.
e
Store the appliance in a dry location.
Disposal
Do not dispose of the appliance in your
normal domestic waste. This appliance
is subject to the European Guidelines
2002/96/EC.
Dispose of the appliance through an approved
disposal centre or at your community waste facility.
Observe the currently applicable regulations.
In case of doubt, please
contact your waste disposal centre.
250 g sugar
125 g butter
2 eggs
250 ml warm water
250 g flour
Liquefy the butter and whisk it together with the
sugar, eggs and water.
With continual stirring, add the flour.
You can add various flavours to the basic recipe.
Simply blend in, as desired, rum, lemon or vanilla
aroma or perhaps anise spice to the mixture.
The mixture should spread across the baking surface
by itself. Should the mixture still be too firm, add a
little water.
The waffle-cones are best stored in an air-tight tin.
This will keep them fresh and crispy for longer.
Dispose of all packaging materials in an
environmentally friendly manner.
Importer
KOMPERNASS GMBH
BURGSTRASSE 21
D-44867 BOCHUM, GERMANY
www.kompernass.com
- 5 -
Page 8

Warranty and Service
The warranty for this appliance is for 3 years from
the date of purchase. The appliance has been manufactured with care and meticulously examined before delivery. Please retain your receipt as proof of
purchase. In the event of a warranty claim, please
make contact by telephone with our Service Department. Only in this way can a post-free despatch for
your goods be assured.
The warranty covers only claims for material and
maufacturing defects, but not for transport damage,
for wearing parts or for damage to fragile components, e.g. buttons or batteries. This product is for
private use only and is not intended for commercial
use. The warranty is void in the case of abusive and
improper handling, use of force and internal tampering not carried out by our authorized service
branch. Your statutory rights are not restricted in
any way by this warranty.
The warranty period will not be extended by repairs
made under warranty. This applies also to replaced
and repaired parts. Any damage and defects extant
on purchase must be reported immediately after unpacking the appliance, at the latest, two days after
the purchase date. Repairs made after the expiration of the warranty period are subject to payment.
DES UK LTD
Tel.: 0871 5000 700
e-mail: support.uk@kompernass.com
Kompernass Service Ireland
Tel: 1850 930 412 (0,082 EUR/Min.)
Standard call rates apply. Mobile operators may vary.
e-mail: support.ie@kompernass.com
(£ 0.10 / minute)
- 6 -
 Loading...