

Samsung SyncMaster 150MP PLUS, SyncMaster 170MP Plus User Manual
SyncMaster 150MP / 170MP

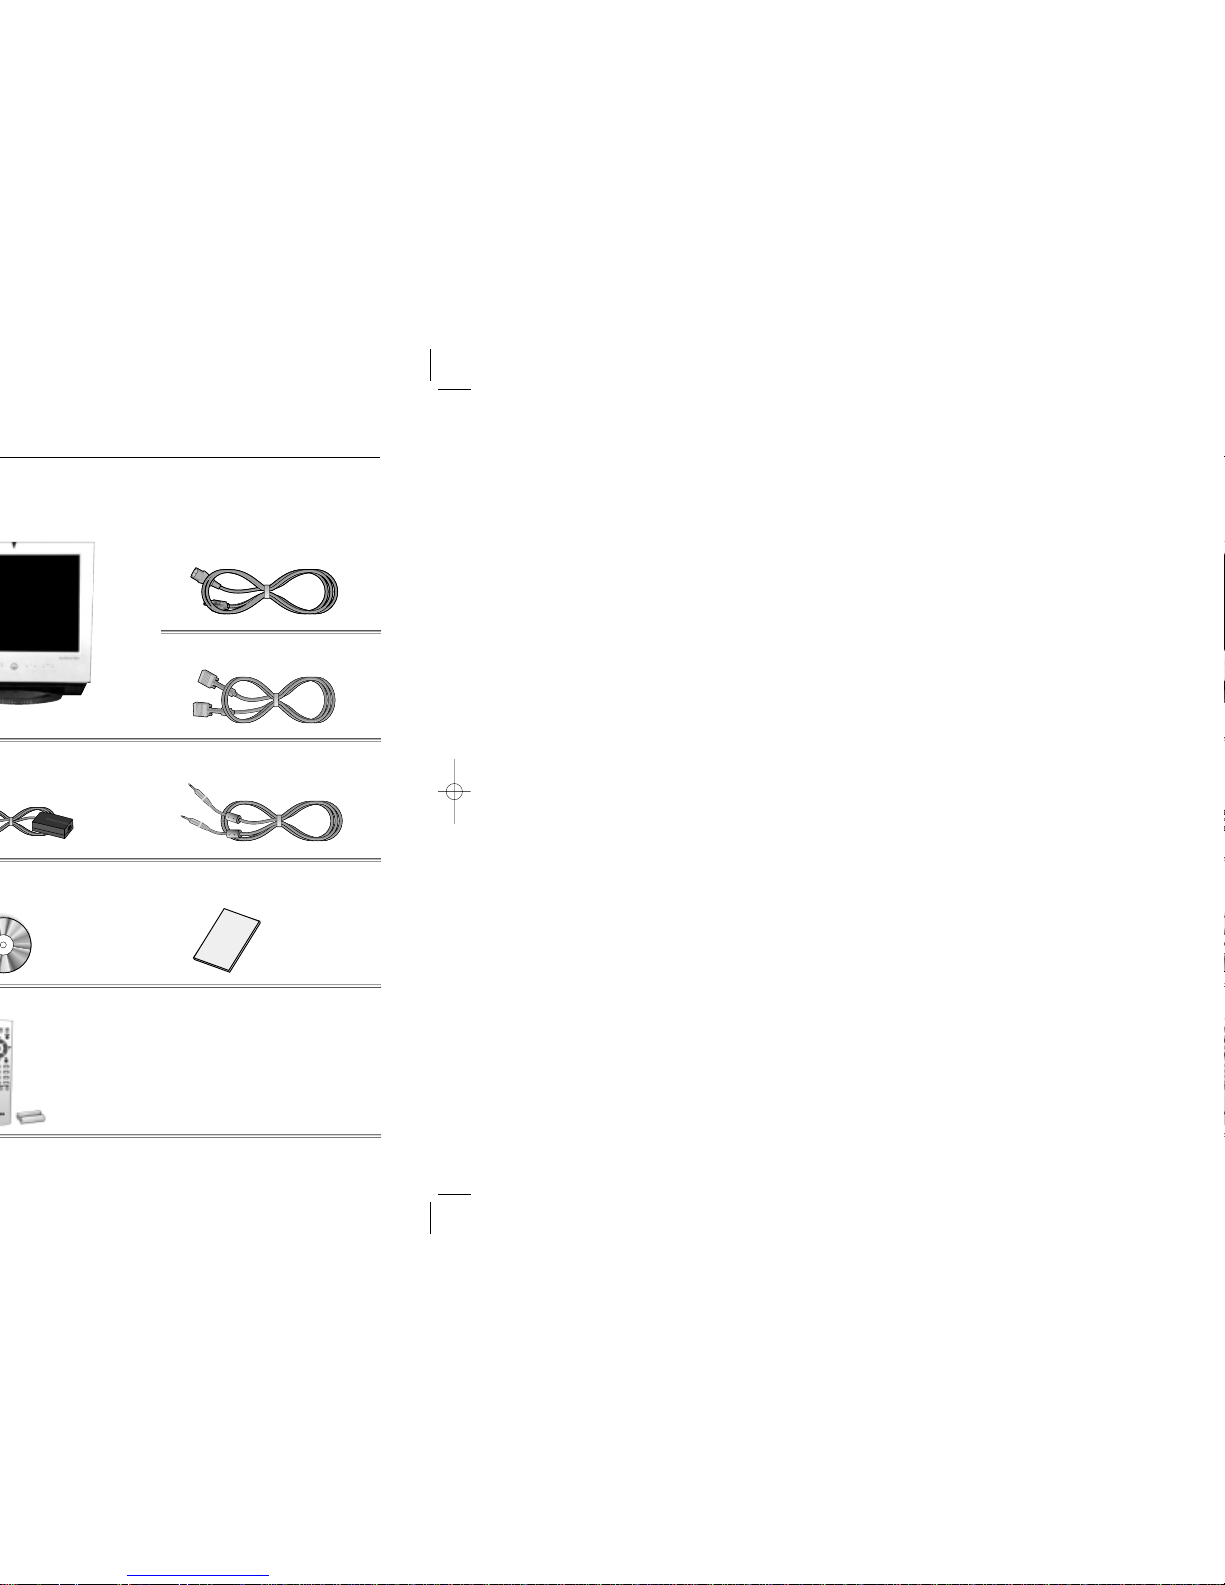
Power Cord
Signal Cable(15 pin D-Sub)
User’s Manual
Unpacking Your Monitor
32
5
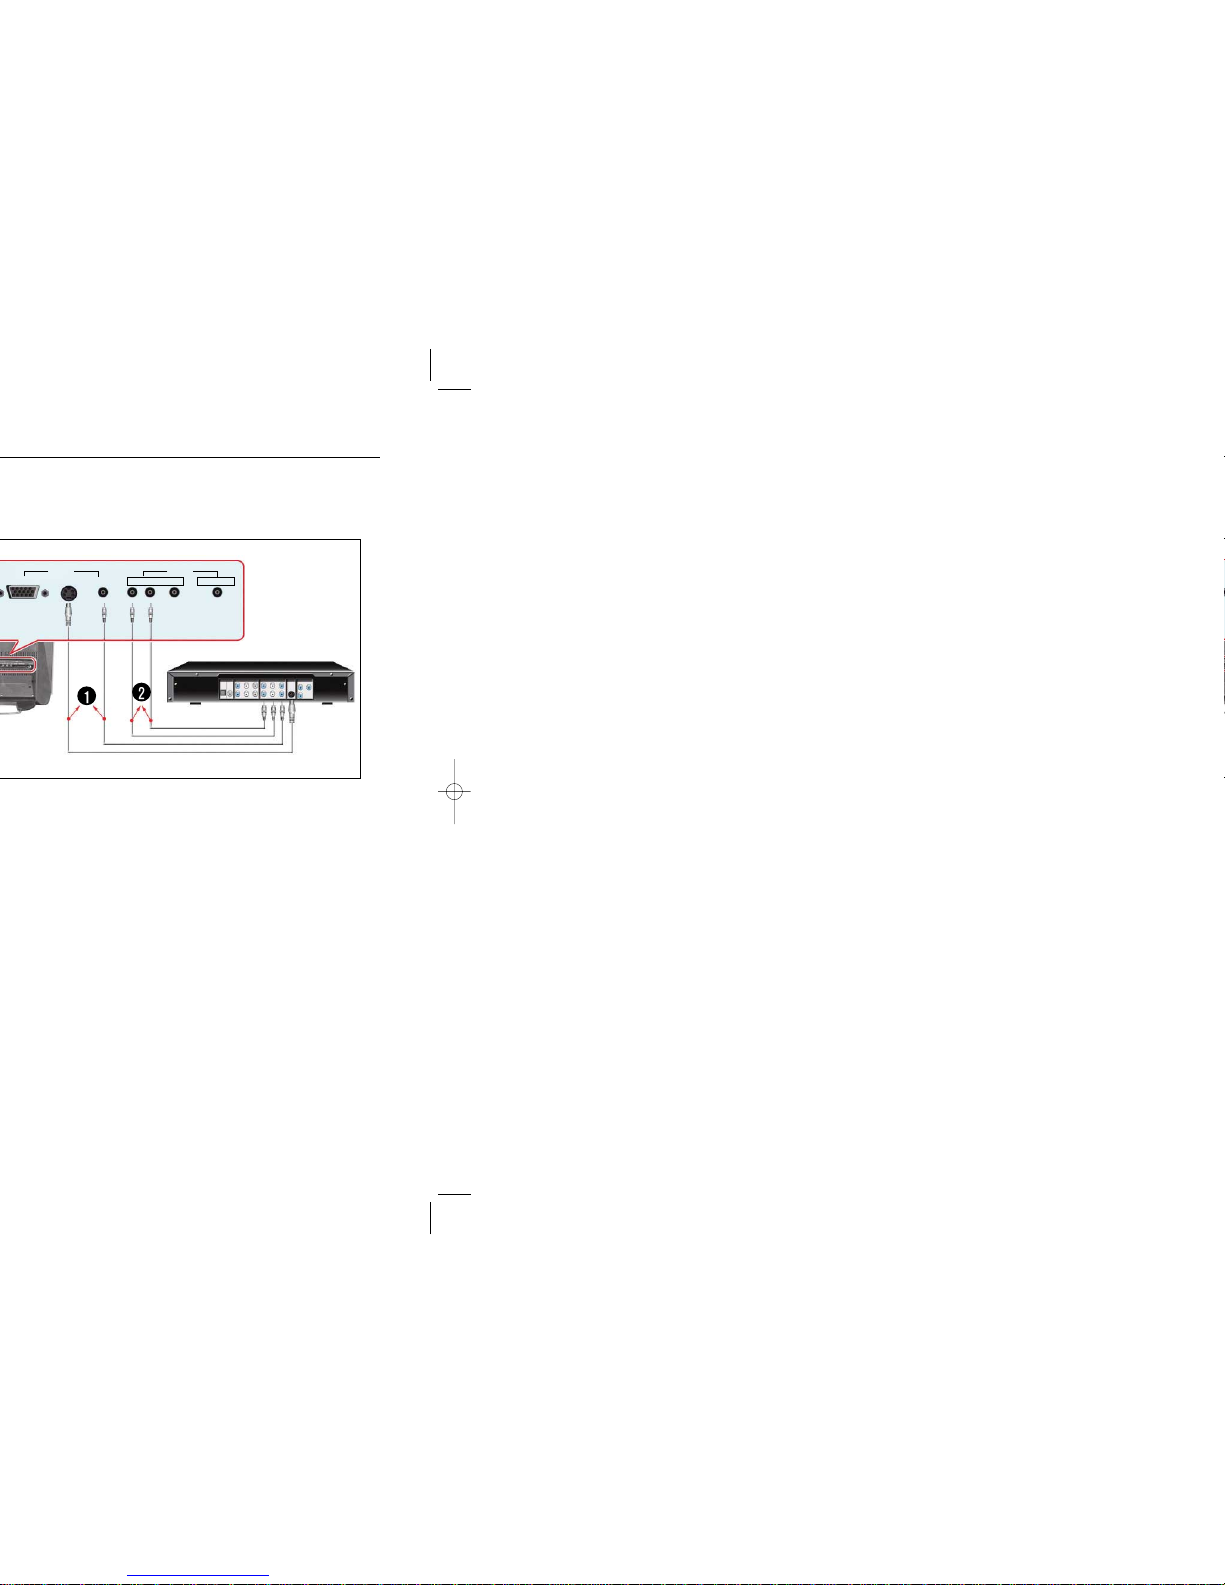
Setting up Your Monitor
Video S-Video(V1) Video(V2)
Audio
L R Stereo Head-Phone
Video
7
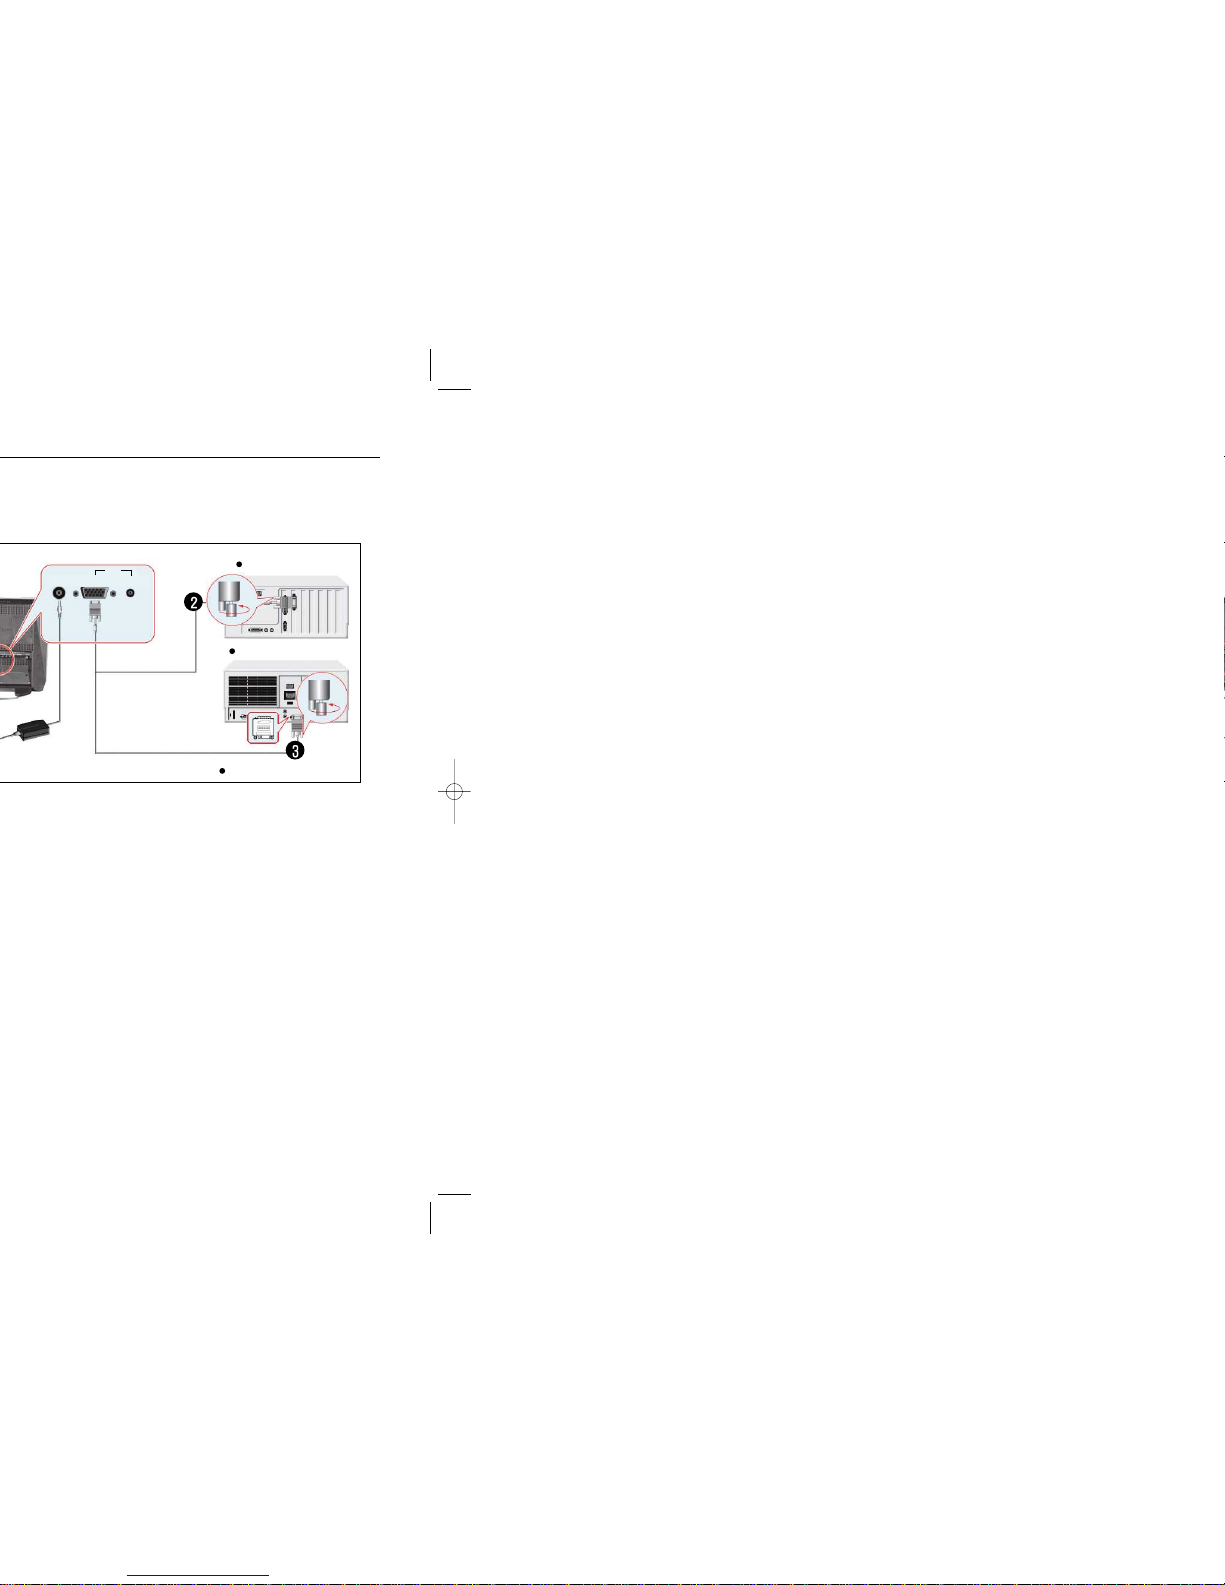
Setting up Your Monitor
New Model Macintosh
Old Model Macintosh
(Not included)
Adapter for Macintosh
14VDC Video Audio(ST)
PC

Adjusting Your Monitor
9
Source PIP Exit Menu CH VOL
Auto
Adjusting Your Monitor
11
Audio Type
Mono Mono
Mono Mono <_> Stereo
SAP Mono <_> SAP
Automatic Change
Mono
MTS/S_Mode Default

13
Adjusting Your Monitor
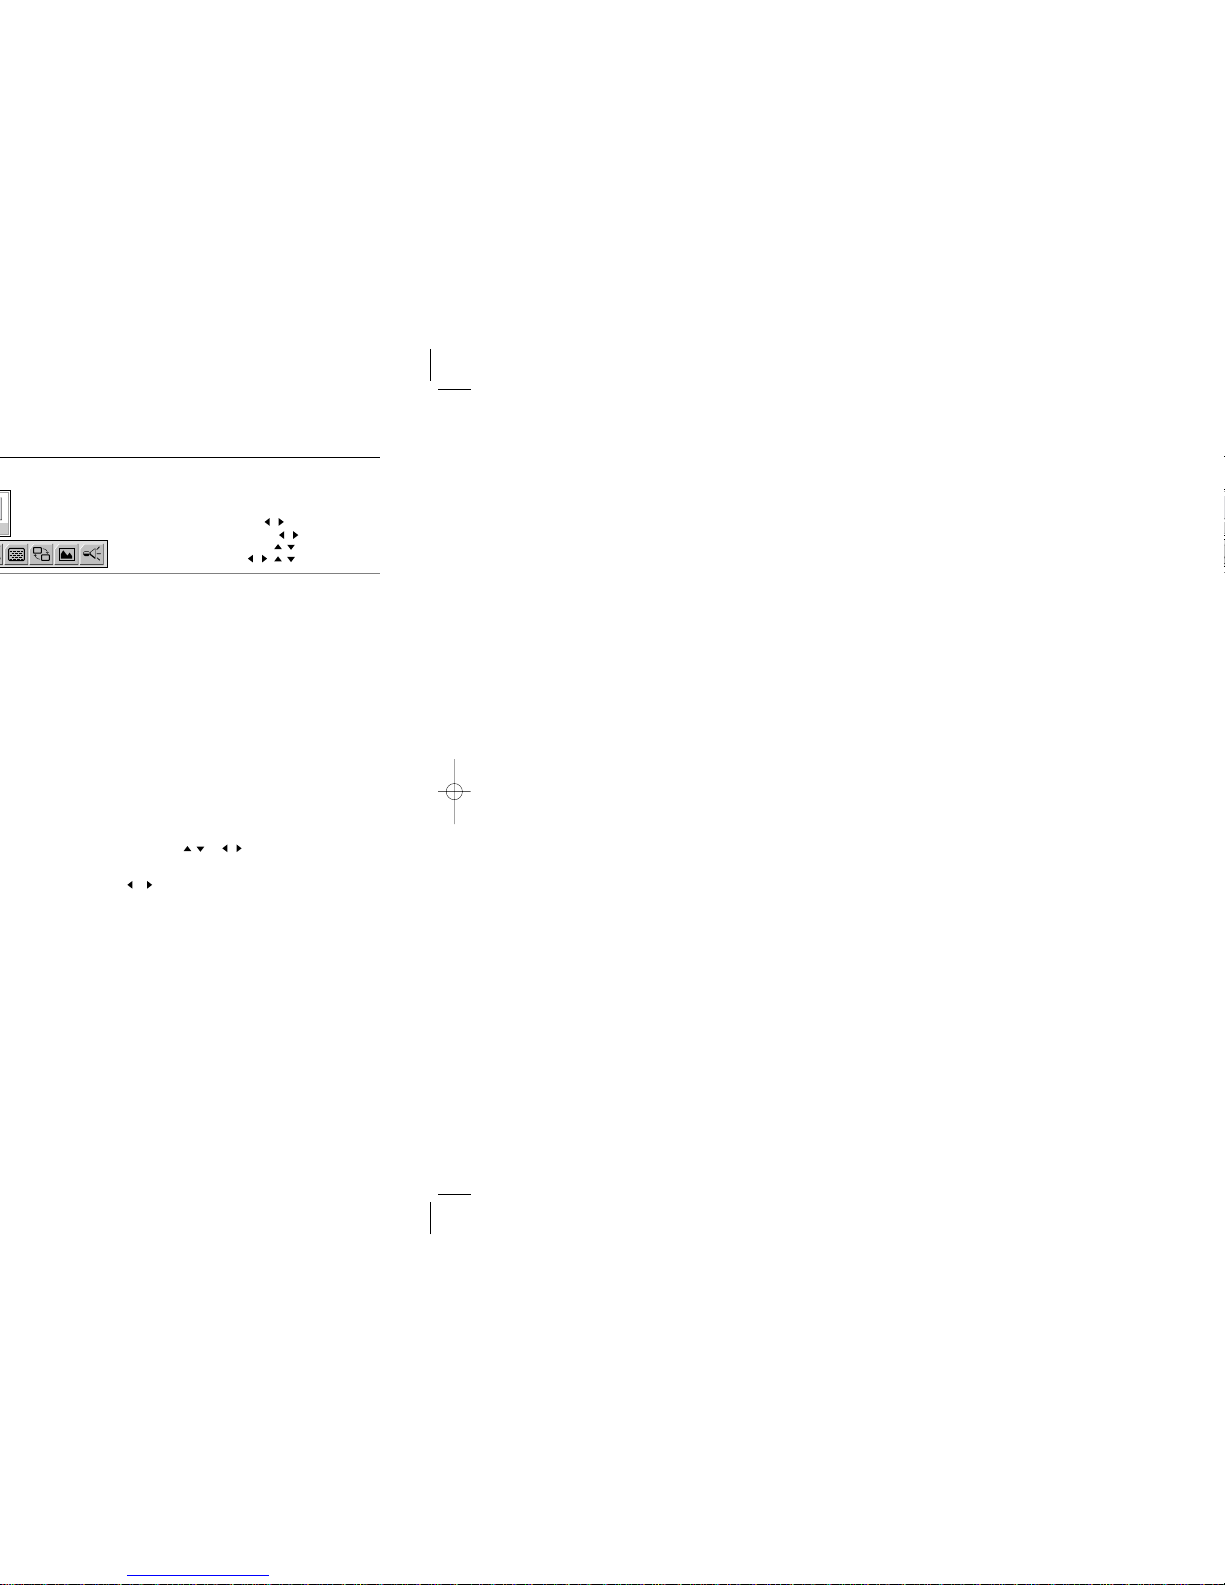
How To Make Adjustments
1. To activate the Adjustment Menu : Menu button
2. To select the PC icon : , : Menu button
3. To select the main menu : , : Menu button
4. To select the sub-menu : , : Menu button
To make Adjustment : , , , or Menu button
Coarse adjustment may move the screen image area.
You may relocate it to the center using the Horizontal Control menu.
Fine tuning, repeat it after adjusting the frequency (clock speed).
1514
Adjusting Your MonitorAdjusting Your Monitor
How To Make Adjustments
1. To activate the Adjustment Menu : Menu button
2. To select the PC icon : , : Menu button
3. To select the main menu : , : Menu button
4. To select the sub-menu : , : Menu button
To make Adjustment : , , , or Menu button
(Auto <-> PAL <-> SECAM <-> NT4.43)
(BG <-> DK <-> I <-> L)
that you selected is received on your screen.
current frequency.
17
PowerSaver
This monitor is EPA ENERGY STAR ®compliant and ENERGY2000 compliant
when used with a computer equipped with VESA DPMS functionality.
As an ENERGY STAR ®Partner, SAMSUNG has determined that this product
meets the ENERGY STAR ®guidelines for energy efficiency.
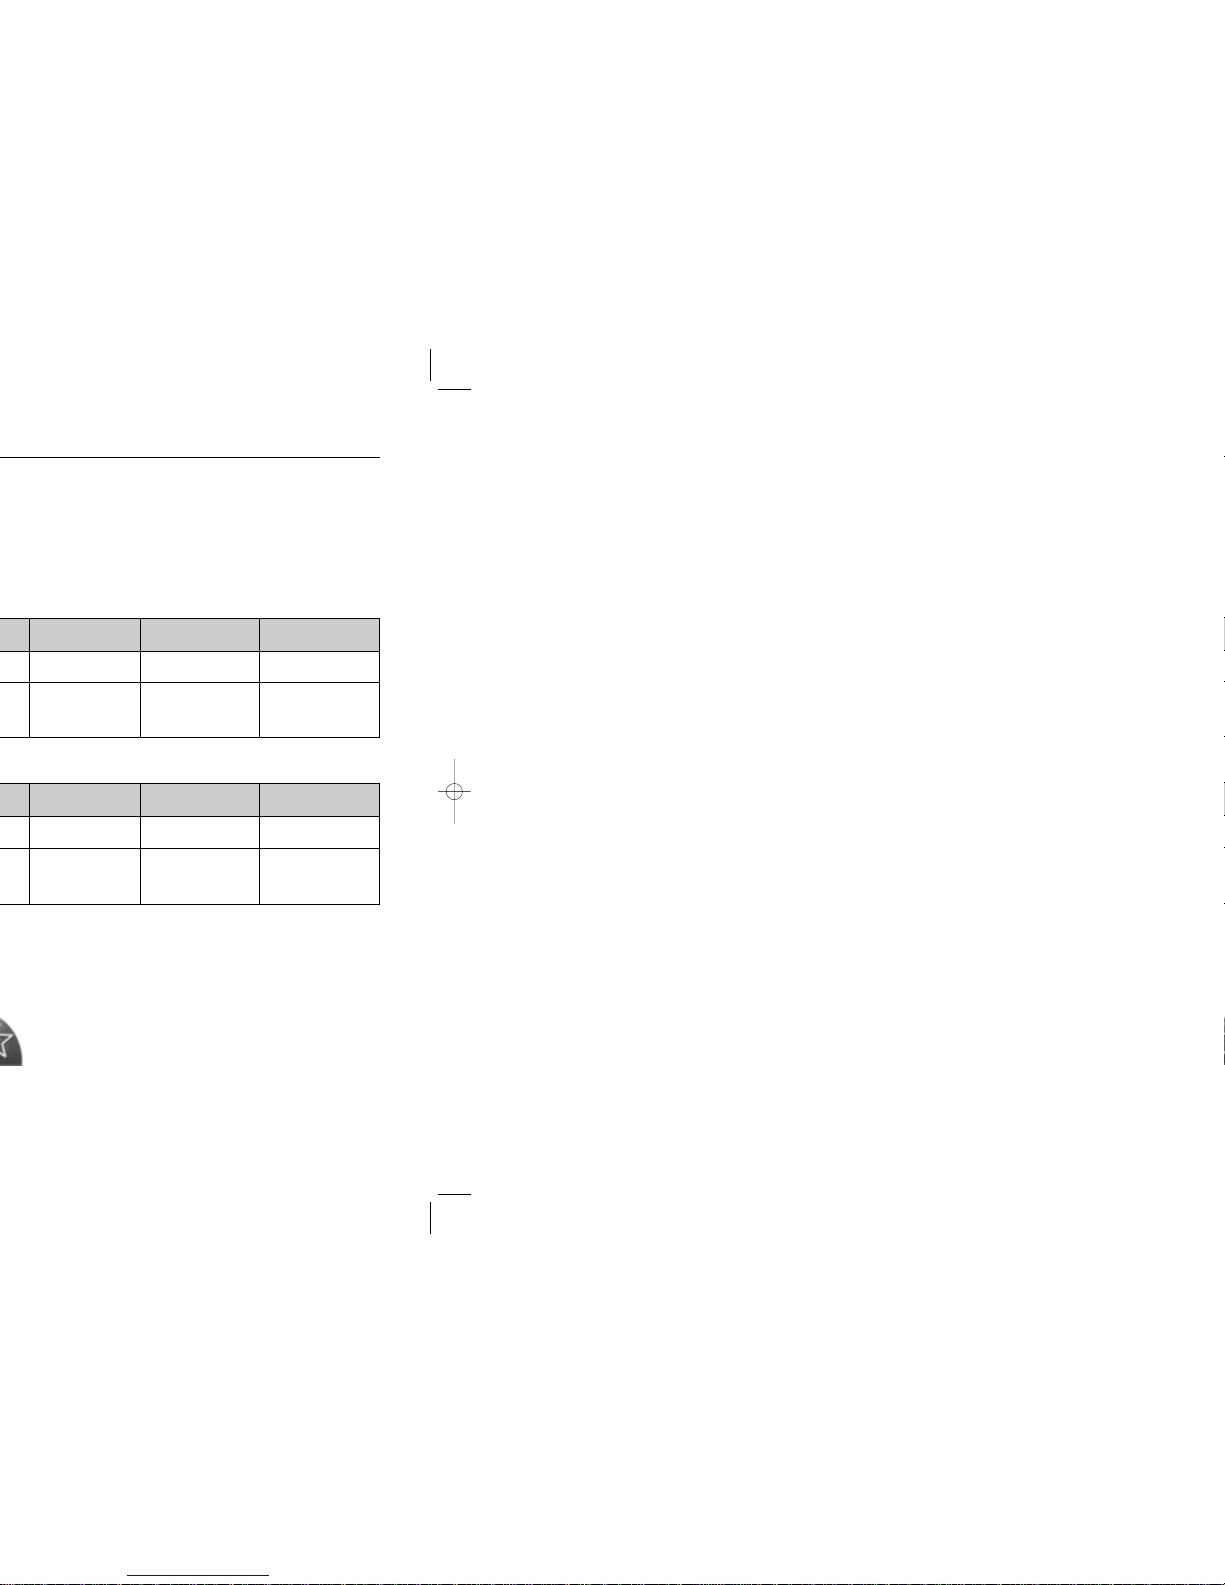
Normal Operation
Power saving mode
EPA/ENERGY 2000
Power Switch off
Less than 38W Less than 1W
Green
Less than 2W
Green, Blinking Black
Normal Operation
Power saving mode
EPA/ENERGY 2000
Power Switch off
Less than 52W Less than 1W
Green
Less than 2W
Green, Blinking Black

Troubleshooting
19
21
Troubleshooting
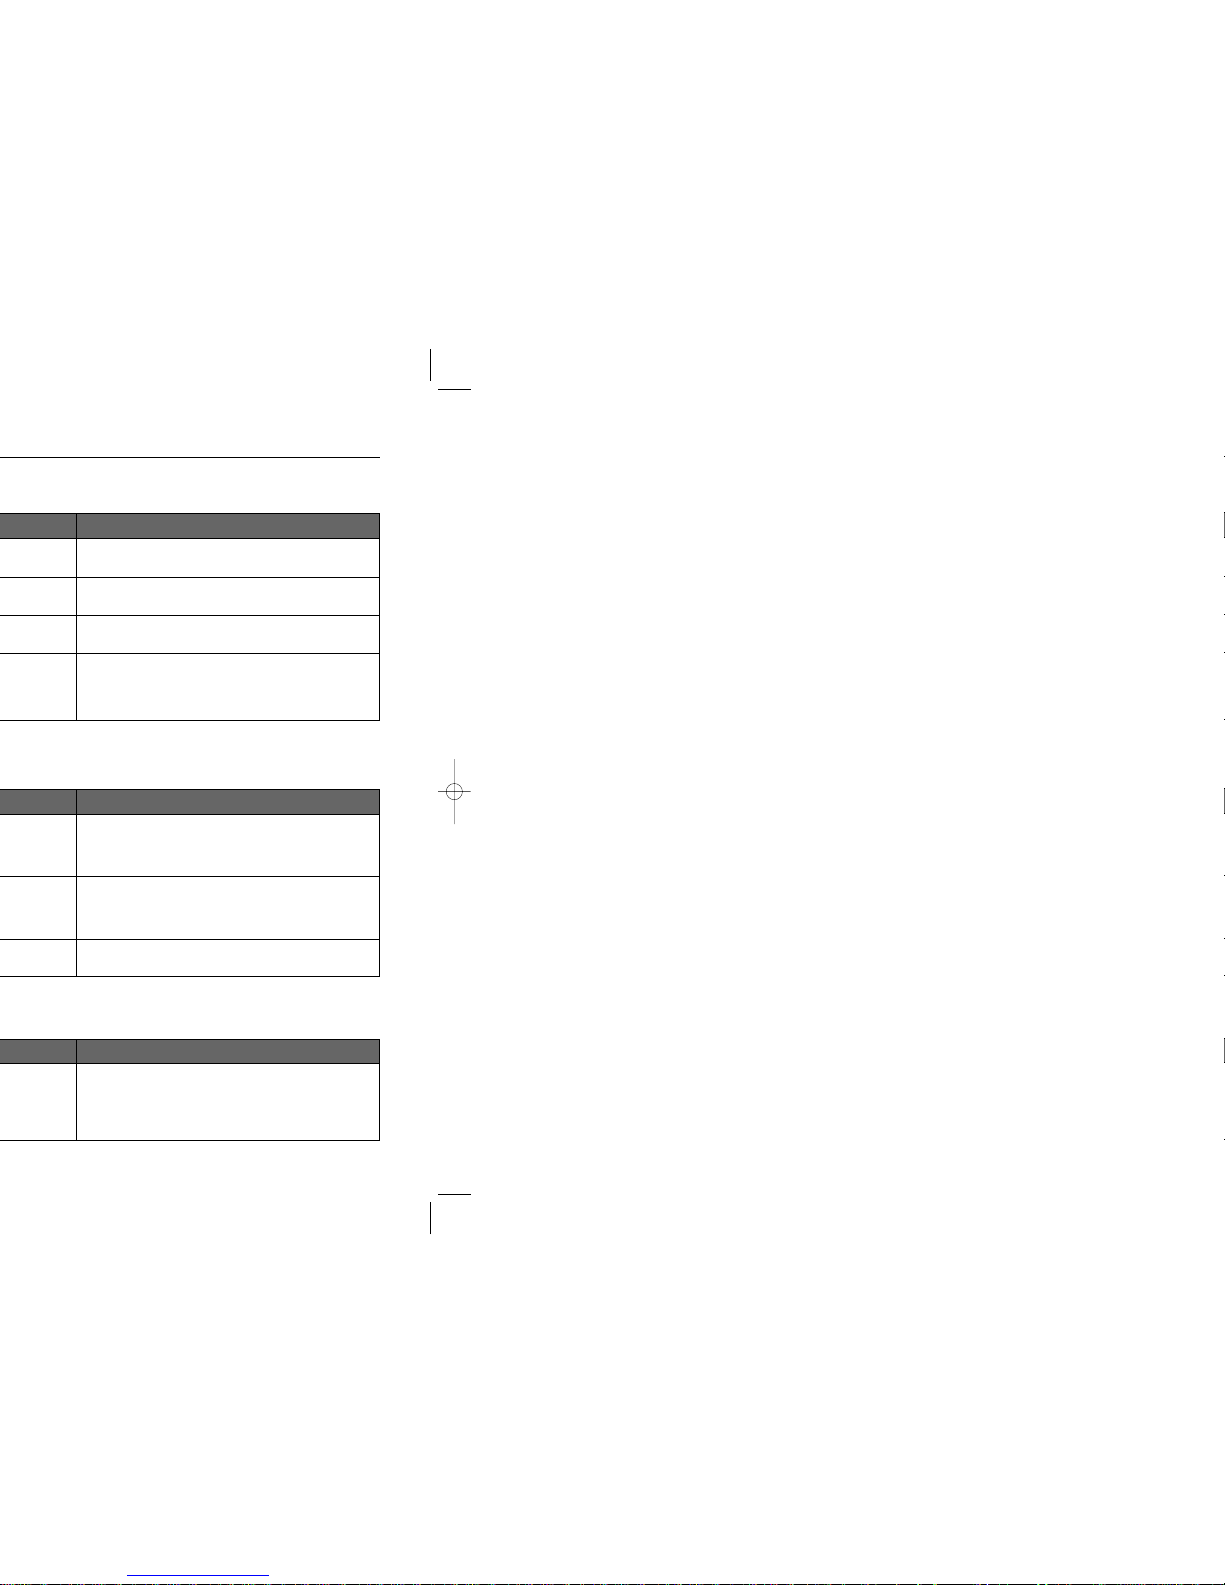
Check if the Display Adapter Driver (VGA Driver) is properly
installed.
monitor is securely connected and tightened.
Check if the TV antenna connector is securely connected to
the external antenna.
correct channel system.
Select "Channel auto program" to configure the channel
system automatically.
audio-in port on your monitor and the audio-out port on your
sound card.
Check the volume level.
If the volume is still too low after turning the control to its maximum,
check the volume control on the computer sound card or software
program.
Adjust the Treble and Bass to appropriate level.
Check the battery polarities (+/-).
Check if the batteries have been exhausted.
Check if the power is on.
Check if the power cord is securely connected.
Check if a special fluorescent or neon lamp is on in the vicinity.
23
Troubleshooting
Frequency can be changed by reconfiguring the video card.
Note that video card support can vary, depending on the version of the
driver used.
(Refer to the computer or the video card manual for details.)
Windows XP:
Reset resolution by clicking Control Panel _> Appearance & Theme _>
Display _> Settings.
Windows 95/98/ME/2000:
Set the resolution at the Control Panel _> Display _> Settings.
* Contact the video card manufacturer for details.
Windows XP:
Reset Power Saving parameters by clicking Control Panel _>
Appearance & Theme _> Display _> Screen Saver or in the computer
BIOS SETUP. (Refer to Windows/Computer Manual)
Windows 95/98/ME/2000:
Set the function at BIOS-SETUP of the computer or the screen
saver. (Refer to Windows/Computer Manual).
Disconnect the power cord and then clean the monitor with a soft cloth,
using either a plain water.
Do not leave any remains of the detergent nor scratch the case.
Do not allow any water to go inside the monitor.

25
Specifications
Temperature : 50°F ~ 104°F(10°C ~ 40°C)
Humidity : 10% ~ 80%, non-condensing
Temperature : -13°F ~113°F (-25°C ~ 45°C)
Humidity : 5% ~ 95%, non-condensing
17 inch: 3,932,160
 Loading...