

DIGITAL HOME
THEATER SYSTEM
MM-DS80
V I D E O
COMPACT
DIGITAL AUDIO
COMPACT
DIGITAL VIDEO
Instruction Manual
AH68-01379R
SERVICE DIVISION
www.samsungusa.com
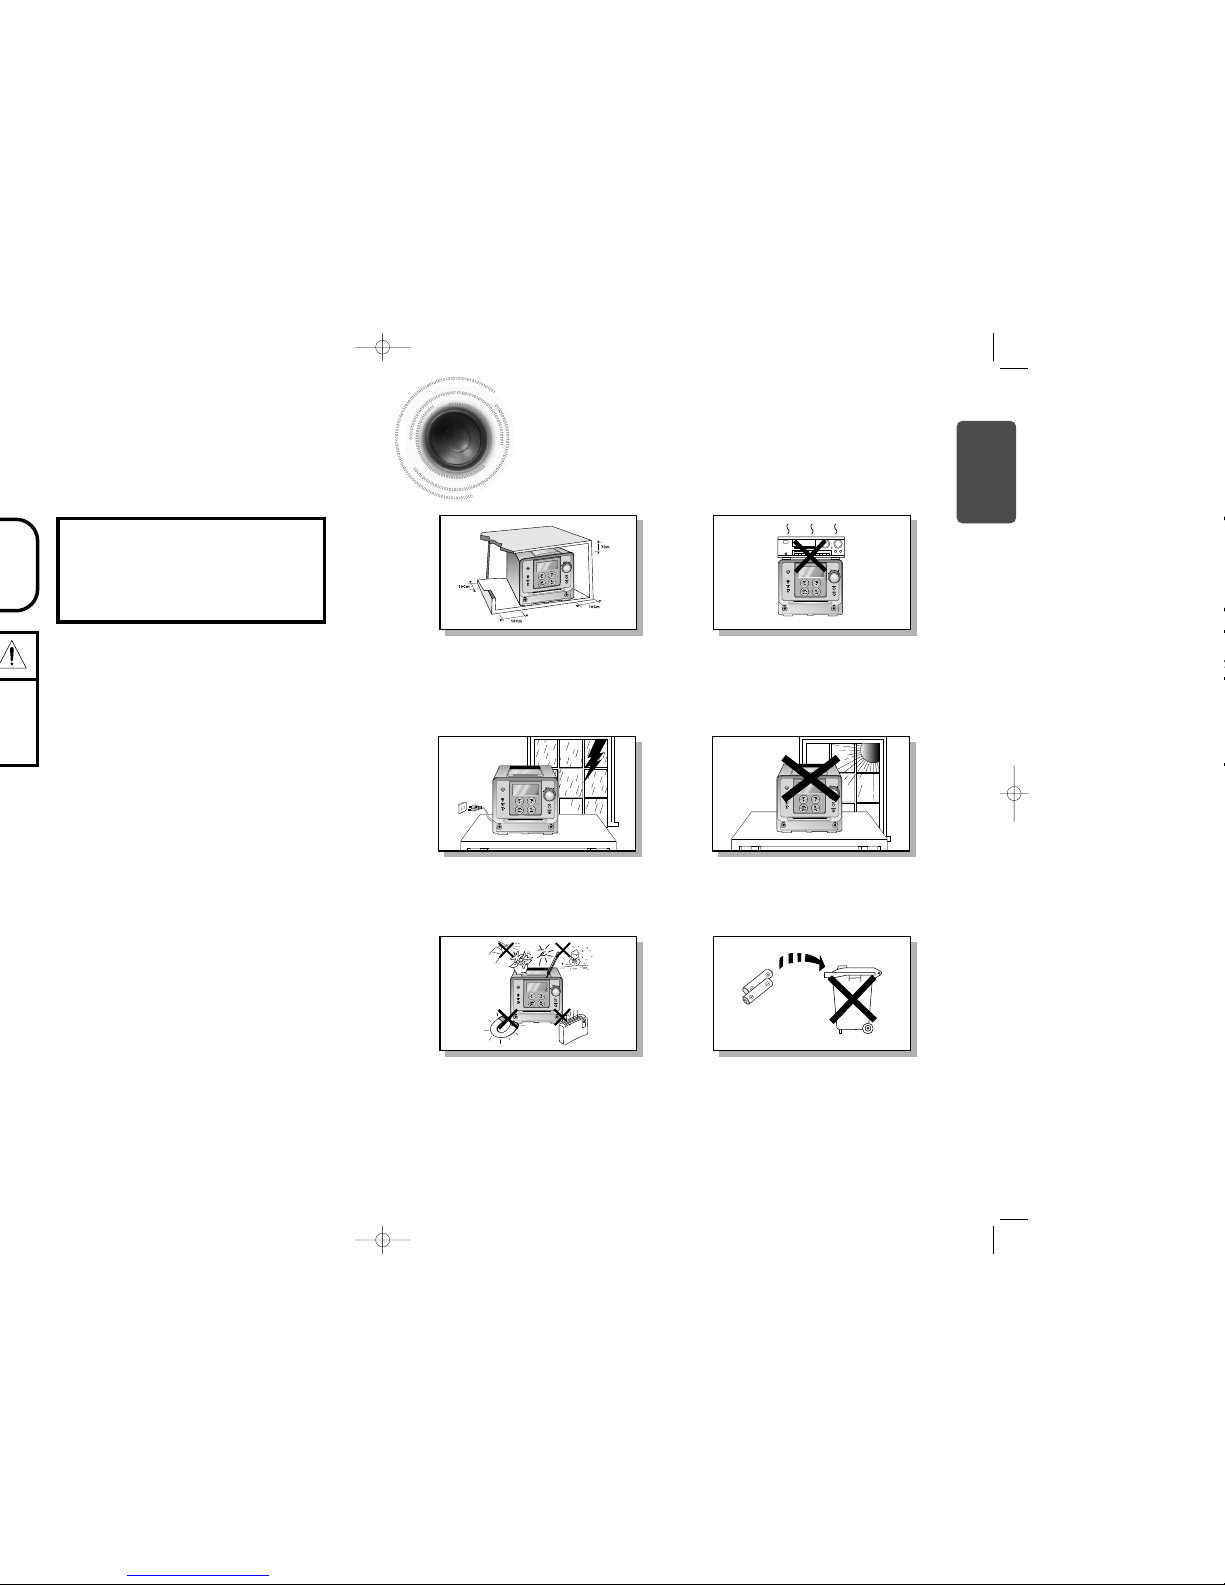
Ensure that the AC power supply in your house complies with the identification sticker located on the back of your player. Install your
player horizontally, on a suitable base (furniture), with enough space around it for ventilation (3~4inches). Make sure the ventilation slots
are not covered. Do not stack anything on top of the player. Do not place the player on amplifiers or other equipment which may become
hot. Before moving the player, ensure the disc tray is empty. This player is designed for continuous use. Switching off the DVD player to
the stand-by mode does not disconnect the electrical supply. In order to disconnect the player completely from the power supply,
remove the main plug from the wall outlet, especially when left unused for a long period of time.
Protect the player from moisture(i.e. vases) , and excess
heat(e.g.fireplace) or equipment creating strong magnetic or electric
fields (i.e.speakers...). Disconnect the power cable from the AC supply if
the player malfunctions. Your player is not intended for industrial use.
Use of this product is for personal use only.
Condensation may occur if your player or disc have been stored in cold
temperatures.
If transporting the player during the winter, wait approximately 2 hours
until the unit has reached room temperature before using.
Phones
During thunderstorms, disconnect AC main plug from the
wall outlet.
Voltage peaks due to lightning could damage the unit.
Do not expose the unit to direct sunlight or other heat
sources.
This could lead to overheating and malfunction of the unit.
The battery used with this product contain chemicals that
are harmful to the environment.
Do not dispose of batteries in the general household trash.
PREPARATION
CLASS 1 LASER PRODUCT
This Compact Disc player is classified as a CLASS 1
LASER product.
Use of controls, adjustments or performance of
procedures other than those specified herein may result
in hazardous radiation exposure.
CAUTION-INVISIBLE LASER RADIATION WHEN OPEN
AND INTERLOCKS DEFEATED, AVOID
EXPOSURE TO BEAM.
Note to CATV system installer :
This reminder is provided to call the CATV system
installer’s attention to Section 820~40 of the NEC
which provides guidelines for proper grounding and,
in particular, specifies that the cable ground shall be
connected to the grounding system of the building,
as close to the point of cable entry as practical
43
CLEANING
Unplug this video product from the wall outlet
before cleaning. Do not use liquid cleaners
or aerosol cleaners. Use a damp cloth for cleaning.
LIGHTNING
For added protection of this video product
receiver during a lightning storm, or when
it is left unattended and unused for long
periods of time, unplug it from the wall outlet
and disconnect the antenna or cable system.
This will prevent damage to the video product
due to lightning and power-line surges.
OBJECT AND LIQUID ENTRY
Never push objects of any kind into this
product through openings as they may touch
dangerous voltage points or short-out parts
that could result in a fire or electric shock.
Never spill liquid of any kind on the video
product.
ACCESSORIES
Do not place this video product on an unstable cart,
stand, tripod, bracket, or table.
The video product may fall, causing serious injury to
a child or adult, and serious damage
to the appliance.
Use only with a cart, stand, tripod, bracket,
or table recommended by the manufacturer,
or sold with the video product. Any mounting
of the appliance should follow the manufacturer's
instructions and should use a mounting accessory
recommended by the manufacturer.
CART
An appliance and cart combination should be moved
with care. Quick stops, excessive force, and uneven
surfaces may cause the appliance and cart
combination to overturn.
POWER SOURCES
This video product should be operated only from the
type of power source indicated
on the marking label. If you are not sure
of the type of supply to your home, consult your
appliance dealer or local power company.
For video products intended to be operated from
battery power, or other sources, refer
to the operating instructions.
POWER LINES
An outside antenna system should not be located in
the vicinity of overhead power lines or other electric
light or power circuits,
or where it can fall into such power lines
or circuits. When installing an outside antenna
system, extreme care should be taken to keep from
touching such power lines or circuits as contact with
them might be fatal.
POLARIZATION
This video product is equipped with a polarized
alternating current line plug (a plug having one blade
wider than the other.) This plug will fit into the power
outlet only one way.
This is a safety feature. If you are unable
to insert the plug fully into the outlet, try reversing
the
plug. If the plug should still fail to fit, contact your
electrician to replace your obsolete outlet. Do not
defeat the safety purpose of the polarized plug.
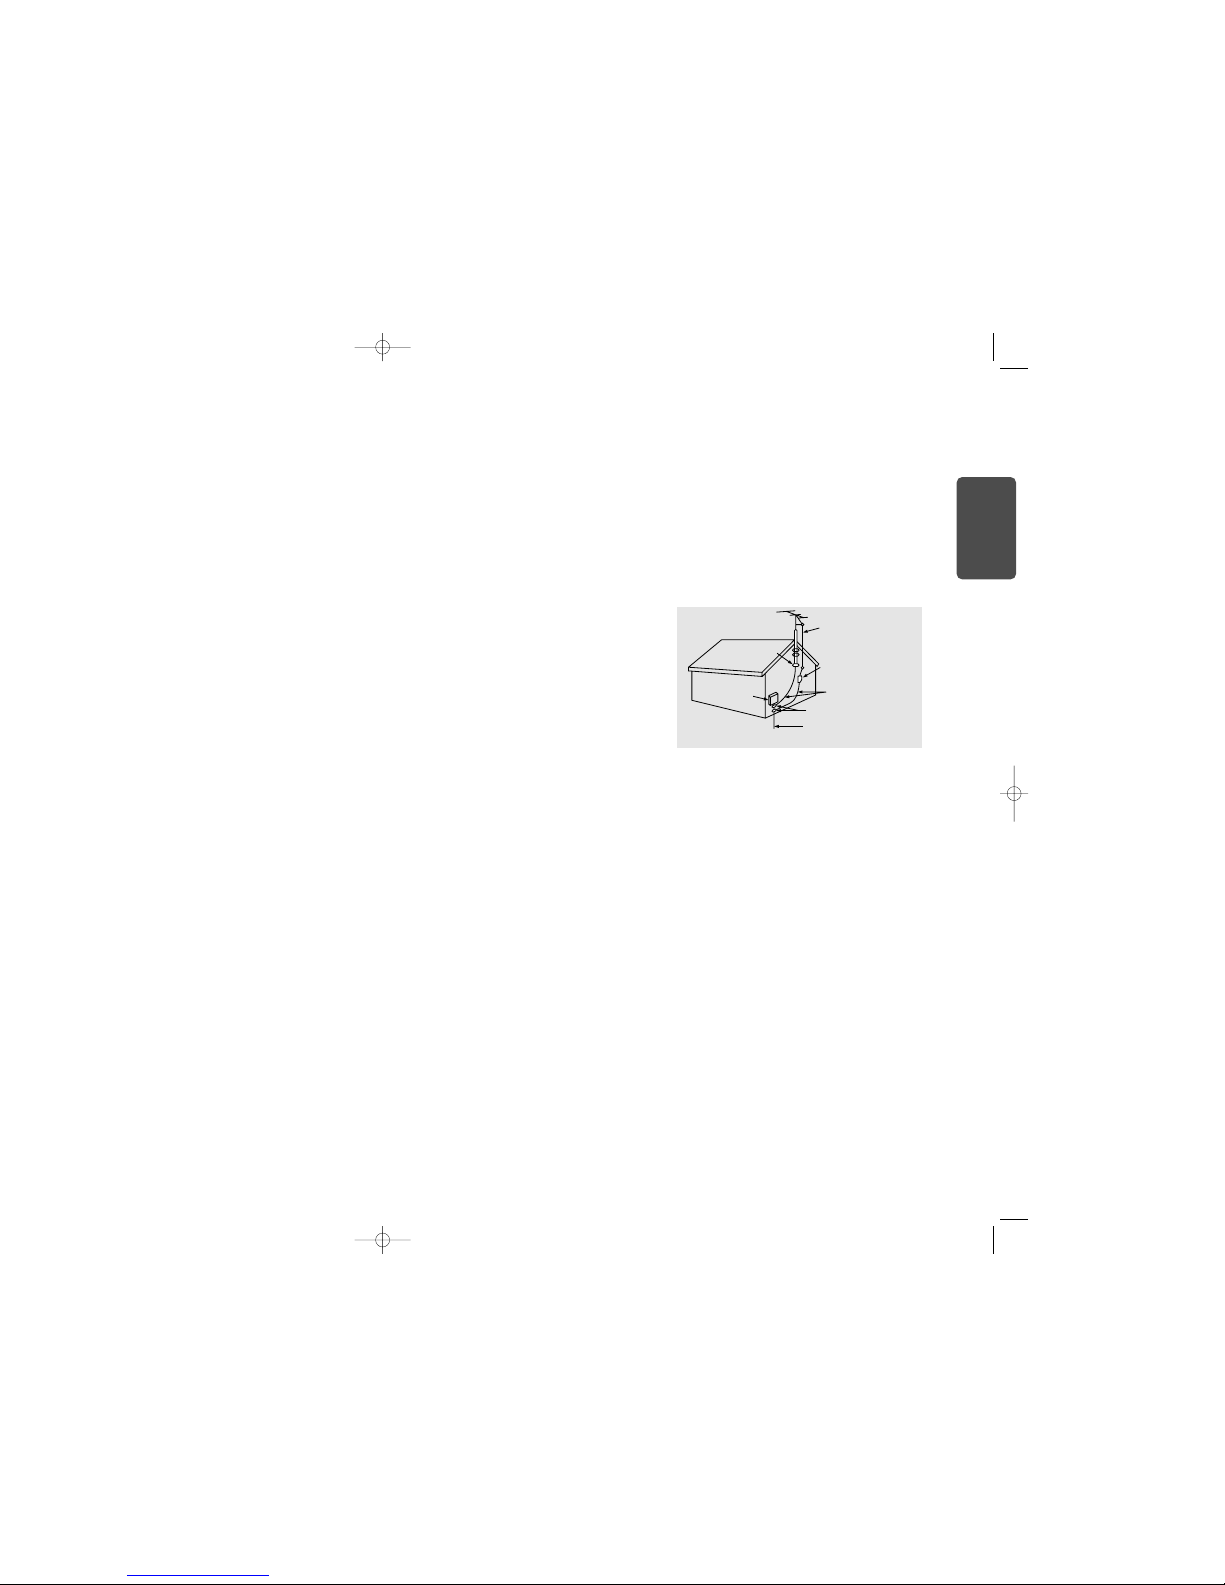
OUTDOOR ANTENNA GROUNDING
•
If an outside antenna is connected to the
antenna terminal, be sure the antenna system
is grounded so as to provide some protection
against voltage surges and built-up static
charges.
•
In the U.S.A section 810 of the National
Electrical Code, ANSI/NFPA No. 70-1984,
provides information with respect to proper
grounding of the mast and supporting
structure, grounding of the lead-in wire
to an antenna discharge unit, size of grounding
conductors location of antenna discharge unit,
connection to grounding electrodes, and
requirements for the grounding electrode.
See the figure below.
ATTACHMENTS
Do not use attachments not recommended
by the video product manufacturer as they may
cause hazards.
SERVICING
•
Do not attempt to service this product yourself
as opening or removing covers may expose
you to dangerous voltage or other hazards.
•
Refer all servicing to qualified service personnel.
REPLACEMENT PARTS
When replacement parts are required, be sure the
service technician has used replacement parts
specified by the manufacturer or having the same
characteristics as the original part. Unauthorized
substitutions may result in fire, electric shock or other
hazards.
SAFETY CHECK
Upon completion of any service or repairs
to this video product, ask the service technician to
perform safety checks to determine that the video
product is in proper operating condition.
DAMAGE REQUIRING SERVICE
Unplug this video product from the wall outlet
and
refer servicing to qualified service personnel
under the
following conditions.
a.
When the power-supply cord or plug is damaged.
b. If liquid has been spilled, or objects have
fallen into the video product.
c. If the video product has been exposed to rain
or water
d.
If the video product does not operate normally
by following the operating instructions.
Adjust only those controls that are covered
by the operating instructions as an improper
adjustment of other controls may result
in damage and will often require extensive
work by a qualified technician to restore
the video product to its normal operation.
e. If the video product has been dropped
or the cabinet has been damaged.
f. When the video product exhibits a distinct
change in performance - this indicates
a need for service.
HEAT
This video unit should be situated away from heat
sources such as radiators, stoves, or other products
(including amplifiers) that produce heat.
ANTENNA
LEAD IN WIRE
ANTENNA
DISCHARGE UNIT
(NEC SECTION. 810-20)
GROUNDING CONDUCTORS
(NEC SECTION 810-21)
GROUND CLAMPS
POWER SERVICE GROUNDING
ELECTRODE SYSTEM
(NEC ART 250, PART H)
GROUND
CLAMP
ELECTRIC
SERVICE
EQUIPMENT
PREPARATION
6
Contents
PREPARATION
Safety Warnings..................................................................................................................................................................1
Precautions.........................................................................................................................................................................2
Safety Instructions ..............................................................................................................................................................3
Features..............................................................................................................................................................................5
Description..........................................................................................................................................................................7
CONNECTIONS
Connecting the Speakers....................................................................................................................................................11
Connecting to a TV.............................................................................................................................................................12
Connecting External Components......................................................................................................................................13
Connecting the FM and AM Antennas................................................................................................................................14
Setting the Clock.................................................................................................................................................................15
OPERATION
Disc Playback .....................................................................................................................................................................16
Displaying Disc Information ................................................................................................................................................17
Fast/Slow Playback.............................................................................................................................................................18
Skipping Scenes/Songs......................................................................................................................................................19
Angle Function....................................................................................................................................................................20
Repeat Playback.................................................................................................................................................................21
A-B Repeat Playback..........................................................................................................................................................23
Zoom Function....................................................................................................................................................................24
Selecting Audio/Subtitle Language.....................................................................................................................................25
Moving Directly to a Scene/Song........................................................................................................................................26
JPEG File Playback............................................................................................................................................................27
Using Disc Menu.................................................................................................................................................................29
Using the Title Menu...........................................................................................................................................................30
SETUP
Setting the Language..........................................................................................................................................................31
Setting TV Screen type.......................................................................................................................................................33
Setting Parental Controls (Rating Level).............................................................................................................................35
Setting the Password..........................................................................................................................................................36
Setting the Wallpaper..........................................................................................................................................................37
Setting the DRC (Dynamic Range Compression)...............................................................................................................39
AV SYNC Setup..................................................................................................................................................................40
RADIO OPERATION
Listening to Radio...............................................................................................................................................................41
Presetting Stations..............................................................................................................................................................42
TAPE DECK
Listening to a Cassette .......................................................................................................................................................43
REPEAT A↔B Function .....................................................................................................................................................44
Selecting the Cassette Playback Mode ..............................................................................................................................44
MISCELLANEOUS
Timer Function....................................................................................................................................................................45
Canceling the Timer............................................................................................................................................................46
Recording a Compact Disc.................................................................................................................................................47
Recording a Radio Program ...............................................................................................................................................49
S.BASS/EQ, SRS WOW, SW LEVEL Function ................................................................................................................50
Sleep Timer Function / Mute Function................................................................................................................................51
DEMO Function / DIMMER Function..................................................................................................................................52
Connecting Headphones ....................................................................................................................................................53
Cautions on Handling and Storing Discs ............................................................................................................................54
Before Calling for Service...................................................................................................................................................55
Notes on Discs....................................................................................................................................................................56
Notes on Terminology.........................................................................................................................................................58
Specifications......................................................................................................................................................................59
Warranty .............................................................................................................................................................................60
PREPARATION
AH68-01508Y
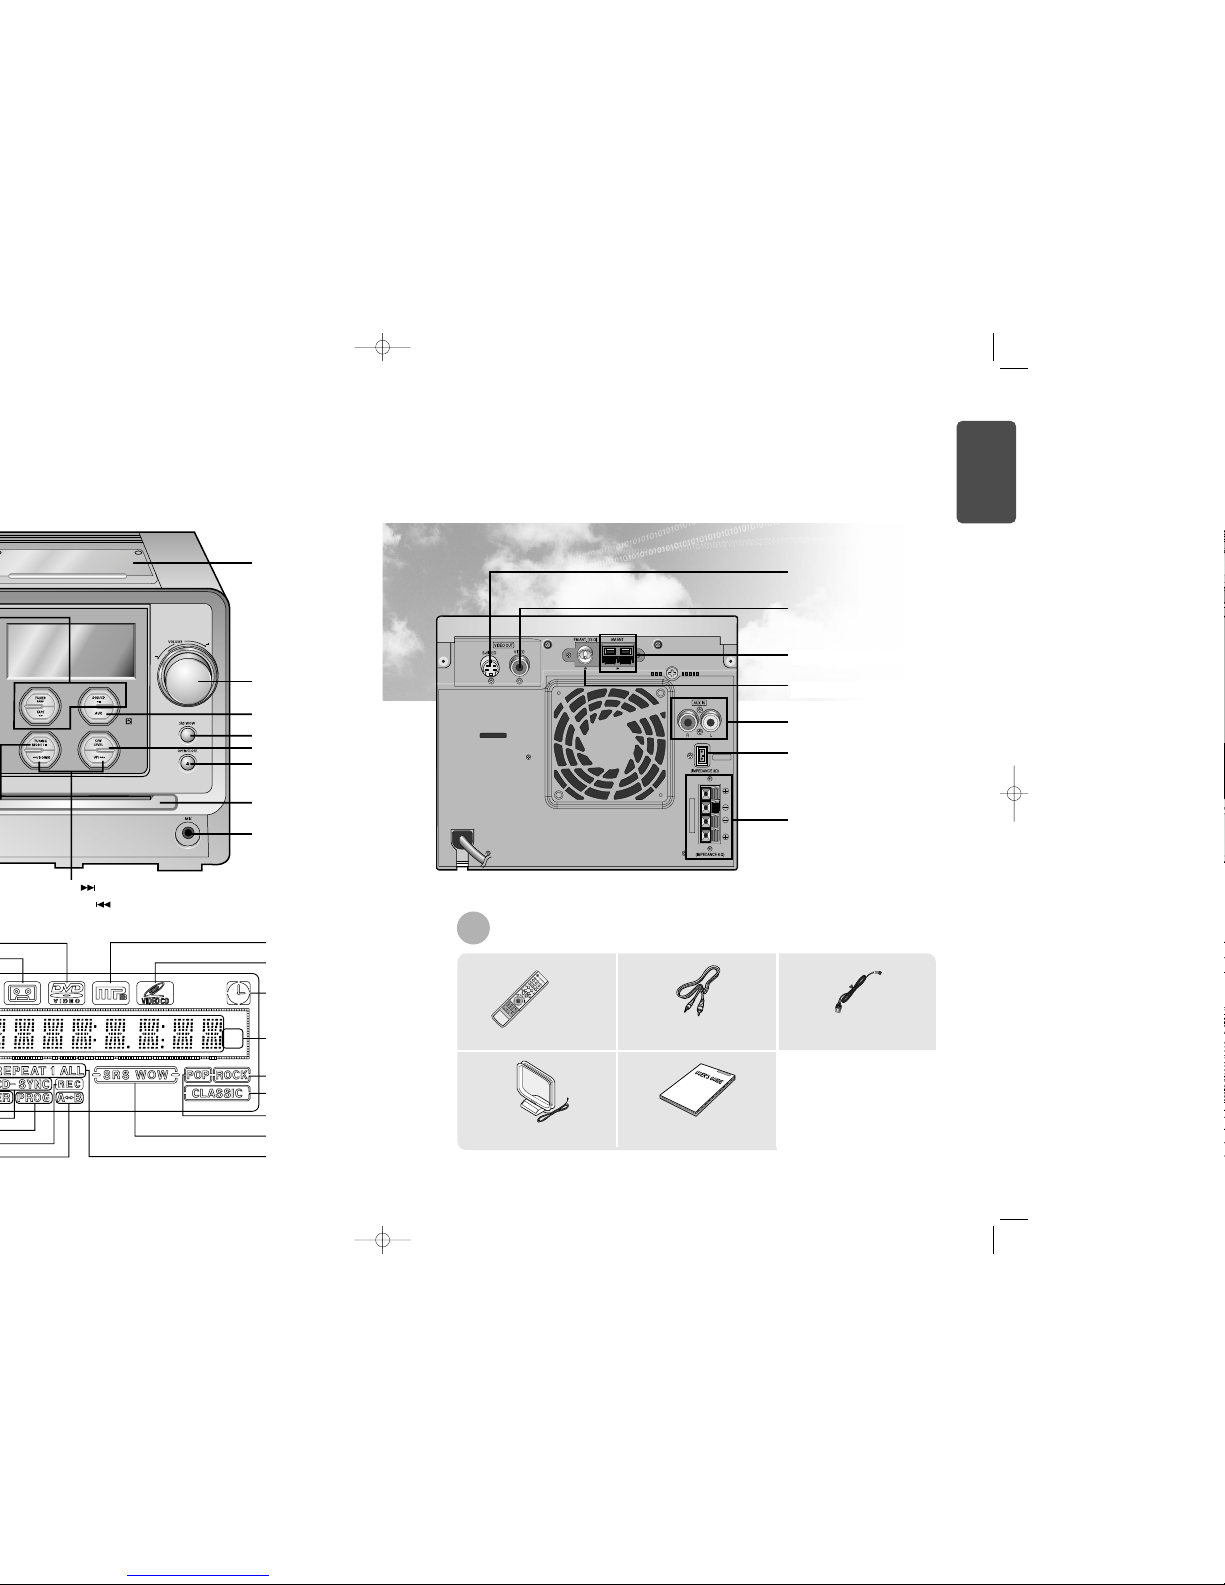
—Rear Panel—
OPEN/CLOSE
DVD TUNER AUX
EZ VIEW
NTSC/PAL
SLOW SUB TITLE
STEP
TUNING
PL II
RETU
RN
MEN
U
IN
FO
MUTE
MODE
ENTER
SOUND EDIT
TEST TONE
SLEEP
LOGO DIGEST
SLIDE MODE
CANCELZOOM
TUNER
MEMORY
PL II
EFFECT
VOLUME
DSP/EQ REPEAT
BAND
MO/ST
REMAIN
DIMMER
Video Cable
(AH39-40001T)
FM Antenna
(AH42-00004A)
Remote Control
(AH59-01252A)
User's Manual
(AH68-01379R)
AM Antenna
(AH42-20001P)
87
Accessories
Push Eject (Cassette
Door OPEN/CLOSE)
Volume control
AUX button
SRS WOW button
Disc Tray
S/W LEVEL button
CD Door
OPEN/CLOSE button
kHz
MHz
ROCK indicator
RADIO FREQUENCY
indicator
TIMER indicator
VIDEO CD indicator
MP3 indicator
CLASSIC indicator
POP indicator
SRS WOW indicator
REPEAT indicator
Loudspeaker Connector Terminals
AUX-Input
SUBWOOFER
Output Connector
S-Video Output Connector
If the TV is equipped with an S-Video
input connector (S-VIDEO IN), connect
it to the player's S-Video output jack.
Video Output Connector
Connect the TV's video input jacks
(VIDEO IN) to the VIDEO OUT connector.
FM Antenna Connector
AM Antenna Connector
L
WOOFER
S
P
E
A
K
E
R
S
R
PREPARATION
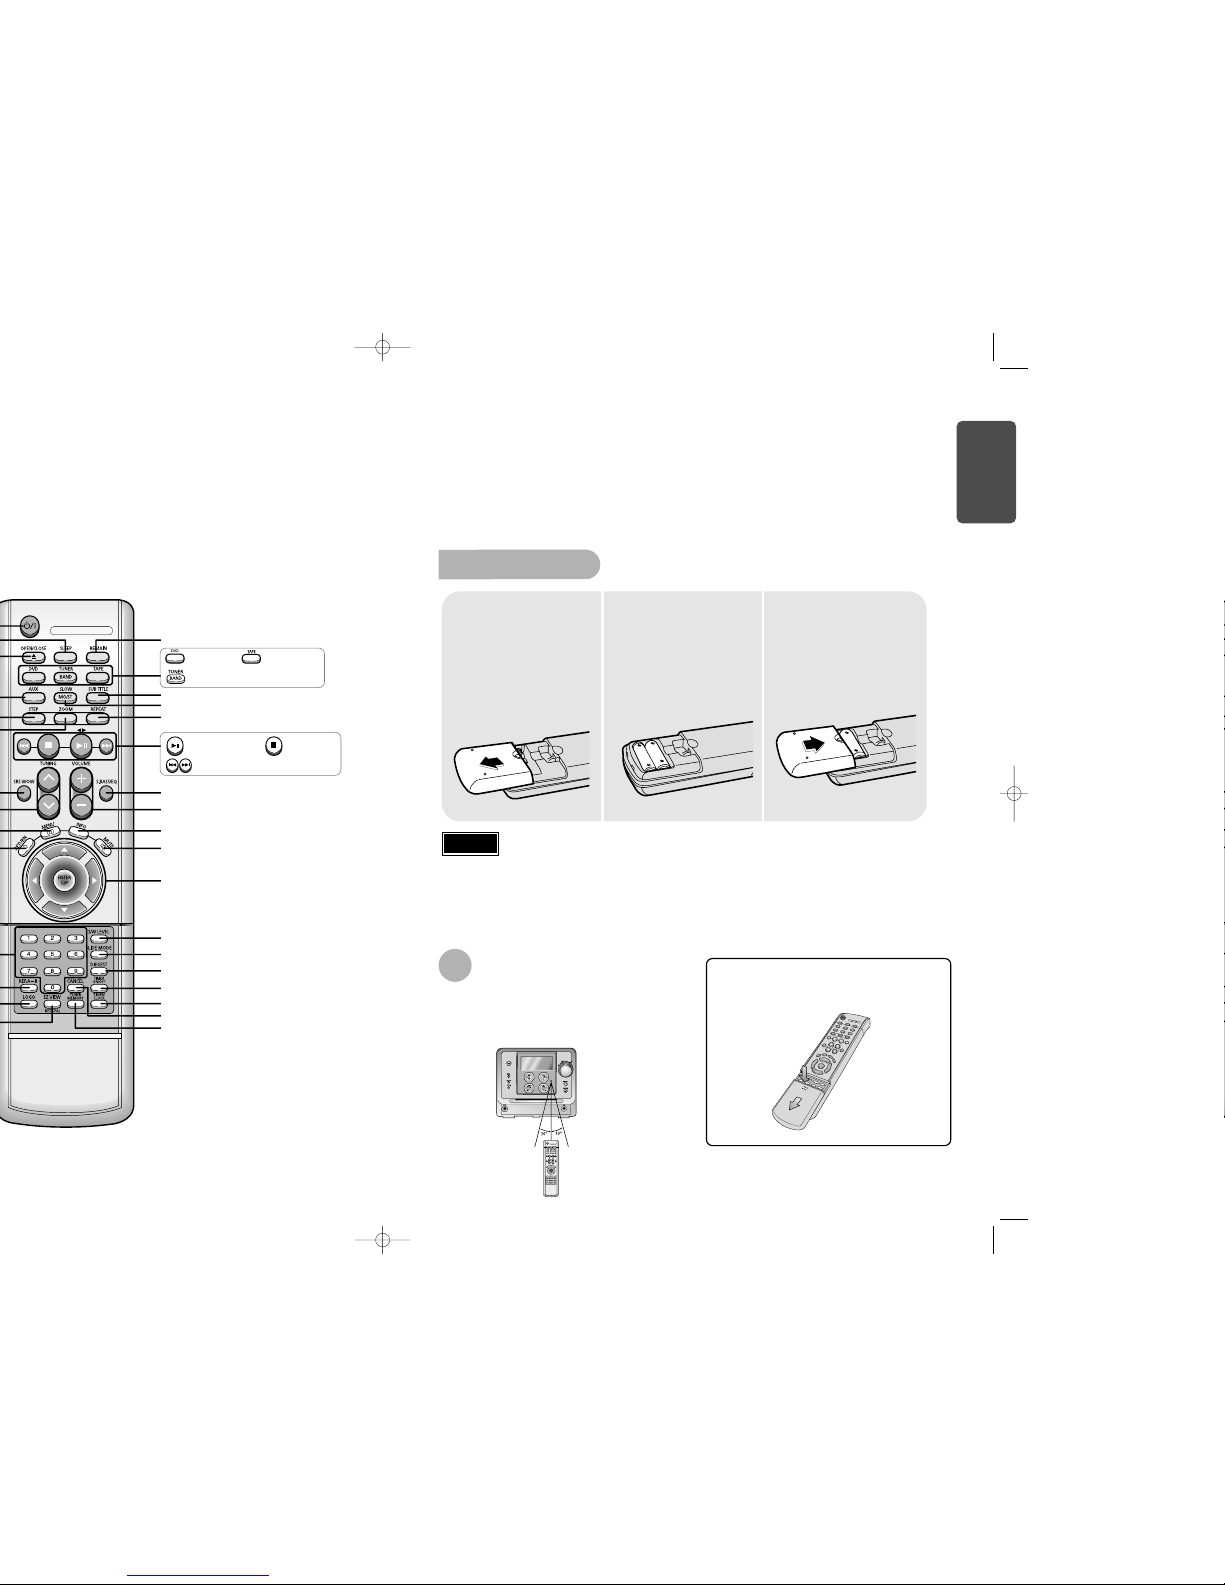
To open the remote control cover, push the
top of the cover, then slide downward.
10
Insert Remote Batteries
The remote control can be used up to approximately 23
feet/7 meters in a straight line. It can also be operated at
a horizontal angle of up to 30° from the remote control
sensor.
Range of Operation of the Remote Control
Remove the battery
cover on the back of
the remote by
pressing down and
sliding the cover in
the direction of the
arrow.
1
Insert two 1.5V AAA
batteries, paying
attention to the correct
polarities (+ and –).
2
Replace the battery
cover.
3
Follow these precautions to avoid leaking or cracking cells:
•
Place batteries in the remote control so they match the polarity:(+) to (+)and (–)to (–).
•
Use the correct type of batteries.Batteries that look similar may differ in voltage.
•
Always replace both batteries at the same time.
•
Do not expose batteries to heat or flame.
Caution
REMAIN button
SUBTITLE button
SLOW, MO/ST button
REPEAT button
INFO button
MUTE button
Direction/Enter button
S.BASS/EQ button
VOLUME button
SLIDE MODE button
SUBWOOFER LEVEL button
DIGEST button
TIMER ON/OFF button
TIMER/CLOCK button
CANCEL button
TUNER MEMORY button
DVD button
Play/Pause button
Tuning Preset/CD Skip button
Stop button
TAPE button
TUNER BAND button
PREPARATION

12
Subwoofer
•
The position of the subwoofer is not so critical.
Place it anywhere you like.
•
Usually, it is placed in a corner near the front speakers.
Selecting the Listening Position
The listening position should be located about 2.5 to 3
times the distance of the TV's screen size away from the
TV. Example: For 32" TVs 2~2.4m (6~8feet)
For 55" TVs 3.5~4m (11~13feet)
Please choose one of two video connection methods.
Use this method if your TV has an S-Video In jack.
SW
L
WOOFER
S
P
E
A
K
E
R
S
R
L
S
P
E
A
K
E
R
S
R
Subwoofer
Left Speaker
Red Black
Connecting to a TV
Method 1
Using Video Out (Cable Included)
Method 2
Using S-Video Out (Cable Not Included)
Connect Video Out on the player to Video In
on your TV.
1
Connect S-Video Out to S-Video In on your
TV.
1
•
Composite Video: A single video signal that is a composite of the black-and-white
information (Y) and the color information (C).
•
S-Video: A video transmission standard that provides a sharper, brighter picture
than ordinary composite video by separating brightness and color signals.
Note
CONNECTIONS
Press the TV/VIDEO button on the remote of TV
control to set the TV to "VIDEO".
2
Press the TV/VIDEO button on the remote control
of TV to set the TV to "S-VIDEO".
2

1413
Connecting the FM and AM Antennas
The cooling fan dissipates the heat generated inside the unit so that the unit can be operated
normally. The cooling fan is activated automatically to supply cool air to the unit.
Please observe the following cautions for your safety.
•
Make sure the unit is well-ventilated. If the unit has poor ventilation, the temperature inside the unit could rise
and may damage it.
•
Do not obstruct the cooling fan or ventilation holes. (If the cooling fan or ventilation holes are covered with a
newspaper or cloth, heat may build up inside the unit and fire may result.)
Cooling Fan
L
WOOFER
S
P
E
A
K
E
FM antenna connection AM antenna connection
1. Connect the FM antenna supplied to the FM 75Ω
COAXIAL terminal as a temporary measure.
2. Slowly move the antenna wire around until you
find a location where reception is good, then
fasten it to a wall or other rigid surface.
•
If reception is poor, connect an outdoor antenna.
Before attaching a 75Ω coaxial cable (with a standard
type connector), disconnect the supplied FM antenna.
1. Connect the AM loop antenna supplied
to the AM and terminals.
2. If reception is poor, connect an outdoor
single vinyl-covered wire to the AM
terminal. (Keep the AM loop antenna
connected).
Snap the tabs on the loop into the
slots of the base to assemble the
AM loop antenna.
L
WOOFER
S
P
E
A
K
E
R
S
R
FM Antenna (supplied)
AM Loop Antenna
(supplied)
If AM reception is poor, connect an
outdoor AM antenna(not supplied).
L
R
Audio Cable
If the external analog component has
only one Audio Out, connect either left
or right.
CONNECTIONS
1615
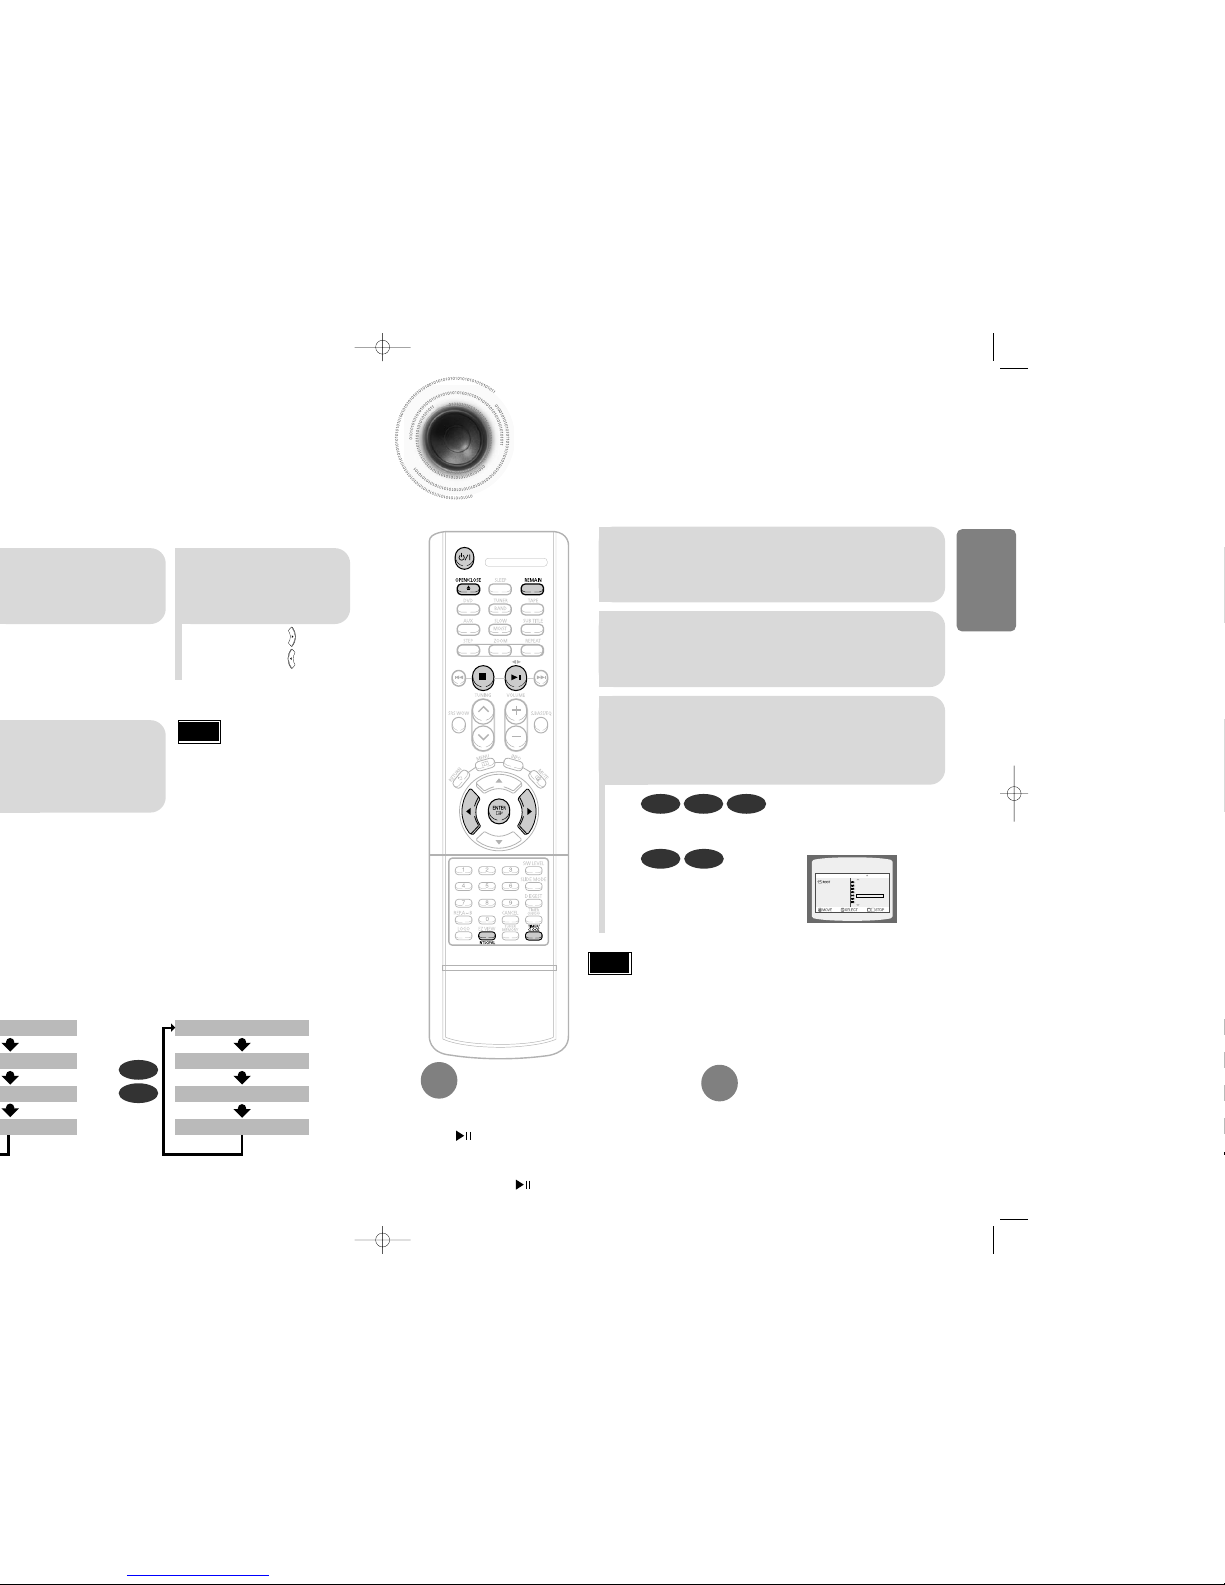
•
Remove discs from the unit
before setting the clock.
•
You can display the time, even
when you are using another
function, by pressing
TIMER/CLOCK once.
•
CLOCK is displayed.
2
Press TIMER/CLOCK
twice.
•
"TIMER" appears in the display.
•
The current time is now set.
5
When the correct
time is displayed,
press ENTER.
•
Increase the hours :
•
Decrease the hours :
3
Press ENTER.
The hour flashes.
Note
Disc Playback
2
Load a disc.
•
Place a disc gently into the tray with the disc’s label
facing up.
•
Depending on the content of the disc, the initial screen may appear different.
•
Depending on the recording mode, some MP3-CDs cannot be played.
•
Table of contents of a MP3-CD varies depending on the MP3 track format recorded
on the disc.
1
Press OPEN/CLOSE button to open the
disc tray.
3
Press OPEN/CLOSE button to close the disc
tray.
DVD VCD CD
•
Playback starts automatically.
MP3 JPEG
•
Playback starts automatically.
•
If the TV is on, a list of MP3s on
the CD will appear on the TV
screen.
Something like you
Back for good
Love of my life
More than words
I need you
My love
Uptown girl
DVD RECEIVER SMART NAVI
Note
•
To resume playback, press PLAY/PAUSE
button again.
To temporarily pause playback,
press PLAY/PAUSE during playback.
•
If pressed once, “PRESS PLAY” is displayed and the
stop position will be stored in memory. If PLAY/PAUSE
( ) button or ENTER button is pressed, playback
resumes from the stop position. (This function works
only with DVDs.)
•
If pressed twice, “STOP” is displayed, and if
PLAY/PAUSE ( ) button is pressed, playback
starts from the beginning.
To stop playback,
press STOP during playback.
TRACK REMAIN
TOTAL ELAPSED
TOTAL REMAIN
TRACK ELAPSED
CD
VCD
CONNECTIONS
1817
Display disappears Display disappears
VCD CD
Something like you
Back for good
Love of my life
More than words
DVD RECEIVER SMART NAVI
MP3 JPEG
•
What is a Title?
A movie contained in a DVD disc.
•
What is a Chapter?
Each title on a DVD disc is divided into several smaller sections called "chapters".
•
What is a Track (File)?
A section of video or a music file recorded on a VCD, CD, or MP3-CD.
TRACK (FILE) display
ELAPSED TIME display
REPEAT PLAYBACK display
AUDIO LANGUAGE display
SUBTITLE display
STEREO (L/R) display
DOLBY DIGITAL display
ANGLE display
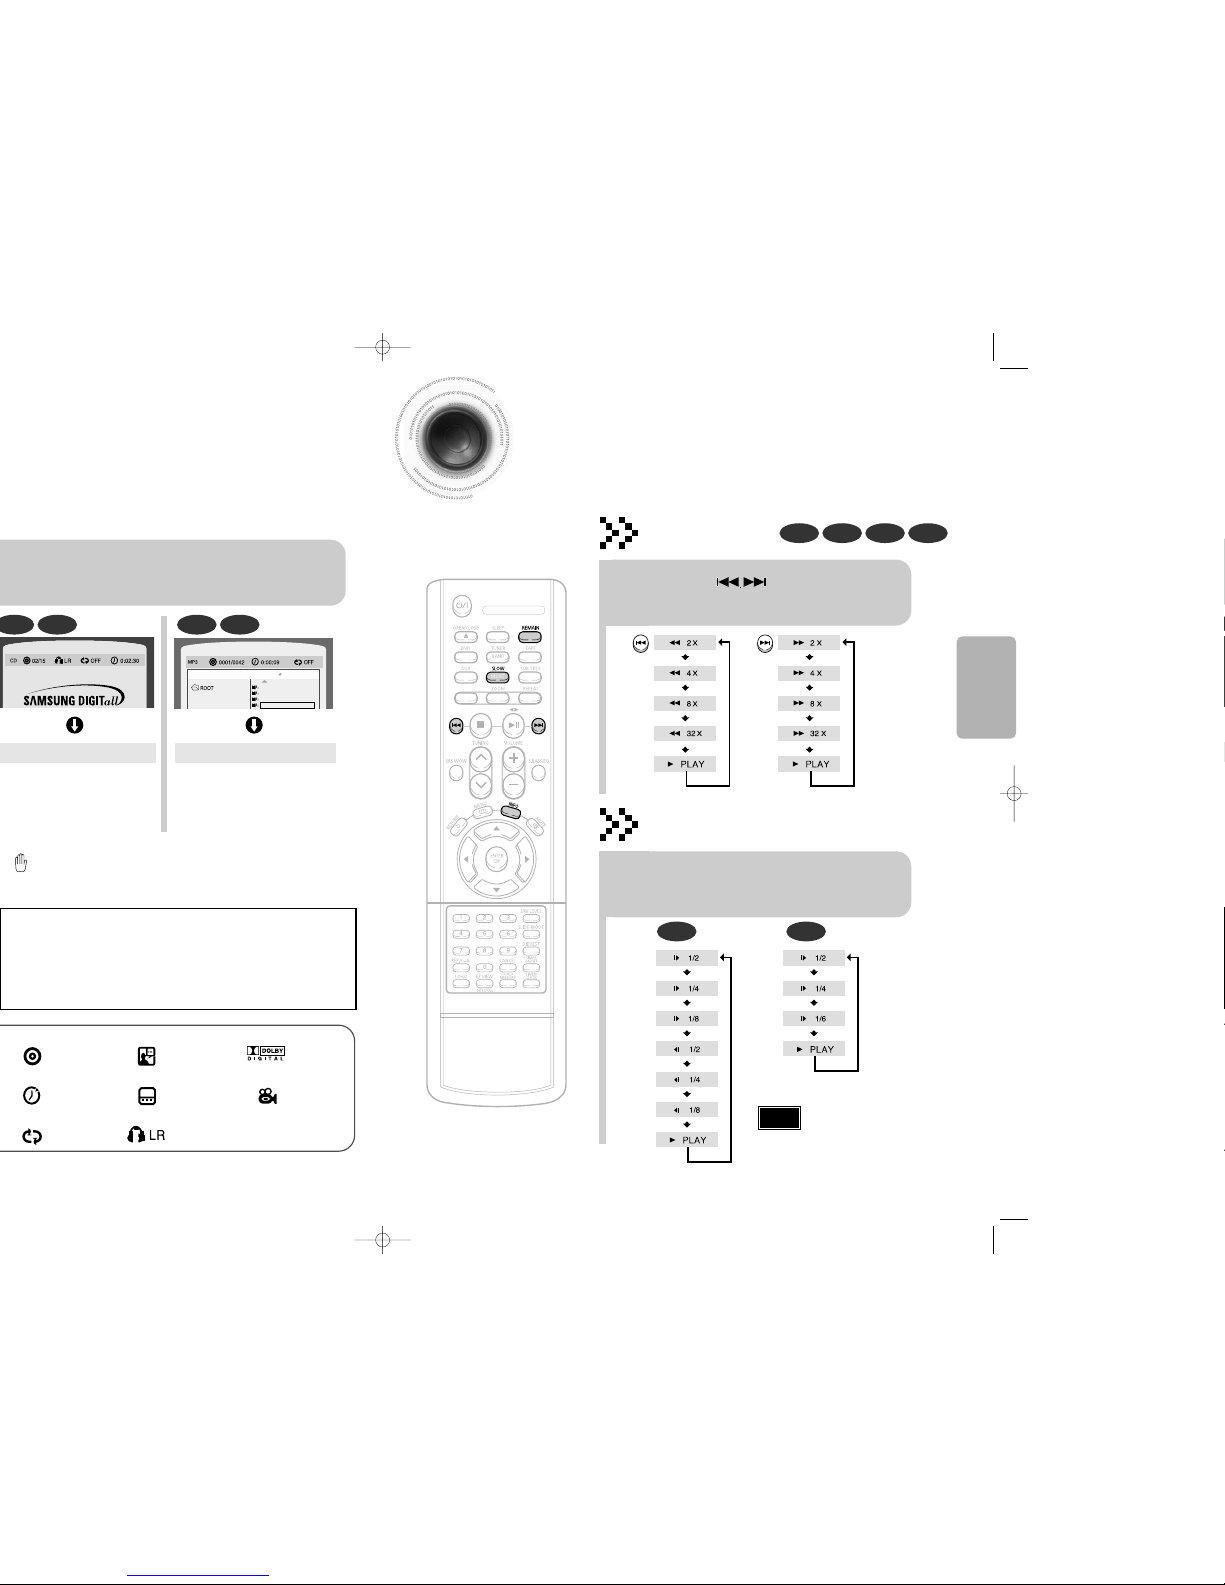
Fast/Slow Playback
Fast Playback
DVD VCD CD MP3
Press and hold .
•
Each time the button is held down during playback,
the playback speed changes as follows:
Press SLOW button.
•
Each time the button is pressed during playback,
the playback speed changes as follows:
Slow Playback
DVD VCD
•
Reverse slow playback does not
work with VCDs.
Note
OPERATION
•
appears on the TV screen!
If this symbol appears on the TV screen while buttons are being operated, that
operation is not possible with the disc currently being played.
 Loading...