

Page 1

43-104 8.fm Page 1 Tuesday, August 17, 1999 12 :45 PM
Cat. No. 43-1048
OWNER’S MANUAL
Please read before using this equipment.
ET-548
25-Channel Cordless
Headset Telephone
Page 2

y
y
y
g
y
y
g
g
y
43-104 8.fm Page 2 Tuesday, August 17, 1999 12 :45 PM
FEATURES
Your RadioShack ET-548 25-Channel
Cordless Headset Telephone gives you
communication with both portability and
convenience. It comes in two parts, a
headset and a base.
The phone’s headset connec ts to a cordless remote keypad, so you can make
calls away from its base. The headset lets
you keep your hands free to do other
things such as cook or work at your com puter while you talk. The base’s spacesaving, upright design makes it perfect for
areas where space is limited.
Your phone includes these features:
Advanced Super CCT Ci rcuitr
— provides sound clarity comparable to that of
a corded phone.
Securit
Access-Protection Code
—
prevents other cordless phone users from
using your phone line while the remote
keypad is off the cradle.
®
COM-LOK
— ensures that other cordless phone users cannot use your phone
line when the remote keypad is on the
cradle.
10-Number Memor
Dialin
— lets you
store 10 numbers i n memory for e asy dialing.
Auto Scan
— automatically selects a
clear channel when you pick up the
phone. You can also manually switch to
another channel.
— lets you redial the last number
Redial
dialed, with the touch of a button.
Privac
— prevents the person on the
other end of the phone line from hearing
you as you talk to someone else in the
room.
— sends an electronic switchhook
Flash
signal for use with special phone services
such as Call Wa iting.
Touch-Tone or Pulse (Rotar
) Dialin
— lets you use your phone with either
type of service.
Belt Clip
— lets you carry the phone’s remote keypad on your belt for easy portability.
Hearin
-Aid Compatibilit
— lets you
use your phone with hearing aids that
have a T (telephone) switch.
© 1997 Tandy Corporation .
COM-LOK is a registered trademark used by Tandy Corporation.
RadioShack is a trademark used by Tandy Corporation.
All Rights Reserved.
2
Page 3
CAUTION
43-104 8.fm Page 3 Tuesday, August 17, 1999 12 :45 PM
This phone has been tested and found to
comply with all applicable UL and FCC
standards.
Important Note: Cordless phones such
as this one require AC power to operate.
When the AC power is off, you cannot dial
out or receive incoming calls using your
ET-548. To be safe, you should also have
a phone that does not need AC power to
operate (not a cordless phone) so you
can still mak e and recei ve calls if the re is
an AC power failure.
Note: Your phone operates on standard
radio frequencies as allocated by the
FCC. It is possible for other radio units
operating nearby on similar frequencies
to unintentionally intercept your conversation or cause interference. This possible
lack of privacy can occur with any cordless phone.
We recommend you record your ph one’s
serial number here. The num ber is on the
bottom of the base.
Serial Number: __________________
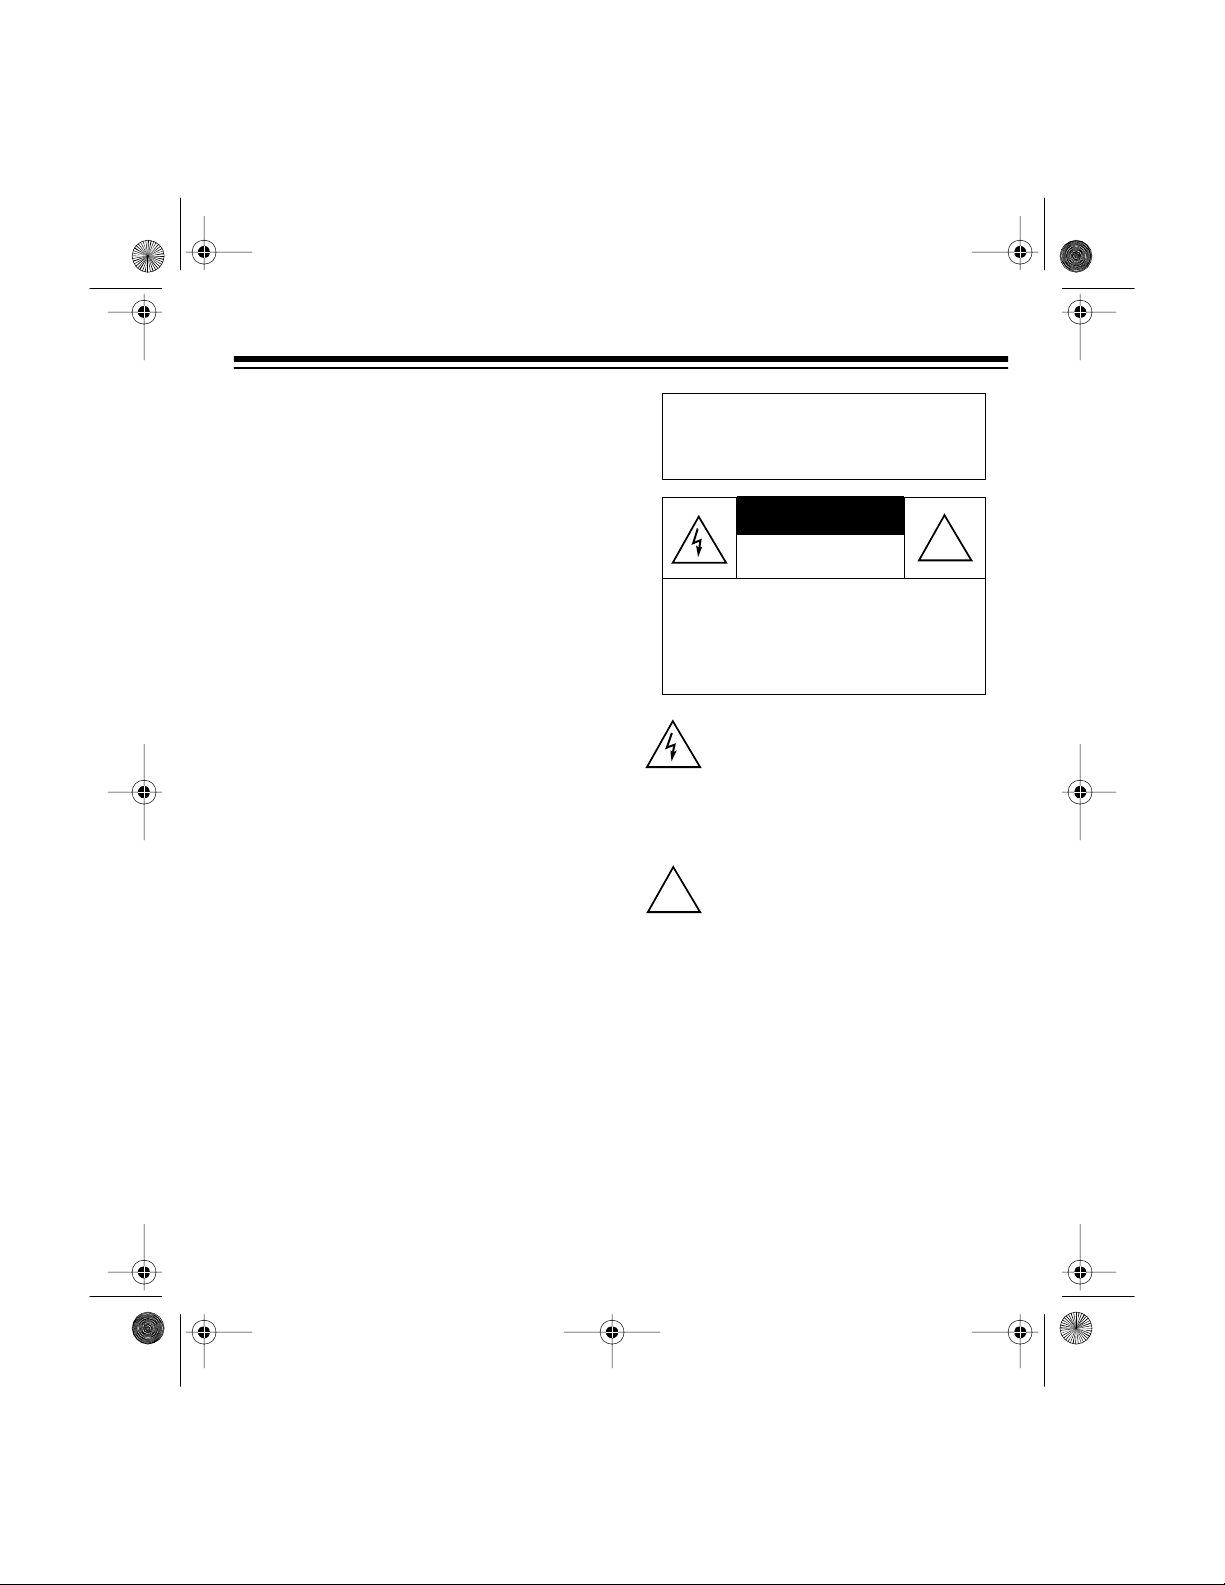
Warning: To prevent f ire or shoc k
hazard, do not expose this product
to rain or moisture.
RISK OF ELECTRIC SHOCK.
DO NOT OPEN.
CAUTION: TO REDUCE THE RISK OF
ELECTRIC SHOCK, DO NOT REMOVE
COVER OR BACK. NO USER -SERVICEABLE PARTS INSIDE. REFER SERVICING TO QUALIFIED PERSONNEL.
This symbol is intended to alert you to
the presence of uninsulated dangerous
voltage within the product’s enclosure
that mi ght b e of suff icient m agnit ude to
constitute a risk of electric shock. Do not
open the product’s case.
This symbol is intended to inform you
that important operating and mainte-
!
nance in str uc ti ons a re in clud ed in t he li terature accompanying this product.
The supplied adapter is a Class 2 120V
AC/12V DC adapt er t hat deli ver s at le ast
200 milliamps with its center tip set to
positive.
!
3
Page 4

43-104 8.fm Page 4 Tuesday, August 17, 1999 12 :45 PM
READ THIS BEFORE
INSTALLATION
We have designed your phone to conform
to federal regulations, and you can connect it to most telephone lines. However,
each device that you connect to the
phone line draws power from the phone
line. We refer to this power draw as the
device’s
REN. The REN is on the bottom of the
base.
If you are using more than one phone or
other device on the line, add up all the
RENs. If the total is m ore th an five, your
phones might not ring. In rural areas, a total REN of three m ight i mpa ir rin ger op eration. If ringer operation is impaired,
remove a device from the line.
ringer equivalence number
, or
FCC STATEMENT
This telephone complies with Part 68 of
FCC Rules
vide the FCC Registration Number and
the REN to your phone company. These
numbers are shown on the bo ttom of the
base.
Note:
to any of the following:
• coin-operated systems
• party-line syst ems
• most electronic key phone systems
. You must, upon request, pro-
You must not conne ct your phone
4
Page 5

g
43-104 8.fm Page 5 Tuesday, August 17, 1999 12 :45 PM
CONTENTS
Installatio n .................................................................................................................... 6
Selecting a Location ................................................................................................ 6
Connecting the Phone ............................................................................................. 6
Connecting and Charging the Battery Pack ............................................................ 7
Attaching the Headset Holder ................................................................................. 9
Adjusting the Headset .. ........................................................................................... 9
Setting the Dialing Mode ....................................................................................... 10
Using the Belt Clip ................................................................................................. 10
Operation .................................................................................................................... 11
Making and Receiving Calls .................................................................................. 11
Changing Channels ............................................................................................... 12
Setting the Volume ................................................................................................ 12
Using Redial .......................................................................................................... 12
Using Privacy ........................................................................................................ 13
Using Flash ........................................................................................................... 13
Using Tone Services on a Pulse Line .................................................................... 13
Memory Dialing ..................................................................................................... 14
Storing a Number in Memory .......................................................................... 14
Entering a Pause in a Memory Number .......................................................... 15
Dialing a Stored Number ................................................................................ 15
Chain Dialing Service Numbers ...................................................................... 15
Testing Stored Emergency Numbers .............................................................. 15
Troubleshootin
Care and Maintenance ............................................................................................... 18
Replacing the Battery Pack ................................................................................... 19
The FCC Wants You to Know ................................................................................ 20
Lightning ................................................................................................................ 21
......................................................................................................... 16
5
Page 6

43-104 8.fm Page 6 Tuesday, August 17, 1999 12 :45 PM
INSTALLATION
SELECTING A LOCATION
You can place the phone’s base on a
desktop, shelf, or table. Select a locat ion
that is:
• near an AC outlet
• near a telephone line jack
• out of the way of normal activities
• away from electrical m achinery, electrical appliances, metal walls, filing
cabinets, wireless intercoms, security alarms, and room monitors
The base’s location affects the phone’s
range. If you have a choice of several locations, try each to see which provides
the best performance.
Your telephone connects directly to a
modular telephone line jack. If your telephone wiring does not have a modular
jack, you can update the wiring yourself
or have the telephone company update it
for you.
Caution:
2 120V AC/12V DC adapter that deli vers
at least 200 milliamps with its center tip
set to positive. Its plug correctly fits the
phone’s
that does not meet these requirements
could damage the phone or the adapter.
The supplied adapter is a Class
DC 12V
jack. Using an adapter
CONNECTING THE PHONE
After you select a location f or the phone’s
base, follow these steps to connect it to
AC power and to the phone line.
Illustration
Notes:
• RadioShack stores sell jacks and
adapters to convert older wiring methods to modular wiring.
• The USOC number of the ja ck to be
installed is RJ11C.
6
1. Plug one end of the supplie d m odular
cord into the
back of the base.
2. Plug the modular cord’s other end
into a modular phone line jack.
TEL. LINE
jack on the
Page 7

43-104 8.fm Page 7 Tuesday, August 17, 1999 12 :45 PM
3. Plug the supplied AC ad apte r’s barrel
plug into the
of the base.
4. Plug the adapter into a standard AC
outlet. The IN USE/CHARGE indicator lights when the keypad is on the
base.
5. Lift the base’s antenna to a vertical
position.
DC 12V
jack on the back
CONNECTING AND
CHARGING THE BATTERY
PACK
The ET-548 comes with a rechargeable
nickel-cadmium battery pack in the remote keypad. You must connect and then
charge the battery pack for at least 15
hours before you use it the first time.
1. Use a P hillips screwdriv er to remove
the screw that secures the battery
compartment cover, then remove the
cover.
2. Slide the battery pack’s connector
onto the connector pins inside the
battery compartment.
Illustr ation
3. Replace the cover and s ecure it with
the screw.
4. To cha rge the b attery pack, pla ce the
remote keypad on the base. The IN
USE/CHARGE indicator on the base
lights.
Illustr ation
Illust ration
7
Page 8

43-104 8.fm Page 8 Tuesday, August 17, 1999 12 :45 PM
Recharge the battery pack when the
TALK/LOW BATT. indicator lights.
Illustration
Notes:
• When you first use the phone after
charging or recharging the battery
pack, the phone might not work and
you might hear error tones. (You do
not hear the error tones if
OFF
set to
.)
POWER
is
If you hear the error tone s, return the
remote keypad to the cradle for at
least 5 seconds to reset the security
access-protection code.
• About once a month, fully discharge
the battery pack by keeping the
phone off the base until the TALK/
LOW BATT. indicator lights. Otherwise, the battery pack loses its ability
to fully recharge.
• If the IN USE/CHARGE indicator
does not light when y ou pla ce the remote keypad on the base, be sure the
battery pack and AC adapter a re correctly and securely connected. Also,
check the charging contacts on the
remote keypad and base. I f the contacts are dirty or tranished, clean
them with a pencil eraser.
Illustration
• If battery power is low,
ON
to
, and the headset is not in use,
POWER
the TALK/LOW BATT. indicator slowly
flashes. If battery power is too low,
the indicator does not light.
8
is set
• If you are not going to use your phone
for an extended period of time, disconnect its battery. This helps to increase the battery’s usable life.
Page 9

43-104 8.fm Page 9 Tuesday, August 17, 1999 12 :45 PM
ATTACHING THE HEADSET
HOLDER
Put the headset holder into the slot on the
back of the base and slide it into place.
Illustration
ADJUSTING THE HEADSET
1. Put on the headset, and adjust the
band until it rests with almost no pressure on your ear and the top of your
head.
slightly to tighten it. If the headset is
tight, gently pull the headset band out
to loosen it.
2. Hold the headset in place, and turn
the microphone boom until it is about
2 inches from your mouth.
Illustration
When you are not using the headset,
place it on the headset holder.
Illustration
Illustration
If the headset is loose, rem ove it and
gently push the hea dset band inward
9
Page 10

43-104 8.fm Page 10 Tuesday, August 17, 1999 12: 45 PM
SETTING THE D IALING
MODE
Illustration
TONE-PULSE
Set
for the type of service you have. If you are
not sure which type you have, do this simple test after charging the battery.
1. Set
2. Set
POWER
TONE-PULSE
3. Lift the remote keypad from the base.
Then press
for a dial tone.
4. Press any number other than 0.
If the dial tone stops, you have touch-
tone service. Leave
TONE
to
on the side o f the base
to ON.
TONE
to
TALK/HANG UP
TONE-PULSE
.
.
and listen
set
USING THE BELT CLIP
Use the belt clip to hang the rem ote keypad on your belt or waistband for handsfree carrying.
Illustra tion
If the dial tone continues, you have
pulse service. Set
PULSE
.
TONE-PULSE
10
to
Page 11

43-104 8.fm Page 11 Tuesday, August 17, 1999 12: 45 PM
OPERATION
MAKING AND RECEIVING
CALLS
Before using the pho ne, put the headset
on and adjust it as needed. Then set
POWER
To make a call, press
You hear a dial tone and the TA LK/LOW
BATT. indicator lights. Dial the number
you want to call.
To disconnect a call, press
UP
to ON.
TALK/HANG UP
Illustration
TALK/HANG
or place the keypad on the base.
Notes:
• To conserve battery power, set
POWER
pad is away from the base. When you
hear another phone on the same line
ring, set
T ALK/HANG UP
.
• When you press a button, a single
tone indicates that t he phone accepts
the command. Three tones indicate
that you pressed a button in error, you
are out of range, or there is too much
interference. If there is severe interference, move the remote keypad
closer to the base before you press
any key.
• If interference is severe, the remote
keypad might lose communication
with the base and the call might disconnect. This does not happen often,
but if it does, return the remote keypad to the cradle for a few seconds.
to
POWER
OFF
when the remote key-
to ON and press
to answer the call.
To answer a call when the keypad is on
the base, pick up the keypad. The TALK/
LOW BATT. indicator lights.
To answer a call when the ke ypad is not
on the base, press
TALK/L O W BA TT. indicato r lig h ts.
TALK/HANG UP
. The
11
Page 12

43-104 8.fm Page 12 Tuesday, August 17, 1999 12: 45 PM
CHANGING CHANNELS
Your headset cordless tel ephone has an
Auto Scan feature that automatically selects a clear channel when you press
TALK/HANG UP
ference during a call, press
. If you experience inter-
CHANNEL
to
switch to another chann el until you have
good reception.
Illustration
SETTING THE VOLUME
VOLUME
The
volume you hear through the headset.
This is especially useful for people who
have trouble hearing, or when you encounter poor phone lines or are in an especially noisy area like a kitchen or
workshop. Simply set
sired listening level.
control lets you adjust the
VOLUME
to the de-
USING REDIAL
To quickly redial the last number dialed,
press
PAUSE
TALK/HANG UP
.
Illustration
then
Notes:
• The redial memory holds up to 80 digits in the tone mode and 79 digits in
the pulse mode, so you can redial
long-distance as well as local numbers.
• The redial memory can also switch
from pulse to tone dialing (see “Us ing
Tone Services on a Pulse Line” on
Page 13) and can store
tries (see “Entering a Pause in a
Memory Number” on Page 15).
REDIAL/
PAUSE
en-
12
Illustration
Page 13

43-104 8.fm Page 13 Tuesday, August 17, 1999 12: 45 PM
USING PRIVACY
Hold down
else in the room without the person on the
other end of the phone line hearing your
conversation. You can still hear the person on the other end of the phone line.
Release
conversation.
PRIVACY
Illustration
PRIVACY
to talk to someone
to resume your phone
USING FLASH
Illustration
Notes:
• The redial memory does not store the
FLASH
entry or the digits you press
FLASH
after
• If you do not have any special phone
services, pressing
connect your current call.
.
FLASH
might dis-
USING T ONE SERVICES ON
A PULSE LINE
Some special phone services, such as
bank-by-phone, require tone signals. If
you hav e pulse s ervice, you can still use
these special tone services.
1. Dial the service’s main number.
2. Press
tone signals are required, then dial
the additional numbers. The phone
sends these numbers as tone signals.
TONE/
at the point where
FLASH
of a switchhook signal for sp ecial phone
services such as Call Waiting.
For example, if you have Call Waiting,
you can put your c urrent call on hold and
answer a second call by pressing
Press
the two calls.
provides the electronic eq uivalent
FLASH
FLASH
again to alternate between
3. The phone automatically resets to the
pulse mode when you hang up.
.
13
Page 14

43-104 8.fm Page 14 Tuesday, August 17, 1999 12: 45 PM
MEMORY DIALING
You can store up to 10 numbers of up to
16 digits.
Notes:
• To keep your accounts secure, we
recommend you do not store your
personal access code for services
such as bank-by-phon e in a memory
location.
• When storing numbers for special
services (such as alternate long distance or bank-by-phone), store the
service’s main phone number in one
memory location and numbers for additional information in other locations.
Storing a Number in Memory
1. With the TALK/LOW BATT. indicator
off, press
MEMORY
.
exits the number storing process.
Start again from Step 1.
2. Dial the number you want to store.
3. Press
MEMORY
again.
4. Press the memory location number
(0–9) where you want to store the
number. A long beep sounds, and the
phone number is stored in memory.
5. Pull out the memory index card at the
bottom of the base and write the
stored number next to the memory
location number. We recommend you
use a pencil in case you want to
change it later.
Illustration
Illustration
Note:
If you do not press any button
on the keypad within about 10 seconds, a buzz sounds and the phone
14
Notes:
• If you receive a call while you are
storing a number in memory, press
TALK/HANG UP
to answer the call. Af-
ter the call, begin again at Step 1.
Page 15

43-104 8.fm Page 15 Tuesday, August 17, 1999 12: 45 PM
• To change a number stored in memory, simply store a new number in that
memory l ocation.
• To clear a memory location so no
number is stored there, press
ORY
twice, then press the memory lo-
MEM-
cation number. A long beep s ounds,
and the number is cleared from memory.
If a buzz sounds, you did not successfully clear the memory location.
Repeat the process.
Entering a Pause in a Memory
Number
In some telephone systems, you must dial
an access code (9, for example) and wait
for a second dial tone before you can dial
an outside numbe r. To enter a 2-second
pause, press
priate point when you store a number. To
enter another 2-second pause, press
DIAL/PAUSE
REDIAL/PAUSE
again.
Illustration
at the appro-
RE-
Dialing a Stored Number
T ALK/HANG UP
Press
a dial tone, press
, and when you hear
MEMORY
then the memory location number. The phone d ials the
stored number .
Chain Dialing Service Numbers
Note:
If you use pulse di aling to dial the
service, be sure you have st ored a tone
TONE/
entry (
) in another memory loca-
tion.
When you hear a dial tone, pres s
RY
and the memory location number for
MEMO-
the service’s main number. When the service’s main number answers, press
ORY
and the memory location numbers
MEM-
for the additional information.
Testing Stored Emergency
Numbers
If you store an emergency service’s number (police department, fire department,
ambulance) and you want to test the
stored number, make the test call during
the late evening or early morning to avoid
peak demand periods. Remain on the line
to explain the reason for your call.
15
Page 16

43-104 8.fm Page 16 Tuesday, August 17, 1999 12: 45 PM
TROUBLES HOOTING
We do not expect you to have any problems with your phone, but if you do, the following
suggestions might help. If you still have problems, take the phone to your local RadioShack store for assistance.
SYMPTOM SUGGESTION
Interference is severe. Move the remote keypad closer to the base.
Keep the base and remote keypad away from interference sources such as computers, radio-controlled toys,
wireless microphones, wireless alarm systems, wireless
intercoms and room monitors, fluorescent lights, and
electrical appliances.
Turn off the interfering device.
Hang up and redial the number.
The range decreases. Fully extend the base’s antenna and raise it to a vertical
position.
The volume level drops or
you hear unusual sounds
when someone picks up
another phone on the
same line.
16
Ensure the antenna is not touching a metal surface.
Recharge the remote keypad battery pack.
Hang up the second phone.
Page 17

43-104 8.fm Page 17 Tuesday, August 17, 1999 12: 45 PM
SYMPTOM SUGGESTION
The phone does not work. Ensure
POWER
is set to ON.
Move the remote keypad closer to the base.
Fully extend the base’s antenna and raise it to a vertical
position.
Ensure the phone’s modular cord and the AC adapter
are correctly and securely connected.
Recharge the remote keypad’s battery pack. (If the bat-
tery power is too low, the TA LK /LOW BATT. indicator
does not light.)
Reset the security access-protection code by placing
the remote keypad in the cradle with
POWER
set to ON,
disconnect AC power and then reconnect AC power.
If the problem persists, disconn ect the phone. If other phones on t he same line work
properly, the fault is in this phone or its installation. If you cannot locate the proble m,
take your phone to your local RadioShack store for assistance.
17
Page 18

43-104 8.fm Page 18 Tuesday, August 17, 1999 12: 45 PM
CARE AND MAINTENANCE
Your RadioShack ET-548 25-Channel Cordless Headset Telephone is an example of
superior design and craftsmanship. The following suggestions will help you care for your
phone so you can enjoy it for years.
Keep the phone dry. If it gets wet , wipe it dry immedi ately. Liquids mig ht
contain minerals that can corrode the electronic circuits.
Use and store the phone only in normal temperature environments. Temperature extremes can shorten the life of electronic devices and distort or
melt plastic parts.
Handle the phone g ently and carefully. Dropping it can damage circuit
boards and cases and can cause the phone to work improperly.
Keep the phone away from dust and dirt, which can cause premature wear
of parts.
CLEANER
not use harsh chemicals, cleaning solvents, or strong detergents to clean
your phone.
Modifying or tampering with t he phone’s internal com ponents can ca use a malfunction
and might invalidate its warranty and void your FCC authorization to operate it. If your
phone is not performing as it should, take it to your local RadioShack store for assistance. If the trouble is harming the phone lines, the telephone company might ask you to
disconnect your phone until you have resolved the problem.
18
Wipe the phone with a damp cloth occasionally to keep it looking new. Do
Page 19

43-104 8.fm Page 19 Tuesday, August 17, 1999 12: 45 PM
REPLACING THE BATTERY
PACK
If you follow the instructions in “Connecting and Charging the Battery Pack” on
Page 7, the battery pack should last
about a year. If the battery pack does not
hold a charge for more than 2 h ours after
an overnight charge, replace the battery
pack with a new 3.6 volt, 300 milliamp
battery pack with a connec tor that fits the
connector pins in the battery pack compartment. You can order a replacement
battery pack (RSU-10450971) through
your local RadioShack store.
Install the new ba ttery pack as described
below, then charge the battery pack for
about 15 hours before you use it the first
time (see “Connecting and Charging the
Battery Pack” on Page 7).
1. Use a P hillips screwdriv er to remove
the screw on the battery compartment
cover on the remote keypad, then remove the cover.
Illustrati o n
2. Gently pull on the battery connector
to disconnect it, then remove the bat tery pack.
3. Slide the battery pack’s connector
onto the connector pins inside the
battery compartment and put th e battery pack into the compartment.
Illustration
4. Replace the cover and s ecure it with
the screw.
Cautions:
• You must use a replacement battery
pack of the required size and type.
• Be careful not to short the battery
pack by touching it with conducting
materials, such as rings, bracelets,
and keys. The battery pack or conductor might overheat and burn.
• Do not dispose of the battery pa ck in
a fire because it might explode.
• Do not open or mutilate the battery
pack.
19
Page 20

43-104 8.fm Page 20 Tuesday, August 17, 1999 12: 45 PM
Notes:
• If you have t rouble replacing the battery pack, take the phone to your local RadioShack store for assistance.
• To avoid losing numbers stored in
memory, try to install and begin
charging the new battery pack within
2 minutes of removing the old one.
Important: Your telephone contains a rechargeable nickel cadmium battery pack.
At the end of the battery pack’s useful life,
it must be recycled or disposed of properly. Contact your local, county, or state
hazardous waste management authorities for information on recycling or disposal programs in your area. Some options
that might be available are: municipal
curb-side collection, drop-off boxes a t retailers such as your local RadioShack
store, recycling collection centers, and
mail-back programs.
THE FCC WA NTS YOU TO
KNOW
In the unlikely event that your phone
causes problems on the phone line, the
phone company can temporarily discontinue your service. If this happens, the
phone company attempt s to notify you in
advance. If advance notice is not practi-
cal, the phone company notifies you as
soon as possible and advises you of your
right to file a complaint with the FCC.
Also, the phone company can make
changes to its lines, equipment, operations, or procedures that could affect the
operation of this telephone. The telephone company notifies you of these
changes in advanc e, so you can take the
necessary steps to prev en t interruption of
your telephone service.
Your phone might cause TV or radio interference even when it is operating properly. To determine whether your phone is
causing the interference, turn off your
phone. If the interference goes away,
your phone is causing the interference.
Try to eliminate the interference by:
• Moving your phone aw ay from the receiver
• Connecting your phone to an AC outlet that is on a different electrical circuit from the receiver
• Contacting your local RadioShack
store for help
20
Page 21

43-104 8.fm Page 21 Tuesday, August 17, 1999 12: 45 PM
LIGHTNING
Your telephone has built-in lightning protection to reduce th e risk of damage from
surges in telephone line and power line
current. This lightning protection mee ts or
exceeds FCC requirements. However,
lightning striking the telephone or power
lines can damage your telephone.
Lightning damage is not comm on. Nevertheless, if you live in an area that has severe electrical storms, we suggest that
you unplug your phone during storms to
reduce the possibility of damage.
21
Page 22

43-104 8.fm Page 22 Tuesday, August 17, 1999 12: 45 PM
NOTES
22
Page 23

43-104 8.fm Page 23 Tuesday, August 17, 1999 12: 45 PM
23
Page 24

43-104 8.fm Page 24 Tuesday, August 17, 1999 12: 45 PM
RadioShack Limited Warranty
This telephone product is warranted against manufacturing defects in material and
workmanship for one (1) year from the date of purchase from RadioShack company
owned st ores an d autho rized Ra dioS hack fran chisee s and de alers. W ithin thi s perio d,
RadioShack will repair it without charge for parts and labor. Simply
RadioS hack sales slip
This wa rranty does not cover d amage or fail ure cause d by or attrib utable to Ac ts of
God, abuse, misuse, improper or abnormal usage, faulty installation, improper maintenance, lightning or other incidence of excess voltage, or any repairs other than those
provided by a RadioShack Authorized Service Facility, or transportation costs.
RadioShack is not responsible or liable fo r indirect, special, or conse quential
damages arising out of or in connection with the use or performance of the product or other damages with respect to loss of property, loss of revenue or profit, or
costs of removal, installation or reinstallation.
EXCEPT AS PROVIDED HEREIN, RadioShack MAKES NO EXPRESS WARRANTIES
AND ANY IMPLIED WARRANTIES ARE LIMITED IN DURATION TO THE DURATION
OF THE WRITTEN LIMITED WARRANTIES CONTAINED HEREIN. Some states do
not allow the limitation or exclusion of incidental or consequential damages and some
states do not allow limit ation or exclusion of implied warranties; therefore, the af oresaid
limitation(s) or exclusion(s) may not apply to the purchaser. There will be charges rendered for repairs to the product made after the expiration of the aforesaid one (1) year
warranty period.
This warranty gi ves you speci fic legal rights and you may als o have other right s which vary from
state to state.
as proof-of-pur chase date to any RadioShack store.
We Service What We Sell
bring your
10/95
RadioShack
A Division of Tandy Corporation
Fort Worth, Texas 76102
1A7 Printed in Hong Kong
 Loading...