

Page 1
English
Français
Deutsch
Page 2
This product complies with the EMC Directives (89/336/EEC, 92/31/EEC) and CE
Marking Directive (93/68/EEC).
Ce produit est conforme aux directives relatives à la compatibilité électromagnétique
(89/336/CEE, 92/31/CEE) et à la directive CE relative aux marquages (93/68/CEE).
Dieses Produkt entspricht den EMV-Richtlinien (89/336/EEC, 92/31/EEC) und CEMarkierungsrichtlinien (93/68/EEC).
Questo prodotto è conforme alle direttive EMC (89/336/CEE, 92/31/CEE) e alla
direttiva sul marchio CE (93/68/CEE).
Dit produkt voldoet aan de EMC-richtlijnen (89/336/EEC en 92/31/EEC) en de CEmarkeringsrichtlijn (93/68/EEC).
Denna produkt uppfyller föreskrifterna i EMC-direktiv (89/336/EEC, 92/31/EEC) och
CE-märkningsdirektiv (93/68/EEC).
Este producto cumple con las Directivas EMC (89/336/CEE, 92/31/CEE) y Directiva
de Marcación CE (93/68/CEE).
Este produto cumpre com as Directivas EMC (89/336/CEE, 92/31/CEE) e Directiva
da Marcação CE (93/68/CEE).
Dette produkt er i overensstemmelse med direktiverne vedrørende
elektromagnetisk kompatibilitet (89/336/EEC, 92/31/EEC) og CE-direktivet
vedrørende mærkning (93/68/EEC).
VARNING!
Om apparaten används på annat sätt än i denna bruksanvisning spacificerats, kan
användaren utsättas för osynling laserstrålning som överskrider gränsen för
laserklass 1.
ADVARSEL:
Usynlig laserstråling ved åbning når sikkerhedsafbrydere er ude af funktion. Undgå
udsaettelse for stråling.
VAROITUS!
Laitten käyttäminen muulla kuin tässä käyttöohjeessa mainitulla tavalla saattaa
altistaa käuttäjän turvallisuusluokan 1 ylittävälle näkymättömälle lasersäteilylle.
2
<DRC1126>
En
Page 3

SAFETY INSTRUCTIONS
To ensure your personal safety and to maximize the full operating potential of your Drive, read
and follow these safety precautions:
ENVIRONMENT - Please do not use the unit at places with much dust, high temperature, or
high humidity. Please use the unit at a place where it is not subjected to vibrations or shocks.
POWER - Turn off your system and attached hardware devices before installation.
READ INSTRUCTIONS - Read all safety and operating instructions before the Drive is operated.
RETAIN INSTRUCTIONS - Retain the safety and operating instructions for future reference.
FOLLOW INSTRUCTIONS - Follow all operating and use instructions.
HEED WARNINGS - All warnings must be adhered to.
CLEANING - DO NOT use liquid, aerosol cleaners, or alcohol. Use only a damp cloth to clean
the exterior housing.
WATER AND MOISTURE - DO NOT use this product near water.
POWER SOURCES - Operate this product from the type of power source indicated on the
marking label. If you are not sure of the type of power available, consult Authorized Pioneer
Dealer.
OVERLOADING - DO NOT overload wall outlets and extension cords. Doing so can result in
fire or electric shock.
OBJECT AND LIQUID ENTRY - Never push objects of any kind into this product. Touching
dangerous voltage points may cause a short resulting in fire or electric shock. Do not spill liquid
of any kind on this product.
CONDENSATION - Moisture will form in the operating section of the product causing
performance to be impaired if it is brought from cool surroundings into a warmer environment.
If you are moving the unit to a location with a warmer temperature, let the product stand for 12 hours in the new location before turning it back on.
SERVICING - Do not attempt to repair this product yourself. Opening or removing covers may
expose you to dangerous voltage or other hazards. Refer all servicing to qualified service
personnel. (Refer to the enclosed Service and Support Card.)
IMPORTANT
The following caution label appears
on your unit.
CAUTION
This product contains a laser diode of higher class than
1. To ensure continued safety, do not remove any
covers or attempt to gain access to the inside of the
product.
Refer all servicing to qualified personnel.
For pluggable equipment the socket-outlet shall be installed near
the equipment and shall be easily accessible.
Location: on top of the cover
CLASS 1 LASER PRODUCT
LASER KLASSE 1
<DRC1126>
En
3
Page 4
SAFETY INSTRUCTIONS
RADIO SIGNAL INTERFERENCE - This equipment has been tested and found
to comply with the limits for a Class B digital device, pursuant to Part 15 of the
FCC Rules. These limits are designed to provide reasonable protection against
harmful interference in a residential installation. This equipment generates, uses,
and can radiate radio frequency energy and, if not installed and used in accordance
with the instructions, may cause harmful interference to radio communications.
However, there is no guarantee that interference will not occur in a particular
installation. If this equipment does cause harmful interference to radio or television
reception, which can be determined by turning the equipment off and on, the
user is encouraged to try to correct the interference by one or more of the
following measures:
] Reorient or relocate the receiving antenna.
] Increase the separation between the equipment and receiver.
] Connect the equipment into an outlet on a circuit different
from that to which the receiver is connected.
] Consult the dealer or an experienced radio/TV technician for help.
[For Canadian model]
This Class B digital apparatus complies with Canadian ICES-003.
[Pour le modèle Canadien]
Cet appareil numérique de la Classe B est conforme à la norme NMB-003 du Canada.
LASER DIODE - This product contains a laser diode. To assure continued safety,
DO NOT remove any convers or attempt to gain access to the inside of the product.
CAUTION:
CAUTION:
Information to User
Alteration or modifications carried out without appropriate authorization may invalidate the
user’s right to operate the equipment.
USE OF CONTROLS OR ADJUSTMENTS OR PERFORMANCE OF
PROCEDURES OTHER THAN THOSE SPECIFIED HEREIN MAY RESULT IN
HAZARDOUS RADIATION EXPOSURE.
USE OF OPTICAL INSTRUMENTS WITH THIS PRODUCT WILL INCREASE EYE
HAZARD.
The Generation of Acoustical Noise Is Less Than 70dB.
(ISO7779/DIN45635)
4
<DRC1126>
En
Page 5
SAFETY INSTRUCTIONS
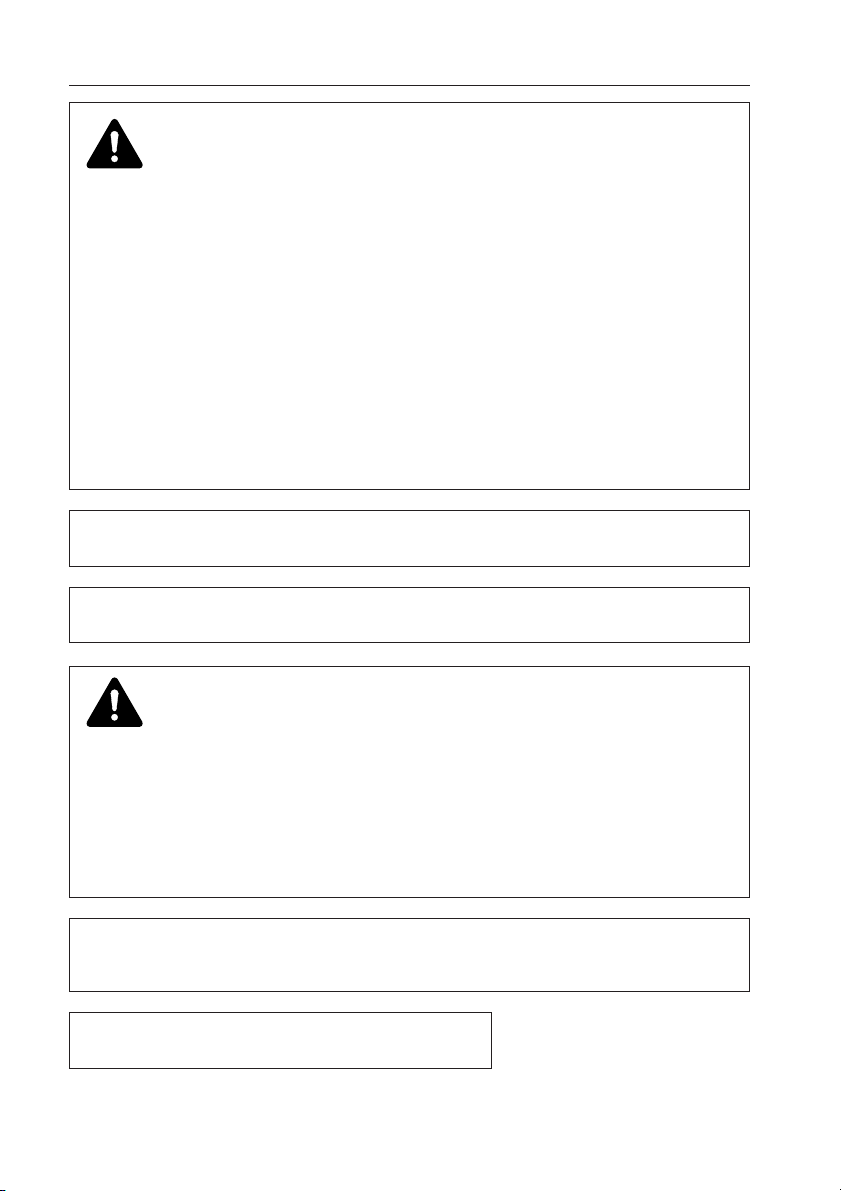
DO NOT use damaged,cracked, or warped discs. If they break inside
the unit, they may damage the optics. The disc in the drive unit rotates at high speed.
DO NOT use non-standard discs, as these may adversely influence
this unit and other equipment.
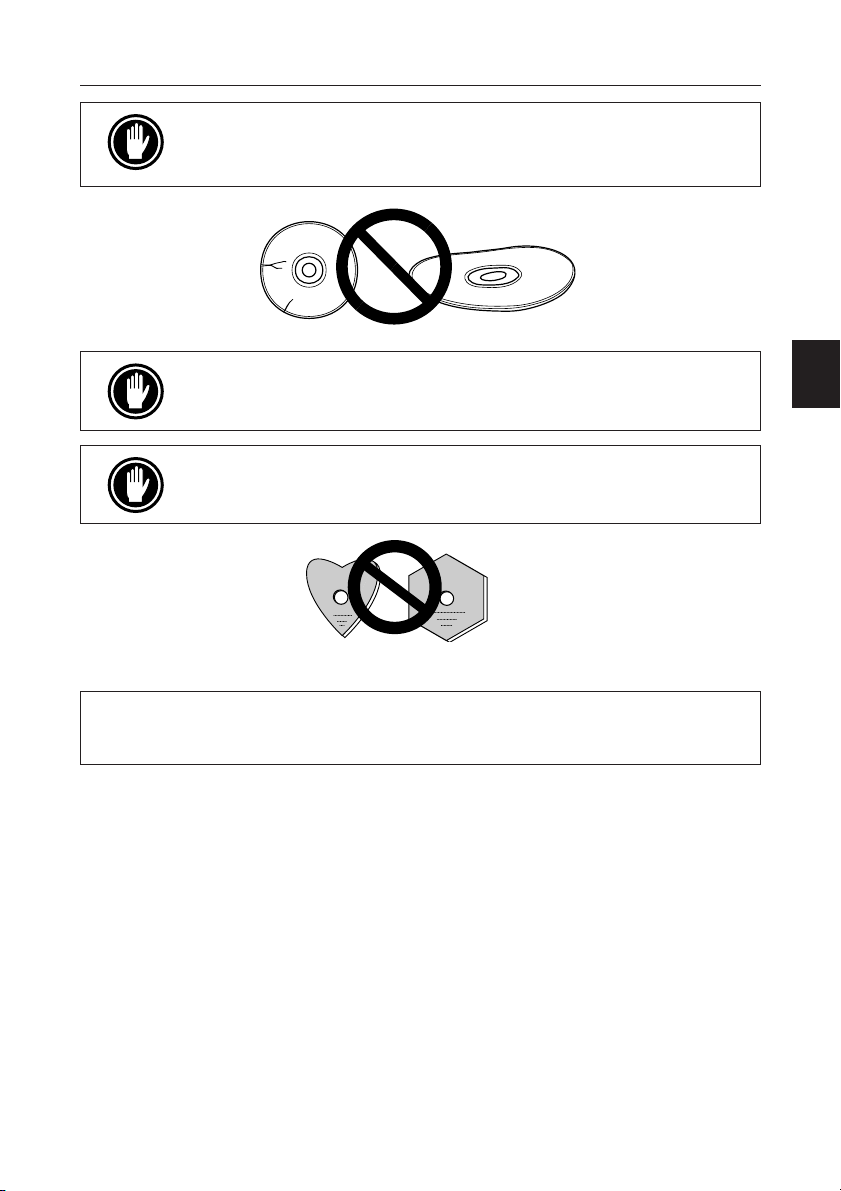
DO NOT play a CD having other shape than a circular disc, such as
heart shaped disc, or malfunction may occur.
The enclosed device driver is for use with MS-DOS/Windows 3.XX. This driver is
not required for use with Windows 95 or Windows 98.
* MS-DOS and Windows are trademarks of Microsoft Corporation.
<DRC1126>
5
En
Page 6

FEATURES
÷ High-speed reading
Transfer rate (sustained):
NOTE:
The data transfer rate may not be output due to disc conditions (scratches, etc.).
÷ High-speed access (Random average):
÷ SCSI-2 interface specifications
÷ Buffer size: 512 kBytes
÷ Applicable discs
DVD-ROM (DVD-5, DVD-9)
DVD-V
DVD-R
CD-ROM Mode 1
CD-ROM XA Mode 2 (Form 1, 2)
CD-DA
CD-R, CD Extra, Video CD, CD-Text support
CD-RW/DVD-RW disc reading
NOTES:
This product can read out CD-RW/DVD-RW disc data. Note the following:
(1) A little longer time is needed to sense a CD-RW/DVD-RW disc when the operation starts,
compared with standard CD-ROM/DVD-ROM discs.
(2) Since playback signal level of CD-RW/DVD-RW is lower than the replicated CD/DVD discs,
reading speed of those discs is lower than that of the replicated discs to ensure data
reading.
(3) Blank discs, discs that you failed to write data or discs that session close processing has
not been made - these discs cannot be used.
(4) The operations may not start or the data may not be read out under the following conditions:
The quality of the recorded signal has deteriorated due to the dirt or scratches on the
disc, or frequently rewrote discs.
If you fail to start the operation, take out the disc and reinsert it to try again to start.
÷ Correspondence to Kodak Photo CD multisession
÷ Conforming to MPC-3 specifications
÷ Half-height size
÷ Slot in loading
÷ Windows 95 and Windows 98 (Plug and Play) supported
maximum 13,500 kBytes/sec. (DVD-ROM)
maximum 6,000 kBytes/sec. (CD-ROM)
100 ms (DVD-ROM)
80 ms (CD-ROM)
6
<DRC1126>
En
*Windows is a trademark of Microsoft Corporation.
Page 7

A HARDWARE TOUR
Illustrations are provided in this chapter as a visual introduction of the Drive.
Please familiarize yourself with these illustrations and refer to them when necessary
to complete the installation and operation of the unit.
FRONT VIEW
DVD-ROM DRIVE
1
PHONES
5
4
BUSY
3
2
Fig. 1
1 Disc loading slot
Insert the DVD-ROM or CD-ROM with the label facing up.
When using 8 cm (3.15-inch) discs, attach a CD adapter (available at stores) to the
disc, and insert the disc into the disc loading slot. (Refer to page 12.)
2 Eject (0) button
This button is used to eject the disc.
3 BUSY indicator
Flashes during data access.
4 Volume Control (headphone level)
This is used to adjust the volume level of the headphone jack.
5 Headphone jack (PHONES)
This is a stereo minijack for headphones.
<DRC1126>
En
7
Page 8

A HARDWARE TOUR
67
418
49
50
1
1
2 +5 G G +12
DC INPUT
9
8
REAR VIEW
Fig. 2
6 Audio output
This is a connector for output of analog audio.
As a Molex 70553 type connecter is used, select a matching connection cable.
7 Function switch
Use the accessory short-circuit sockets to set the SCSI ID number and the drive
function.
÷ ON : put a short-circuit socket
÷ OFF : open
#1 ~ 3 : SCSI ID
Setting switch
012*34567
0 (LSB) (#1) OFF ON OFF ON OFF ON OFF ON
1 (#2) OFF OFF ON ON OFF OFF ON ON
2 (MSB) (#3) OFF OFF OFF OFF ON ON ON ON
#4 : Reserved
#5 : SCSI Terminator
ON = SCSI termination enable
OFF = SCSI termination disable
#6 : Default sector size
ON = 512 bytes
OFF = 2048 bytes
#7 : Disable the eject switch
ON = Disables the eject switch
OFF = Enables the eject switch
#8 : Reserved
* The factory setting is ID No. 2.
SCSI-ID
2048/512
DISABLE EJECT
RESERVED
Switch #
8 7 6 5 4 3 2 1
TERMINATION (SHORT – ON)
RESERVED
SCSI ID
2 1 0
8 SCSI interface
This is a 50-pin I/O connector according to the SCSI-2 specifications. Use a flat
ribbon SCSI connector to connect to the SCSI host adapter.
9 DC Input
This is the power supply input for DC +5 V and +12 V.
8
<DRC1126>
En
Page 9

TO INSTALL THE DRIVE
D
V
D
R
O
M
D
R
I
V
E
P
H
O
N
E
S
B
U
S
Y
Fig. 3
÷ Turn off the power of the personal computer and remove the cover or the front
panel.
÷ Remove the blank panel installed at the front of the 5.25 inch slot.
Installation is not possible when there is no empty slot.
÷ Install the fixation slide rails on the drive. (If slide rails are required, contact the
shop where you bought the computer or the computer manufacturer.)
÷ Insert the drive into the slot.
÷ If fixing is required, fix the drive according to the instruction manual for the computer.
<DRC1126>
En
9
Page 10

CONNECTING THE DRIVE IN THE MIDDLE OF A SCSI CHAIN
Sound Board
DVD-U04S
SCSI hard disk
SCSI HOST
Adapter
SCSI
Interface
Cable
Into an expansion slot of
the personal computer
Audio Cable
Pin 1
Pin 1
To the power supply of
the personal computer
Fig. 4
When a SCSI hard disk or other SCSI equipment is installed in the computer, please
connect according to the following method.
¶ Turn off the power supply of the personal computer.
¶ Set the SCSI ID number so that it is different from the ID numbers of all other SCSI
units.
¶ Disable internal SCSI termination (switch #5 = OFF).
¶ Connect the power supply cable from the personal computer. At the time of
connection, pay attention to the cable polarity. Please use a power supply cable
with two or more connectors in parallel.
¶ Connect the SCSI interface cable. At this time, confirm that the pin 1 of the SCSI
connector is connected correctly to pin 1 of the cable. Use a cable with two or
more connectors in parallel.
¶ When a sound board is used, connect the audio output with an audio cable to the
sound board.
WARNING
The power supply of the personal computer must be turned off before
cables are connected.
10
<DRC1126>
En
Page 11

CONNECTING THE DRIVE AS THE ONLY SCSI DEVICE
Sound Board
Audio Cable
SCSI HOST
Adapter
Into an expansion slot of
the personal computer
SCSI
Interface
Cable
To the power supply of
the personal computer
Pin 1
Power Cable
Fig. 5
When no SCSI hard disk or other SCSI equipment is used, connect according to the
following connection method.
¶ Turn off the power supply of the personal computer.
¶ Set the SCSI ID number.
¶ Enable internal SCSI termination (switch #5 = ON).
¶ Connect the power supply cable from the personal computer. At the time of
connection, please pay attention to the cable polarity.
¶ Connect the SCSI interface cable. At this time, confirm that the pin 1 of the SCSI
connector is connected correctly to pin 1 of the cable.
¶ When a sound board is used, connect the audio output with an audio cable to the
sound board.
WARNING
The power supply of the personal computer must be turned off before
cables are connected.
11
<DRC1126>
En
Page 12

DISC OPERATION
DISC SETTING METHOD
¶ Insert the disc into the disc loading slot with the label facing up.
Fig. 6
¶ When using 8 cm/3.15-inch discs, attach a CD adapter (available at stores) to the
disc, and insert the disc into the disc loading slot.
8 cm disc
CD adapter
Fig. 7
12
<DRC1126>
En
Do not insert 8 cm/3.15-inch disc without the CD adapter.
Use 8 cm/3.15-inch disc adapters labeled with the
(recommended standard product). Do not use adapters which cause the
disc to idle, nor adapters which are bent or curved.
When using a CD adapter, attach it properly to the disc, and check that it
does not come off to prevent damage to the disc and adapter.
' mark
Page 13

DISC OPERATION
Do not attempt to insert more than two discs at one time, nor insert discs
during play.
Do not insert the disc with excessive force so that it bends nor attempt
to insert it by force. While the unit is pulling in or ejecting discs, do not
attempt to do the opposite using force as this may cause damage to the
disc or malfunction of the unit.
DISC REMOVAL METHOD
¶ Confirm that the BUSY indicator of the drive is not lit, and then press the Eject
button (0).
¶ Remove the disc after it has been ejected.
Do not place anything within 12 cm (4.72 in.) in front of the unit as this
may obstruct the disc ejection operation of the unit.
13
<DRC1126>
En
Page 14

TROUBLESHOOTING
Incorrect operations are often mistaken for trouble and malfunctions. If you think that
there is something wrong with this unit, check the points below according to the
symptom.
If your computer did not start up correctly because the initial diagnostics did
not recognize a SCSI device, check these items:
¶ Were all of your SCSI devices plugged in and turned on before you started your
computer ?
— The Drive and all of the SCSI devices in the daisy chain must be turned on
before you start your computer.
¶ Are your cables connected properly ?
— All cables must be attached to the correct ports.
¶ Are your SCSI IDs set properly ?
— Each device on a SCSI chain must have a unique SCSI ID.
¶ Have you set termination properly ?
— If the Drive is the only SCSI device, it must be terminated.
¶ Have you installed the software driver properly that came with your Drive ?
— If you have not installed the software device drivers yet, refer to the Installation
instructions.
If data cannot be read from the DVD/CD-ROM disc:
¶ Is the disc properly inserted in the slot with the label side facing ± UP ?
¶ Is the BUSY indicator light on ?
¶ Is the disc in proper operating condition ?
¶ Is the SCSI cable connected correctly to the interface card and/or other SCSI devices?
¶ Are you sure there is a disc in the slot (drive) which you are trying to access ?
If music cannot be played back:
¶ Are you sure an audio CD is being used ?
¶ Is the audio amplifier, powered speakers, or headphone set connected ?
¶ Are you using CD-DA Audio ?
— Some audio formats require an audio sound card in the computer to decode
digital Audio CD-DA.
¶ Are you operating the Drive that is not connected to a SCSI 2 interface card ?
— Bringing digital audio from the DVD/CD-ROM disc into the computer requires a
SCSI 2 interface card.
¶ Is the volume turned high enough ?
Disc cannot be ejected:
¶ Has the Function Switch for the eject switch been set to the ON disabled position
? Function Switch #7.
— If yes, set the switch to the OFF condition.
14
<DRC1126>
En
Page 15

SPECIFICATIONS
[General functions]
Disc diameter 12 cm ( 4.72 in ), 8 cm (3.15 in )*
* When using 8 cm discs, attach a CD adapter (available at stores) to the disc.
Transfer rate (Sustained)
* The data transfer rate may not be output due to disc conditions (scratches, etc.).
Access time (Random average)
Data buffer capacity 512 kBytes
[Audio output part]
Line 0.7 Vrms ± 0.5 Vrms (at 10 kΩ load)
[Others]
Power supply DC +12 V, 1.6 A (peak), 1.1 A (normal)
External dimensions ( including front panel )
Weight 1.0 kg ( 2.2 lb )
Operation temperature + 5°C to +45°C ( 41°F to 113°F )
Operation humidity 5% to 85% (no condensation)
Storage temperature – 40°C to +60°C ( –40°F to 140°F )
Storage humidity 5% to 90% (no condensation)
DVD-ROM maximum 13,500 kBytes/sec.*
CD-ROM maximum 6,000 kBytes/sec.*
DVD-ROM 100 ms
CD-ROM 80 ms
DC +5 V, 1.6 A (peak), 1.1 A (normal)
148 (W) x 42.3 (H) x 208.5 (D) mm
5-27/32 (W) x 1-11/16 (H) x 8-7/32 (D) in
[Accessories]
÷ Software device driver diskette (1) x 1
1
÷ Short-circuit socket (2) x 3
÷ Audio cable (3) x 1
÷ Mounting screw (4) x 4
÷ Operating instructions x 1
÷ Installation instructions x 1
NOTE:
Specifications and design subject to possible modifications without notice, due to improvements.
÷ The Pioneer DVD-U04S can be operated using any generic single SCSI DVD/CD-ROM device
driver (e.g. as included in your Operating System software or supplied with your SCSI controller
board). For details please refer to the manual supplied with your device driver.
In accordance with specific arrangements, the DVD-U04S is in some countries shipping with
a diskette containing device driver software. The references in this manual to device driver
software are related to the Pioneer supplied version.
The enclosed device driver is for use with MS-DOS/Windows 3.XX. This driver is not required
for use with Windows 95 or Windows 98.
* MS-DOS and Windows are trademarks of Microsoft Corporation.
2
4
3
15
<DRC1126>
En
Page 16

ABOUT REGION CODES
Region codes are part of the DVD standard. There is a Region number located within
one or all of the components required for DVD-VIDEO playback. The Region number
defines the region of the DVD-ROM drive and its playback hardware/software. DVDVIDEO discs may also contain a Region number in the shape of a world globe. Unless
the Region number on both the DVD-VIDEO disc and DVD-ROM drive and its playback
components match, playback is not possible. When the word “ALL” is located in the
world globe on a DVD-VIDEO disc, that particular DVD-VIDEO disc can be played on
all DVD-ROM drives and its playback components, regardless of its region.
World Regions Numbers (1-6)
1. United States, Canada, Puerto Rico, Bermuda, the Virgin Islands, and some islands
in the Pacific.
2.Japan, Western Europe (including Poland, Romania, Bulgaria, and the Balkans),
South Africa, Turkey, and the Middle East (including Iran and Egypt).
3. Southeast Asia (including Indonesia, South Korea, Hong Kong, and Macao).
4.Australia, New Zealand, South America, most of Central America, Papua New
Guinea, and most of the South Pacific.
5. Most of Africa, Russia (and former Russian states), Mongolia, Afghanistan, Pakistan,
India, Bangladesh, Nepal, Bhutan, and North Korea.
6. China and Tibet.
The region code on the DVD-U04S can be changed ONLY 5 times, including the 1st
setting. Please be aware that the 5th change will be PERMANENT. Therefore please
use caution when changing the region code.
NOTE:
The method of changing the Region number will vary depending on the Decoder/Operating
System used.
Published by Pioneer Corporation.
Copyright C 1999 Pioneer Corporation.
All rights reserved.
16
<DRC1126>
En
Page 17

AFTER-SALES SERVICE FOR PIONEER PRODUCTS
Please contact the dealer or distributor from where you purchased the product
for its after-sales service (including warranty conditions) or any other information.
In case the necessary information is not available, please contact the Pioneer’s
subsidiaries (regional service headquarters) listed below:
PLEASE DO NOT SHIP YOUR PRODUCT TO THE COMPANIES at the addresses
listed below for repair without advance contact, for these companies are not
repair locations.
AMERICA
PIONEER ELECTRONICS SERVICE, INC.
CUSTOMER SUPPORT DIVISION
P.O. BOX 1760, LONG BEACH, CA 90801-1760, U.S.A.
EUROPE
PIONEER ELECTRONIC (EUROPE) N.V.
EUROPEAN SERVICE DIVISION
HAVEN 1087, KEETBERGLAAN 1, 9120 MELSELE, BELGIUM
ASEAN
PIONEER ELECTRONICS ASIACENTRE PET. LTD.
SERVICE DEPARTMENT
253, ALEXANDRA ROAD #04-01
SINGAPORE 159936
JAPAN AND OTHERS
PIONEER CORPORATION (HEAD OFFICE)
CUSTOMER SUPPORT CENTER
4-1, MEGURO 1-CHOME, MEGURO-KU, TOKYO 153-8654 JAPAN
France : tapez 36 15 PIONEER
この取扱説明書は再生紙を使用しています。
C 1999 パイオニア株式会社 禁無断転載
153-8654東京都目黒区目黒1丁目4番1号
PIONEER CORPORATION
Business Systems Company, Overseas Sales Department:
PIONEER NEW MEDIA TECHNOLOGIES, INC.
Multimedia and Mass Storage Division:
PIONEER ELECTRONICS SERVICE, INC.
PIONEER ELECTRONIC [EUROPE] N.V.
Multimedia Division:
PIONEER ELECTRONICS AUSTRALIA PTY. LTD.
PIONEER ELECTRONICS ASIACENTRE PTE. LTD.
80
<99I00SF0W00>
<DRC1126>
Ja
PIONEER House, Hollybush Hill, Stoke Poges, Slough SL2 4QP, U.K. TEL: +44-1753-789-789
Printed in Japan/Imprimé au Japon
2265 East 220th Street, Long Beach, CA 90810, U.S.A. TEL:800-444-OPTI (6784)
1925 East Dominguez St. Long Beach, CA 90810, U.S.A. TEL: 310-952-2820
Published by Pioneer Corporation.
Copyright C 1999 Pioneer Corporation.
All rights reserved.
4-15-5, Ohmori-nishi, Ohta-ku, Tokyo 143-0015, Japan
178-184 Boundary Road, Braeside, Victoria 3195, Australia TEL:+61-3-9586-6300
501 Orchard Road, #10-00, Wheelock Place, Singapore 238880 TEL: +65-735-9011
<DRC1126–A>
 Loading...