


Phottix Laso TTL Flash Trigger_Receiver
Thank you for purchasing a Phottix Product.
Note: Before using the Phottix Laso Wireless Trigger, please read this instruction
manual carefully, while also referring to the instruction manuals of your camera, flash
and other relevant devices.
Warnings
1. This product is a precise electronic instrument. Do not expose to damp
environments or dust.
2. Please shut down the power of all devices when installing the wireless trigger.
3. Do not drop or crush.
4. Do not use the wireless trigger at flammable, explosive or high temperature
environment.
5. Do not use harsh chemicals or solvents to clean the body. Use a soft cloth or lens
paper.
6. Remove batteries from the wireless trigger if not being used for an extended
period.
7. Interference: The Phottix Laso wireless trigger transmits radio signals at 2.4GHz.
Its performance can be affected by electrical current, magnetic fields, radio signals,
wireless routers, cellular phones, and other electronic devices. Environmental
objects, such as large buildings or walls, trees, fences, or cars can also affect
transmission performance. If your wireless trigger can’t be triggered, move its
location slightly.
FCC Interference Statement:
This device complies with part 15 of the FCC Rules. Operation is subject to the
followingtwo conditions: (1) This device may not cause harmful interference, and (2)
this device must accept any interference received, including interference that may
cause undesired operation.
FCC Radiation Exposure Statement:
This equipment complies with FCC RF radiation exposure limits set forth for an
uncontrolled environment. This device and its antenna must not be co-located or
operating in conjunction with any other antenna or transmitter.
NOTE: This equipment has been tested and found to comply with the limits for a
Class B digital device, pursuant to Part 15 of the FCC Rules. These limits are

designed to provide reasonable protection against harmful interference in a residential
installation. This equipment generates, uses and can radiate radio frequency energy
and, if not installed and used in accordance with the instructions, may cause harmful
interference to radio communications. However, there is no guarantee that
interference will not occur in a particular installation. If this equipment does cause
harmful interference to radio or television reception, which can be determined by
turning the equipment off and on, the user is encouraged to try to correct the
interference by one or more of the following measures:
-- Reorient or relocate the receiving antenna.
-- Increase the separation between the equipment and receiver.
-- Connect the equipment into an outlet on a circuit different from that to which the
receiver is connected.
-- Consult the dealer or an experienced radio/TV technician for help.
Phottix Laso TTL FLash Trigger For Canon/Receiver
The Phottix Laso receiver is used with non-wireless Canon ETTL Speedlites to
perform wireless radio-receiving control and triggering function. The receiver is
compatible with multiple wireless radio transmitting devices, including the Phottix
Laso transmitter, Canon ST-E3-RT Speedlite transmitter, and radio-enabled Canon
Speedlites.
Table of Contents
I. Parts
II. Preparation Before Use
III. The LCD Display
IV. Wireless Flash Shooting: Radio Transmission

V. Trouble Shooting Guide
I.Parts
1. Radio transmission confirmation lamp
2. LCD panel
3. Power button
4. Function button 1
5. Function button 2
6. Function button 3
7. Function button 4
8. Test flash button
9. Hot shoe mount
10. Batter compartment
11. Cold shoe/Tripod lug
12. Locking ring
13. 5V DC power port
14. 3.5mm output port
15. USB port
II. Preparation before Use
Installing the batteries
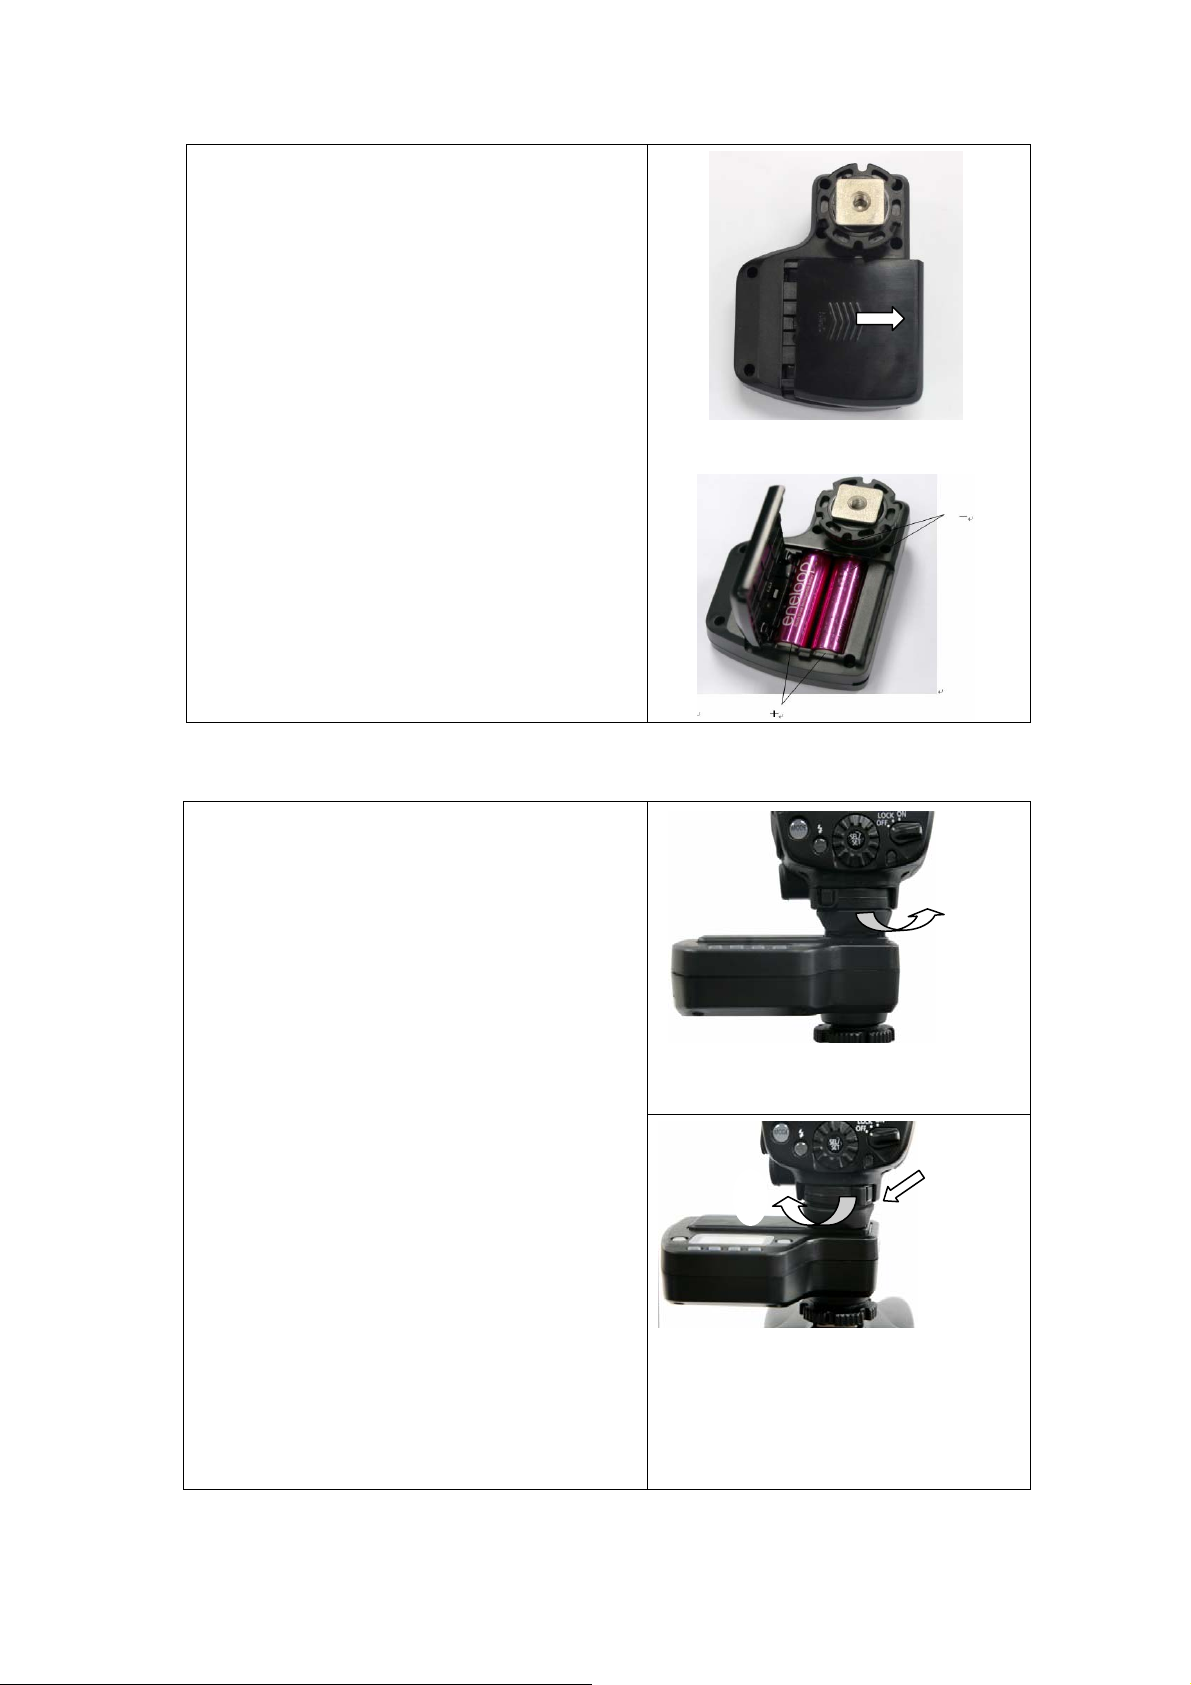
1. Press the battery compartment cover and
slide it down as shown to open the battery
cover.
2.
Insert the batteries. Make sure the “+”
and“-”battery contacts are correctly
oriented as shown. (Note: Please use 2
pieces of AA alkaline batteries or AA
type NI-MH batteries.
3. Replace the battery cover and push back
into the locked position.
4. When the power icon on the LCD screen
displays insufficient power, replace the
batteries with new ones.
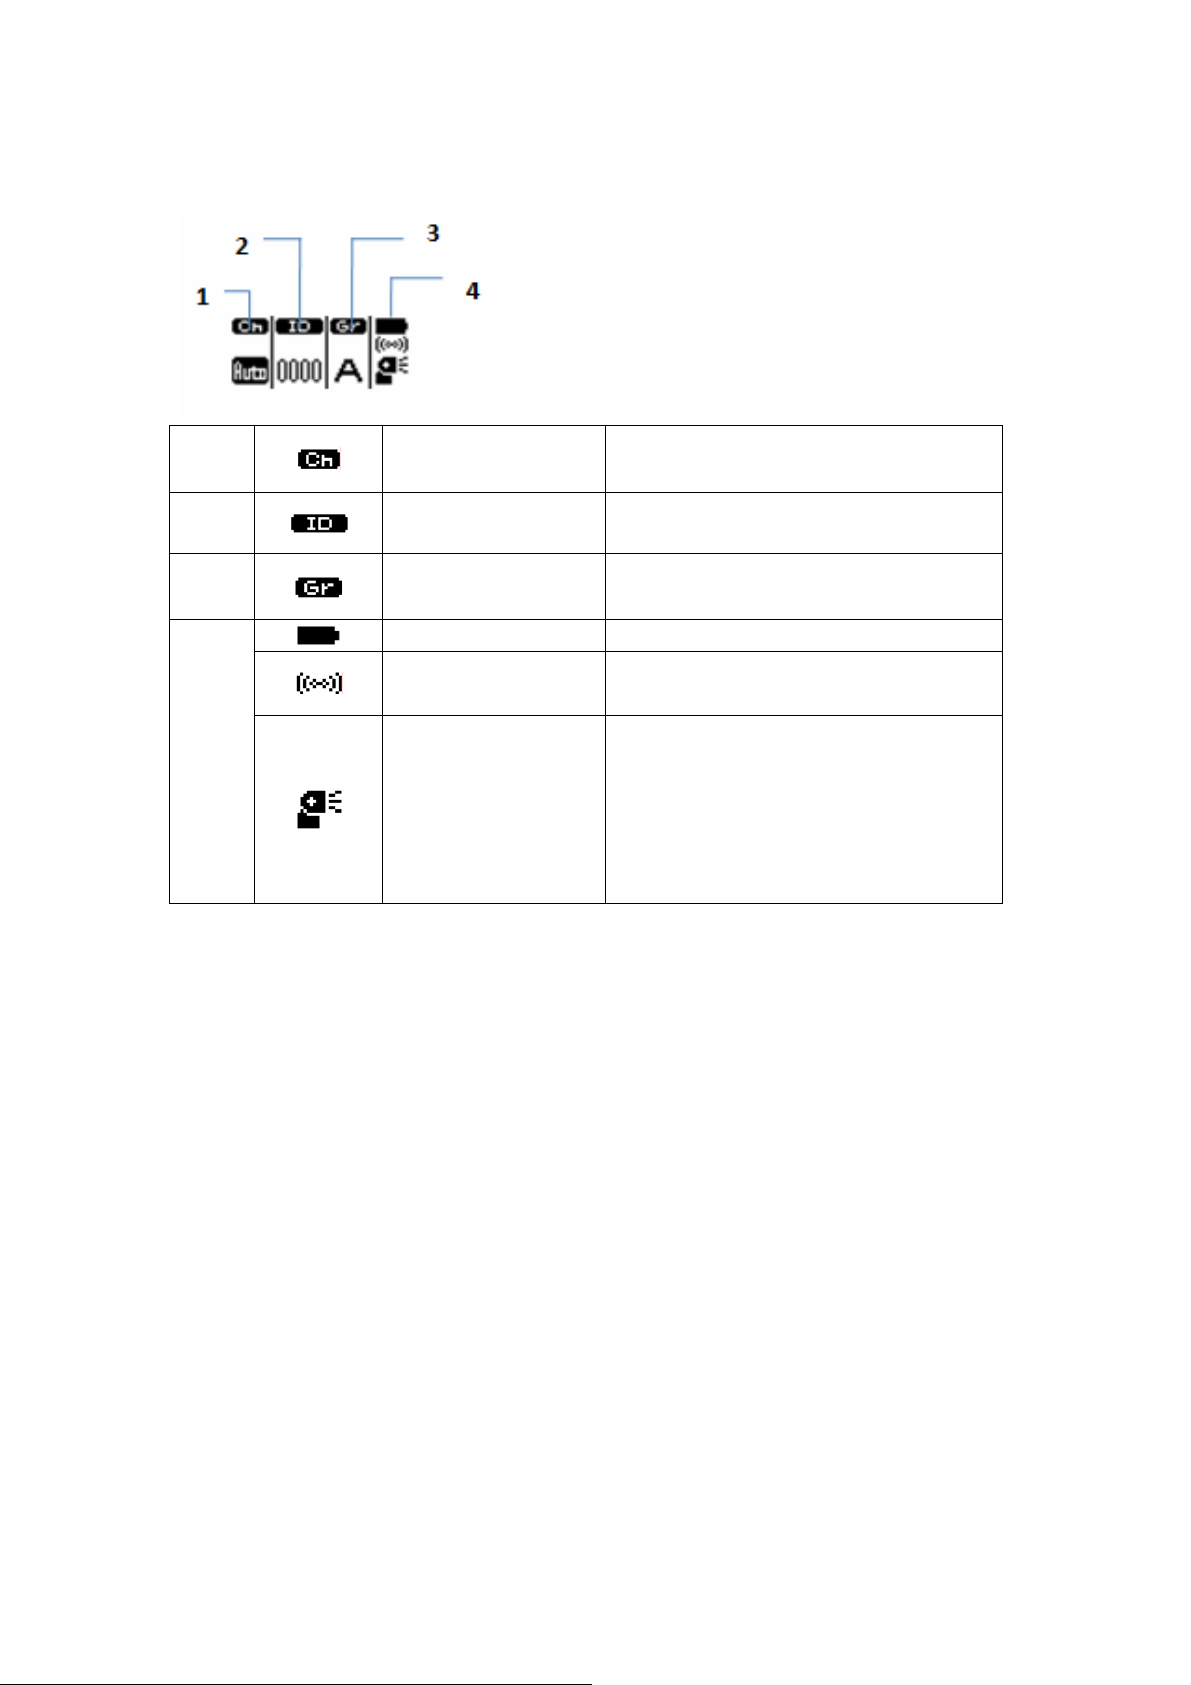
Attaching and Removing the Phottix Laso receiver
Attaching the flash to the Phottix Laso
receiver
1. Align the flash’s hot shoe and the
Phottix Laso receiver’s hot shoe
mount.
2. Slide the flash all the way into the
Phottix Laso receiver’s hot shoe
mount
3. Lock the flash with the flash’s locking
mechanism.
Removing the flash
1. Release the lock of flash according to its
locking mechanism(see picture)
2. Slide the flash out of the Phottix Laso
receiver’s hot shoe mount.
2
1

Turn On/Off the Phottix Laso receiver
1. Turn On: Press and hold the power button until MENU interface is displayed on
screen.
2. Turn off: Press and hold the power button until the LCD screen goes blank.
Checking Version Info on the Phottix Laso Receiver
You can check the present version information on the Phottix Laso receiver: While
pressing power button to turn on the Phottix Laso receiver, press function button 1, 2
or 3 spontaneously until relevant version info is displayed on the LCD screen.
Function button 1, 2 and 3 is respectively corresponding to base hardware & software
version, RF hardware & software info, and Icon version.
Test Firing:
The Phottix Laso receiver supports test firing function. You can trigger the flash
attached to the Phottix Laso receiver by pressing test button
< > on the receiver.
Attaching the Phottix Laso receiver to studio lights or flashes by cable
1) Turn off the flash/strobe and the Phottix Laso receiver
2) Connect a cable to the receiver’s 3.5 mm output port
3) Connect the opposite end of the cable to a flash or studio strobe
4) Turn on the flash/strobe and the Phottix Laso receiver
5) Set the flash to Manual mode – no ETTL functions can be used when a compatible
flash is triggered by cable.
Lock function
While the Phottix Laso receiver is on, press and hold power button and function button
1 simultaneously for 2 sec to enable lock function. The function can disable receiver’s
button operation. And “LOCK!” will be displayed on the LCD screen. Use this to
prevent the receiver function settings from being accidentally changed after you set
them.
Again press and hold power button and function button 1 simultaneously for 2 sec,
you can disable the lock function.
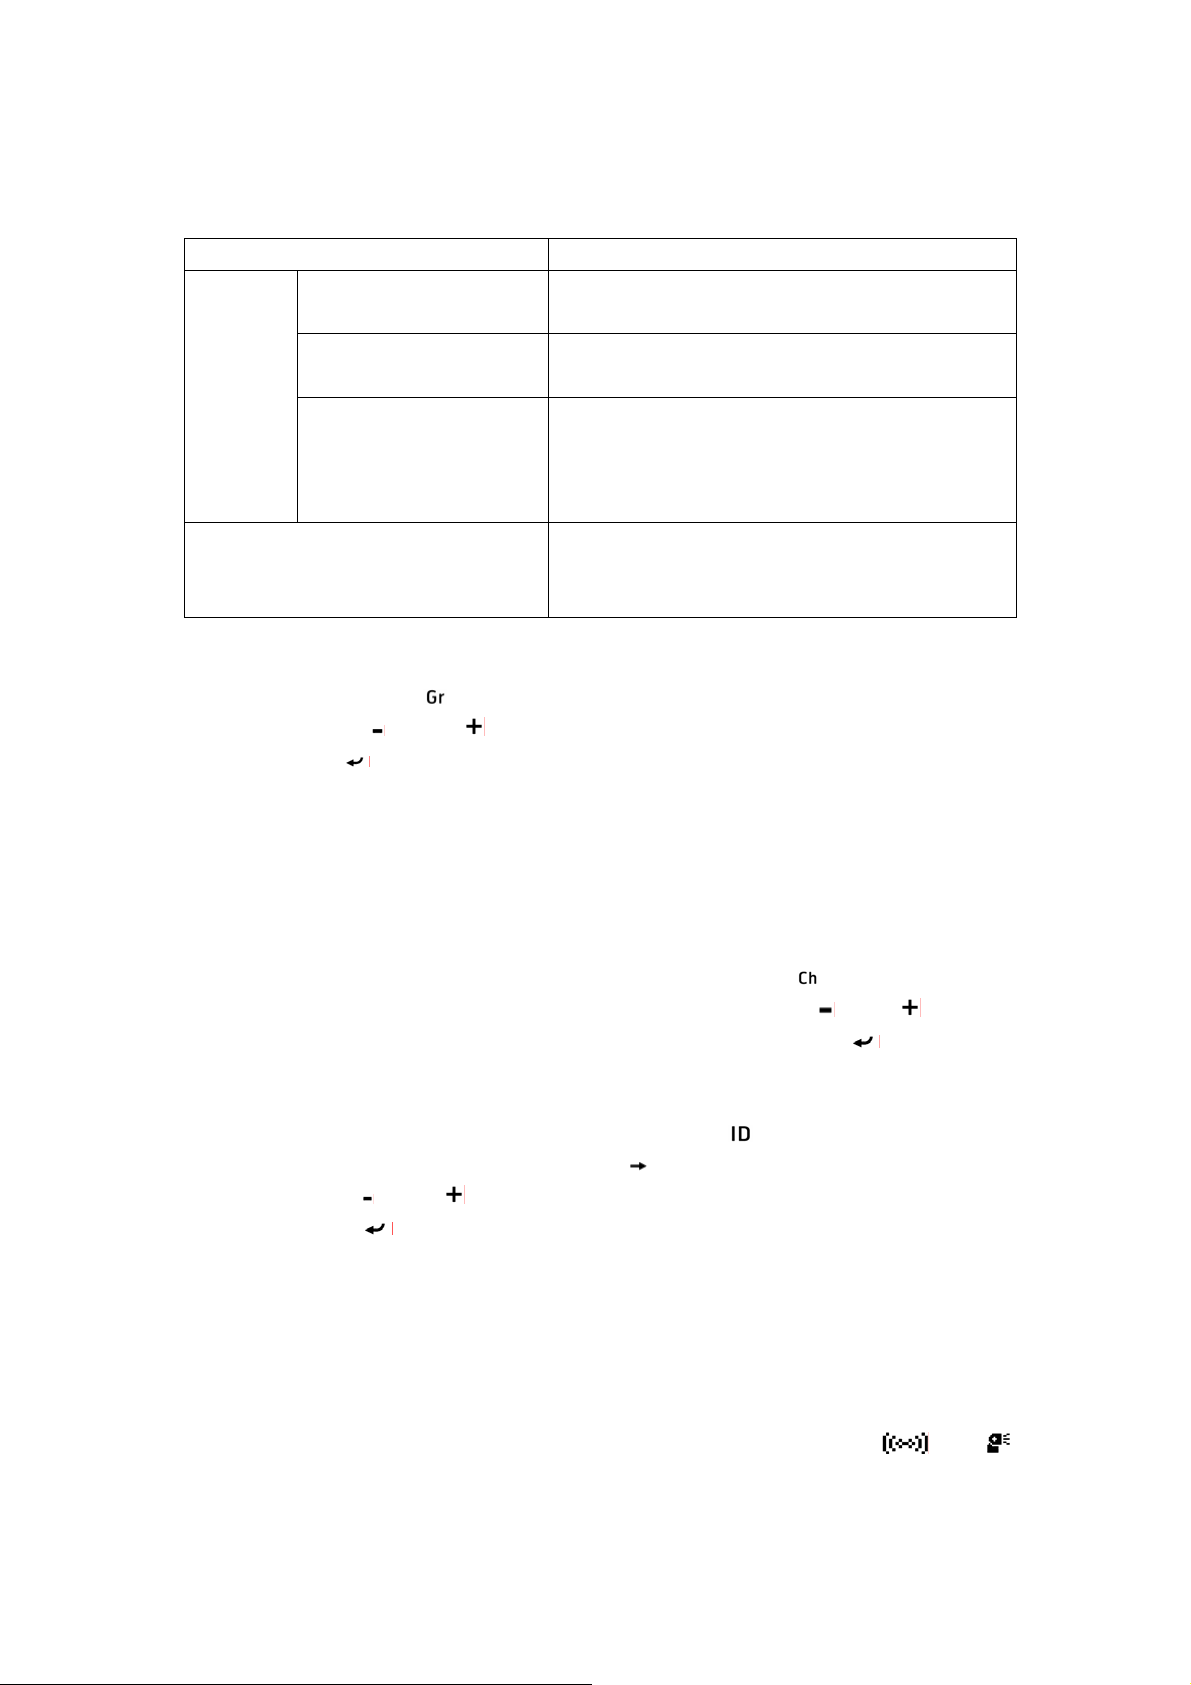
III.LCD Display
1.
Transmission Channel Ch.1-Ch.15and Auto
2.
Wireless radio ID 0000-9999
3.
Firing group Up to five groups (A/B/C/D/E)
4.
Battery power state
Slave units and master
unit in contact state
Phottix Laso
-
-
-
receiver in
contact state with
flash that attached
to its hot shoe
mount
IV. Wireless Flash Shooting: Radio Transmission
Note:
The transmitter attached to the camera is called the master unit, the Phottix Laso receiver and a
flash that is wirelessly controlled is called the slave unit.
Wireless Flash Shooting
Set the master unit and the Phottix Laso receiver to exactly the same channel and ID, and
the flash mounted on the Phottix Laso receiver set to ETTL mode. The flash (slave)
will fire at the flash mode and flash output set on the master unit. Flash exposure
compensation and other settings set on the master unit will be automatically set in the
flash (slave). You don’t need to operate the slave unit.
The Phottix Laso receiver can be used to receive wireless radio signal transmitted from the
Phottix Laso transmitter、Canon ST-E3-RT Speedlite Transmitter or radio-enabled Canon
flashes.
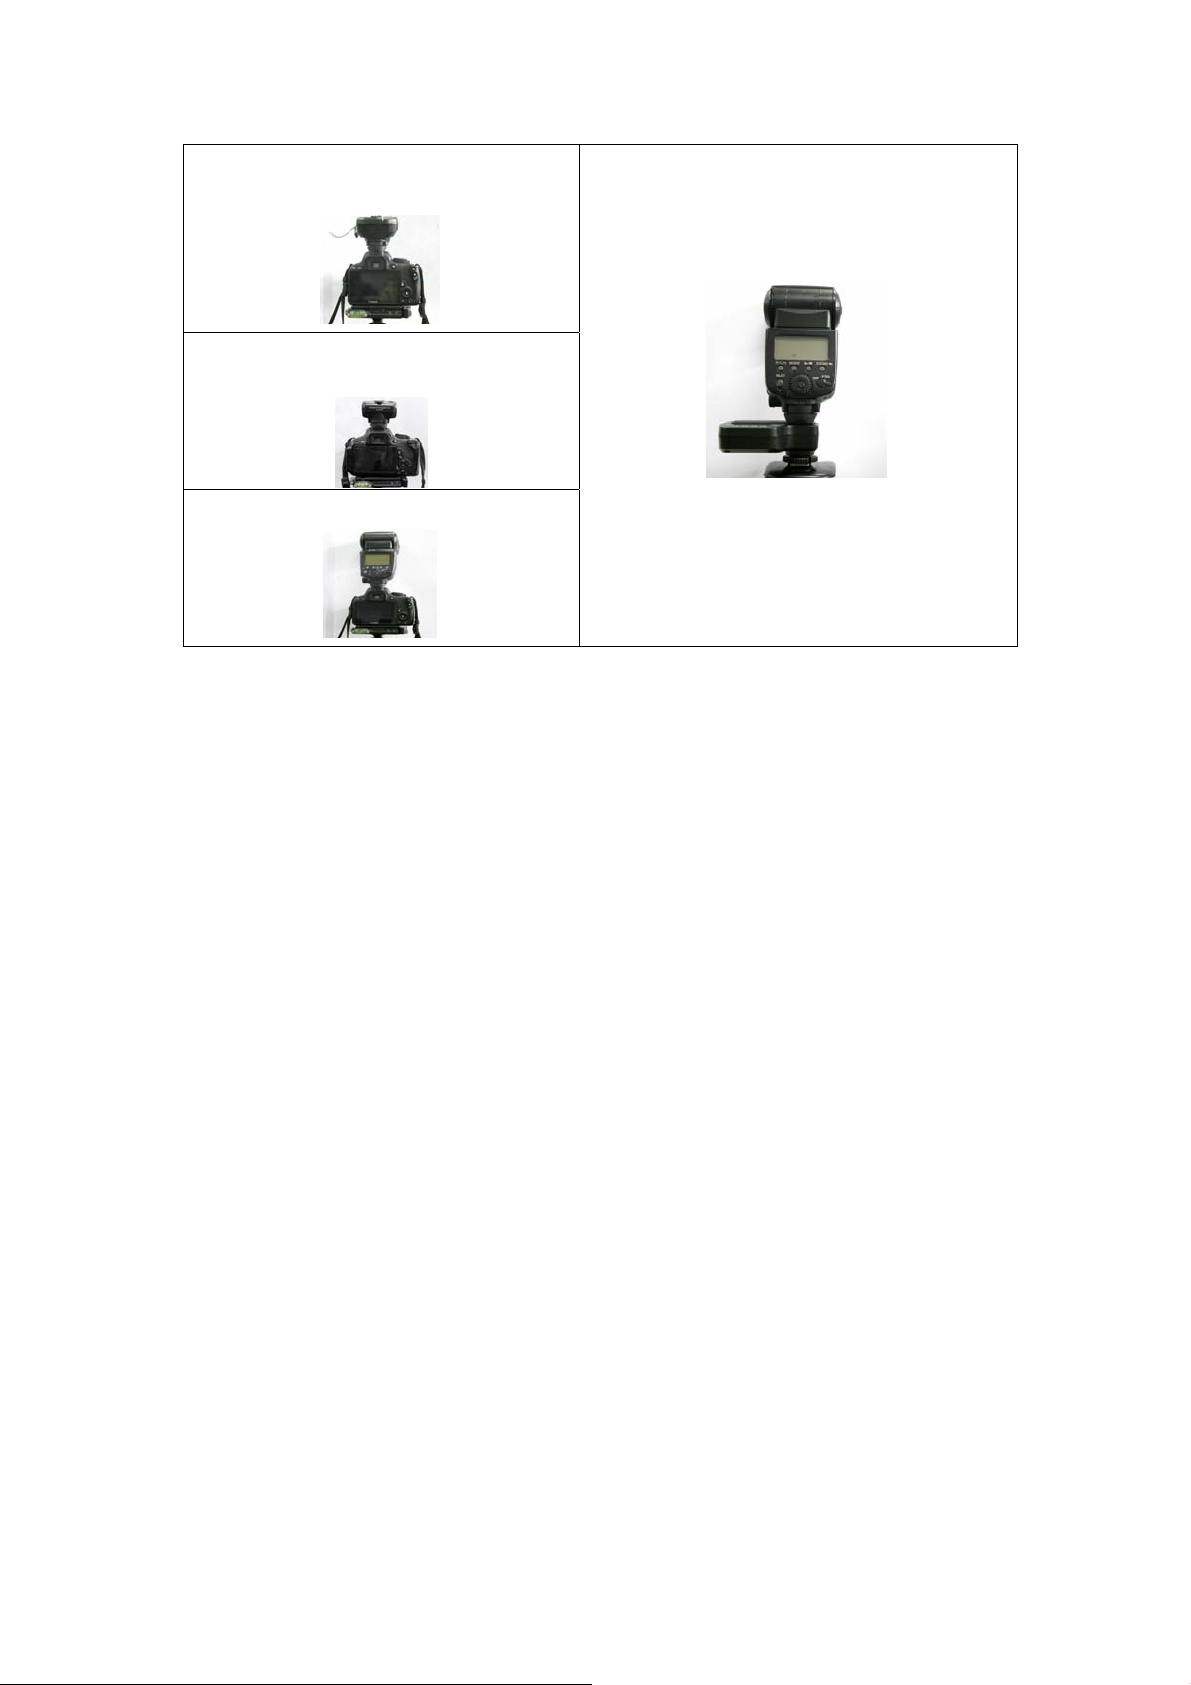
Master: Phottix Laso TTL Flash Trigger
for Canon/Transmitter
Master: Canon ST-E3-RT Speedlite
Transmitter
Slave: Phottix Laso receiver
Master: Canon 600EX-RT Speedlite
Flash mode
The Phottix Laso receiver supports two flash modes: ETTL and M
1. When the master unit is set to ETTL, you can shoot with advanced wireless flash lighting in the
same way as normal E-TTLⅡ/E-TTL auto flash shooting;
2. When the master unit is set to M,
3. When the master unit is set to Gr, you can shoot with a different flash mode (ETTL/M/ OFF)
for each group(A/B/C/D/E).
Note:
slave unit fires at the set flash output
1) After connecting flash with the Phottix Laso receiver, please firstly turn on the flash, set
the flash mode to ETTL, and lastly turn on the receiver.
2)
During wireless shooting, do not operate the flash.
3) The Phottix Laso receiver does not support Multi flash mode. If master unit is set to Multi
mode, the slave unit using
4)
The Phottix Laso receiver does not support Ext.A flash mode.
the Phottix Laso receiver does not fire.
Setting the Slave Units
1. Setting firing group for Save Units
Set the firing group for slave units (up to 15 units) accordingly with the setting of master unit.
Master Unit Slave Unit
ETTL/M
Ratio OFF
Ratio A:B
Ratio A:B C(ETTL)/
Set A, B or C as the firing group. If set to D or E,
flash will not be triggered
Set A or B as the firing group. If set to C, D or E,
flash will not be triggered
Set A,B or C as the firing group
Ratio A:B:C(M)
Gr
Set A, B, C, D or E as the firing group. Each group
will fire at a flash mode accordingly with how it is
set on the master unit.: ETTL/M/OFF
Setting the firing group:
Press function button 3 < >, the firing group parameter will flash on the LCD; press
function button 2< > or 3< >to select from A/B/C/D/E; press power button or
function button < > to finish the setting.
2. Setting transmission channel and wireless radio ID for Save Units
Please make sure master unit and slave units are set to the same transmission channels
and wireless radio IDs. If the transmission channels and wireless radio IDs of the
master unit and slave unit are different, the slave unit does not fire.
Setting the transmission channel: press function button 1 < >, the transmission
channel parameter will flash on the LCD; press function button 2< > or 3< >to select
from Ch. 1-15 or Auto; press power button or function button 4< >to finish the
setting.
Setting the wireless radio ID: press function button 2 < >, the thousands digit will
flash on the LCD; press function button 1 < > to select the ID digit to set; press
function button 2< > or 3< > to select ID number from 0-9; press power button or
function button 4 < >to finish setting for each digit.
3.Positioning the flash and camera
Position the camera and flash within the range of wireless radio transmission.
4.Check the transmission status
Check that the radio transmission confirmation lamp is lit green. Icons and
are displayed on the receiver’s LCD screen.

The color of
status of the master unit and the slave unit.
Color Status Description Action
Green Lit Transmission OK -
Blue Lit Shortly lit when
radio transmission confirmation lamp changes depending on the transmission
Red
Lit No connected Check the channel and ID
Blinking
Too many units Master Units + slave units = 16units
or less
Error Turn the power off and on again
Phottix Laso
receiver sends
flash or remote
release order
5. Check the operation
Press the master unit’s test flash button (charge lamp). The slave unit flash will fire. If
not, check that it is placed within the operation range.
Remote Release
While performing wireless shooting, you can release camera shutter remotely from
slave unit that using the Phottix Laso receiver. Simply by pressing function button 4
< >on the Phottix Laso receiver, you can perform remote release (remote control
shooting). For master unit operations, see instruction manual of the Phottix Laso
transmitter, Canon ST-E3-RT Speedlite transmitter or flash based on personal choice
of transmitting devices.
USB port
The firmware of the Phottix Laso
receiver can be upgraded via the USB port, so as to
adjust its parameter and extend its compatibility with cameras to come in the future.
1.1 Connect the USB cable to the computer and the other end of the USB cable to the
Phottix Laso receiver’s USB port. A mobile device icon will be displayed on the
computer when successfully connected.
1.2 Double click to start the upgrade software. The upgrade software can be used to
check version info, and upgrade the Base software, RF software and Icon.
Click "Version" icon, the current version information of the connected Phottix Laso
transmitter will be displayed in the software window.
Click "Base software" icon, locate and double click on the FDS file from the pop-out
window. Then it starts loading the new firmware.
Click "RF software" icon, locate and double click on the RFC file from the pop-out
window. Then it starts loading the new firmware.

Click "Icon" icon, locate and double click on the FIF file from the pop-out window.
Then it starts loading the new firmware.
1.3 The status of the upgrade will be displayed in the process bar. When completed,
an "Updata OK" will be displayed at the bottom of the upgrade software window, and
an “update OK” will be displayed on the receivers’ LCD screen. Upon completion,
disconnect the USB cable and restart the Phottix Laso receiver.
Note:
Please ensure stable power supply when attempting to upgrade the Phottix Laso
receiver. Loss of computer power during the upgrade process could fail the upgrading.
V.Technical Specification
Type Wireless Trigger For Canon/Receiver
Compatible cameras EOS type-A camera compatible with E-TTL II/E-TTL autoflash
Exposure control
system
Frequency 2405 – 2475Hz
E-TTLⅡ/E-TTL auto, manual flash
Channel Auto, Ch.1-15
Wireless radio ID 0000-9999
Slave unit control
Transmission distance 100m+
Power source
Receiving current ≤70mA
Max. operating
current
Dimension
Weight(approx.)
Please note: Product specifications and external design are subject to change without further
notice.
Up to 5 groups(A/B/C/D/E), up to 15 units
2 x AA alkaline batteries or AA NI-MH batteries; 5V DC(External
power port)
≤80mA
(L×W×H): L(93×70×47.5)mm
93.3g(Excluding the batteries)
 Loading...