

Panasonic RQ-V153 User Manual
stereo Radio Cassette Player
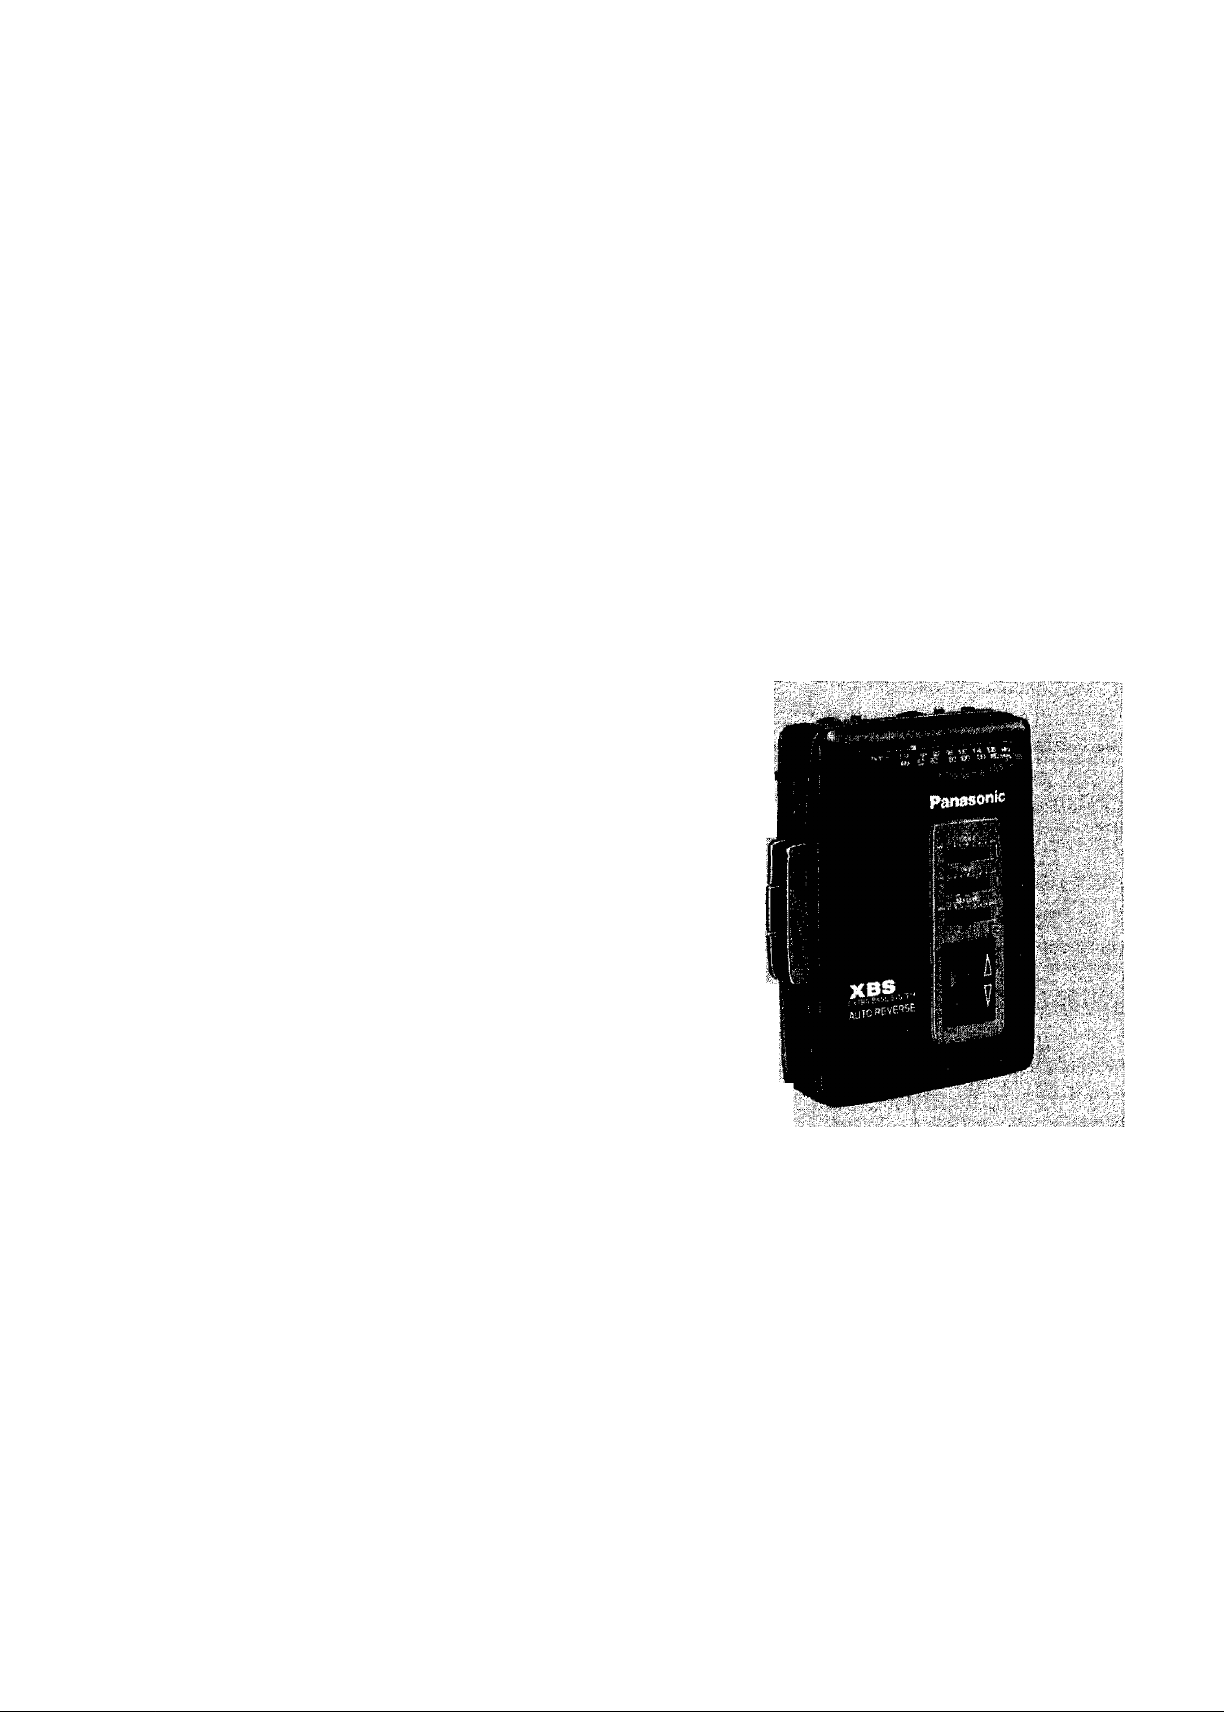
MODEL NO. RQ-V153
Operating
Instructions
Instrucciones de manejo
mmmmm
)ir
■■■■-: --'.Í.'-Íí.--.V
№Éi№
’Mmm'
iiflISlf
¿■ iilii
::í.-
f
ESSíá®;
í ■ -Cií' 'X
Panasonic
Before connecting, operating or adjusting this product,
please read these instructions completely. I G lIGNI

ENGLISH
POWER SOURCE
•Insert two UM-3 (Panasonic R6/LR6 or equivalent,
not included) batteries into the Battery Compart
ment, making sure of proper polarities.
•When the batteries are weak, the tape sound will
become distorted, and the volume will decrease.
•For AC power operation, use only Panasonic AC
adaptor (optional).
RADIO
1. Connect the included stereo earphones to the
0 Jack,
2. Set the SELECTOR Switch to “RADIO”.
3. Set the BAND Selector to the desired radio band.
•To receive FM stereo broadcast, set the BAND
Selector to “FM ST”.
4. Tune in your favorite station using the TUNING
Control.
The FM ST Indicator will light during FM stereo
broadcast.
5. Adjust the volume using the VOLUME Control.
6. The radio can be turned off by setting the
SELECTOR Switch to “TAPE jog”.
■ Auto Reverse
During playback when the tape comes to the end of
its travel, the tape direction changes automatically to
start playing the opposite side of the tape.
•Tape direction can be reversed manually during
playback by the DIR Selector.
■ Fast Forward and Rewind
The tape will rapidly advance in the forward or
reverse direction when one of the FAST Buttons is
pressed.
•When the tape reaches the end by pressing one of
the FAST Buttons, the tape movement stops, but
the unit is not turned off. Do not leave the set in this
condition. Be sure to press the STOP Button.
•Do not press the PLAY Button during fast forward or
rewind, as this may jam the tape. Always press the
STOP Button first, between functions.
MAINTENANCE H)
Get into habit of cleaning the head assembly (after
every 10 hours or so) with a cotton swab dampened
with a little alcohol.
Note;
•If FM stereo reception is poor (excessive noise. FM
ST Indicator flickers), set the BAND Selector to
“FM”. This will reduce the noise and provide more
clear reception; however, the broadcast will not be
heard in stereo,
■ BASS/TREBLE Controls
BASS: the dynamic low frequency range.
TREBLE: the dynamic high frequency range.
Positioning the control to the side of the detent
will amplify the corresponding controls; the side
will attenuate it.
■ XBS LEVEL Control
XBS boosts the low frequency range.
You can enjoy the dynamic low sound.
NOTES
•Batteries installed with incorrect polarities may leak
and damage this unit.
•Do not mix batteries (old and new) or types (carbon
and alkaline).
•If the set is not used for a long period of time, or is
used only from an AC power source, remove all the
batteries to prevent potential damage due to possi
ble battery leakage.
•Avoid using or placing this unit near sources of
heat. Do not leave it in an automobile exposed to
direct sunlight for a long period of time with the
doors and windows closed, as this may deform the
cabinet.
•Avoid spray-type insecticides. Some insecticides
contain chemicals that could cause cabinet de
formation.
■ Antennas
FM
The stereo earphones cord serves as the FM
antenna, hence be sure to use it extended, not
coiled.
 Loading...