

Panasonic KX-TD1232CE, KX-TD816CE User Manual
Digital Super Hybrid System
KX-TD816CE
KX-TD1232CE
User Manual Addendum
for
KX-TD7500CE
In this manual, the last letter “CE” of each model number is omitted.
2
Introduction
Accessories
This User Manual Addendum provides information for the Panasonic DECT
Portable Station (PS), KX-TD7500.
Up to 16 PSs in the KX-TD816 system and up to 64 PSs in the KX-TD1232 system
can be used as extensions. To use the PS, the following equipment is required.
2-RF Interface Unit with 4-Station Line (KX-TD144)
The KX-TD144 must be optionally equipped with the Panasonic Digital Super
Hybrid System, KX-TD816 / KX-TD1232.
One KX-TD144 supports up to two Cell Stations (KX-TD142) and eight wired
extensions. One KX-TD144 can be installed to the KX-TD816 and up to two KXTD144s can be installed to the KX-TD1232.
Cell Station (KX-TD142)
This unit determines the range of the supporting PSs. Up to four calls can be made
at the same time in the range.
For more details about the KX-TD144 and KX-TD142, please refer to the
Installation Manual Addendum for the KX-TD144 / KX-TD142 / KX-TD7500.
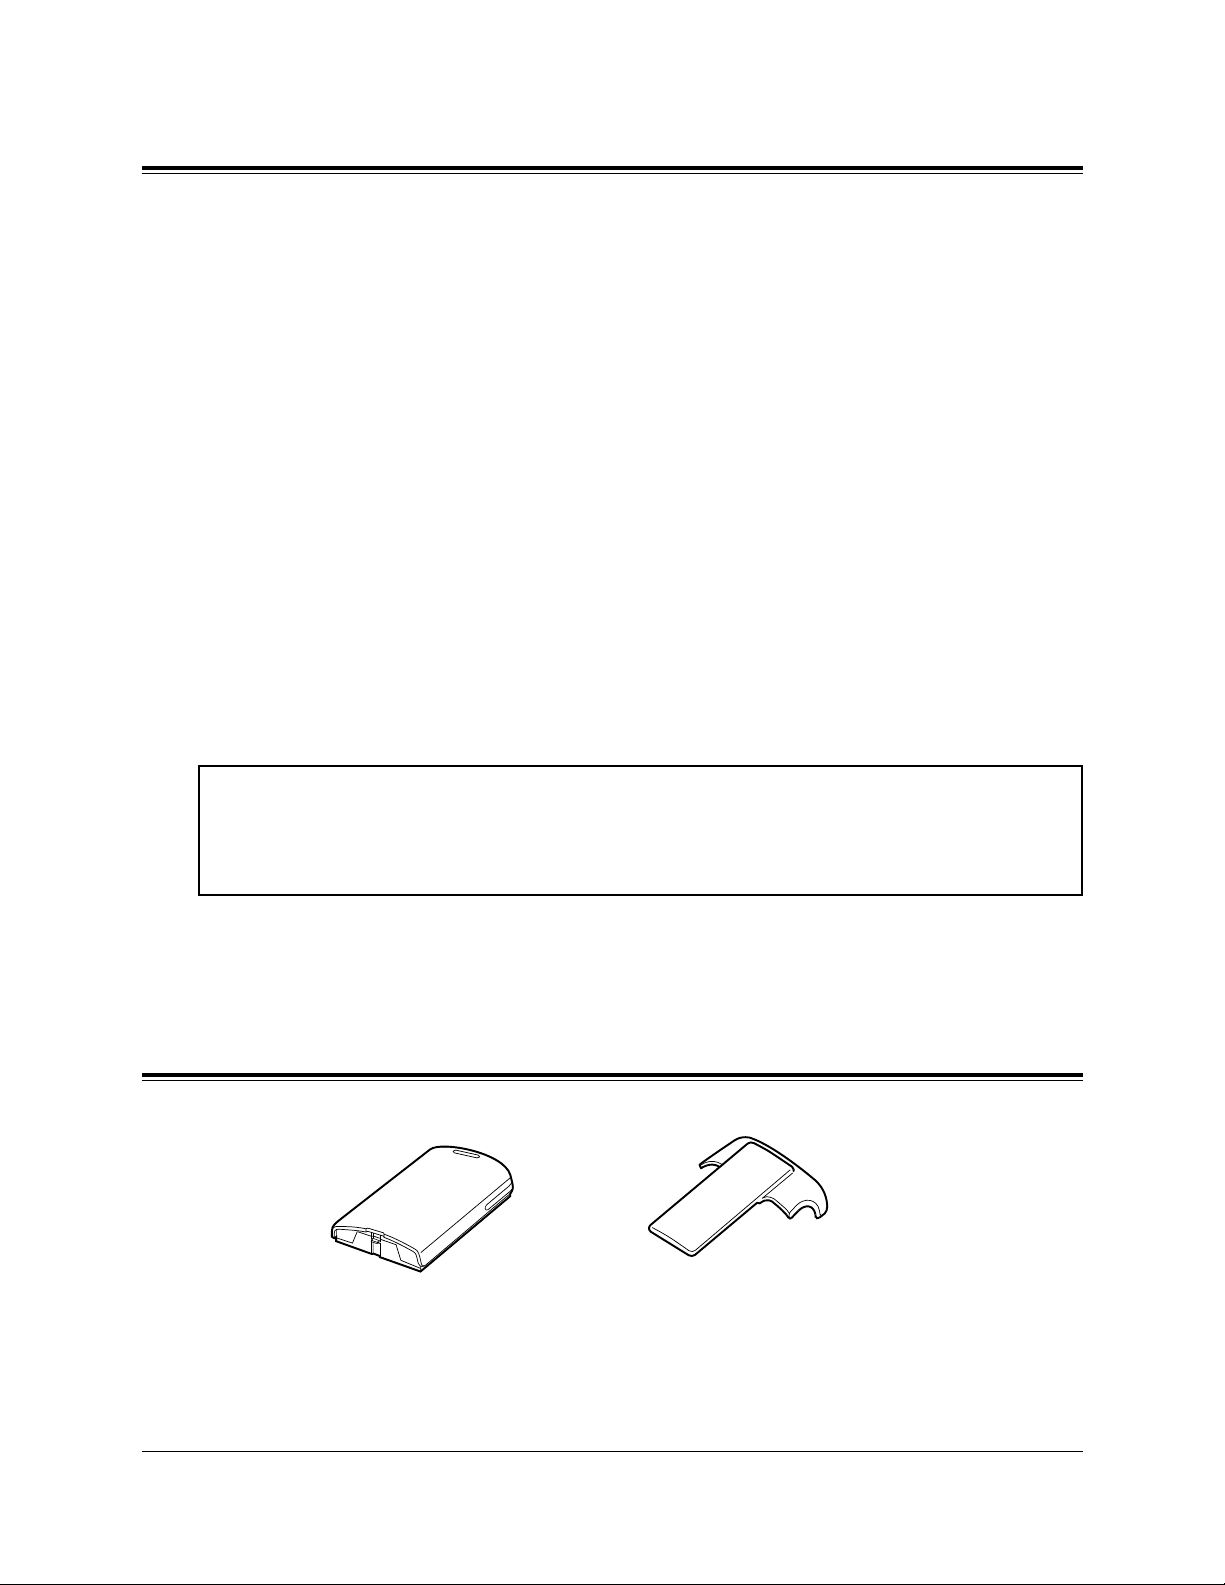
Handset ClipRechargeable
Battery
The Cell Station (KX-TD142) in this product is a Restricted Product subject to the
laws of your country. It should not be exported or brought out of your country without authorization from the appropriate governmental authorities.

3
Contents
Location of Controls......................................................................... 4
About the LCD
(Liquid Crystal Display) ............................................. 6
Installing the Batteries ..................................................................... 8
Installing a Battery ............................................................................. 8
Replacing a Battery............................................................................ 8
Charging a Battery.............................................................................. 9
Initial Settings ................................................................................... 10
Registering the PS.............................................................................. 10
Selecting the Display Language......................................................... 10
Adjusting the Ringer Volume............................................................. 11
Adjusting the Receiver Volume.......................................................... 11
Installing the Handset Clip.............................................................. 12
Basic Operations............................................................................... 13
Making Calls ...................................................................................... 13
Answering Calls ................................................................................. 17
Call Hold ............................................................................................ 18
Key Lock Setting ................................................................................ 19
Using the Directory ........................................................................... 20
Storing Names and Numbers in the PS Dialing Directory ................ 22
Storing Names and Numbers in the PBX Station Speed Dialing
Directory/Editing an Item in the PS Dialing and PBX Station Speed
Dialing Dierctory ................................................................................ 24
Dialing Using the Directory............................................................... 26
Erasing an Item from the PS Dialing/PBX Station Speed Dialing
Directory............................................................................................. 28
Entering Characters............................................................................ 29
Key Operations ................................................................................. 31
Other Operations .............................................................................. 32
Programming Overview................................................................... 43
PS Programming ............................................................................... 44
PS Programming Items Description................................................... 44
PS Programming Operations.............................................................. 49
PBX Programming............................................................................ 52
PBX Programming Overview ............................................................ 52
PBX Programming Operations........................................................... 53
Before Requesting Help.................................................................... 54
Safety Instructions............................................................................ 56
4
Location of Controls
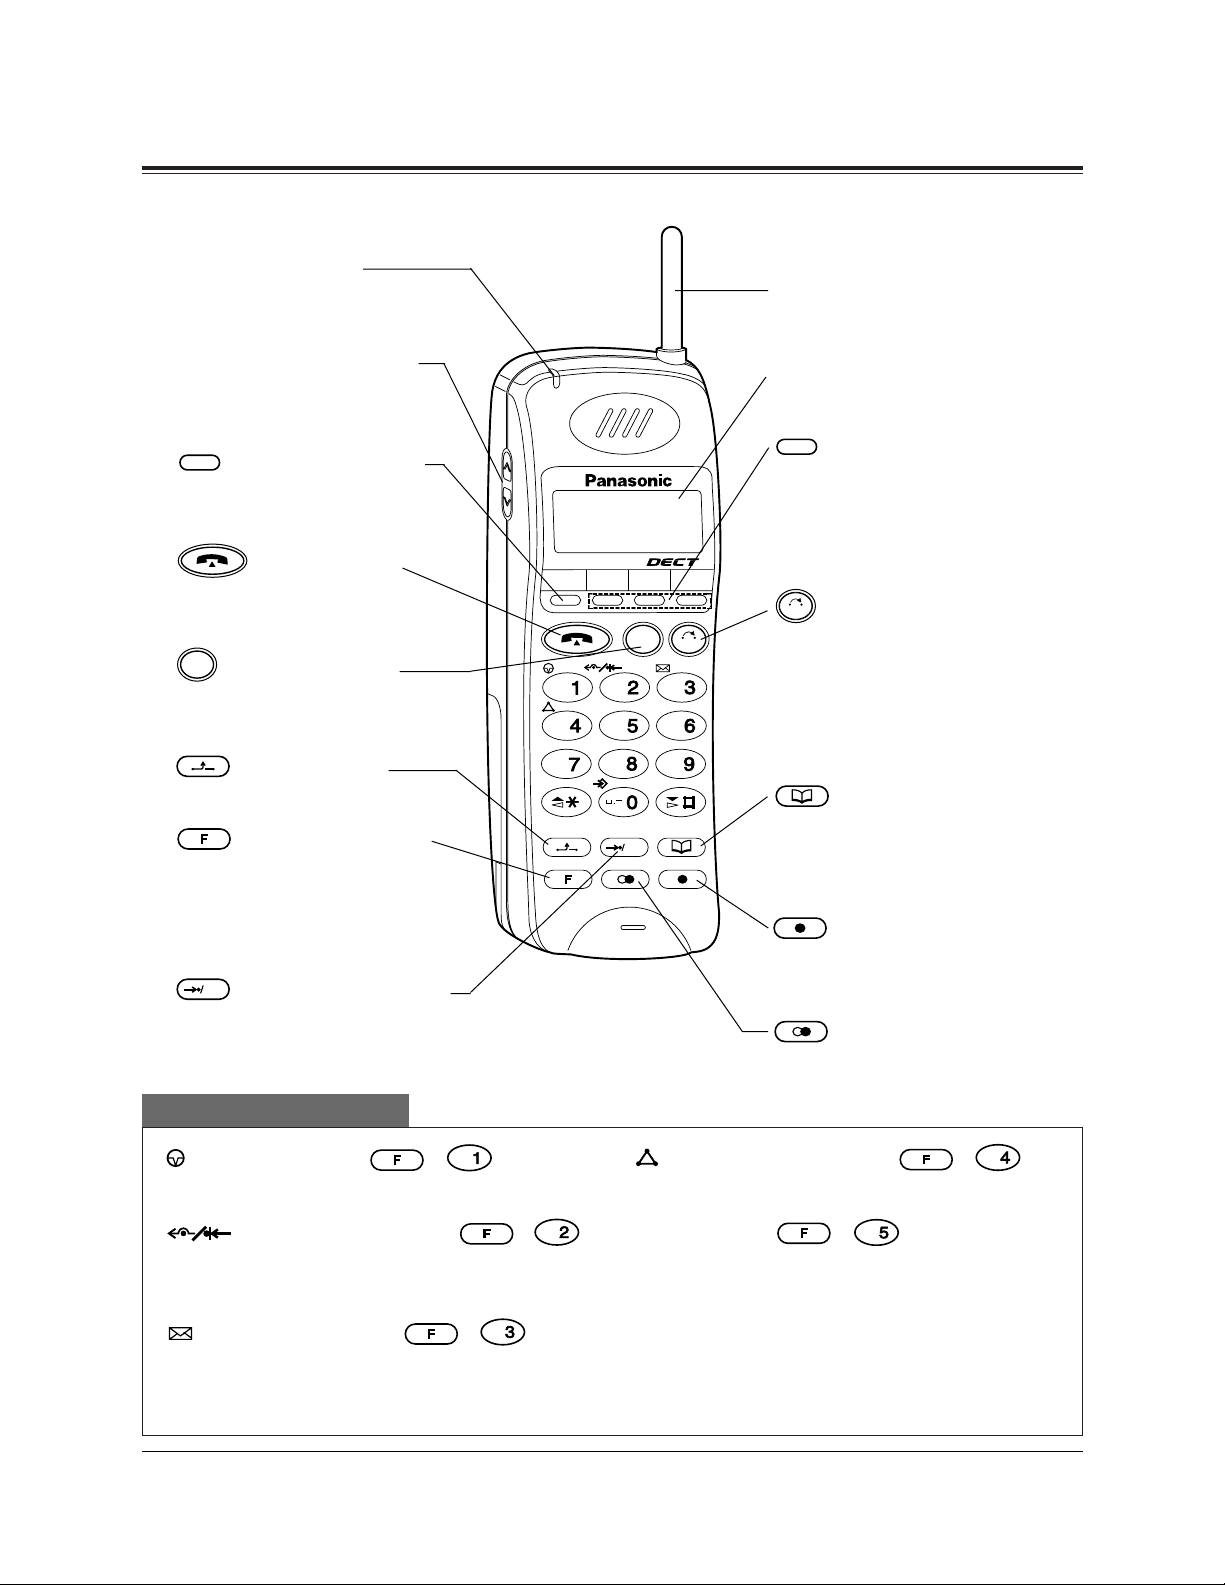
Portable Station
INT' F1 F2 F3
CLR
ABC
DEF
GHI
JKL
MNO
PQRS
TUV
WXYZ
C
OK
Ringing Indicator
Flashes green when an
incoming call is received.
Volume Control Button
Used to select the ringer
or receiver volume.
(Intercom) Button
Used to make or receive
intercom calls.
(Talk) Button
Used to make, receive or
end calls.
(Cancel) Button
Used to end calls, or exit the
directory or Function mode.
(Hold) Button
Used to place a call on hold.
(Function) Button
Used to enter into the
Function mode or access
features by pressing
additional keys.
(Auto/OK) Button
Used for System Speed
Dialing and storing program
changes.
OK
C
INT'
(Pause) Button ( + )
Used to insert a pause in numbers.
(FWD/DND) Button (
+)
Used to set the Call Forwarding or Do Not
Disturb (DND) features.
(Message) Button ( + )
Used to leave a notification to the called
party or call back the message sender
(Message Waiting).
DEF
ABC
Combination buttons
Antenna
Display
(Flexible CO) Buttons
(F1 through F3)
Used to seize a CO line or
access one of several features.
(Clear/Transfer)
Button
Used to clear incorrect digits while entering numbers,
and transfer a call to another extension.
(Book) Button
Used to enter into the directory mode or select a menu
in the Function mode.
(Flash) Button
Used to disconnect a current
call and make another call.
(Redial) Button
Used to redial the last number dialed.
CLR
F1-F3
(Conference) Button ( + )
Used to establish a three party conversation.
Tone Button ( + )
Used to change the dialling mode temporarily to tone (Pulse to Tone Conversion).
Note: These buttons can also be activated
using the display. Refer to the Key
Operations on page 31.
JKL
GHI
5
Location of Controls
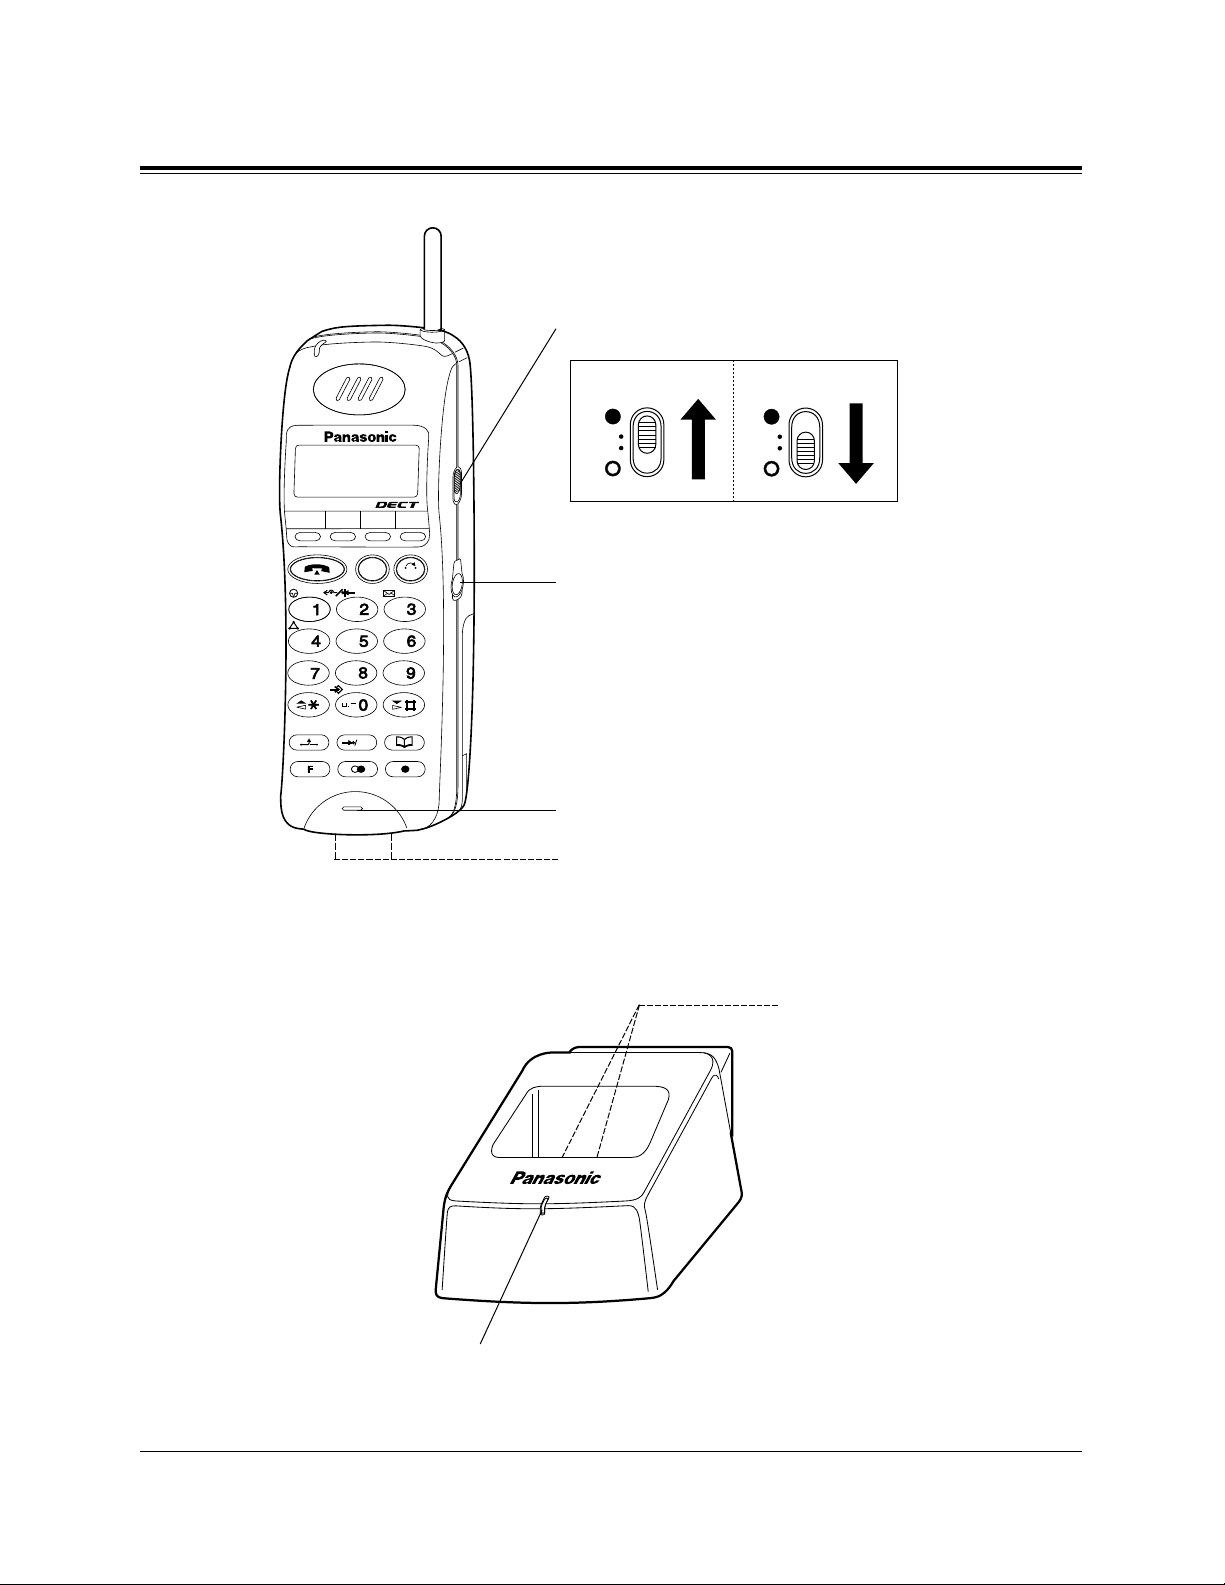
Charger (KX-A275)
Headset Jack
Charge Contacts
INT' F1 F2 F3
ABC
DEF
GHI
JKL
MNO
PQR S
TUV
WXY Z
CLR
C
OK
ON
OFF
Power Switch
Charge Contacts
Microphone
Charge Indicator
6
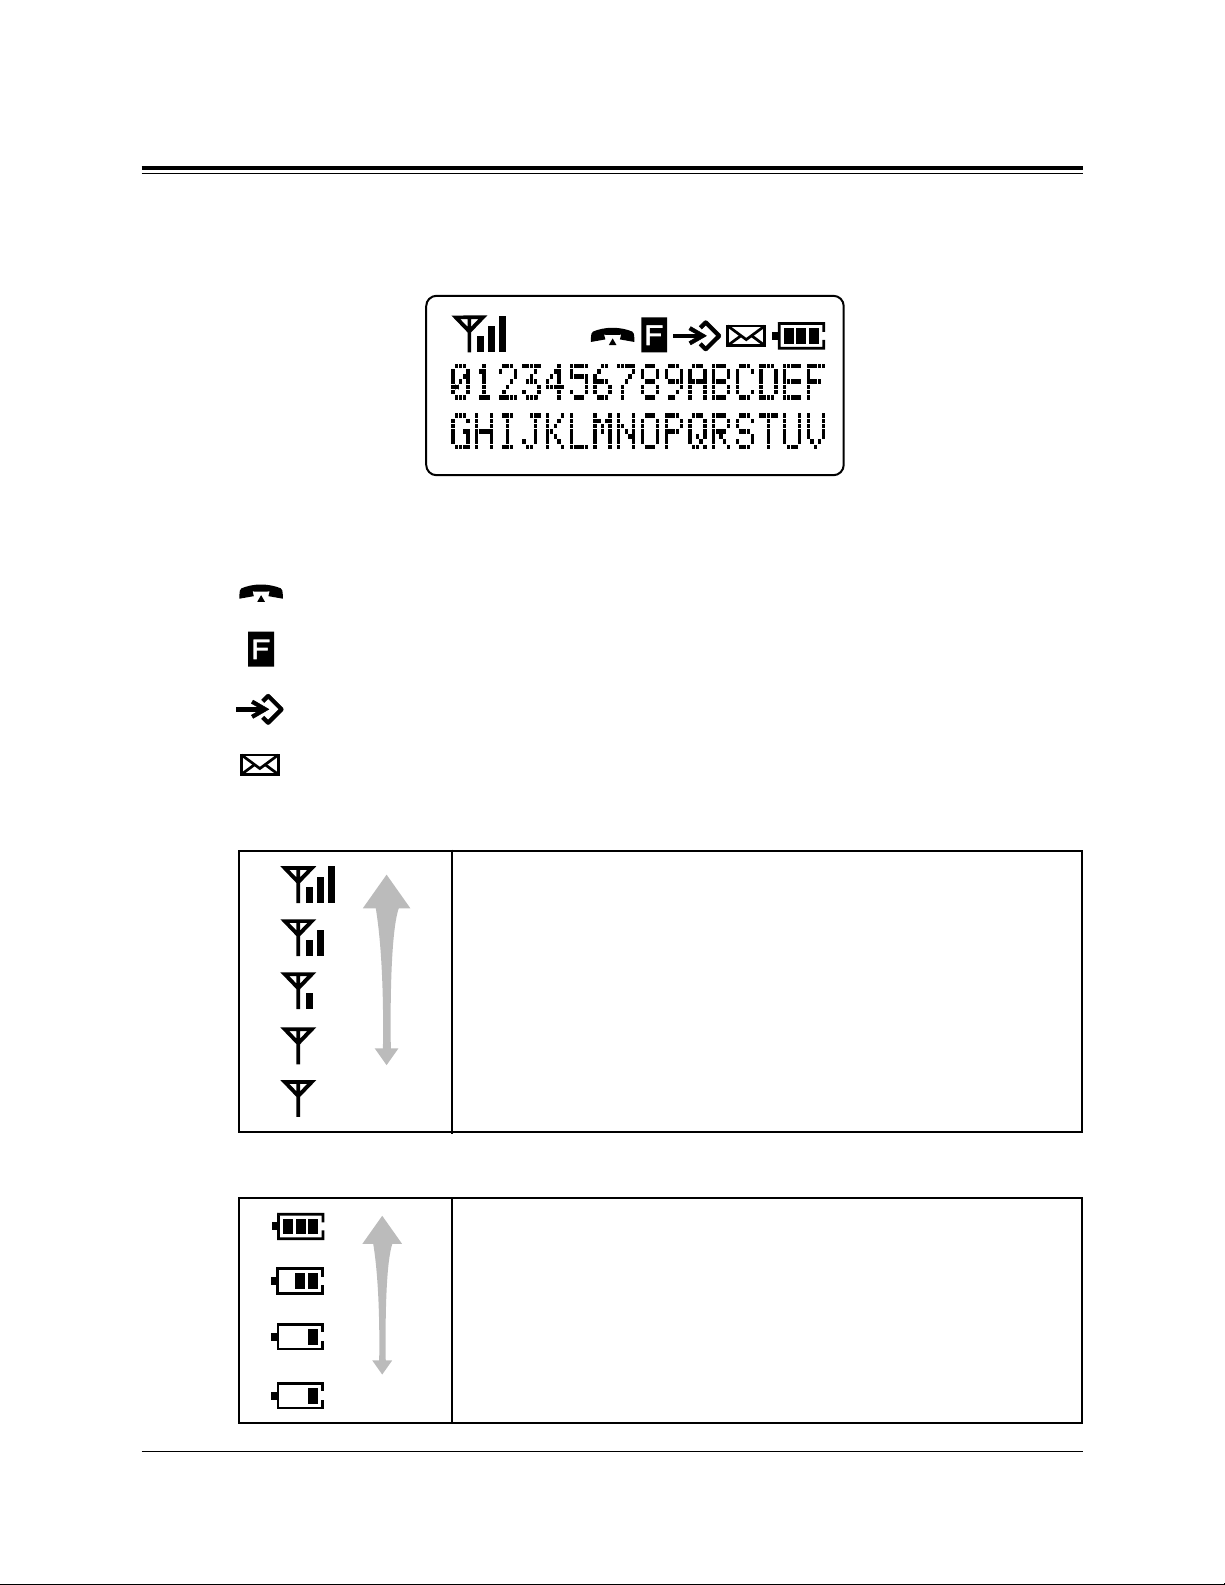
About the LCD (Liquid Crystal Display)
Symbols and Descriptions
In off-hook status.
In the Function mode.
In the Directory or Programming mode.
Message Waiting notification. Someone is waiting for your call.
The display has two lines with 16 characters per line, and related
symbols to show information for call activities as shown below.
(Flashing)
The radio signals from the Cell Station
Strong
Medium
Weak
The portable station is out of range. Move closer to the CS.
(Flashing)
The battery strength
Fully charged.
Medium
Low
The battery needs to be charged.
7
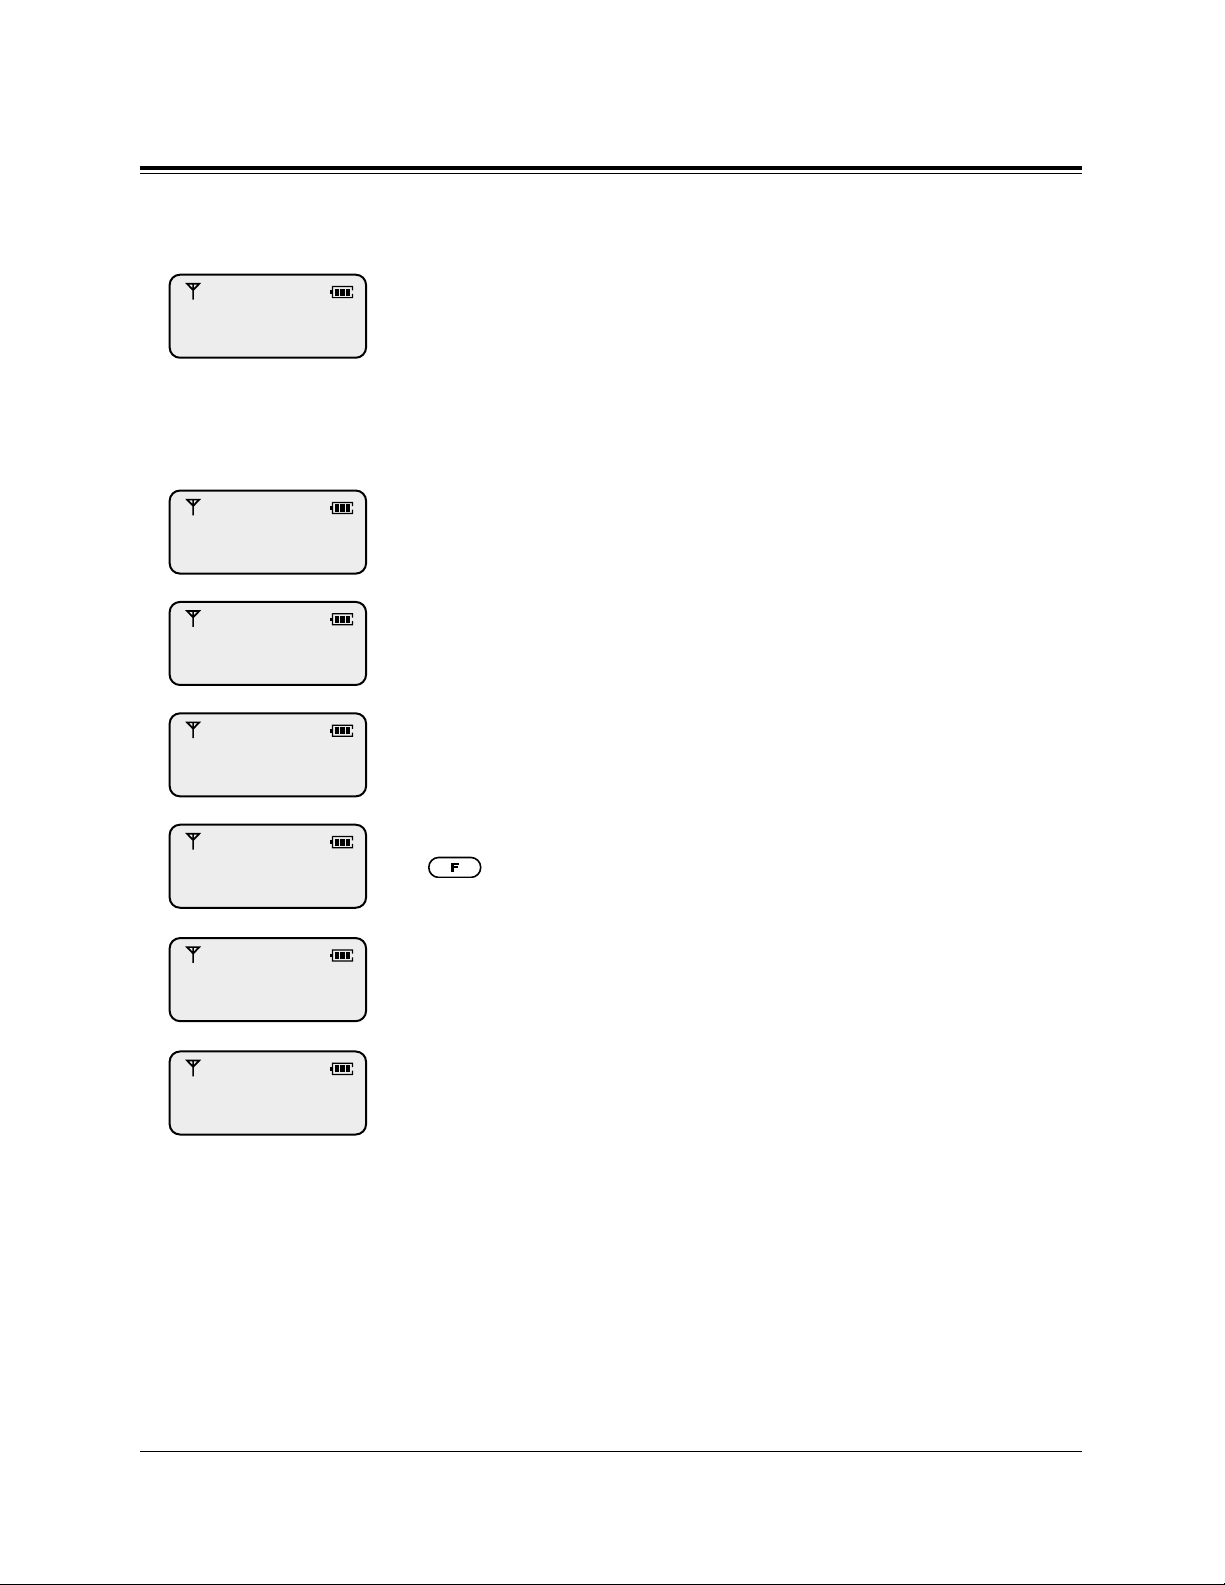
About the LCD (Liquid Crystal Display)
After setting the Power Switch to ON, the following displays may appear.
The portable station is in the stand-by mode.
The date and time (day / month / time) are displayed on the top
line. You can select displaying the date only (day / month) in PS
Programming. (Selecting the Date / Time Display)
The number which is determined in PS Programming (e.g., your
extension number) can be displayed on the bottom line. (Selecting
the Standby Display; default – OFF)
Consult with your dealer.
The Call Forwarding feature has been set.
The Do Not Disturb (DND) feature has been set.
The key lock mode has been set to ON. To cancel the mode, press
(Function) for 2 seconds. (Refer to page 19.)
Your PS is not registered in the system.
Your PS is out of range.
1 JAN 11:00
FAULT
FWD
DND
KEYPAD LOCKED
PRESS F FOR 2SEC
REGISTER UNIT
NO SERVICE
8
Installing the Batteries
You need to charge the battery before initial use and when the battery strength becomes low.
When the battery strength becomes low, “ ” flashes or beep
tones sound every five seconds. During a conversation, the call
will hang up automatically within three minutes. If idle or in the
programming status, “BATTERY EMPTY” is displayed and the key
operation is canceled. In these cases, recharge the battery or
replace with a fully charged optional spare battery.
Standard Battery Life
If your Panasonic battery is fully charged [provided 25°C (77°F)]:
Note:
– The battery is used while the portable station’s power is ON.
– Battery life may vary depending on usage conditions and ambient tem-
perature.
– Please use only a Panasonic battery.
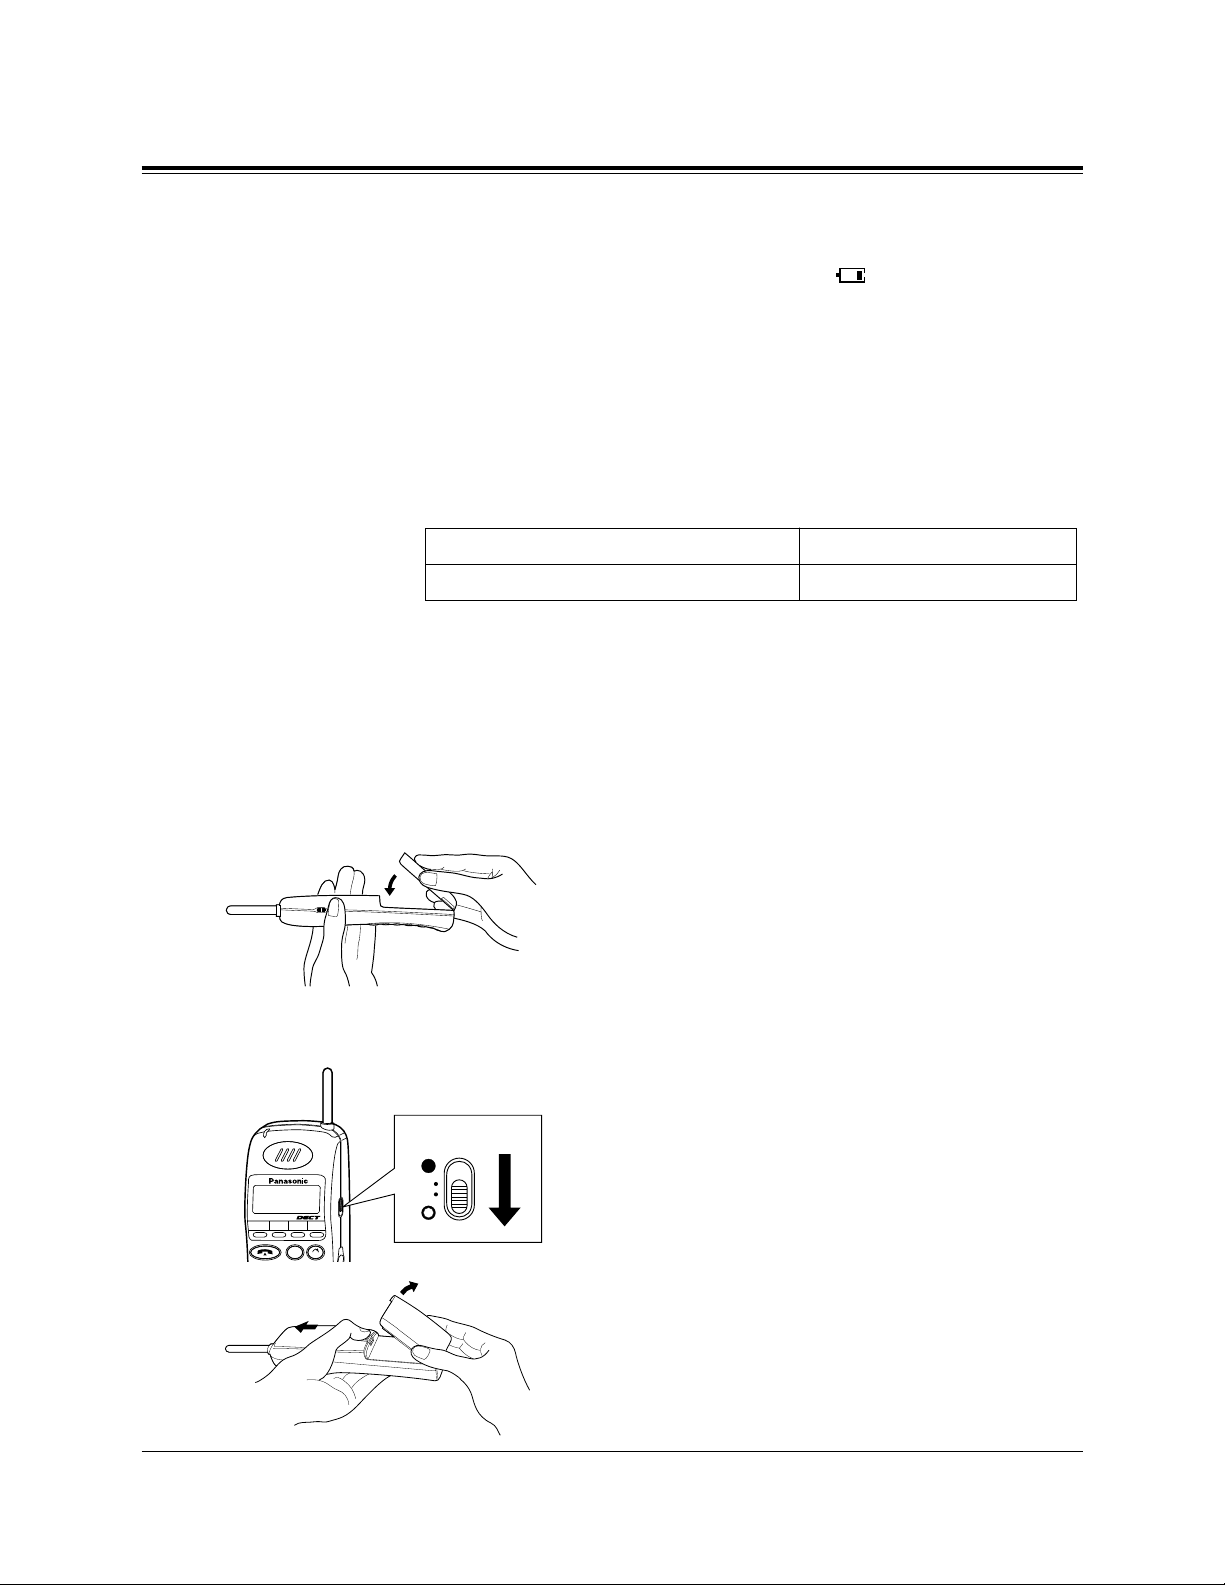
Installing a Battery
Hook the bottom of the battery on the
portable station, and place the battery in the
portable station until you hear a click.
Replacing a Battery
Set the Power switch to OFF to prevent
memory loss.
While pressing the open-button, remove the
battery.
While in use (Talk mode)
While not in use (Stand-by mode)
Up to about 10 hours
Up to about 100 hours
1
1
2
INT' F1 F2 F3
CLR
C
OFF
9
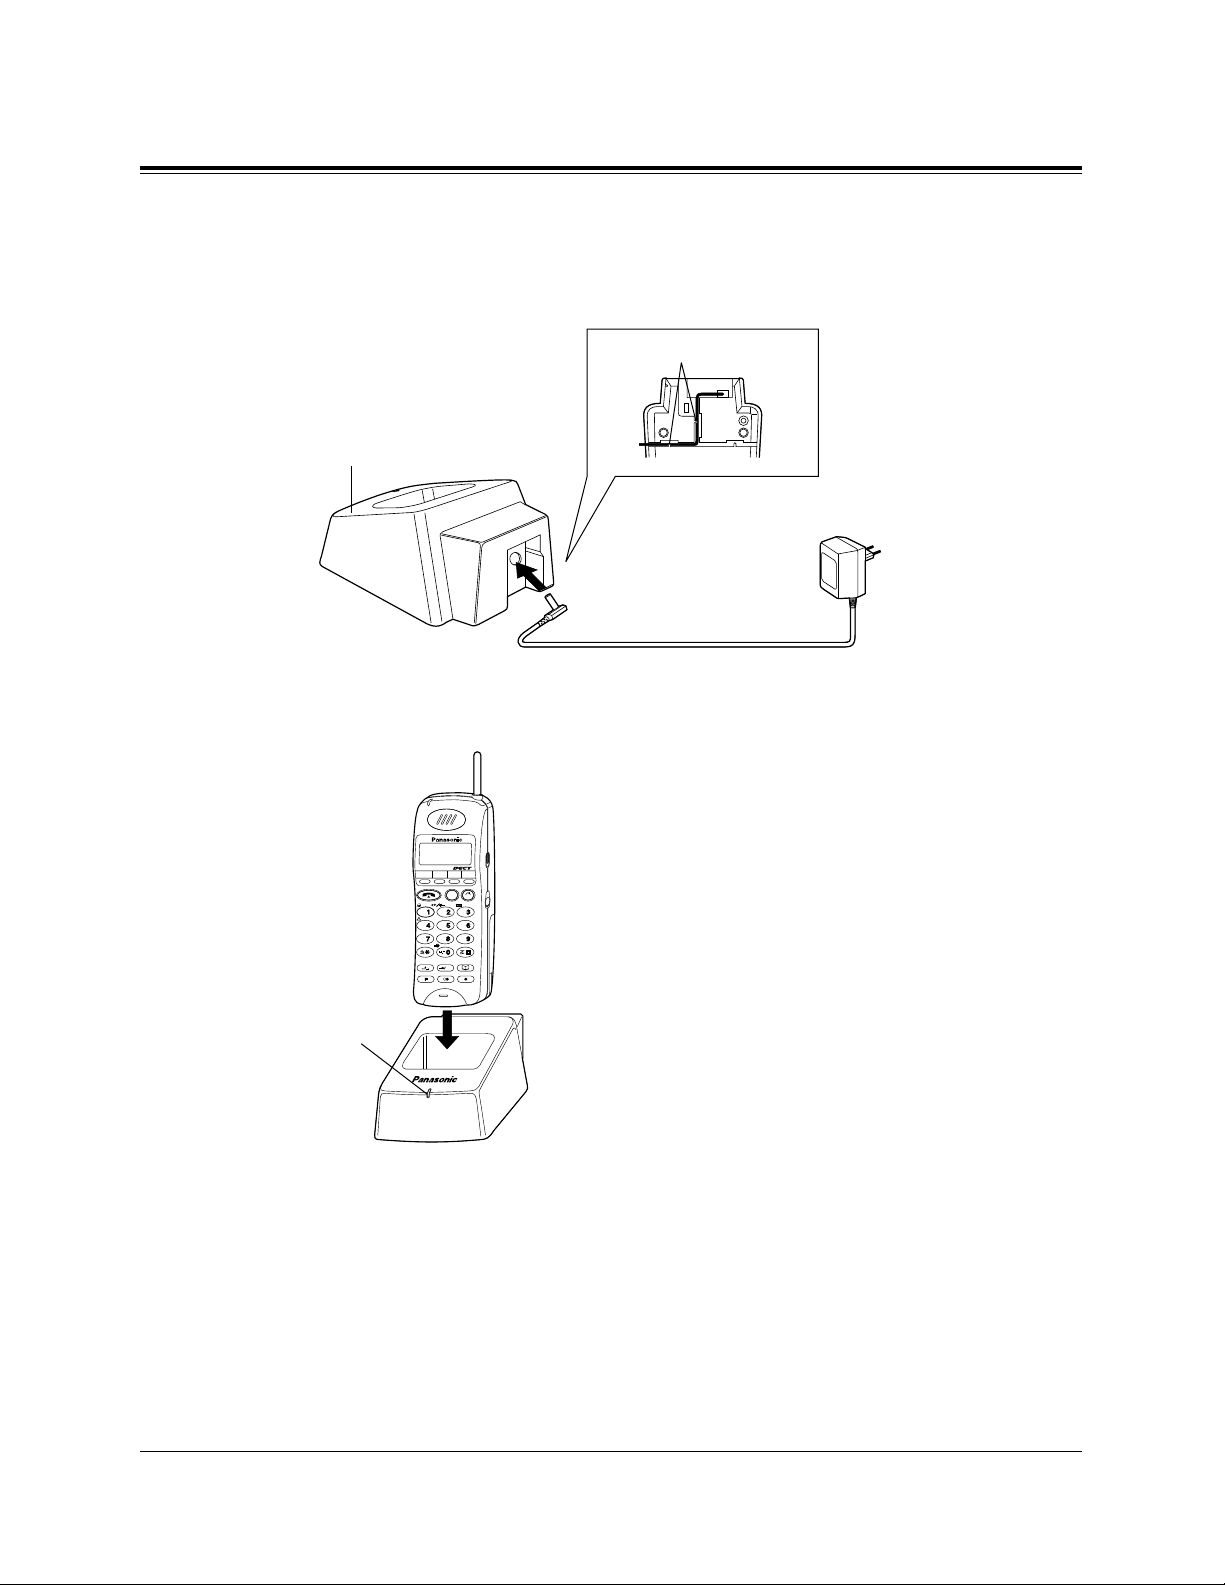
Charging a Battery
Connect the Charger to a power outlet using the AC adaptor.
Slide the battery-attached portable station
or the battery in the Charger.
Charge the battery for about 1.5 hours.
When charging is completed, the charge
indicator will change from orange to green.
CAUTION
The AC adaptor is used as the main disconnect device, ensure that the socket-outlet is
located / installed near the equipment and is
easily accessible.
Note: – Do not let the charged battery’s electrodes to touch metallic objects.
The terminal may short and overheat, causing burns.
– Clean the charge contacts on both the portable station and the Charger
with a soft cloth once a month, or the battery may not charge properly.
– The portable station can receive calls even while charging.
– You need not worry about overcharging.
Installing the Batteries
1
2
Cord Holder
AC Adaptor
(KX-A11BS1)
To Power Outlet
(230 VAC, 50 Hz)
Charger
(KX-A275)
INT' F1 F2 F3
ABC
DEF
GHI
JKL
MNO
PQRS
TUV
WXYZ
CLR
C
OK
Charge
Indicator
10
Initial Settings
Registering the PS
After charging the battery, you must register your PS in the system
and determine its’ extension number.
For registration, refer to System Program [650], “PS
Registration”, in Section 3 in the Installation Manual Addendum
for the KX-TD144/KX-TD142/KX-TD7500.
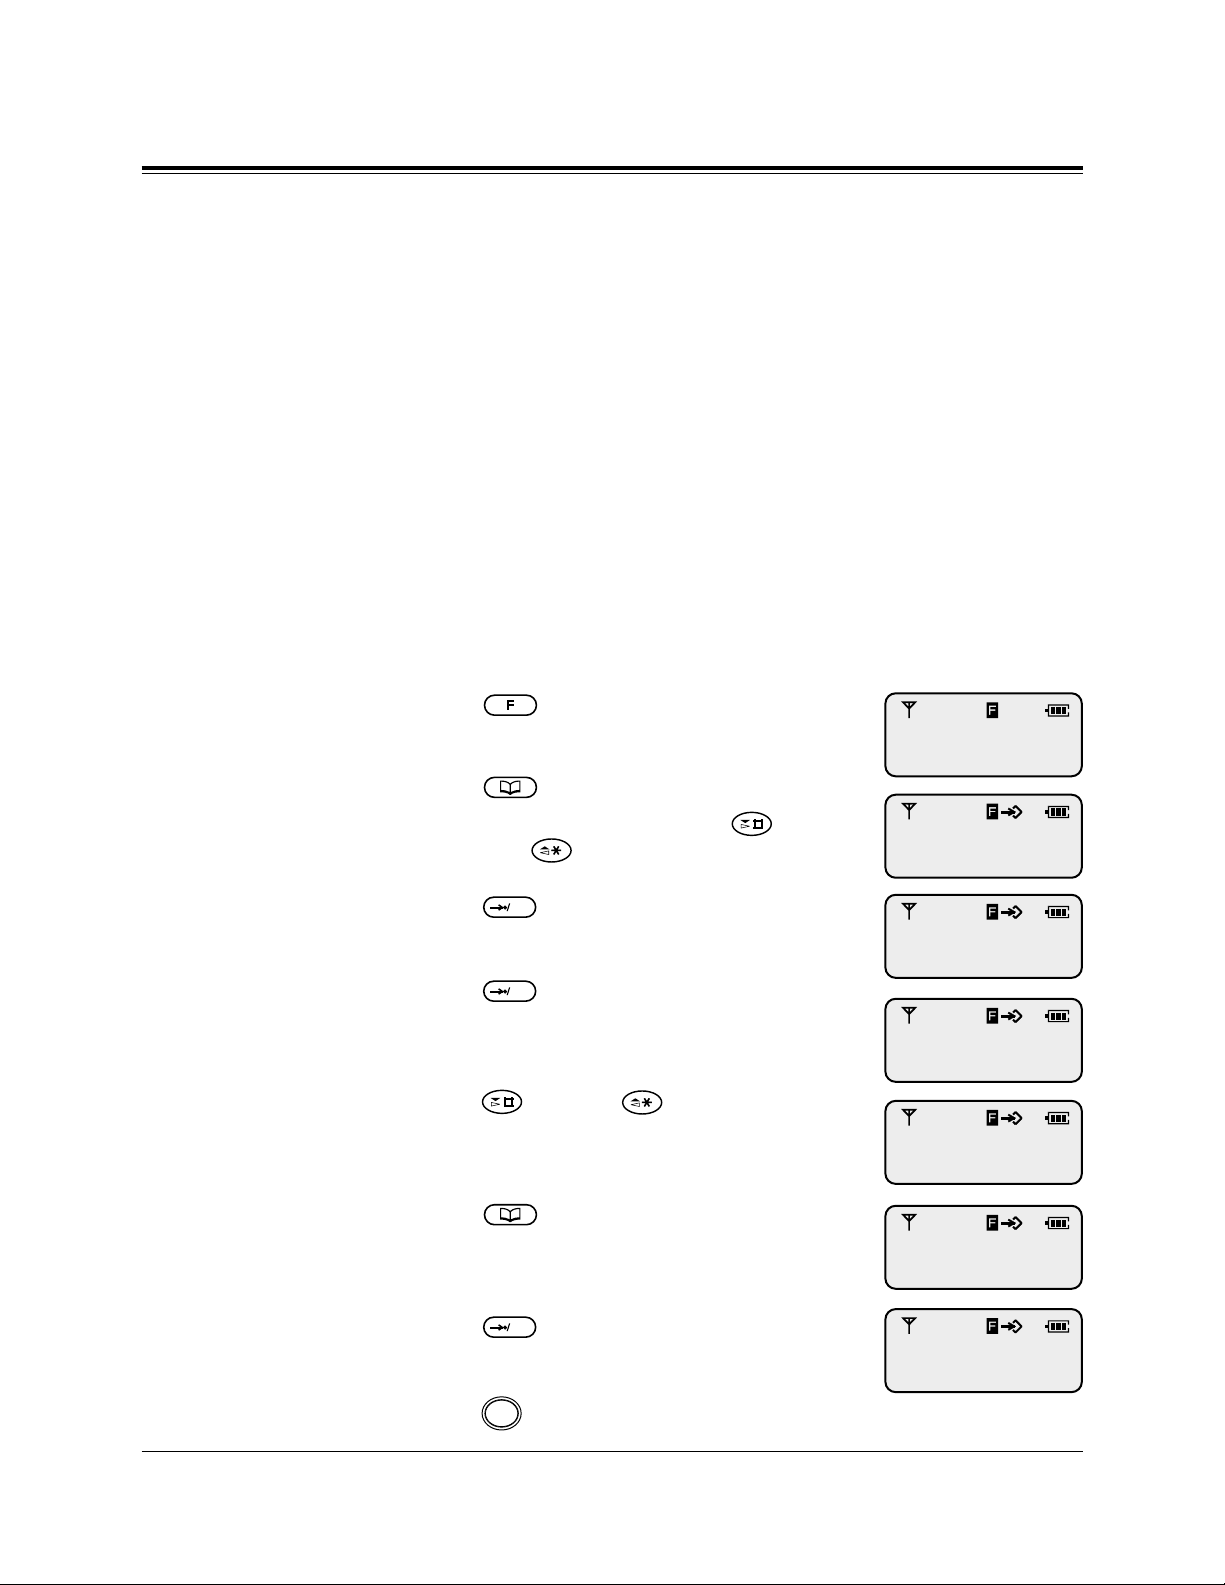
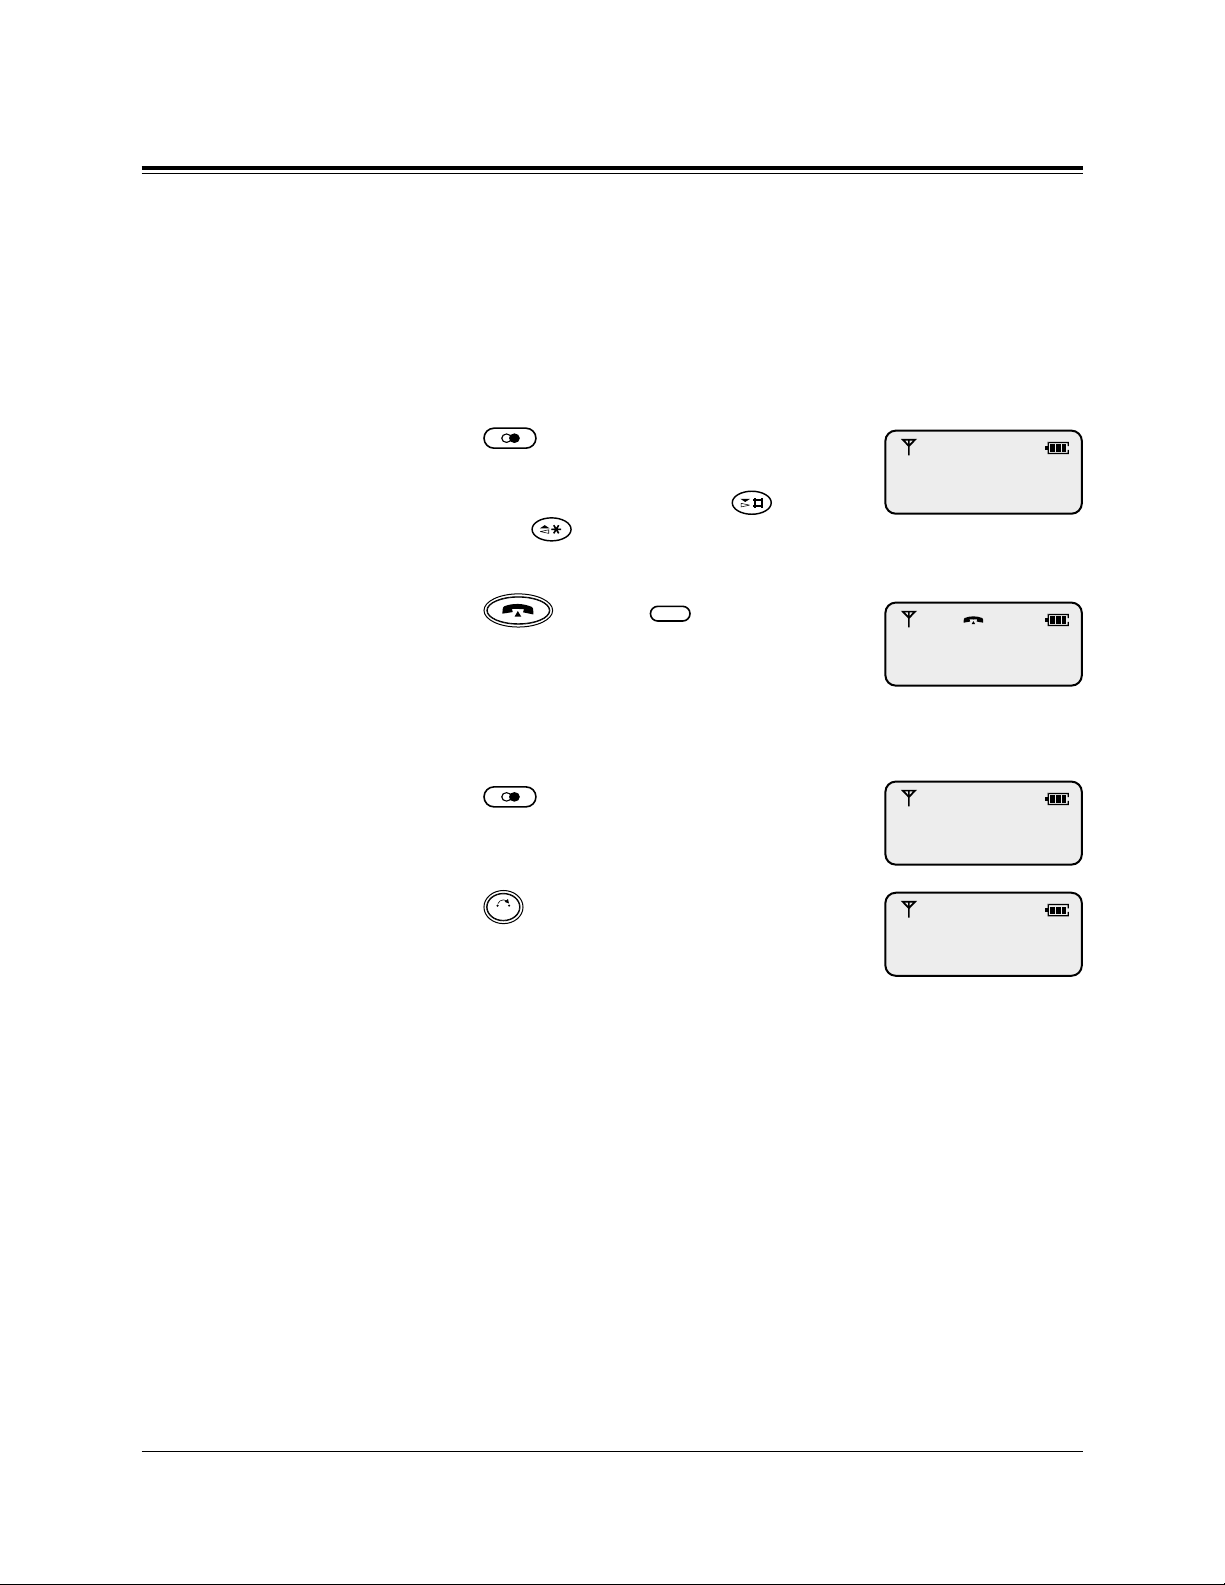
Selecting the Display Language
The default setting of the PS displaying language is “AUTO
(English)”. For example, to select the German display, see the
method below. If your PS is assigned to the Digital Super Hybrid
System while the default setting is still “AUTO”, the displaying
language will depend on the setting of the system.
Press (Function).
Press (Book) 2 times.
• You can also search by pressing
(Next) or (Previous).
Press (OK).
Press (OK).
Press (Next) or (Previous)
repeatedly until the display for the
Language Selection appears.
Press (Book) repeatedly until the
language you use is displayed.
Press (OK).
To exit the PS Programming mode,
press (Cancel).
C
OKOKOK
BACKLIGHT
= ON
1
2
3
LANGUAGE
= AUTO
4
5
6
7
8
LANGUAGE
= GERMAN
KEY
PROGRAMMING
PS-PROGRAM
Verzeichnissper.
= Aus
11
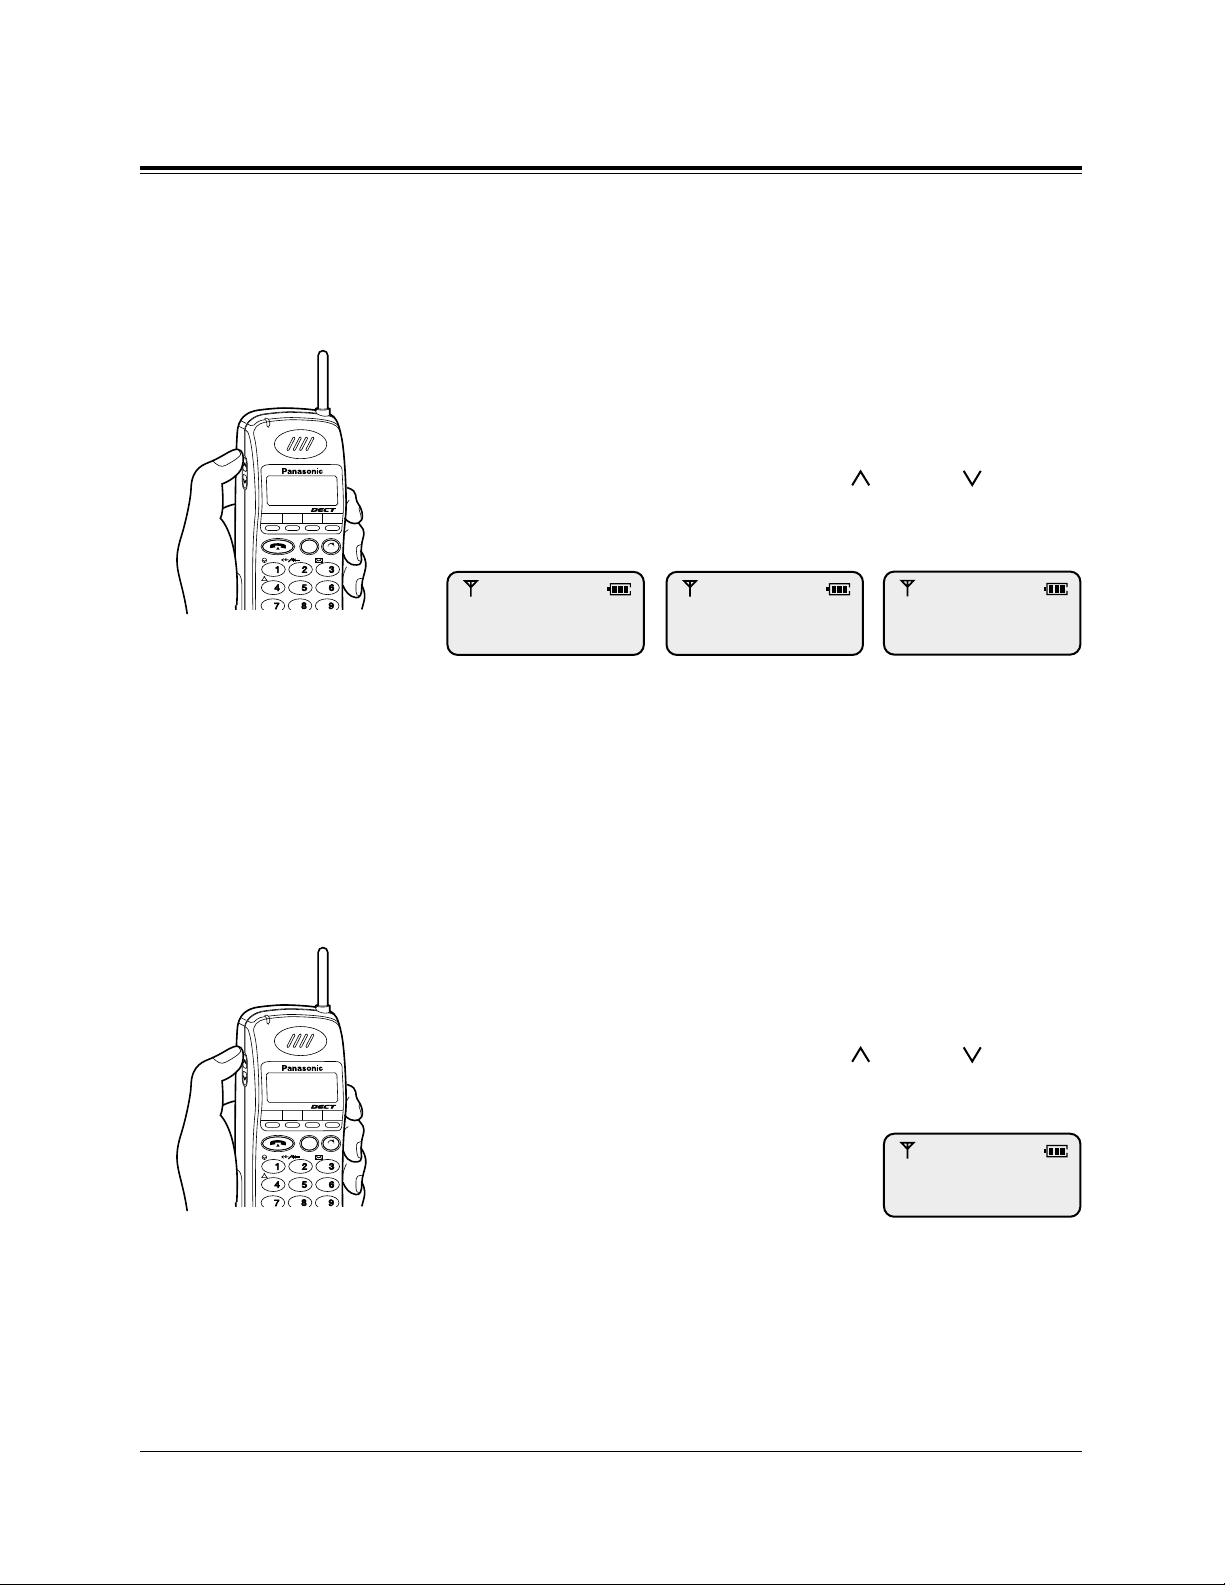
Initial Settings
Adjusting the Ringer Volume
The ringer volume has seven levels which is indicated by the number of asterisks on the display. [Default: *** (level 3)]
If you do not want your portable station to ring, you can select Off,
or Vibration which is convenient while in a meeting, etc.
During on-hook status or when the portable station is ringing
Press the VOLUME (UP / Down ) Control
button.
Note – In addition to the ringer patterns above, there are several combination
of vibration and ring types. Refer to “Selecting the Vibration and Ring
Type” in PS Programming.
– The portable station rings for an incoming call while charging even
when it is set to vibrate.
Adjusting the Receiver Volume
The receiver volume has three levels which is indicated by the
number of asterisks on the display.
During a conversation
Press the VOLUME (UP / Down ) Control
button.
INT' F1 F2 F3
CLR
ABC
DEF
GHI
JKL
MNO
PQRS
TUV
WXYZ
C
INT' F1 F2 F3
CLR
ABC
DEF
GHI
JKL
MNO
PQRS
TUV
WXYZ
C
RINGER ***
RINGER
Example: Level 3
RECEIVER **
Example: Level 2
VIBRATION CALL
Example: VibratingExample: Off
12
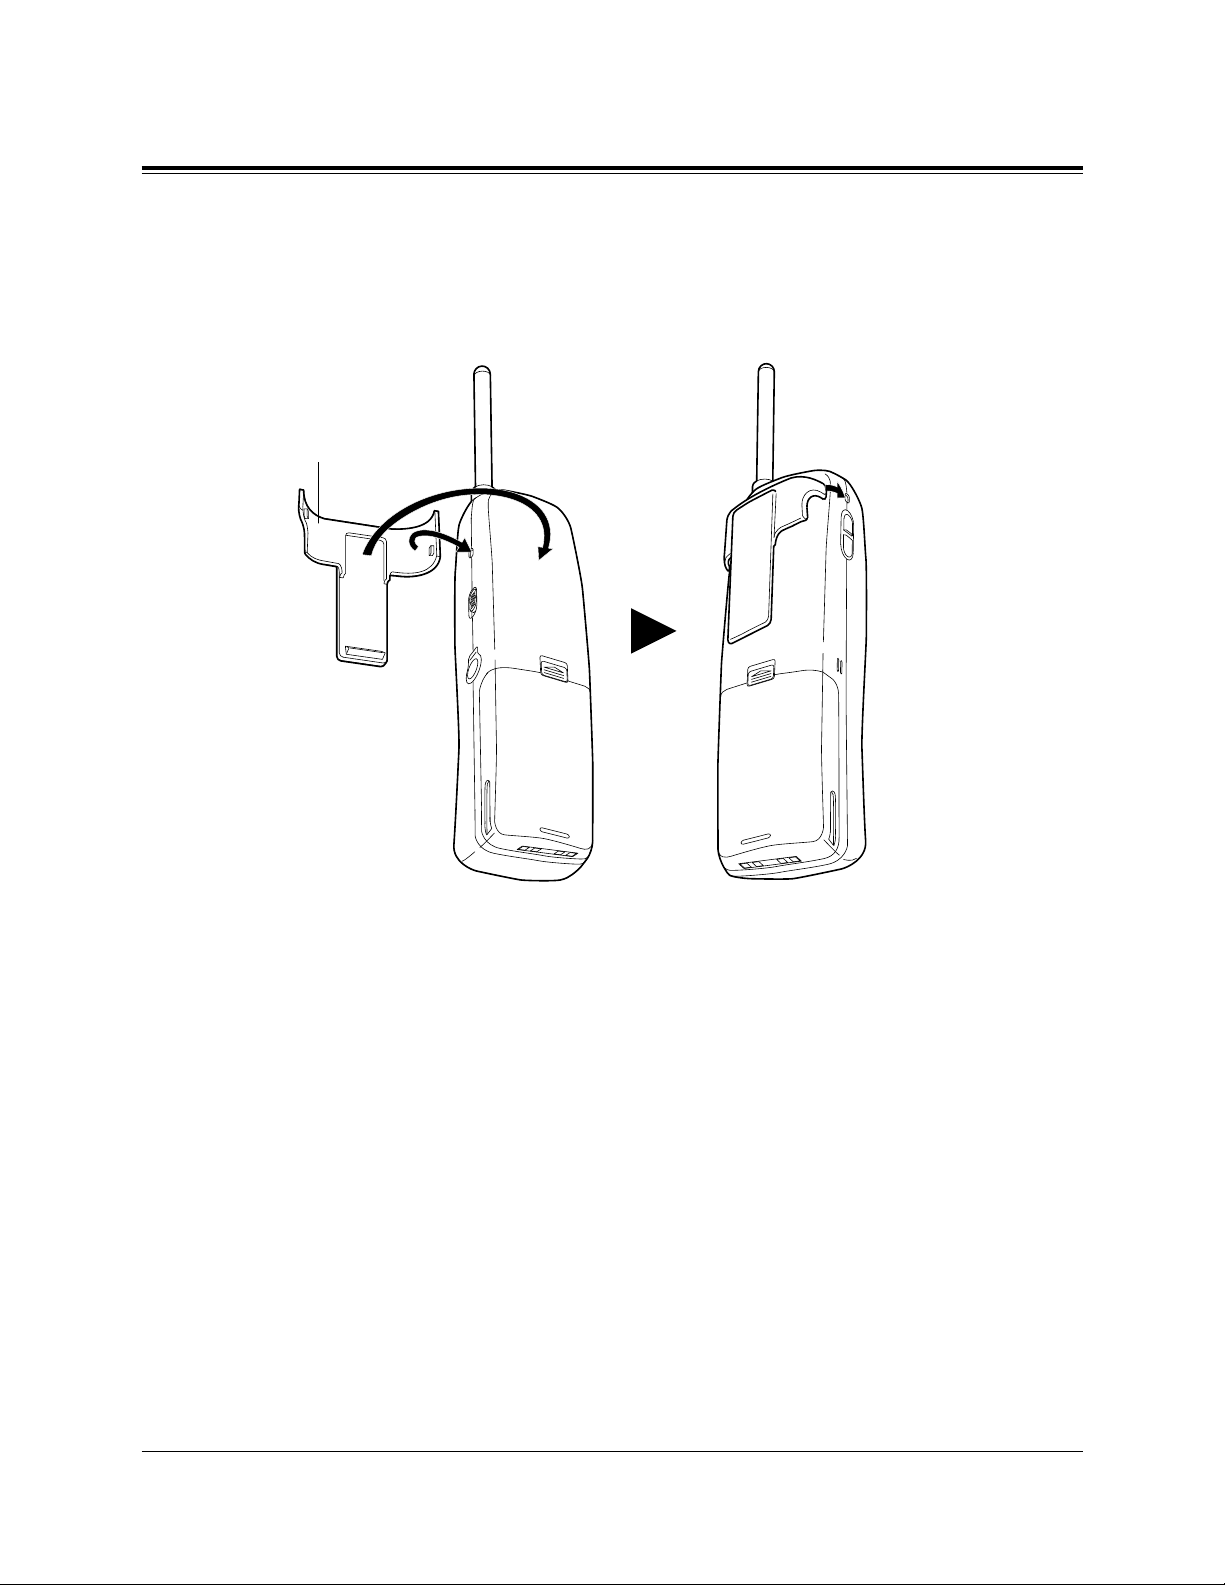
Installing the Handset Clip
Handset Clip
You can hang the PS on your belt or pocket by attaching the handset clip.
13
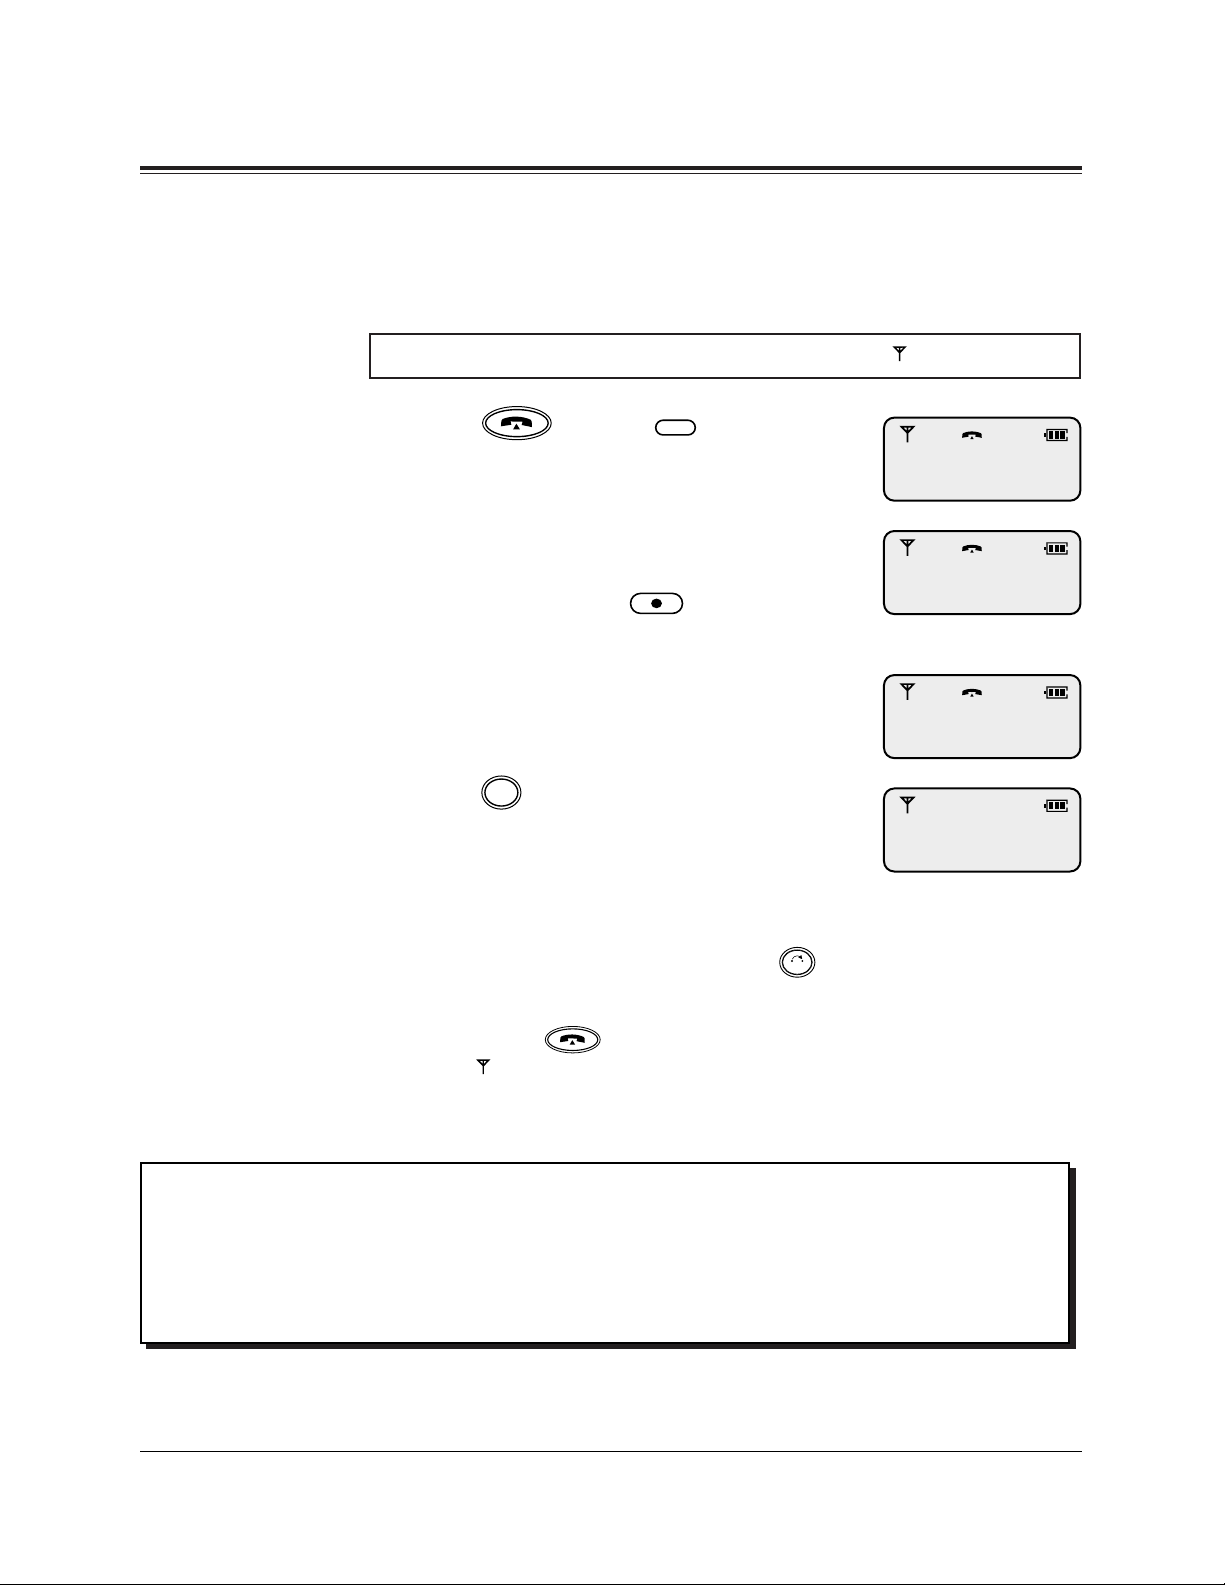
Basic Operations
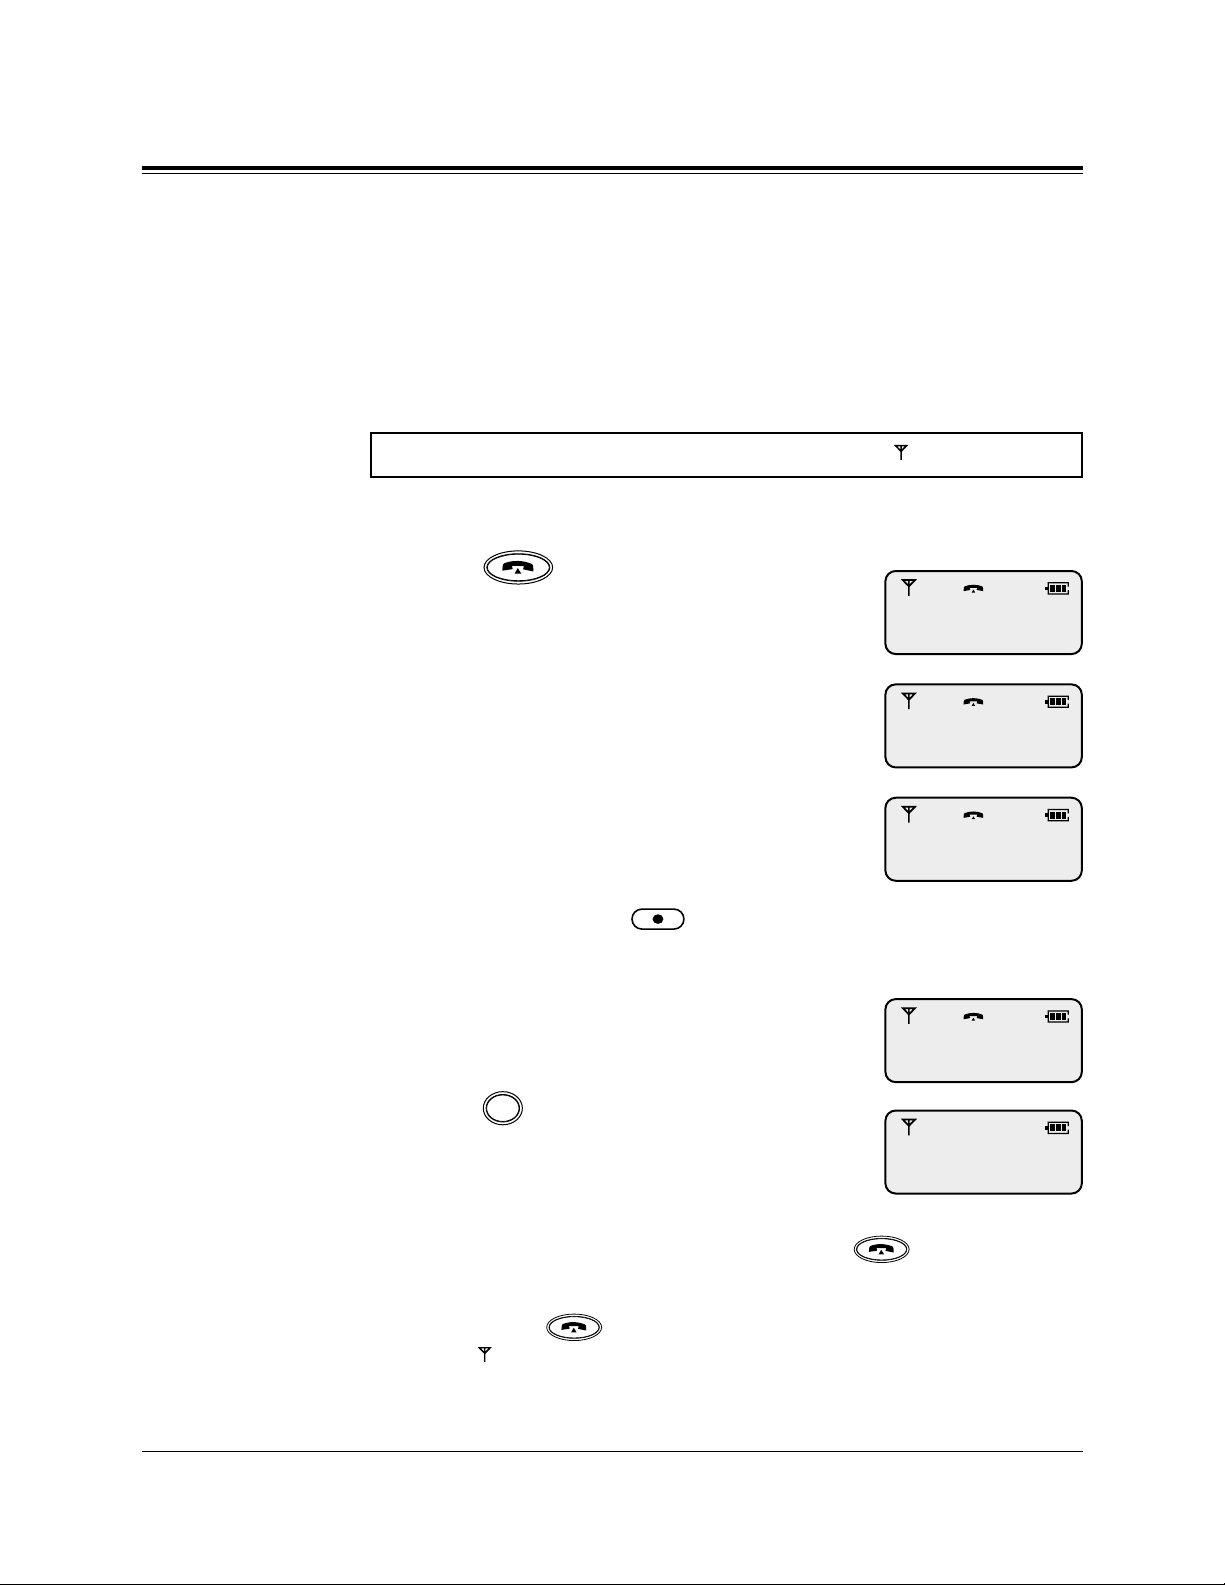
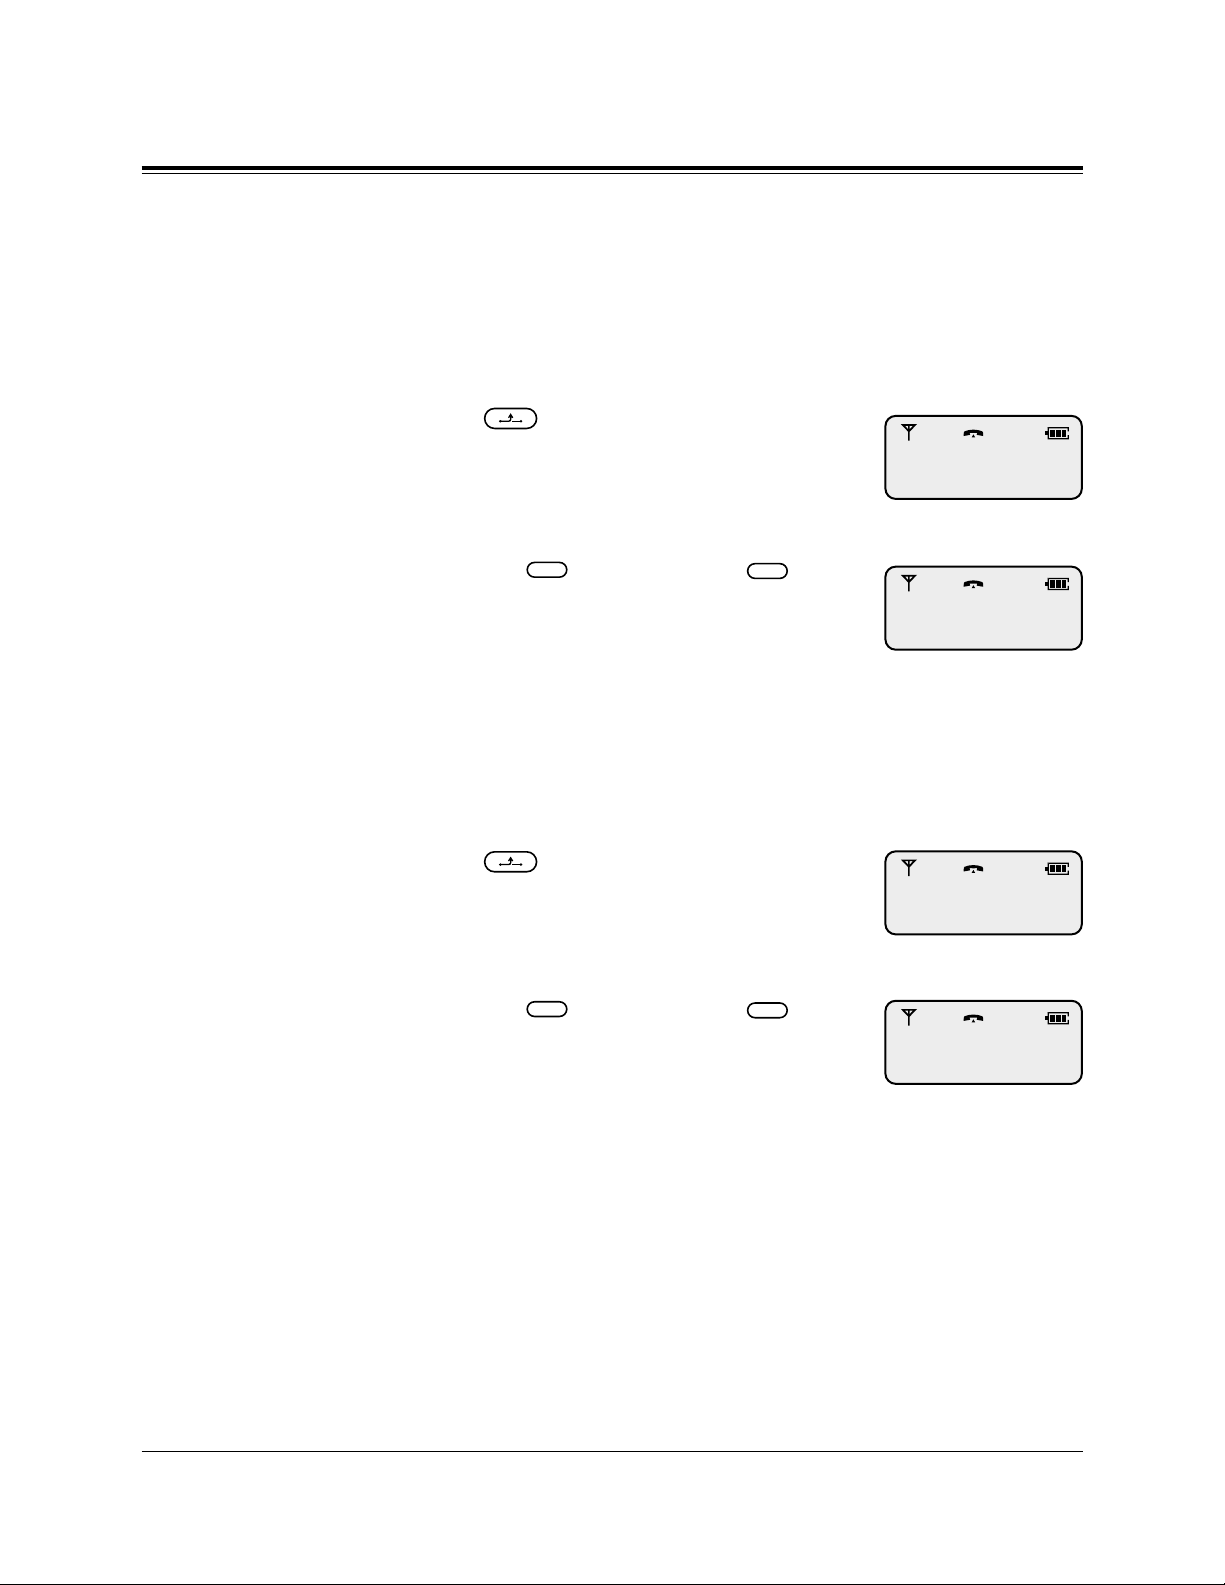
Making Calls
Intercom Calls
Press (Talk) or
(Intercom).
Enter the extension number.
• The dialed number is displayed.
• If you misdial, press (Flash) and
enter the number again.
Talk after the called party answers.
Press (Cancel) after the conversation is finished.
Note: – Predialing is also possible. In this case, reverse steps 1 and 2.
– If you misdial while predialing, press (Clear) to clear each digit
from the last one, and enter the number again.
– You can also finish the conversation by placing the PS on the Charger
or pressing (Talk).
– If “ ” flashes, move towards the Cell Station and try again.
CLR
C
INT'
Make sure the Power Switch is set to ON (●) and “ ” is displayed.
201
201
1
2
3
4
Handover: Even if you move during a conversation, the linking CS is automatically
switched without disconnecting the call.
Handover is available only during a conversation (except a conference call).
It is not available when the switched CS is busy or there is no CS in the
moving range.
14
Basic Operations
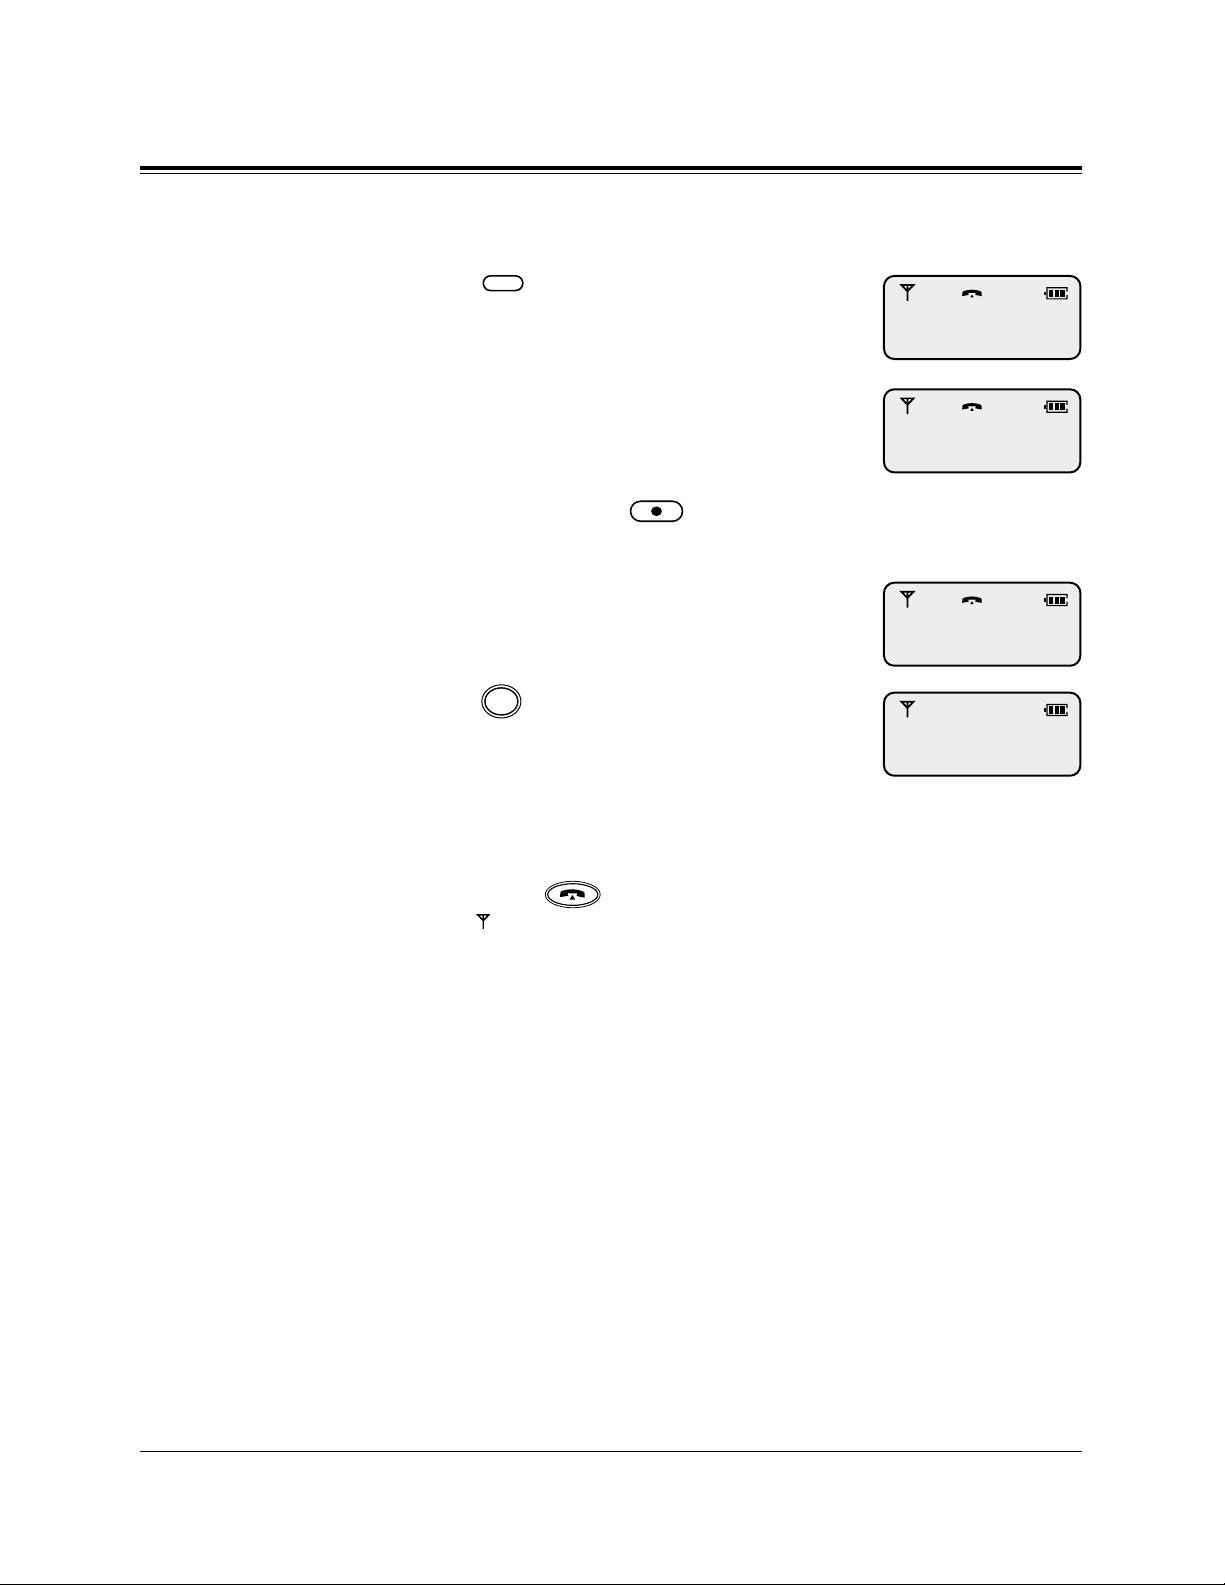
Outside Calls
There are three types of line access methods as follows:
1) Line Access, Automatic: selects an idle CO line.
2) Line Access, CO Line Group: selects an idle CO line in the
desired CO line group.
3) Line Access, Individual: selects a specific CO line.
Line Access, Automatic / CO line group
Press (Talk).
Enter the line access code.
– 9 : Automatic
– 81 through 88 : CO Line Group
Enter the phone number.
• The dialed number is displayed.
• The display starts counting the call
duration (or charge, if programmed).
• If you misdial, press (Flash) and
enter the number again.
Talk after the called party answers.
Press (Cancel) after the conversation is finished.
Note: – Predialing is also possible. In this case, press (Talk) (step 1)
after entering the phone number (steps 2 and 3).
– You can also finish the conversation by placing the PS on the Charger
or pressing (Talk).
– If “ ” flashes, move towards the Cell Station and try again.
C
Make sure the Power Switch is set to ON (●) and “ ” is displayed.
01234567
CO01 0:01’15
1
2
3
4
5
15
Basic Operations
Line Access, Individual
Press (Flexible CO).
Enter the phone number.
• The dialed number is displayed.
• The display starts counting the call
duration (or charge, if programmed).
• If you misdial, press (Flash) and
enter the number again.
Talk after the called party answers.
Press (Cancel) after the conversation.
Note: – Predialing is also possible. In this case, reverse steps 1 and 2.
– You can also finish the conversation by placing the PS on the Charger
or pressing (Talk).
– If “ ” flashes, move towards the Cell Station and try again.
C
F1-F3
01234567
CO01 0:01’15
1
2
3
4
16
Basic Operations
Redialing a number in the call log
Your PS automatically saves the last five outside numbers you
dialed. You can make a call by selecting the desired log number.
Redialing
Press (Redial) repeatedly until
the desired log number is displayed.
• You can also search by pressing
(Next) or (Previous).
Press (Talk) or (Flexible
CO).
Clearing all of the numbers in the call log
Press (Redial).
Press
(Clear).
Note: – Extension numbers cannot be logged.
– You can also execute the redialing or clearing the call log operation
after going off-hook.
CLR
F1-F3
01234567
01234567
1
2
CLEARED
01234567
1
2
17
Basic Operations
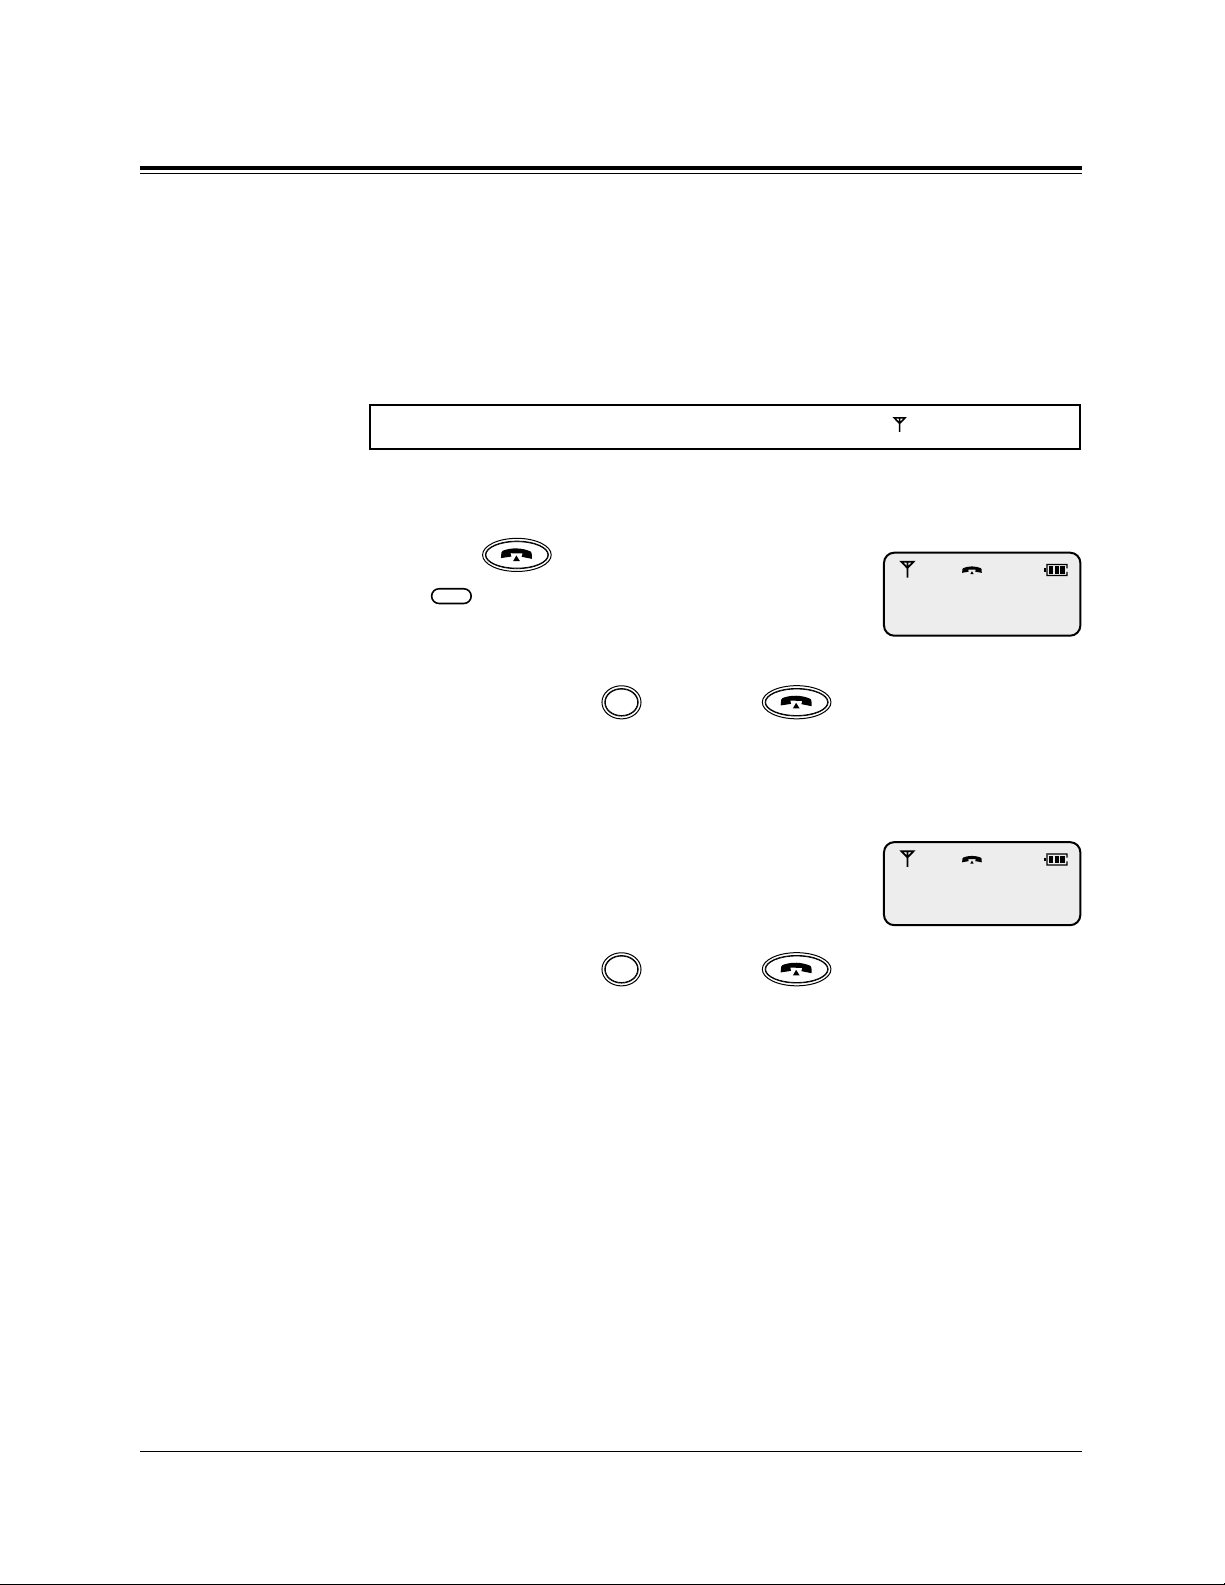
Answering Calls
When you receive a call, the portable station (PS) rings or vibrates,
and the CO line number or extension number of the receiving call
appears on the display.
If the PS is not on the Charger
Press (Talk) or the flashing
(Flexible CO).
• The display starts counting the call
duration (or charge, if programmed).
To hang up, press (Cancel) or (Talk)
or place the PS on the Charger.
If the PS is on the Charger (Quick Answering)
Just lift up the PS.
• The display starts counting the call
duration (or charge, if programmed).
To hang up, press (Cancel) or (Talk)
or place the PS on the Charger.
Note: – Quick Answering is available only when the Quick Answering mode is
set to “ON”. Refer to “Setting the Quick Answering Mode” in PS
Programming.
If a headset is connected to the PS
You can select the answering mode by PS Programming as follows.
– OFF (default): Answers using normal operations.
(Refer to the operations above.)
– INT/CO: Automatically receives all incoming calls.
– INT ONLY: Automatically receives incoming intercom calls.
To select the automatic answer mode, refer to “Setting the
Automatic Answer Mode” in PS Programming.
C
C
F1-F3
Make sure the Power Switch is set to ON (●) and “ ” is displayed.
1
2
CO01 0:01’15
1
2
CO01 0:01’15
18
Basic Operations
Call Hold
You can place a call on hold. Exclusive hold is also possible so
that no one can retrieve the call.
Placing a call on hold
Press (Hold) during a conversation.
Retrieving a call on hold
Press the (Flexible CO) or
(Intercom) button which is flashing
green slowly.
Note: – You can retrieve a call on hold which has been placed on hold by
another extension. Refer to “DPT Features – Call Hold Retrieve” in
the User Manual for the model KX-TD816 / KX-TD1232.
Placing a call on exclusive hold
Press (Hold) twice during a conversation.
Retrieving a call on exclusive hold
Press the (Flexible CO) or
(Intercom) button which is flashing
green moderately.
INT'
F1-F3
INT'
F1-F3
1
1
1
1
 Loading...