

Read This First

START HERE
Here’s what you’ll do:
■
Charge and set up your Palm™ Zire™ 71 handheld.
■
Install Palm™ Desktop software.
■
Learn to use your handheld.
Important! Already use a Palm™ handheld?
■
Synchronize your old handheld with your computer so that the information is up-to-date.
■
Go to www.palm.com/support/globalsupport to learn how to smoothly transfer your information
to your new handheld.
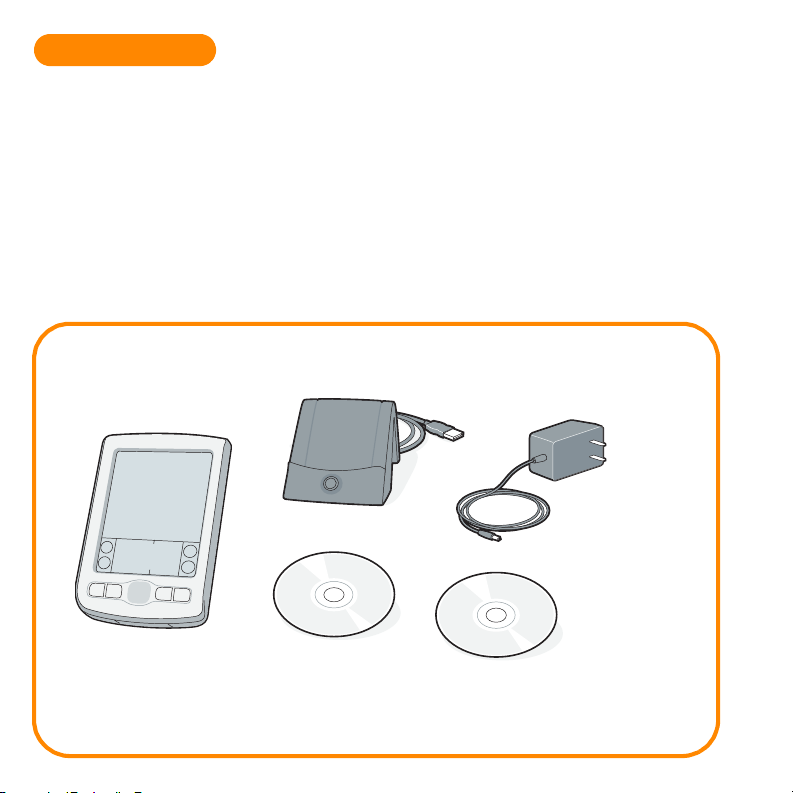
Contents
Palm™ Zire 71™ handheld
®
™
Desktop
cradle
USB HotSync
Palm
software CD-ROM
Power adapter
1
2
Software Essentials CD-ROM
1
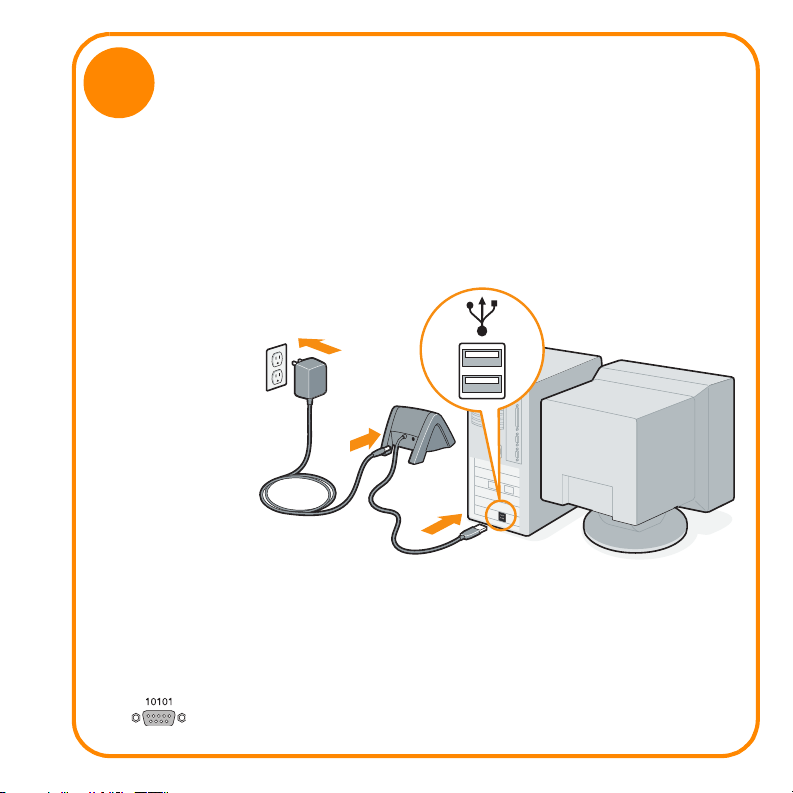
Connect
a. Connect the HotSync
b. Connect the adapter to the cradle.
c. Plug the adapter into an outlet
NOTE: On some
cradles, the adapter
cable may plug into
a tail on the back of
the USB connector
instead of the back
of the cradle.
*
Windows NT systems and systems without USB ports require a serial cradle, sold separately.
®
cradle to the computer.
*
USB
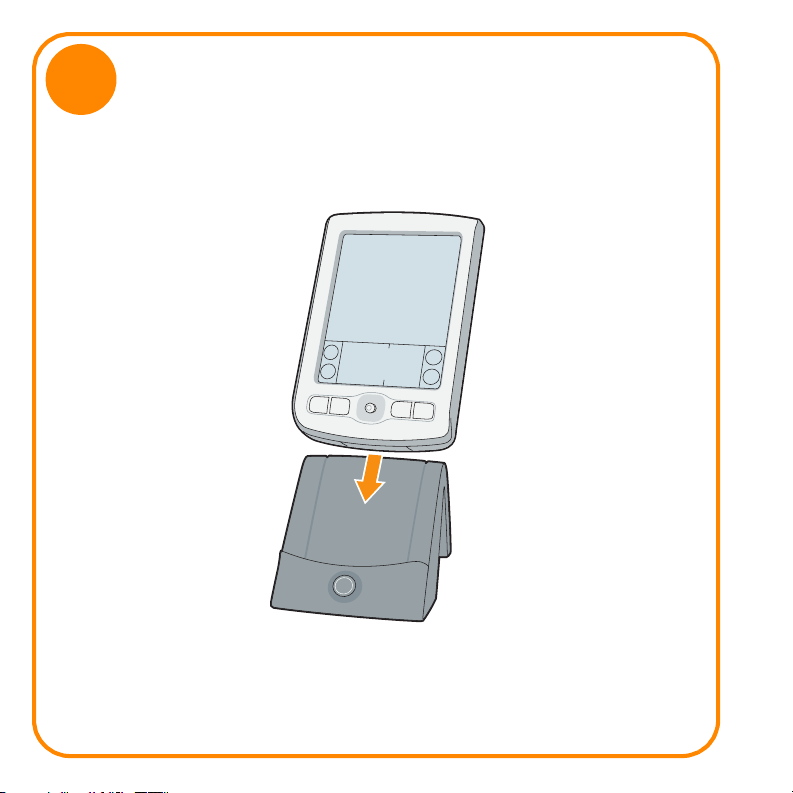
2
Charge
a. Place your Zire
b. Charge for at least two hours.
™
71 handheld into the cradle.
3
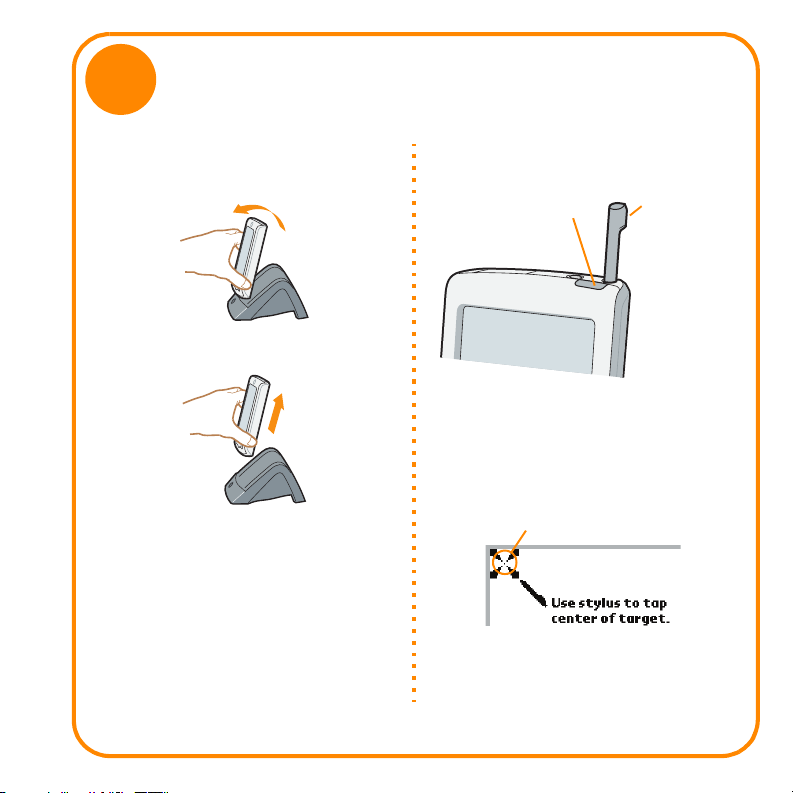
Set up
a. Remove the handheld from the cradle.
1. Tilt it forward.
2. Lift up.
* Problems? See the “Troubleshooting” section
in the upcoming pages.
b. Turn on the handheld by pressing the
power button.
c. Remove the stylus: Slide the stylus out of
the slot.
d. Follow the Setup instructions on the
screen.
e. Tap firmly the center of at least 3 targets.
*
StylusPower button
Center
 Loading...