

Nikon COOLPIX L10, COOLPIX L11 Quick Start Guide

Quick Start Guide
Quick Start Guide
Introduction
First Steps
Taking Pictures
Other Functions
Installing
PictureProject
Viewing Pictures
on a Computer
En
Introduction
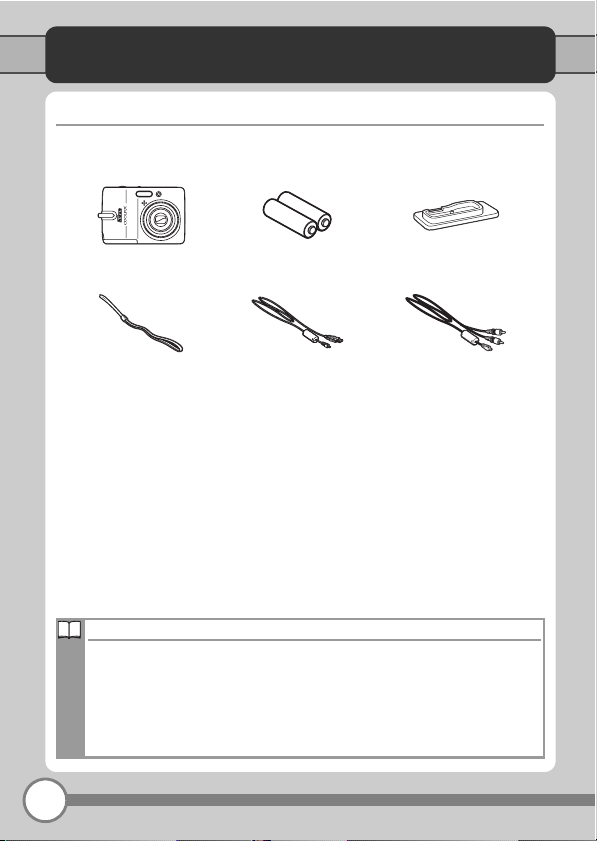
Package Contents
Remove the camera and accessories from the box and confirm that you
have all the items listed below.
COOLPIX L11/COOLPIX L10
digital camera
Camera strap USB Cable UC-E6 Audio/Video Cable EG-CP14
• User’s Manual CD
• Quick Start Guide (this guide)
• Warranty
* The supplied batteries are for confirming that the camera is working properly im-
mediately after purchase. They have a lower capacity than batteries purchased
separately.
NOTE: Memory card not provided. See page 102 of the User’s Manual for a list of
approved memory cards.
Viewing the Camera User’s Manual on CD
The User’s Manual can be viewed using Adobe Reader or Adobe Acrobat
Reader 5.0 or later, available for free download from the Adobe website.
1 Start the computer and insert the User’s Manual CD.
2 Double-click the CD (COOLPIX L11L10) icon in My Computer (Win-
dows) or on the desktop (Macintosh).
3 Double-click the [INDEX.pdf] icon to display a language selection screen.
Click a language and follow the links to view the User’s Manual.
LR6 alkaline (AA-size)
battery*
• PictureProject installer CD (yellow)
• PictureProject Reference Manual CD
(silver)
Dock Insert PV-14
(COOLPIX L11 only)
(COOLPIX L11 only)
2
First Steps
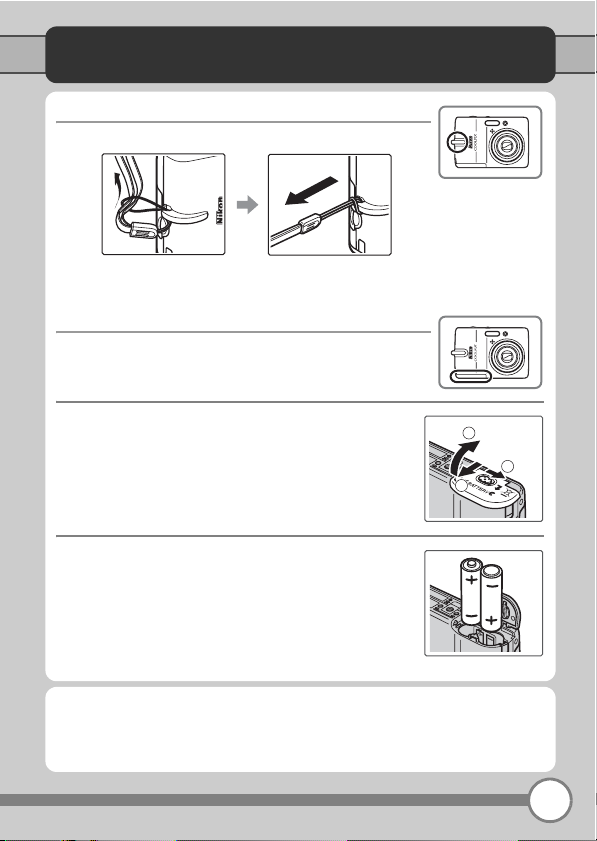
Step 1 Attach the Camera Strap
Attach the camera strap as shown.
Step 2 Insert the Batteries
Insert the batteries as described below.
2.1 Open the battery-chamber cover.
3
1
2
2.2 Insert the batteries correctly as shown at
right.
Illustrations and Screen Displays
Illustrations and screen displays shown in this guide are for COOLPIX L11.
COOLPIX L11 and COOLPIX L10 differ in the Image mode. The default setting for
COOLPIX L11 is c Normal, and d Normal for COOLPIX L10.
3
First Steps
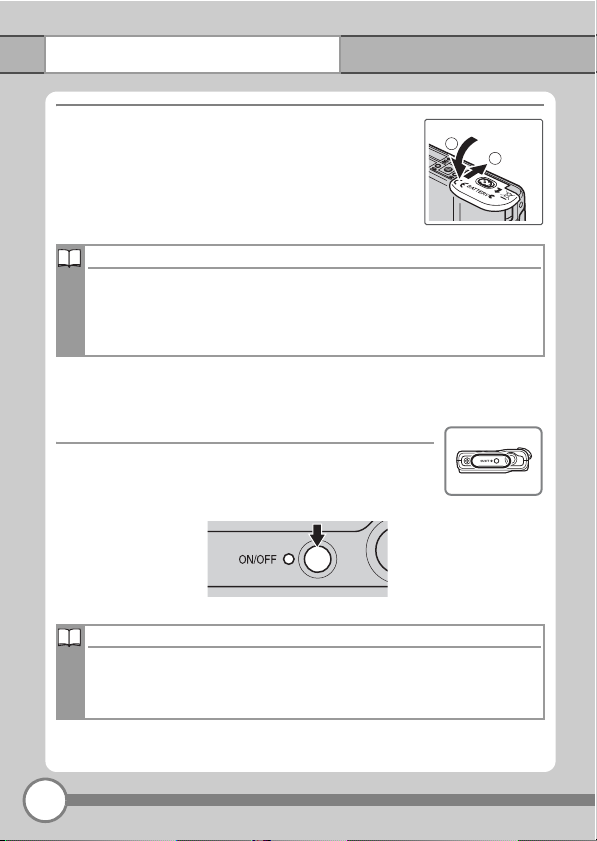
2.3 Close the battery-chamber cover.
1
Replacing Batteries
Turn the camera off and make sure that the power-on lamp and the monitor have gone out before removing or inserting the batteries. When replacing the batteries, check that the correct type is selected in the [Battery Type]
menu as described on page 101 of the User’s Manual. The default option is
[Alkaline].
Step 3 Turn On the Camera
Press the power switch to turn on the camera.
The power-on lamp (green) will light for a moment,
and the monitor will turn on.
Power Saving Function
If no operations are performed for about five seconds, the monitor will dim
to save power. Using any of the camera controls will reactivate the display.
If no operations are performed for about 30 seconds, the monitor will turn
off; after a further three minutes, the camera will turn off automatically.
2
4

First Steps
Memory Cards
By default, pictures are stored in the camera’s internal memory. If desired, a
removable Secure Digital (SD) memory card can be used for additional storage. Internal memory is used for recording and deletion only if no memory
card inserted.
To insert a memory card:
1 If the power-on lamp is blinking or monitor is turned on, press the power
switch to turn the camera off.
2 Open the memory card slot cover and slide the memory card in until it
clicks into place. Insert the card as shown below; do not insert it upside
down or backwards. After inserting the memory card, close the memory
card slot cover.
Terminals Front (label side) Terminals
3 Turn the camera on. If the message shown at
right is displayed in the monitor, the memory
card must be formatted before it can be used in
the camera. Use the multi selector to highlight
[Format] and press d. Do not turn the camera
off or remove the battery or memory card
until formatting is complete.
Note that formatting permanently deletes all
pictures and other data on the memory card. Before formatting, be sure
to make copies of any pictures you wish to keep.
To remove memory cards, turn the camera off and confirm that the
power-on lamp and the monitor have gone out. Open the memory card slot
cover and press the card in to partially eject the card. The card can then be
removed by hand.
Card is not formatted.
No
Format
5

First Steps
Step 4 Choose a Language and Set the Camera Clock
A language-selection dialog is displayed the first time the camera is turned
on. Follow the steps below to choose a language and set the time and date.
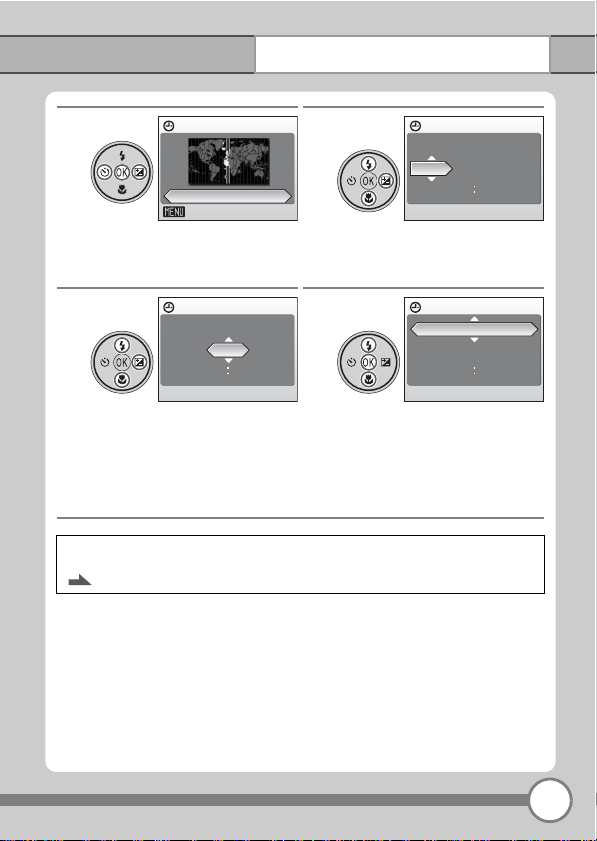
The Multi Selector
Use the multi selector to choose and apply settings.
Move cursor up
Make selection
Return to previous screen
(Move cursor left)
Move cursor down
In the descriptions that follow, how to use the multi selector to perform a task are shown in white.
Move to next screen (Move
cursor right or make selection)
4.1
Choose the desired language
and press d.
4.3
Press the multi selector right.
The home time zone menu is
displayed.
6
Time zone
X
London,Casablanca
y
Daylight saving
4.2
Date
Set time and date?
No
Yes
Choose [Yes] and press d.
The time zone menu is displayed.*
* If daylight saving time is in effect,
press the multi selector down to
highlight [Daylight saving] and
press d to select. Press the multi
selector up to return to Step 4.3.
First Steps
4.4
Home time zone
London,Casablanca
X
Back
Select your home time zone
and press d.
4.5
Date
DMY
15
Edit the day and press the
multi selector right.
0000
The date menu is displayed.
4.6
Date
DMY
15
Edit the month and press the
multi selector right.
• Edit the year and time in the
same manner.
4.7
200705
0000
Date
DMY
15
1015
Choose the order in which the
day, month, and year are displayed and press d.
• The settings are applied and
monitor display returns to
the L (auto) mode.
When daylight saving time ends, turn [Daylight saving] off from the date menu
in the setup menu. The camera’s clock is automatically set back one hour.
Page 90 of the User’s Manual
200701
200705
7
Taking Pictures
5
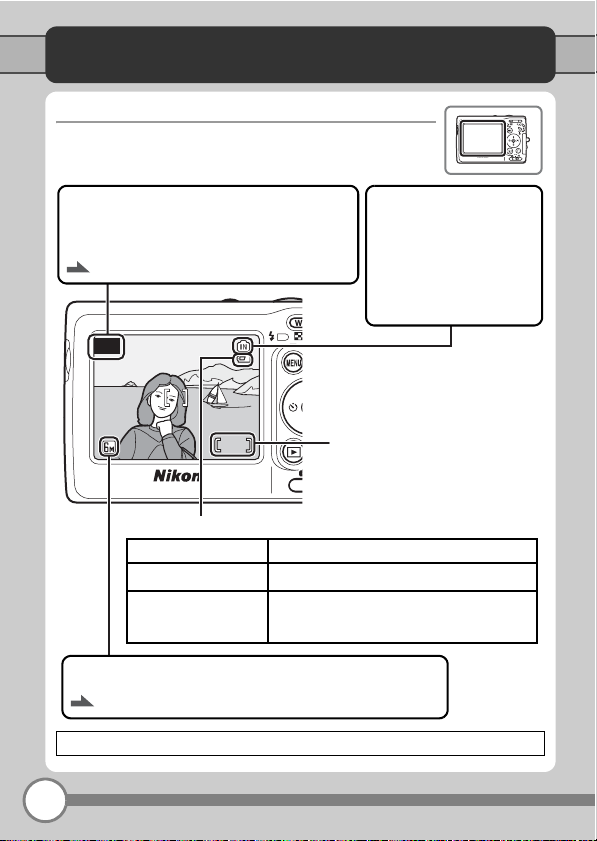
Step 1 Check Indicators in the Monitor
Check the battery level and number of exposures remaining.
L (auto) mode
M is displayed in M (auto) mode.
To select other shooting modes, use the mode
selector (c 14).
Pages 8, 16 to 21 of the User’s Manual
L
5
Battery level indicator
NO INDICATOR Batteries fully charged.
w
K
Warning!
Battery exhausted.
Image mode
Choose image size and quality from the image mode menu.
Page 74 of the User’s Manual
c: This icon indicates that more information is available elsewhere in this guide.
Batteries low; ready spare batteries.
Batteries exhausted. Replace with fresh
batteries.
Internal memory indicator
Pictures will be recorded to
internal memory (approximately 7 MB). When memory card is inserted, M
clears and pictures will be
recorded to memory card.
Number of exposures
remaining
8
 Loading...