

Page 1
Installation Guide
CGD24G Wireless Cable Modem Gateway
Follow these quick steps to install your CGD24G gateway. These instructions
assume that you will use an Ethernet cable to connect a computer to the gateway.
Note: For instructions on connecting computers to the CGD24G gateway using
USB, see the User Manual on the Resource CD that came with your product.
Package Contents
Verify that your product package contains the following items:
• CGD24G Wireless Cable Modem Gateway
• AC power adapter
• Category 5 (CAT5) Ethernet cable
• USB cable
• Two (2) stand brackets
• Resource CD
If any of the parts are incorrect, missing, or damaged, contact your NETGEAR
dealer. Keep the carton, including the original packing materials, in case you need
to return the product for repair.
Before You Begin...
Make sure that you have the following:
• A computer with an active Ethernet port with DHCP enabled.
• An active account with your Internet Service Provider (ISP) for data services.
• Depending on how your ISP set up the Internet account, you might need one or
more of these configuration settings to connect the gateway to the Internet:
- Host and Domain Names
- ISP Domain Name Server (DNS) Addresses
• Each computer that will connect to the gateway must have either an installed
Ethernet Network Interface Card (NIC), USB Host port, or 802.11b or 802.11g
wireless adapter.
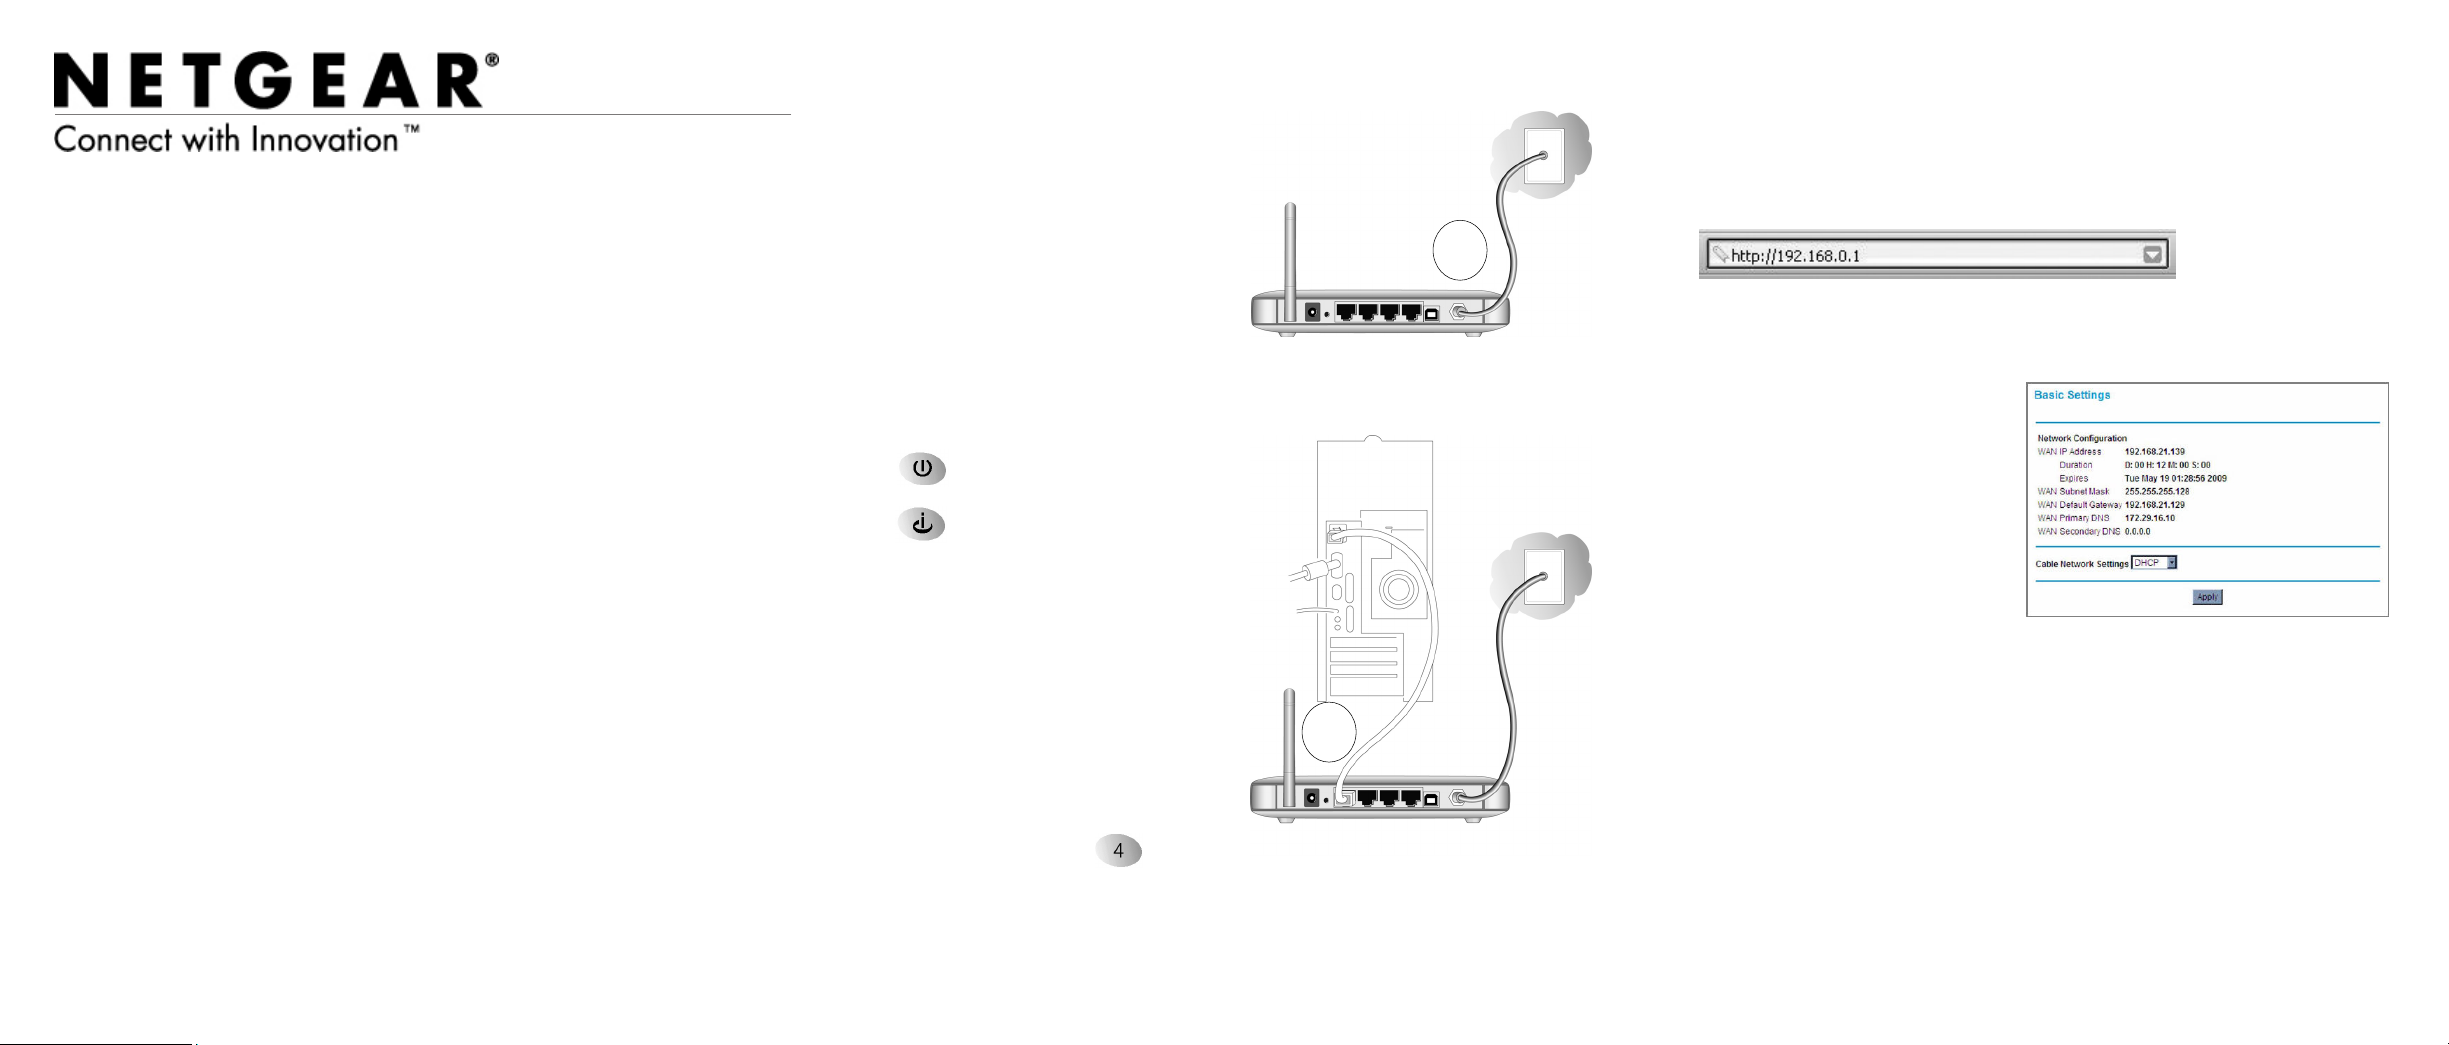
Next, Connect the Gateway
To connect the gateway:
1. Turn off your computer. Use the
coaxial cable provided by your cable
company to connect the CGD24G
gateway cable port (A) to your cable
line splitter or outlet.
2. Connect the Ethernet cable (B) from
your CGD24G gateway’s LAN port to
the Ethernet adapter in your computer.
3. Plug in your CGD24G gateway and
wait about 60 seconds for the LEDs to
stop blinking.
4. Verify the following:
The power LED is lit after
turning on the gateway.
The cable link LED is solid
green, indicating that the
gateway initialization is
complete and a link has been
established to the cable
network.
5. Now, turn on your computer.
If software usually logs you in to your
Internet connection, do not run that
software or cancel it if it starts
automatically.
One or more local LED(s) on the front
of the gateway should be lit for any
connected computers.
A
B
Then, Connect to the Internet
To configure the gateway and connect to the Internet:
1. Using the computer that you first used to access your cable modem Internet
service, connect to the gateway by typing http://192.168.0.1 in the address
field of your Internet browser.
2. For security reasons, the gateway has its own user name and password. When
prompted, enter admin for the user name and password for the password.
After logging in, you will see the Gateway Status screen.
3. Select Basic Settings on the
upper left of the main menu of the
gateway. The Basic Settings
screen displays.
4. Verify that the Cable Network
Settings field is set to DHCP,
which is the default setting.
When the Cable Network Settings
are set to DHCP, the network
configuration settings are
automatically downloaded from
your ISP.
5. If you changed the Cable Networks Settings field, you must click Apply so
that the change takes effect.
6. Verify your Internet connection.
Note: Some cable Internet companies require you to notify them when you
replace the original cable modem so that they can register the MAC addresses.
If you had difficulty connecting to the gateway or to the Internet, see the
“Troubleshooting” chapter of the User Manual on the Resource CD.
Page 2
December 2010
This symbol was placed in accordance with the European Union Directive 2002/96 on the Waste
Electrical and Electronic Equipment (the WEEE Directive). If disposed of within the European Union,
this product should be treated and recycled in accordance with the laws of your jurisdiction
implementing the WEEE Directive.
©2010 by NETGEAR, Inc. All rights reserved. NETGEAR and the NETGEAR logo are registered trademarks of
NETGEAR, Inc. in the United States and/or other countries. Other brand and product names are trademarks or
registered trademarks of their respective holders. Information is subject to change without notice.
Do not stack or place near heat source
Warning: Do not install this device on top of any other
electrical equipment or install any other equipment on top of
this device. Keep this device away from any heat sources
such as direct sunlight, heaters, radiators, or other A/V
receivers or devices that emit heat.sources such as direct
sunlight, heaters, radiators, or other A/V receivers or devices
that emit heat.
Using Push 'N' Connect (WPS)
to Configure Your Wireless Network
If the wireless clients in your network support Wi-Fi Protected Setup (WPS), you can
use this feature to automatically connect the wireless client securely and easily to
the gateway. WPS uses the SSID that is specified in the Wireless Settings screen.
To initiate WPS using the push button on the gateway:
1. From the gateway main menu, select Wireless Settings.
2. You can either use the default SSID (Wireless) or type in a different SSID. In
the Security Option section of the screen, select one of the following: Disable,
WPA-PSK, or WPA2-PSK. Fill in any required fields and then click Apply.
3. From the gateway main menu, select WPS Settings.
4. In the Automatic Security Configuration field, select WPS.
5. Press the WPS button on the side of the gateway for over 5 seconds.
The green wireless status LED on the front of the gateway begins to blink. While
the LED is blinking, you have 2 minutes to enable WPS on the client that you
are trying to connect to the gateway.
6. On the wireless client, follow its specific networking instructions to enable
WPS, to allow it to connect to the gateway.
The gateway’s green wireless status LED ceases blinking and turns solid green
when one of these conditions occurs:
• The gateway and the client establish a wireless connection.
• The 2-minute window period expires for establishing a WPS connection.
Note: If your network contains wireless clients that are not WPS-capable, then set
up your wireless network and wireless security manually as described in the User
Manual on the Resource CD.
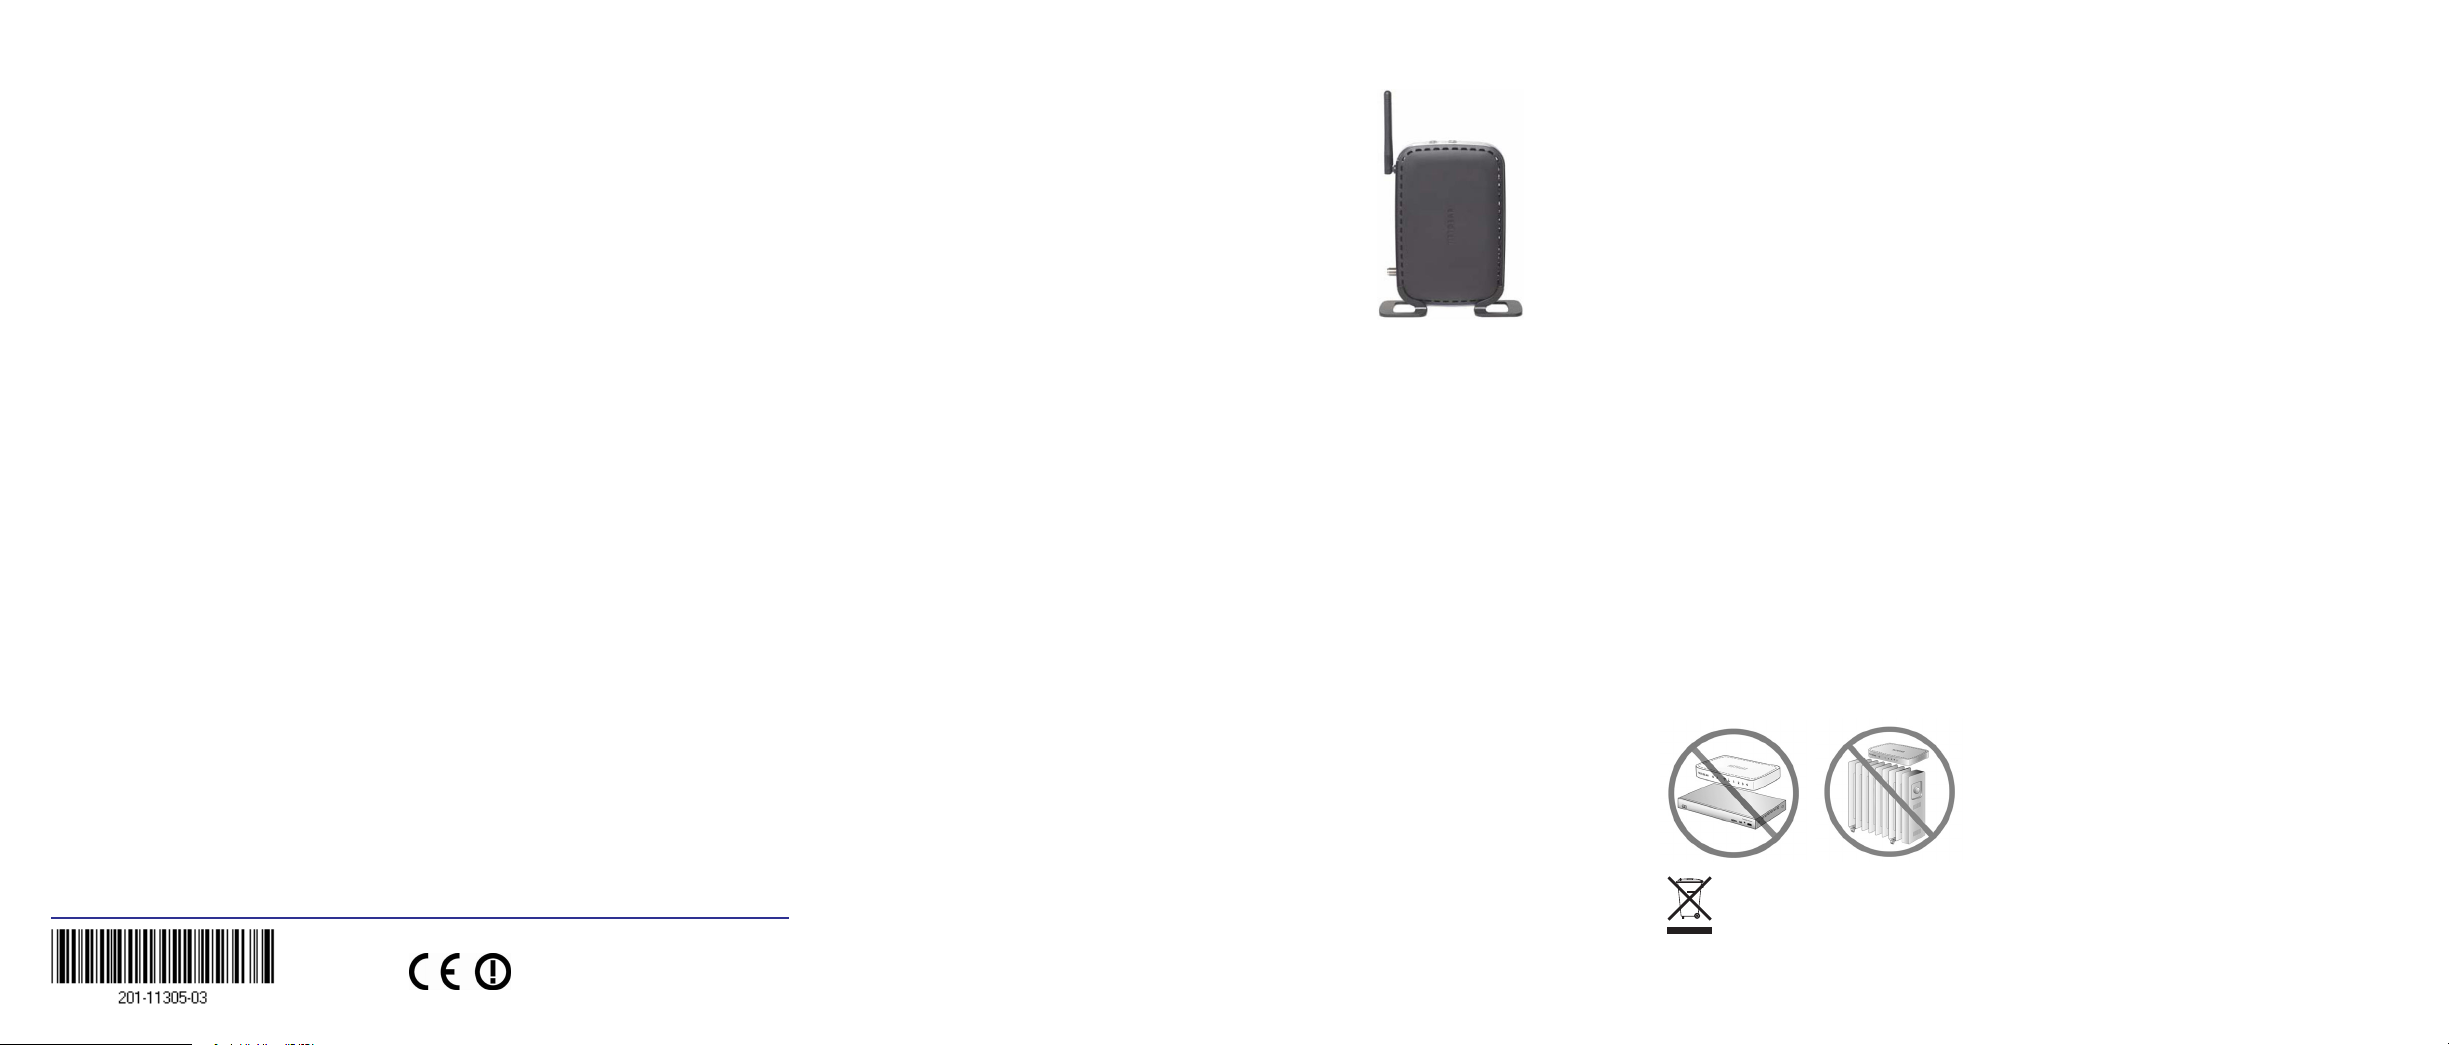
Vertical or Horizontal Installation
The CGD24G gateway can be placed either
vertically or horizontally.
To place the gateway vertically, attach the two
brackets to the bottom of the gateway, and place it
on a flat surface, as shown.
The two stand brackets are included in the
package.
Technical Support
Thank you for selecting NETGEAR products.
After installing your device, locate the serial number of your product and use it to
register your product at http://www.NETGEAR.com/register. Registration is required
before you can use our telephone support service. Registration via our website is
strongly recommended.
Go to http://kbserver.netgear.com for product updates and Web support. For
Warranty and Regional Customer Support information, see the Resource CD that
came with your product.
 Loading...