


Do More
AC1200 WiFi VDSL2/ADSL2+ Modem Router
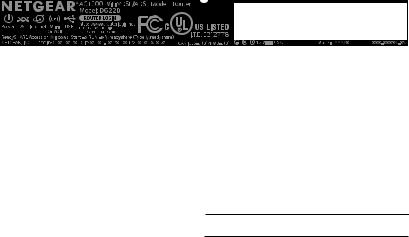
Model D6220
WiFi Network Name and Password
The preset WiFi network name (SSID) and password (network key) are unique to your modem router, like a serial number. Because the
modem router automatically uses WiFi security, you don’t need to set it up. The WiFi settings are on the label on the modem router.
We recommend that you use the preset WiFi settings because you can check the label if you forget them. You can also log in to the modem router to change these settings. If you do so, write down the new WiFi settings and store them in a safe place.
You can write the WiFi settings from the label on your modem router in this space for easy reference. If you change the WiFi settings, write the new settings here for easy reference and store this booklet in a safe place.
WiFi network name (SSID):
Network key (password):
2
Join the WiFi Network
You can either use Wi-Fi Protected Setup (WPS) or select your WiFi network and type its password.
Join the WiFi Network Using WPS
For help with the WPS button on your computer or other WiFi-enabled device, check the instructions or online help that came with that computer or device. Some older equipment cannot use WPS.
¾¾ To join the network using WPS:
1.Press the WPS button on the modem router for 3–5 seconds. The WPS LED on the modem router blinks white.
2.Within two minutes, on your computer or other WiFi-enabled device, press its WPS button or click its onscreen WPS button.
The WPS LED on the modem router lights solid white when the computer or WiFi-enabled device connects to your modem router.
3.Repeat this process to add other computers or WiFi-enabled devices.
3
Join the WiFi Network Using the
Modem Router’s WiFi Settings
Use the modem router’s WiFi network name and password to connect your computer or other WiFi-enabled device to the modem router through WiFi. If you did not change the modem router’s WiFi network name and password, the modem router’s WiFi network name and password are on the label on the modem router.
¾¾ To select your network and enter its password:
1.On your computer or other WiFi-enabled device, open the WiFi connection manager that manages your WiFi connections.
The WiFi connection manager scans for WiFi networks in your area.
2.Find and select your modem router’s WiFi network name (SSID). The SSID is on the label on the modem router.
3.Enter the modem router’s password (or your custom password if you changed it) and click the Connect button.
The password is on the label on the modem router.
4.Repeat Step 1 through Step 3 to add other computers or WiFi enabled devices.
4
View or Change the Modem Router Settings
After you use the NETGEAR installation assistant to set up the
modem router, you can log in to the modem router to view or change its settings.
Log In to the Modem Router
¾¾ To log in to the modem router:
1.Connect a computer or WiFi-enabled device to the modem router. You can connect using a wired connection or a WiFi connection:
•To connect using a wired connection, use an Ethernet cable (not included) to connect an Ethernet port on your computer to an Ethernet port on the modem router.
•To connect using a WiFi connection, find the modem router’s preassigned WiFi network name and password on the label on the modem router. Open the WiFi connection manager on your computer or other WiFi-enabled device, find the modem router’s WiFi network name, and use the modem router’s password to connect.
2.Launch a web browser.
3.Enter www.routerlogin.net in the address field of the browser. A login window opens.
5
 Loading...