

Page 1
1
User’s guide for OfficeSt ation
TM
(L110 Series)
© Copyright by Ncomputing Co. Ltd. 2004 . - Illegal copying of this software, hardware and this
documentation is prohibited by law. All other brand- and product names are trad emarks of
registered trademarks of the respective owners.
Page 2

2
Safety Instructions
The following instructions pertain to the risk of fire, electric shock or bodily injury.
Please read all of these i n structio ns carefully.
- Do not use this system on an unstable cart, stand or table.
The product may fall, causing serious damage to the product.
- Slots and openings in the cabinet and the back have been provided for
ventilation. To ensure reliable operation of your computer, and to protect it
from overheating, do not block or cover these openings.
- Never push objects of any kind into the system through the cabinet
openings. Objects may touch dangerous voltage points or short out parts that
could result in a fire or electrical shock. Never spill liquid of any kind on the
product.
- This computer should only be connected to the adapter comes with your
system. If you want to use other adapter, consult your dealer.
- Do not allow anything to rest on the power cord. Do not locate this product
where people will walk on the cord.
- Unplug your system form the main electrical power outlet before cleaning.
Do not use liquid cleaners or aerosol cleaners. Use a damp cloth for
cleaning.
- Do not use this system near water.
- Your adapter plug will only fit into a grounding-type power outlet. This is a
safety feature. If you are unable to insert or replace your obsolete outlet,
contact your electrician to replace your obsolete outlet. Do not defeat the
purpose of the grounding-type plug.
- To avoid generating an electric shock, be sure to plug the power cord into
the system before plugging it into the wall socket.
- For protection of your system and other devices during a lightning storm, or
when it is left unattended and unused for long periods of time, unplug the
computer and other devices form the wall outlet and disconnect the cable
form system. This will prevent damage to the system and other devices due
to lighting and power line surges.
Warning
Page 3

3
FCC Information to Use
Note : This equipment has been tested and found to comply with the limit for a
Class B digital device, pursuant 15 of the FCC Rules.
These limits are designed to provide reasonable protection against harmful
interference in a residential installation. This equipment generates, uses, and can
radiate radio frequency energy and, if not installed and used in accordance with the
instructions. May cause harmful interference to radio communications. However,
there is no guarantee that interference will not occur in a particular installation. IF
this equipment does cause harmful interference to radio or television reception,
which can be determined by turning the equipment off nad on, the user is encourage
to try to correct the interference by one or the following measures:
- Reorient or relocate the receiving antenna.
- Increase the separation between the equipment and receiver
- Connect the equipment into an outlet on a circuit different from that to
which the receiver is connected
- Consult the dealer or an experience radio TV technician for help
Change or modification not expressly approved by the party responsible for
Compliance could void the user’s authority to operate the equipment
Page 4

4
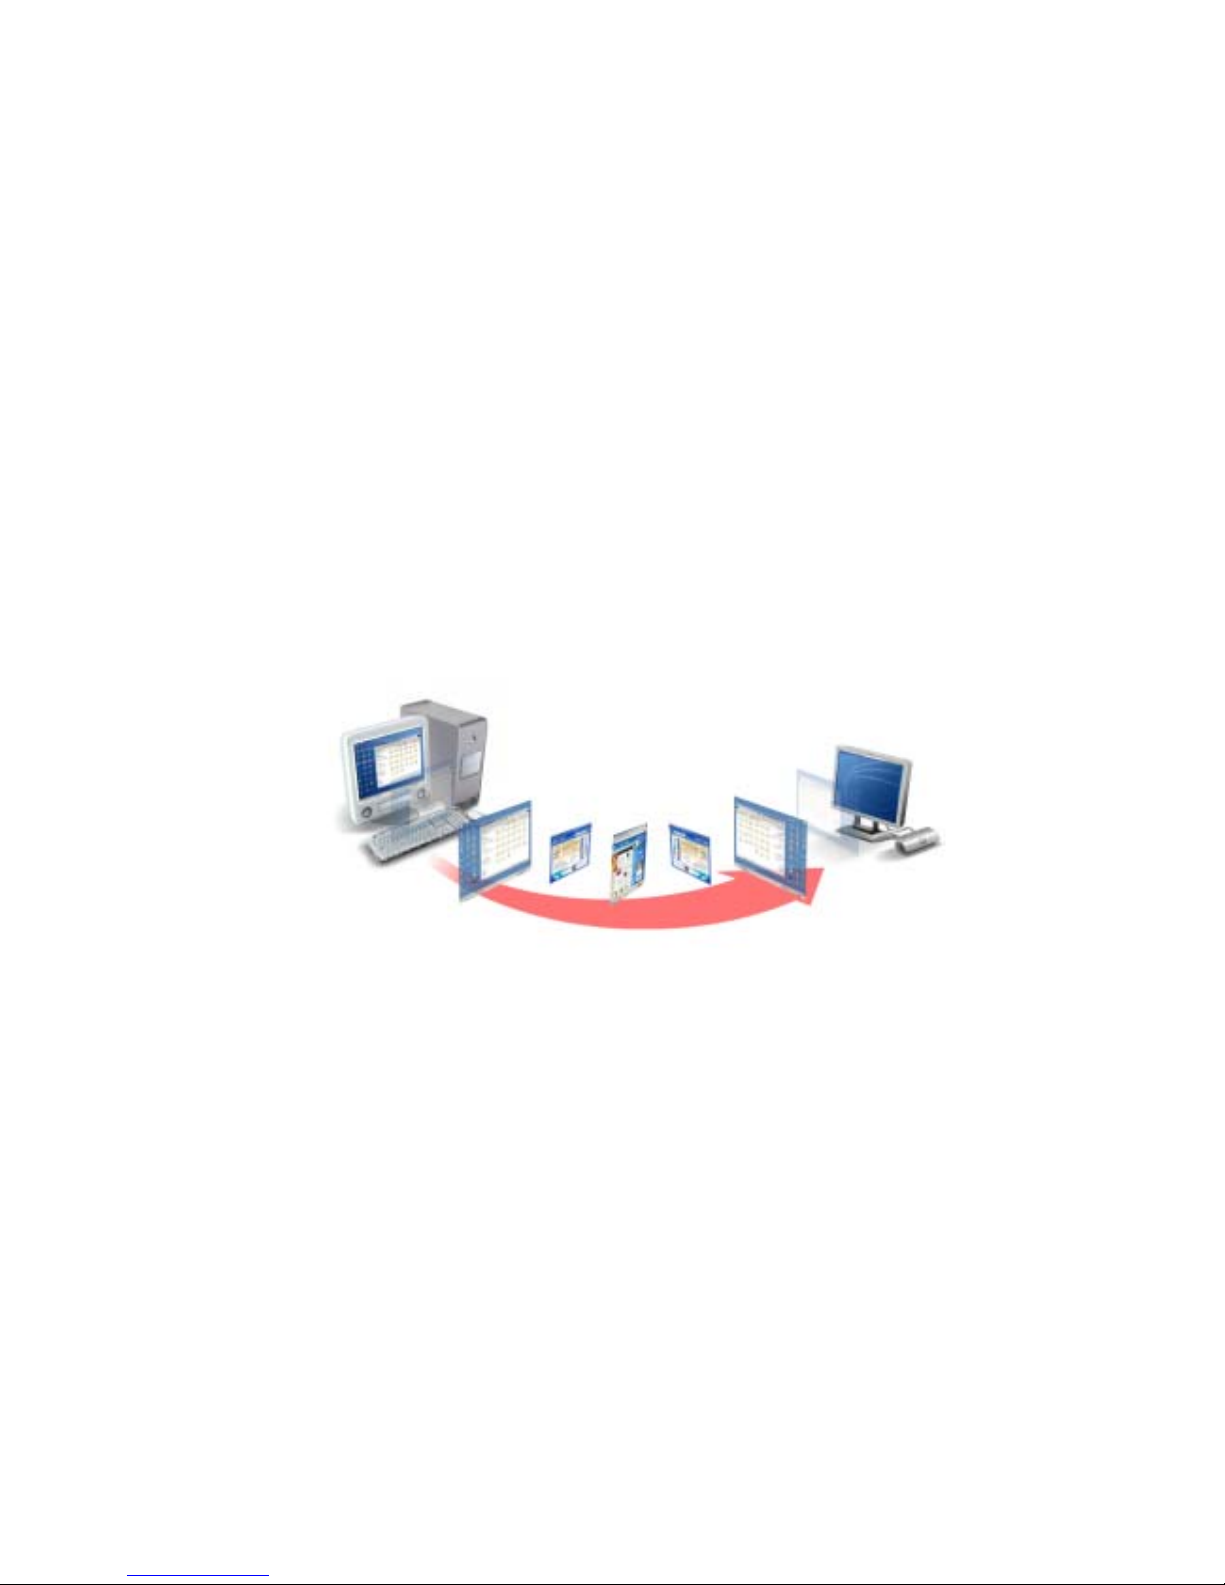
Introductions
What is OfficeStationTM ?
OfficeStationTM is an unique networking device using WoIPTM (Windows over IP) based
on networking standards. You can share the resources of the host PC system by
connecting OfficeStation
TM
terminal(s) to it, thus giving you the benefit of having
several networked PCs. You can connect one or more OfficeStation
TM
terminals to one
Host PC directly using a LAN adapter and cable or via network using a hub/router.
Featuresn of I/O Ports
- One Power Inlet (DC-IN, 5VDC 2.0A) Jack
- One speaker Jack
- One PS/2 Keyboard connector
- One PS/2 Mouse connector
- One RJ-45(LAN) Jack
- One VGA Monitor connector
System Requirements of Host PC
- To connect one OfficeStation
TM
terminal to a single host PC, the following system
requirement si needed of the host PC :
Intel Pentium 4 1.0GHz processor with at least 256MB RAM or higher
- To connect two to three OfficeStation
TM
terminal to a single host PC, the following
system requirement si needed of the host PC :
Intel Pentium 4 2.4GHz processor with Hyper - Threading technology with at least
512MB RAM or higher
- To connect four to seven OfficeStation
TM
terminal to a single host PC, the following
system requirement si needed of the host PC :
Intel Pentium 4 3.0GHz processor with Hyper - Threading technology with at least
1024MB RAM or higher
- To connect eight to ten OfficeStation
TM
terminal to a single host PC, the following
system requirement si needed of the host PC :
Intel Pentium 4 3.2GHz processor with Hyper - Threading technology with at least
2048MB RAM or higher
Page 5

5
OS (Operating System)
- Windows XP Home Edition
- Windows XP Professional Edition
- Windows 2000 Professional Edition
Page 6
6
Setting up the OfficeStationTM
1. Component Names and Functions
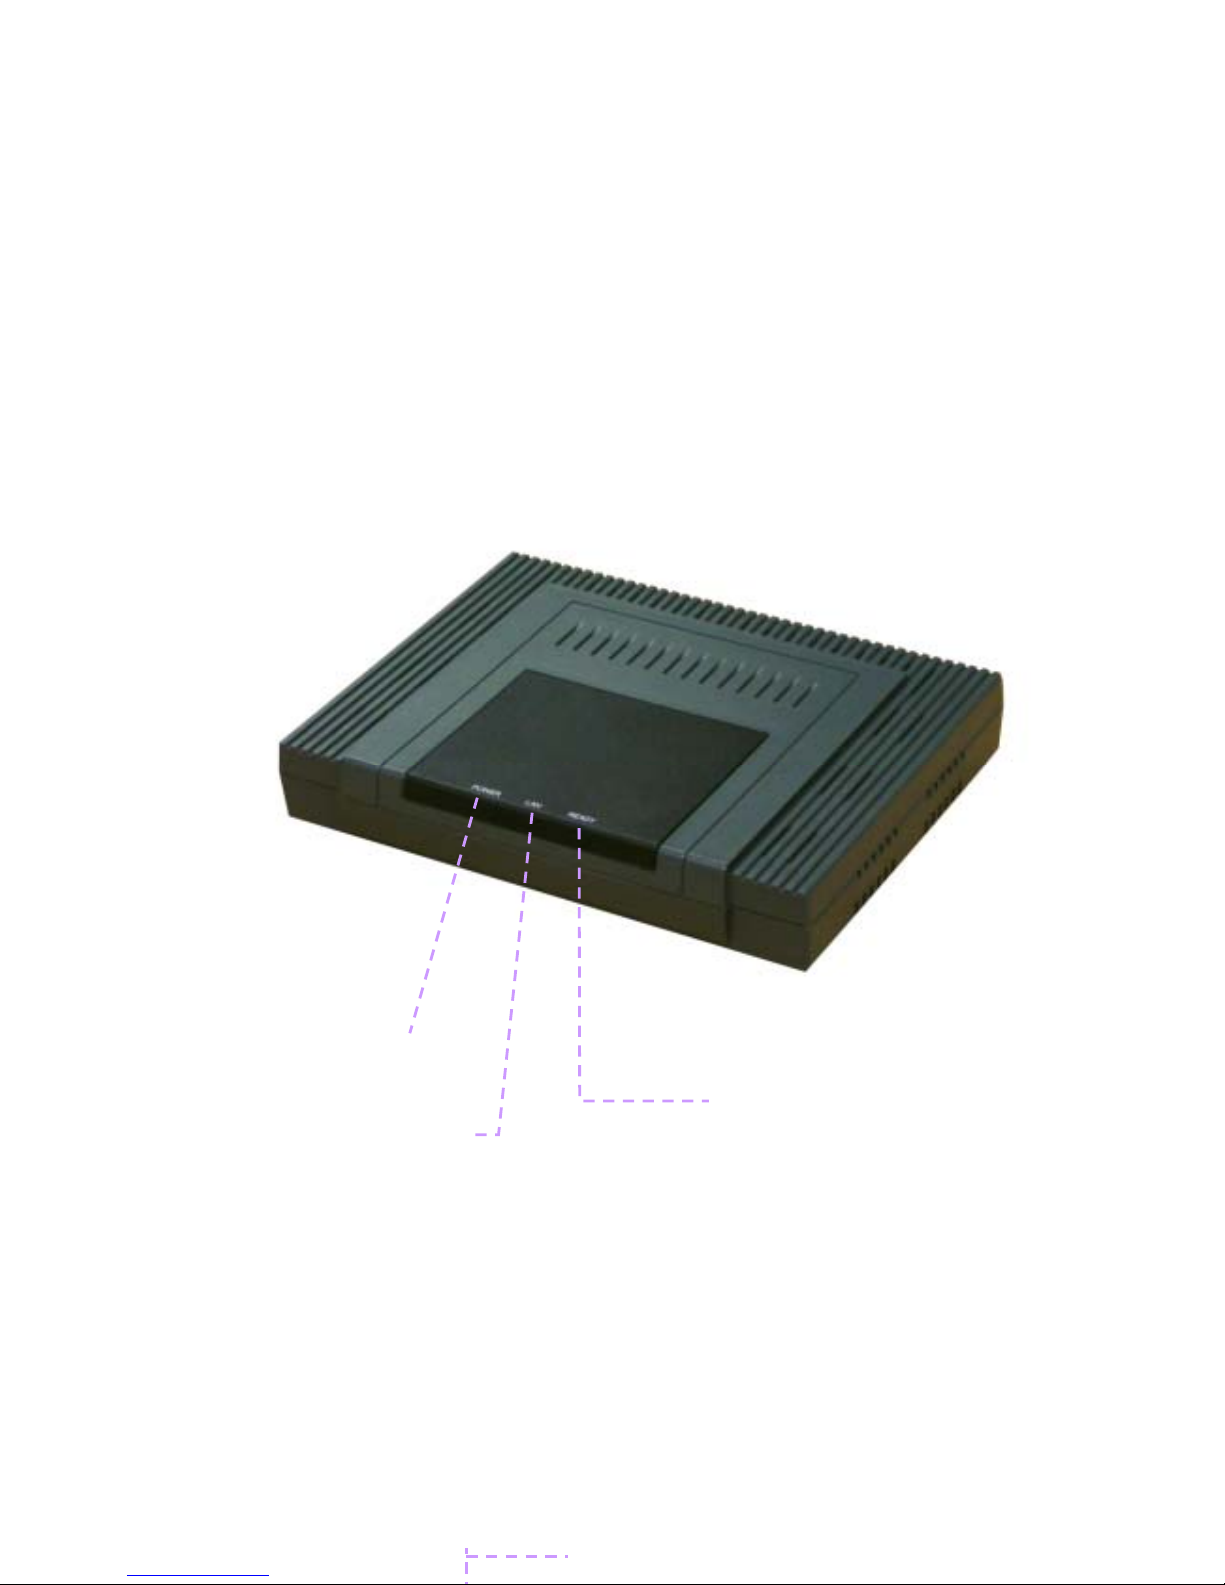
1-1 Front Panel
Power Light
When these blue lights is on,
your OfficeStation is turned
ON
Communicate Light
When this lights is flash, on
your OfficeStation is
communicating with your
PC
Ready Light
This light indicates
diagnostics running or
possible problem with
your OfficeStation
Page 7

7
1-2 Rear Panel
Power Button
Used when you want to
turn the OfficeStation on/off
Power Port
The power supply code goes
here.
Audio out Jack
The Stereo headphone
j
ack is used to connect the
OfficeStation’s audio out
signal to amplified
speakers
PS/2 Port (Keyboard)
The PS/2 port is for
connect PS/2 types
keyboard
External Monitor
Let you connect your
OfficeStation to External
Monitor that RGB types
monitors
Ethernet Jack
Lets you connect your
OfficeStation to a your PC
PS/2 Port (Mouse)
The PS/2 port is for
connect PS/2 types Mouse
Page 8

8
2. Connecting OfficeStation to a PC
Your OfficeS tation can be connected to a PC in one of two ways
2-1 Connecting to a PC Directly(Peer-to-Peer)
In order to connect the OfficeStation to a PC directly using wire, you must have a LAN card
installed in your PC, or must have that function built in.
1. Plug one end of your Ethernet Crossover cable into cable adapter on the OfficeStation,
Cable Adapter and Crossover cable that are optional.
2. Plug the other end of the Ethernet cable into the Ethernet port on your PC.
See the below picture.
Host PC
OfficeStation
Cable Adapte
r
Crossover Cable Ethernet Cable
Page 9

9
2.2 Connecting to a PC through a Hub or a Router
Connect the OfficeStation to a PC through a Hub or Router as shown below.
OfficeStation..10OfficeStation 2OfficeStation 1
Host PC
Ethernet Cable
Ethernet Router /Hub
Page 10

10
Installing the OfficeStation
TM
Software
1. Quick Installation the Host PC Program
Insert the driver for OfficeStation installation CD into your PC’s CD-ROM driver and follow the
instructions.
You need to setup program manually in the present.
Start -> Run -> Open type X:/install.exe
Substitute your CD-ROM drive letter for the “x”.
You will see preparing to install window when
installation gets started. Click [Next]
Please read the End user license agreement and
Check the “I agree:
Please read the Read Me Notes and Click [Next]
Page 11

11
Select installation folder windows appears
Click [Next] button if you want to install NCT-2000-XP in
the default folder
Click [Disable password protection] button if you want
to not to use password.
If you want to specify password, type the password, and
confirm it.
Click [Installation Network Administrator Console], If you
want to using the Administrator
Console, and click [Next]
Enter the serial number and activation key these are
bottom side the OfficeStation.
And type the user’s information.
If do you want to add more serial number, Click
[Advance..]
Click [Add] button and add the serial number what you
want.
Page 12

12
Click [Next]
Copies files needed for installation.
When the ‘installation complete’ window appears, click
[Restart]
button after select “Yes, I want to restart my
computer now.”
Page 13

13
2. Network Setup
2-1 setting up the network environment in Windows XP
You can set up the network environment in your PC,
Go to Start ->
right Click on My Network Places ->
Double Click the “network Connection” icon
Click the Local network connection status
Click the Prosperities Icon
Connecting to a PC Directly (Peer-to-Peer)
Page 14

14
Click Internet Protocol (TCP/IP)
Click Properties ->
Select “Use an IP following IP address”
Type in the IP address, subnet mask and Default
gateway of the your PC
And Click OK
e.g) IP Address: 192.168.1.1
Subnet mask: 255.255.255.0
Default gateway: 192.168.10.0
Power on the OfficeStation->
Click Setup menu bar->
Page 15

15
Click Network Tap ->
Click Use Stat ic IP Address->
Type in the IP Address and Gateway address of your a
OfficeStation.
e.g) IP Address: 192.168.1.2
Default gateway: 192.168.10.0
Click TS Option Tap ->
Type the Host PC’s IP address in the Terminal Server
Network address.
And Click Save
e.g) Terminal Server Network address: 192.168.1.1
Click Connect
Page 16

16
To connect to the PC make sure the network in your computer is configured properly.
Here’s how to configure the network properties to connect PC with the Of ficeStation.
Connect to PC with a Hub
You can set up the network environment in your PC,
Go to Start ->
right Click on My Network Places ->
Double Click on the Network Connection associated with
the Ethernet adapter.
Click Internet Protocol (TCP/IP)
Click Properties ->
Select “Use an IP following IP address”
Type in the IP address, subnet mask and Default gateway
of the your PC
And Click OK
e.g) IP Address: 192.168.1.1
Subnet mask: 255.255.255.0
Default gateway: 192.168.10.0
Power on the OfficeStation->
Click Setup menu bar->
Connecting to a PC through a Hub or a Router
Page 17

17
Click Network Tap ->
Click Use Stat ic IP Address->
Type in the IP Address and Gateway address of your a
OfficeStation.
e.g) IP Address: 192.168.1.2
Default gateway: 192.168.10.0
Click TS Option Tap ->
Type the Host PC’s IP address in the Terminal Server
Network address.
And Click Save
e.g) Terminal Server Network address: 192.168.1.1
Click Connect
Page 18

18
Connect to PC with a Router
For additional settings or information about your Router, refer to its Manual.
You can set up the network environment in your PC,
Go to Start ->
right Click on My Network Places ->
Double Click on the Network Connection associated with
the Ethernet adapter.
Click Internet Protocol (TCP/IP)
Click Properties ->
Select “Obtain an IP address automatically”
And Click OK
Power on the OfficeStation->
Click Setup menu bar->
Page 19

19
Click Network Tap ->
Click Get Dynamic IP address ->
Click TS Option Tap ->
Type the Host PC’s IP address in the Terminal Server
Network address from received the Router.
And Click Save
 Loading...